A Coffee Option for the Tea Time Tea Wallet
Michelle Burke
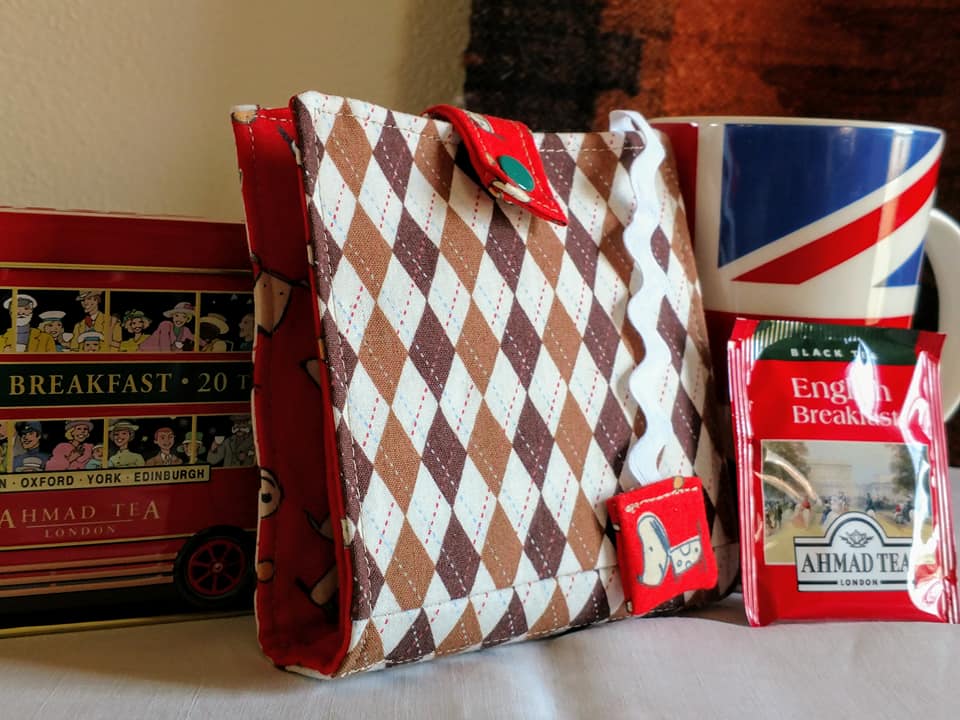
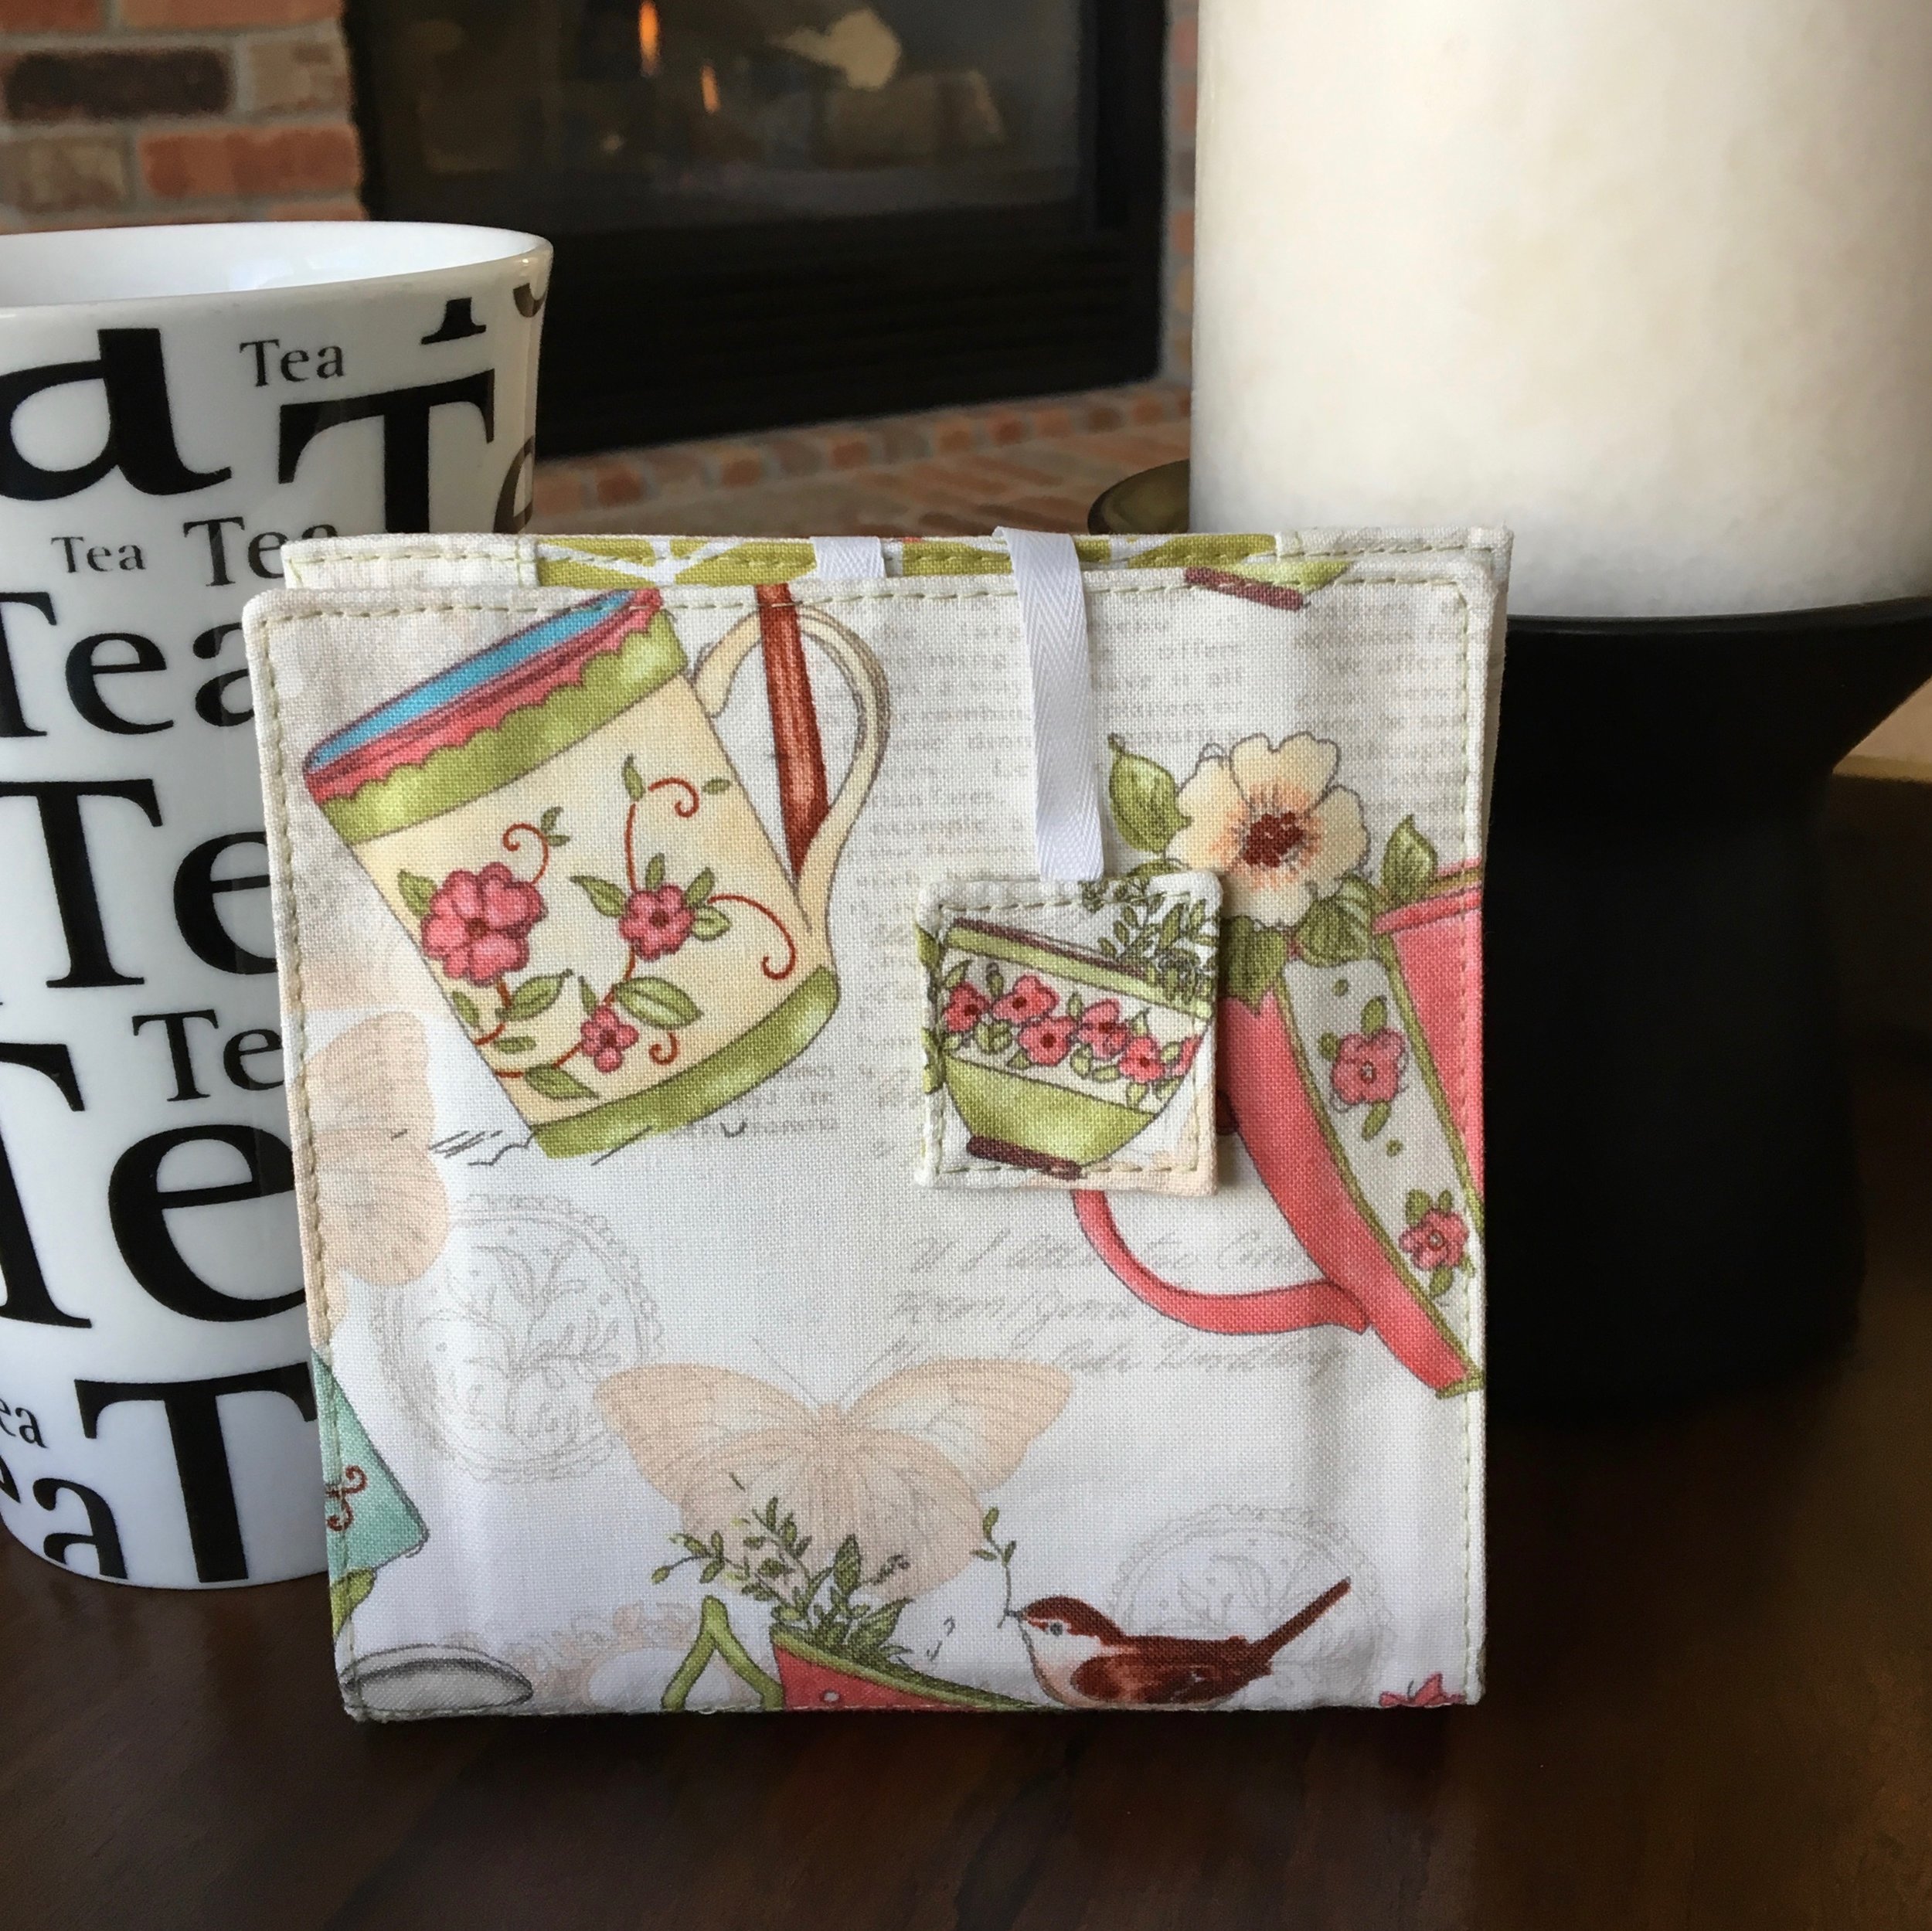
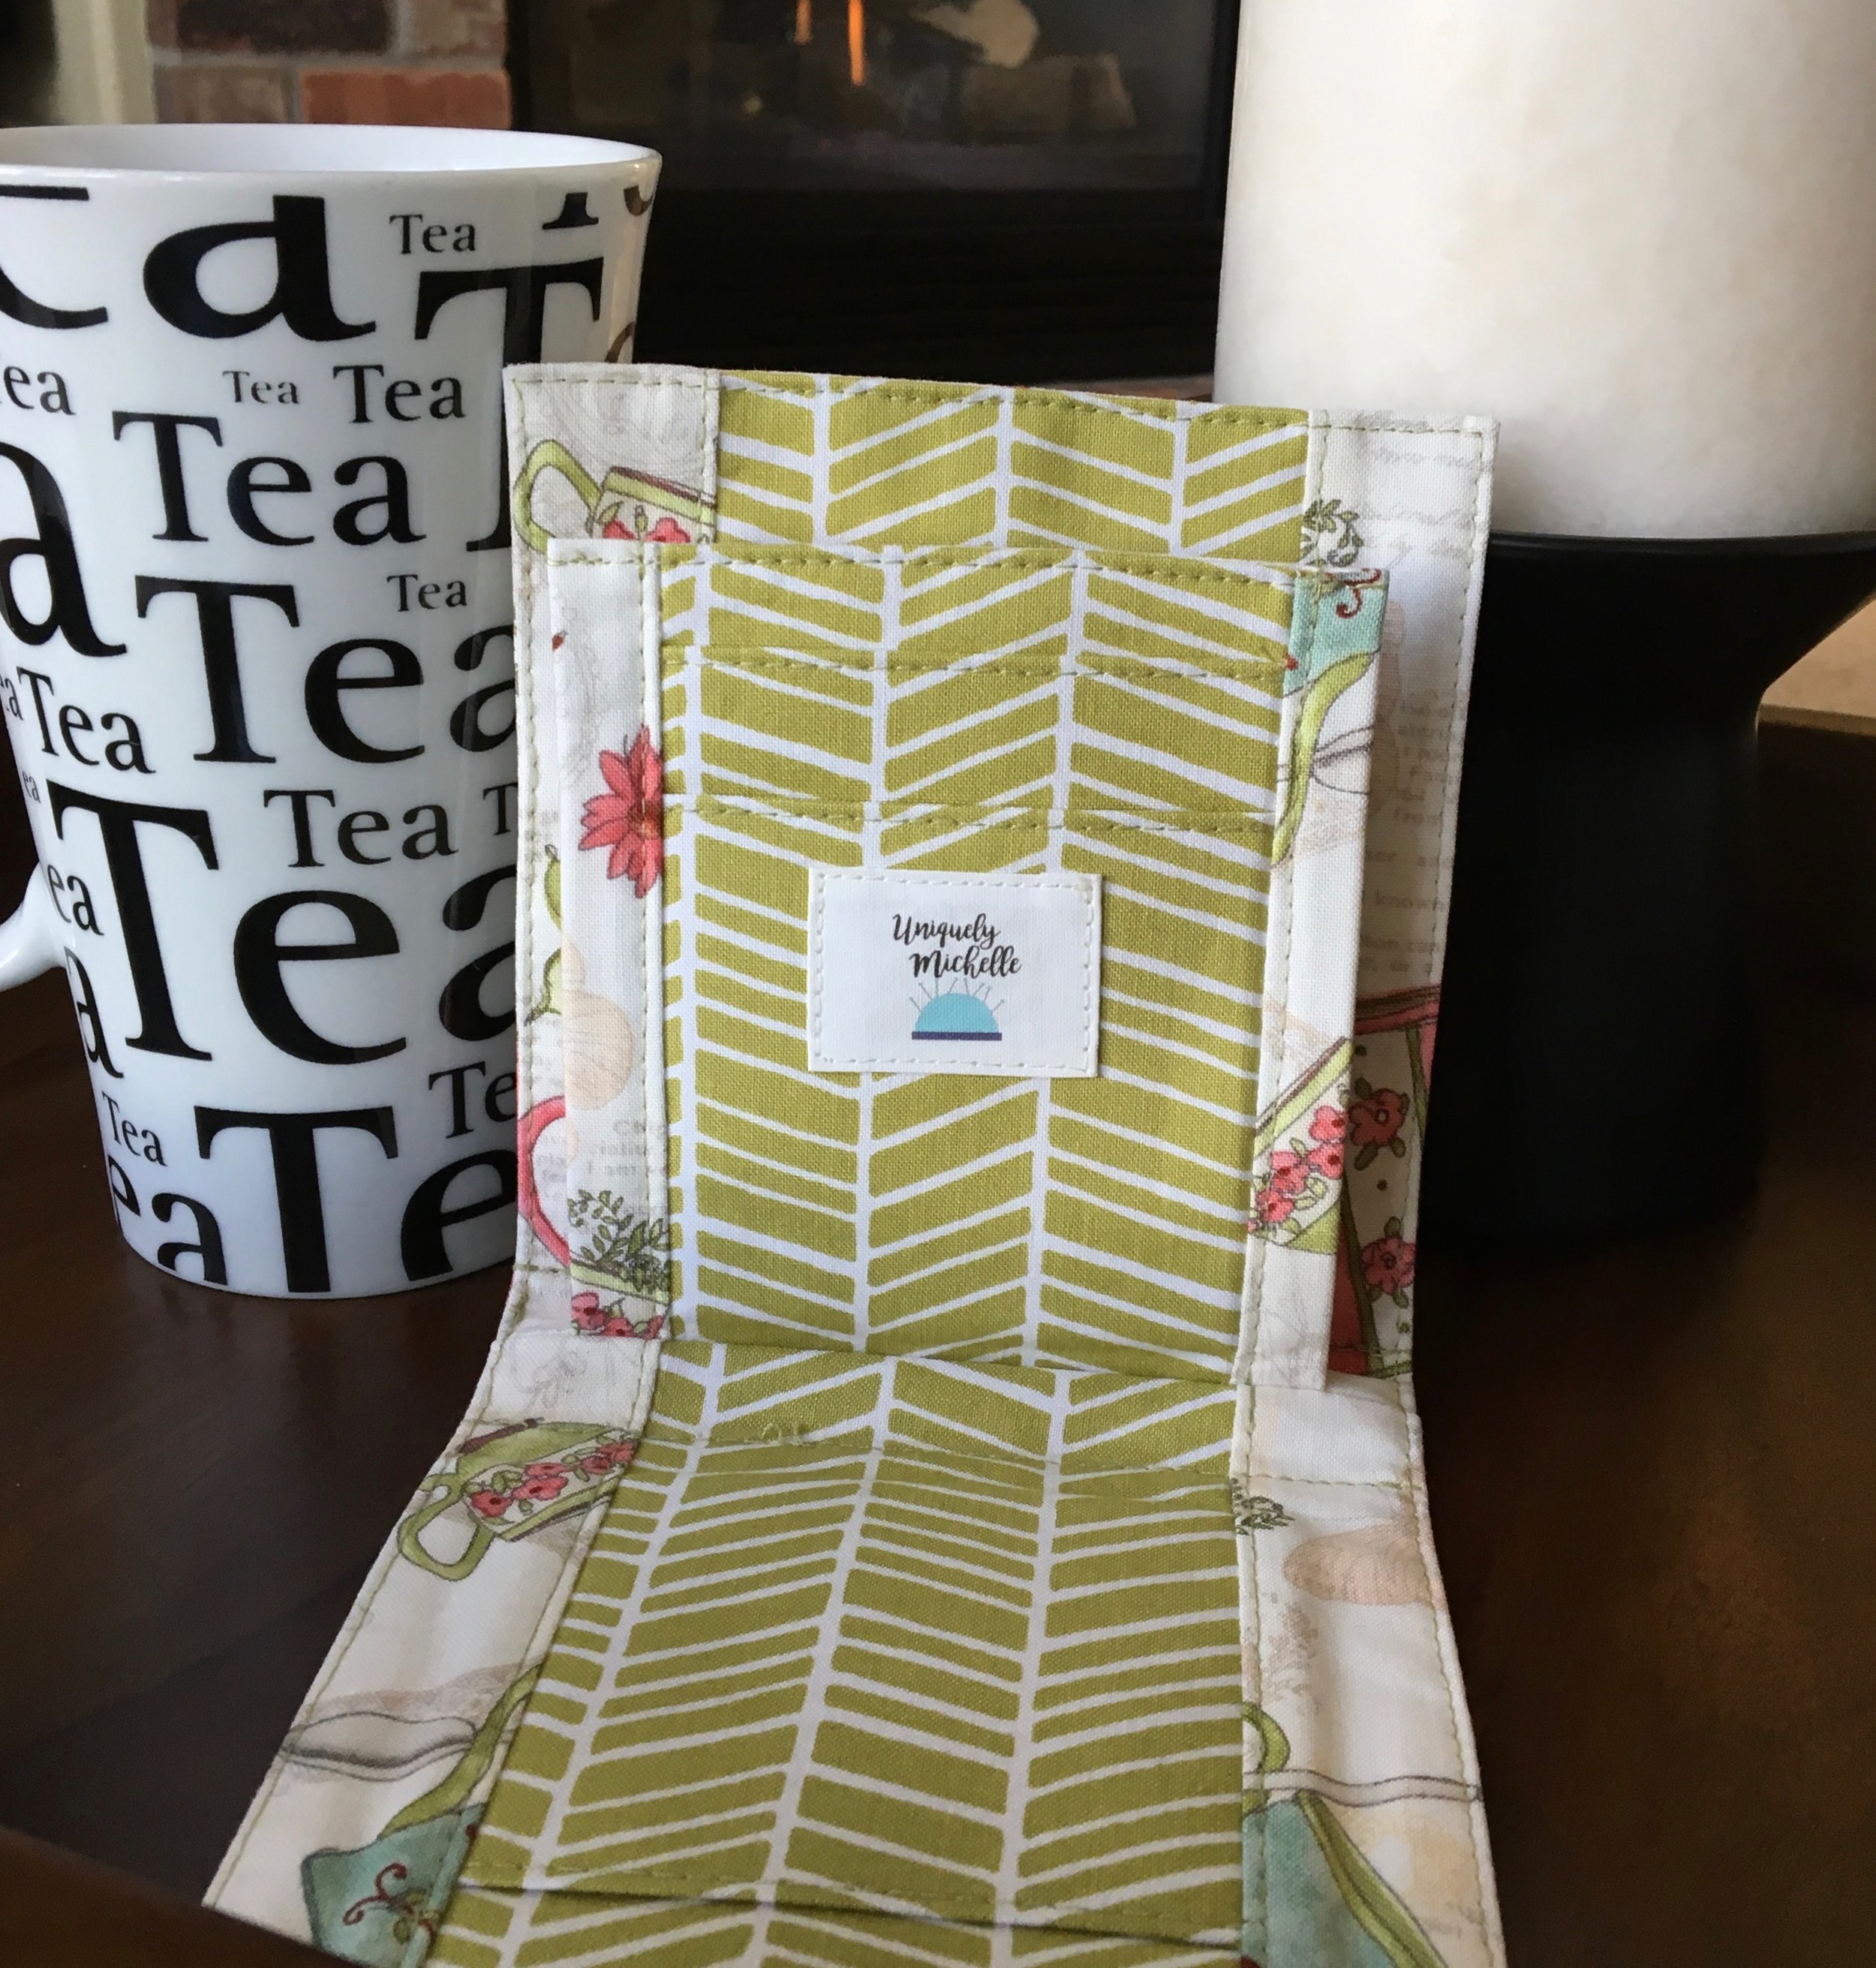
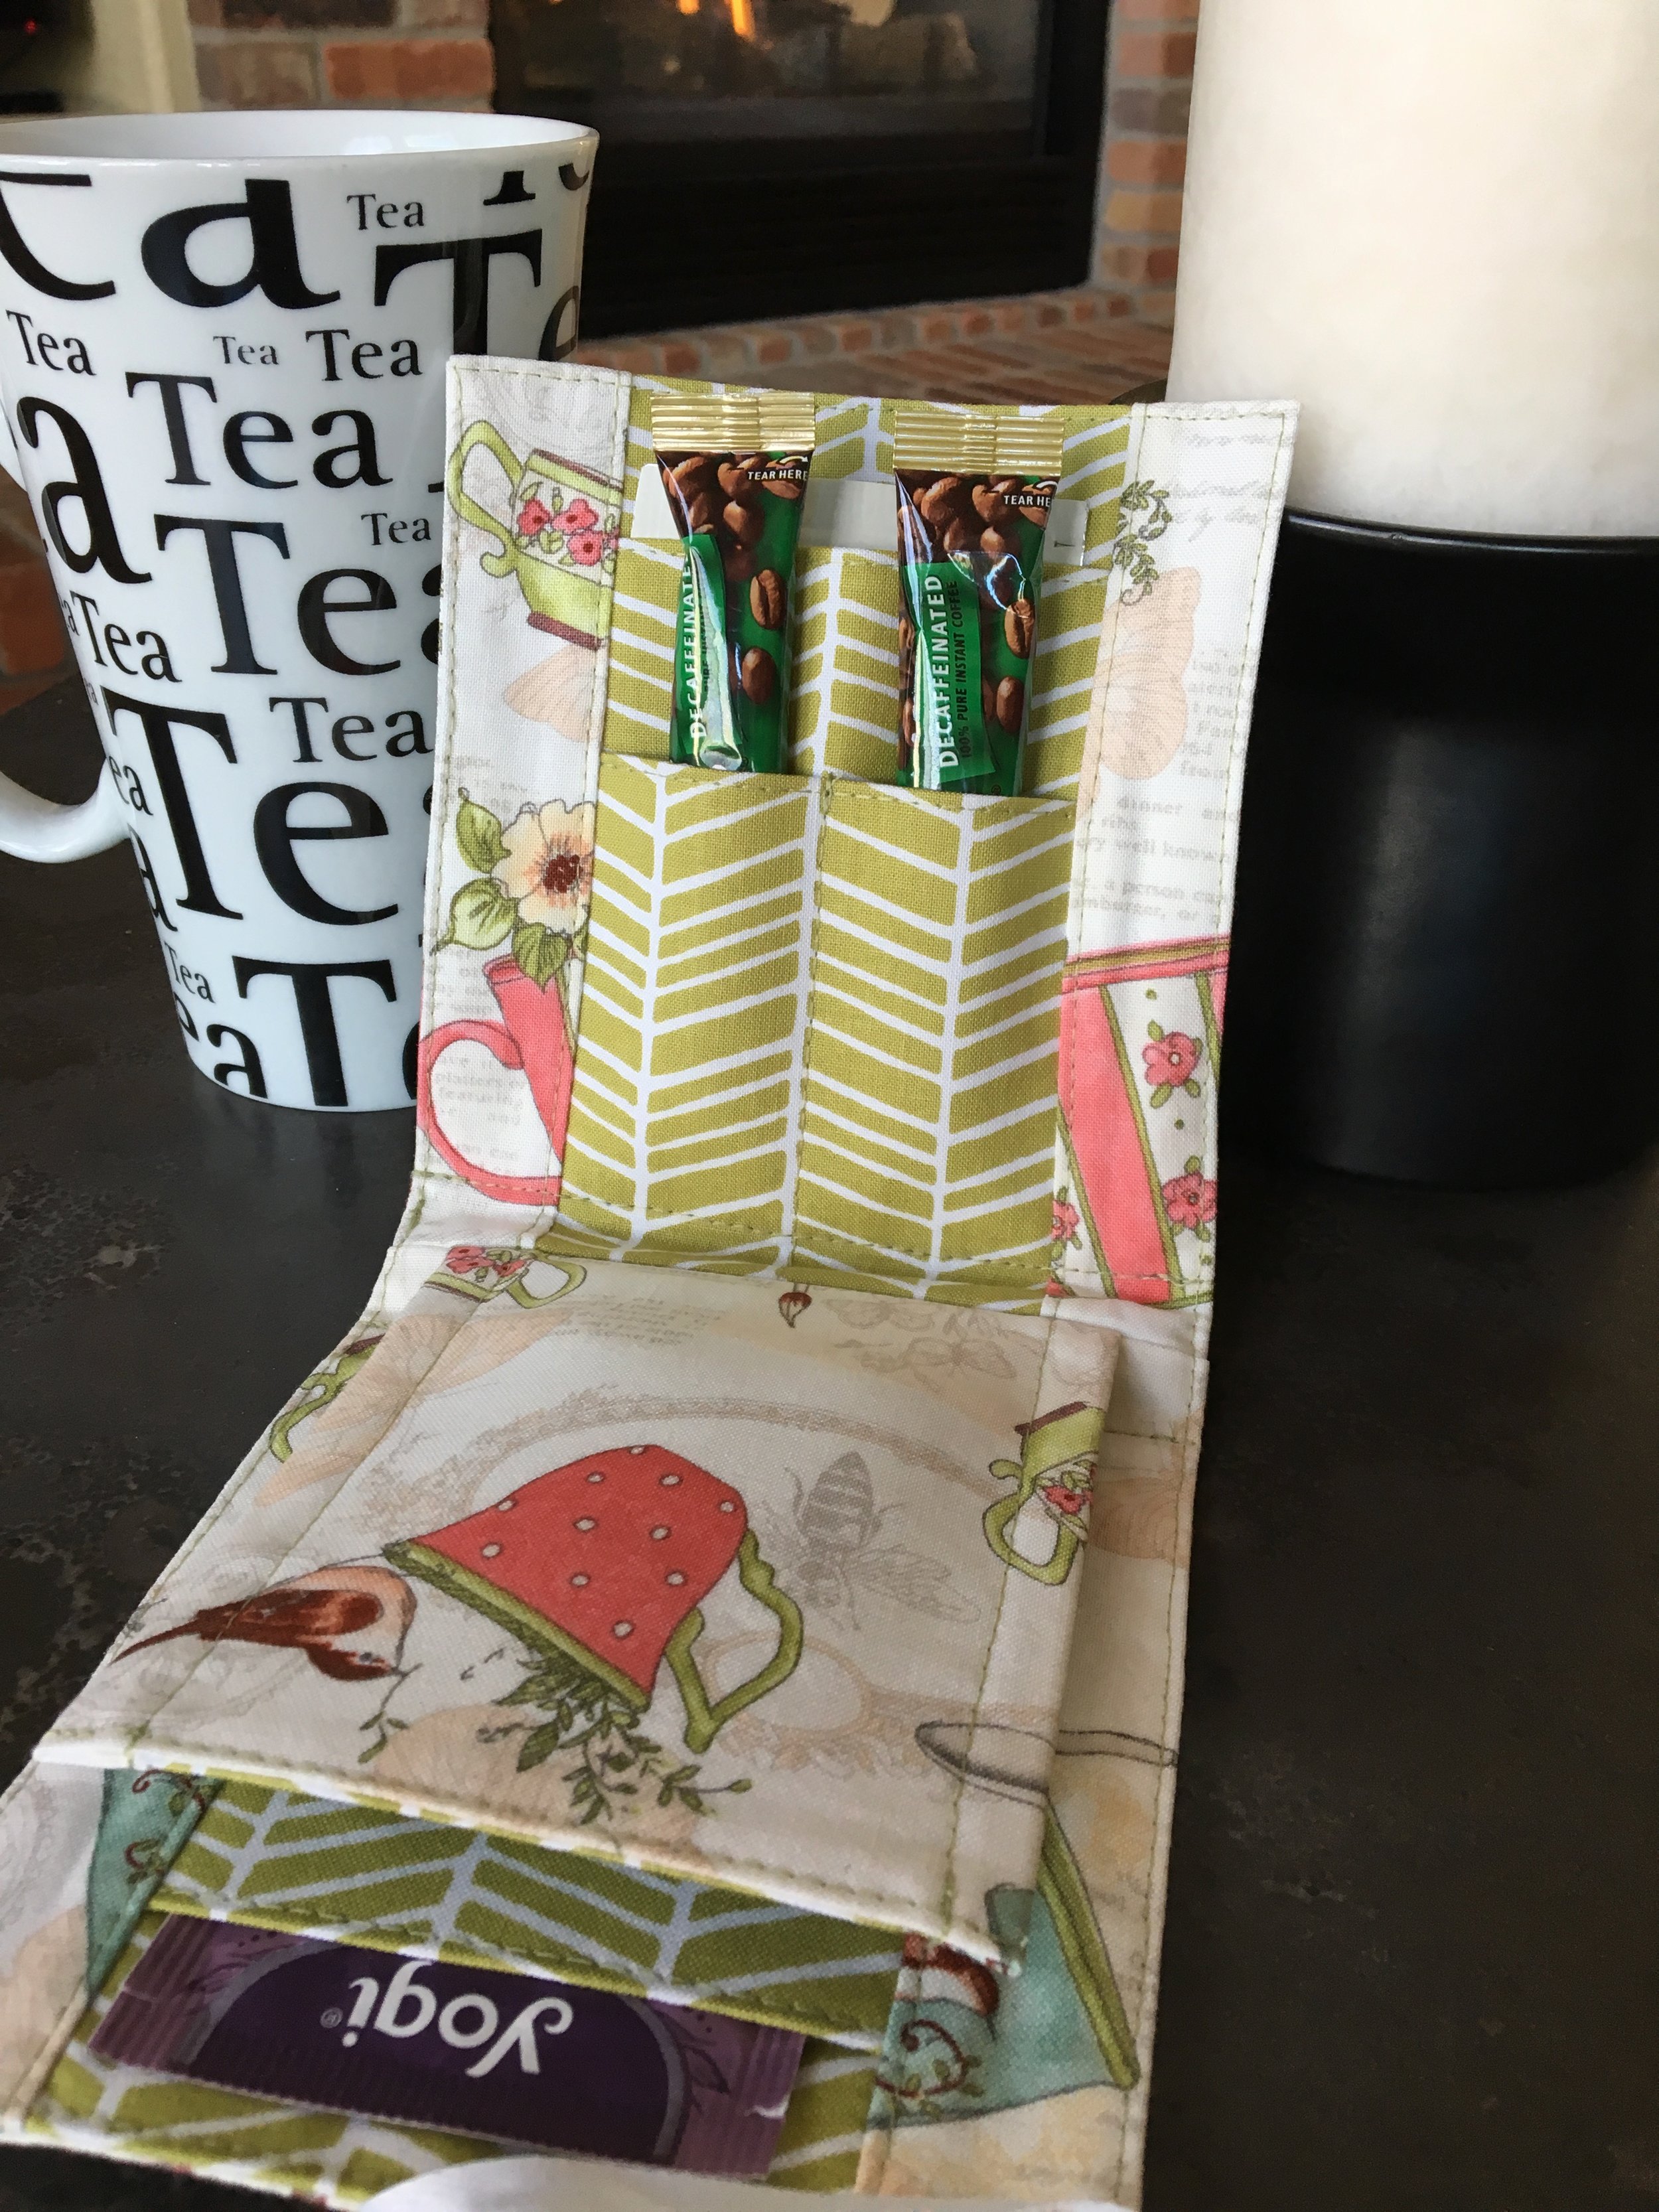
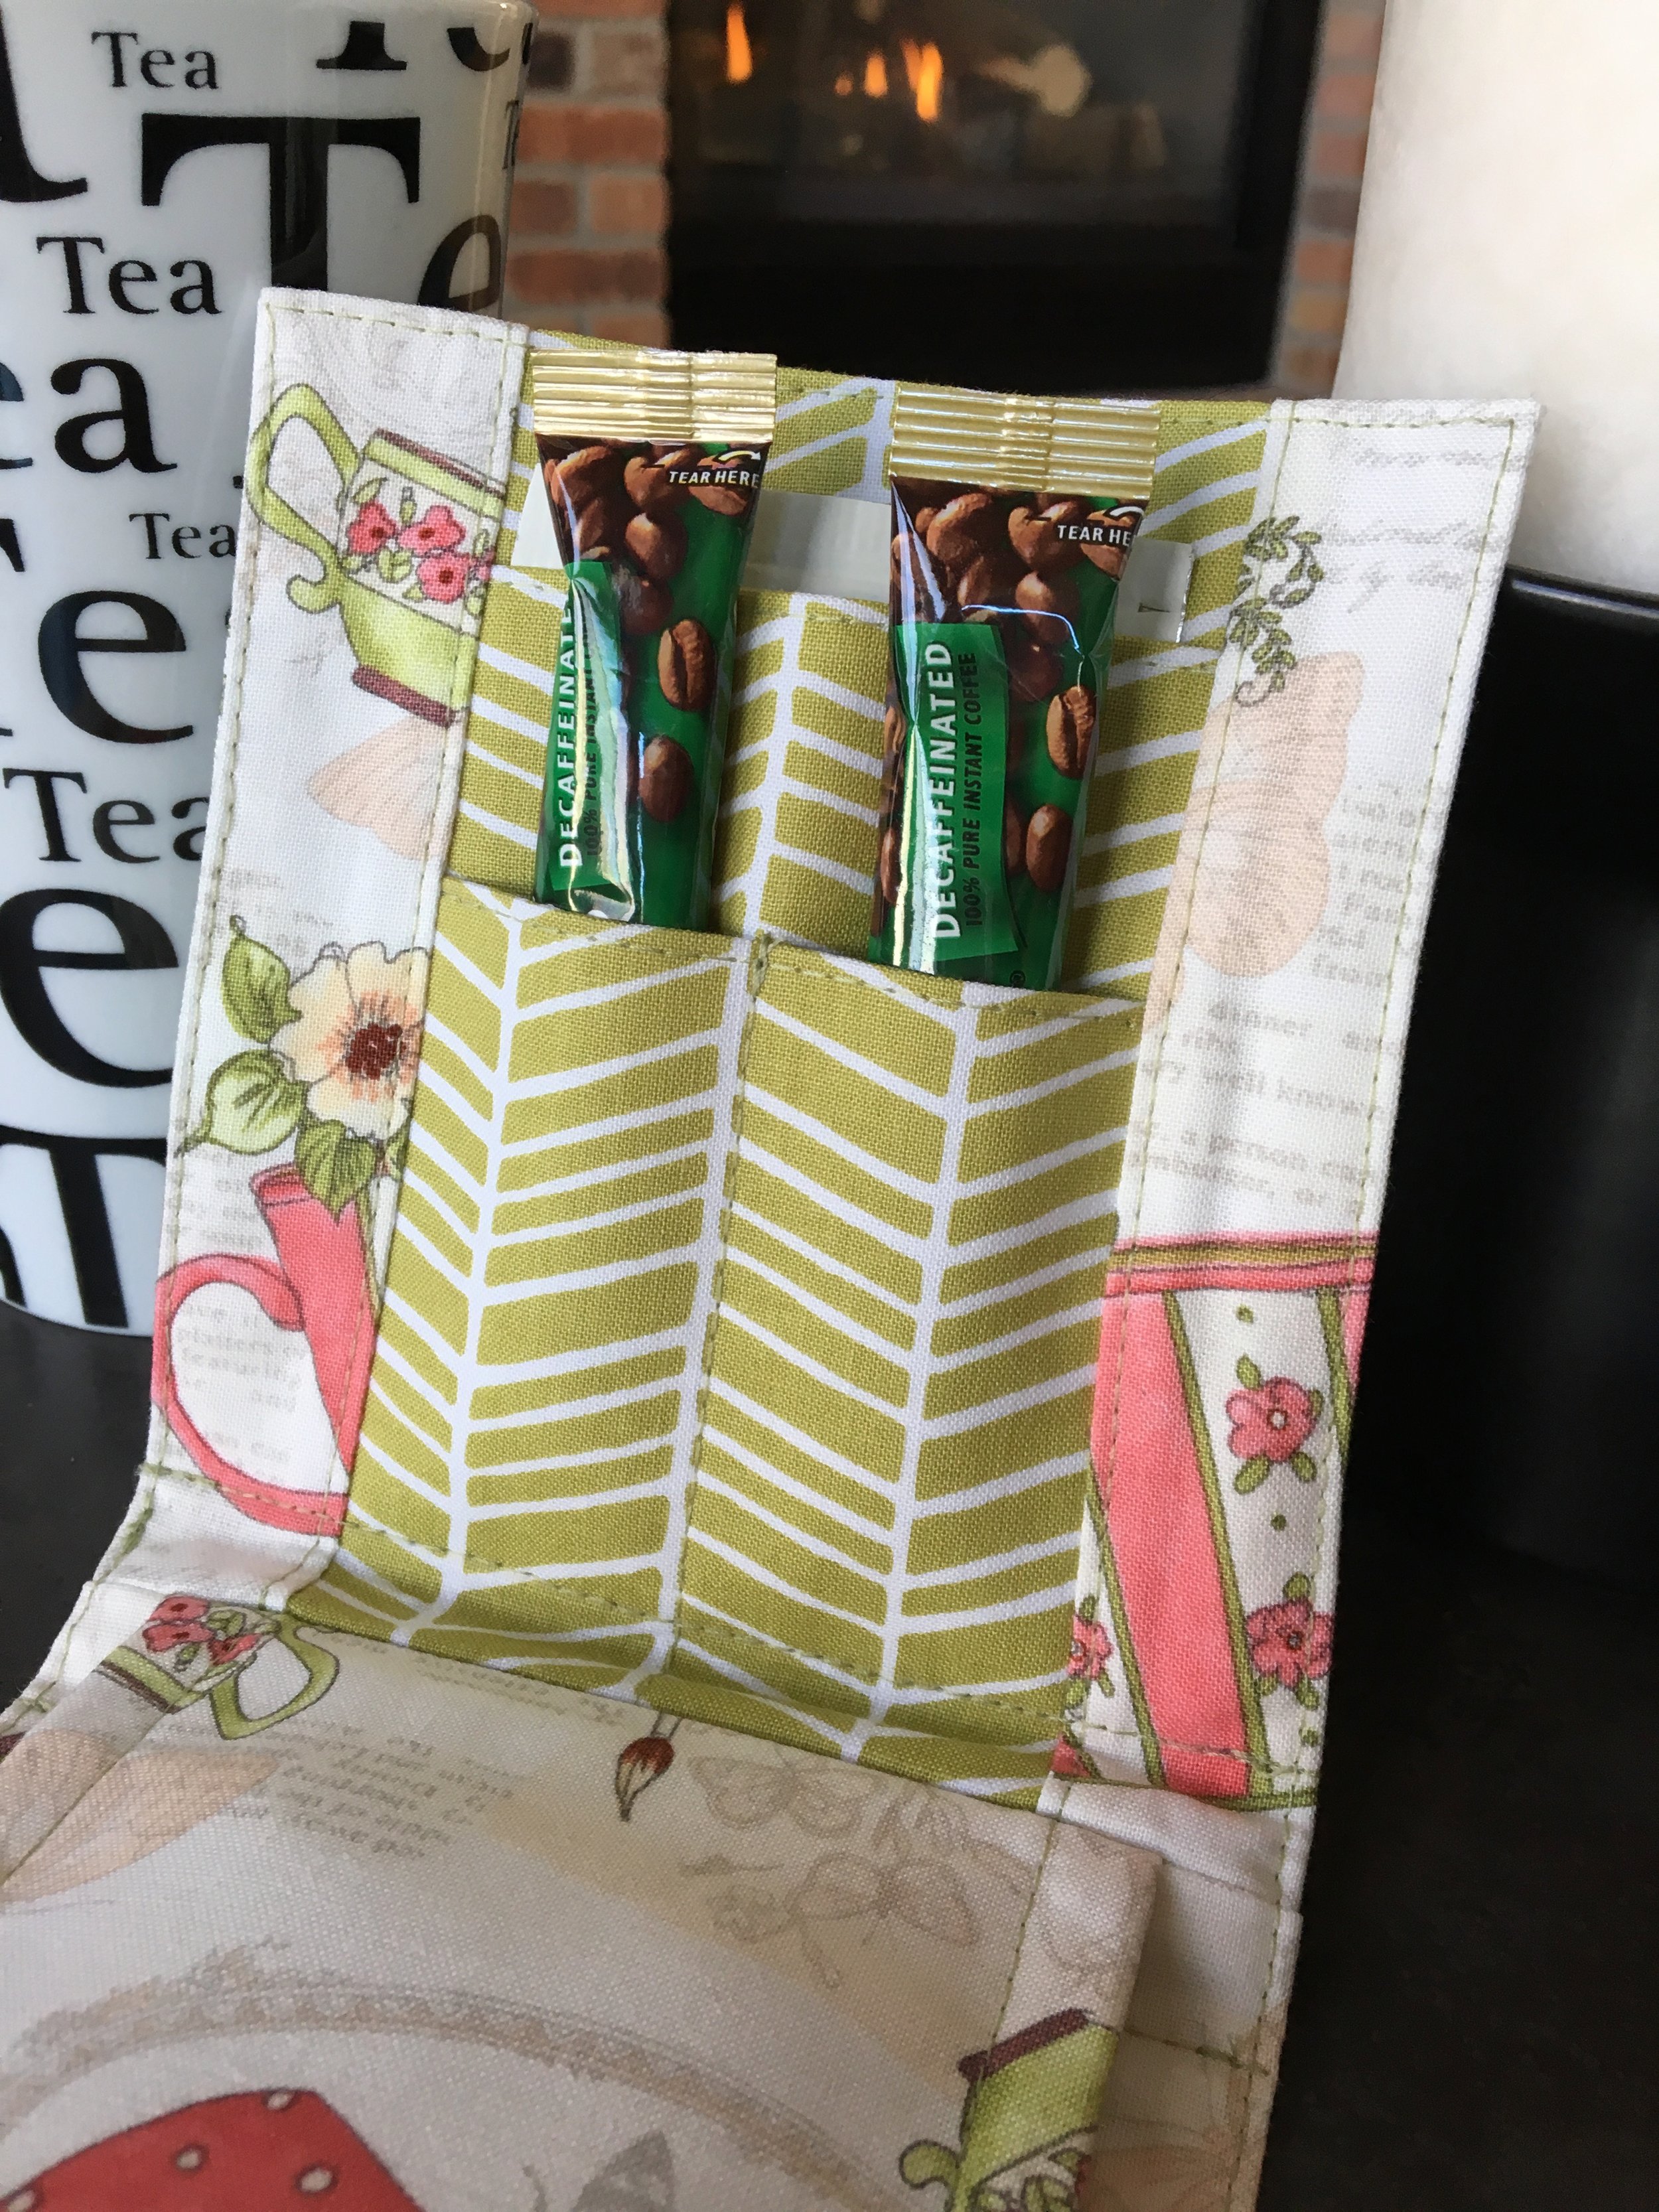
Calling all coffee drinkers - we don't want to leave you out in the cold with the Tea Time Tea Wallet! Today I am sharing a tutorial that will show you how to change up one of the pockets so that you can put instant coffee packets in the Tea Time Tea Wallet. Jenniffer Howling, one of my testers came up with this ingenious idea while testing the Tea Time Tea Wallet (see Jenniffer's coffee version of the Tea Time Tea Wallet below). You could use this altered pocket to hold sweetener or other drink mixes as well. This tutorial explains how to alter one of the lower main pockets but you could alter both lower main pockets if you want to add even more places for coffee, sweetener or drink mixes. If you don't have the Tea Time Tea Wallet pattern yet (you will need it to create this coffee version of the wallet), you can purchase it from the Uniquely Michelle Website Shop, the Uniquely Michelle Etsy Shop or the Uniquely Michelle Craftsy Pattern Shop.
We will be changing up the folds on one (or both if you choose) of the main pocket(s) and we will also be altering the way the bottom of the Tea Time Tea Wallet is made. For this option, you will not add a piece of Peltex to the bottom.
Start by following the directions given in step 1 of the Tea Time Tea Wallet pattern. To make the coffee option, things start changing when you reach step 2 of the pattern. If you want to alter one main pocket, you will want to cut your main pocket piece in half before folding the main pocket. When you cut the Main Pocket piece in half, each Main Pocket piece should be 3 1/2" wide. (See photo below) Fold one Main Pocket piece using the measurements in the pattern in step 2 (Fold Main Tea Bag Pockets) and fold the second Main Pocket piece using the measurements below. If you want to alter both main pockets, fold the pocket using the measurements below without cutting it in half first.
Lay the Main Pocket piece wrong side up on your work surface so that the long side of the fabric piece is running left-to-right. Draw lines on the back of the Main Pocket piece parallel to the short sides at the following distances. (See photo below measurements)
◌ Mark line #1 @ 4” away from the left short edge of the fabric piece.
◌ Mark line #2 to the right and 2 3⁄4” away from line #1.
◌ Mark line #3 to the right and 4” away from line #2.
◌ Mark line #4 to the right and 2 3⁄4” away from line #3.
You can see the difference in the pocket folds for the Main Pockets in the photo below - the left Main Pocket section is folded for tea bags and the right Main Pocket Section is folded for instant coffee packets. The arrows in the pictures are pointing to the tops of the pocket folds.
Continue following the directions given in the Tea Time Tea Wallet pattern with the second bullet point under step 2 ("Now you will fold the Main Pocket piece on . . ."). When you reach the last bullet under step 2 ("Now remove the pins or clips from . . ."), we need to make one slight alteration to the coffee pocket(s). You will still top-stitch the top edges of your pockets as described, but before you top-stitch the sides of the pocket(s), open up the upper pocket so it is out of the way of the lower pocket while keeping the lower pocket folds in place. (See photo below)
We will be top-stitching a vertical line down the center of the lower pocket only to divide it so that it can hold two instant coffee packets. First draw a line vertically down the center of the lower pocket, starting at the top fold and continuing down to the bottom, raw edge of the fabric. (See photo above)
Hint: You may want to in some way mark the coffee pocket so you can easily keep track of which one it is. I put a pin at the top of my coffee pocket.
Now top-stitch on this line, making sure to sew back and forth a couple times at the beginning and end of your stitches to secure them. Once you have your lower pocket divided, you can refold the upper pocket back into place and then top-stitch the sides of the pocket to hold the folds in place. (See photo above)
There won't be anymore changes until step 12, so we will see you back here once your coffee version of the Tea Time Tea Wallet is almost finished!
Are you back? I bet your tea/coffee wallet is looking fabulous! In step 12, we mark lines for the base. The placement of those markings are slightly different for the coffee version. For the coffee version, mark a line 1/2" from each side of the bottom seam on the Main Pocket Pieces. (See photo above)
Once you have your lines marked, you can continue with the second bullet point ("Top-stitch through all layers across . . .") under step 12. (See photo above) You won't be adding the Peltex piece, so you can ignore the directions that have to do with the Peltex. You are almost finished making your coffee version of the Tea Time Tea Bag Wallet, just one more step!
Please share pictures of your amazing Tea Time Tea Wallet creations (coffee versions too) on Instagram (#uniquelymichelle #teatimeteawallet) and in the Uniquely Michelle Sewing Patterns Facebook Group (a fun place to share you Uniquely Michelle creations and see other's creations too). You can follow Uniquely Michelle on Instagram, on the Uniquely Michelle Facebook Page and on Twitter.
Remember to sign up for the newsletter below!
Sign up to receive email newsletters from Uniquely Michelle:
