Sewing Can Have Its Ups and Downs
Michelle Burke
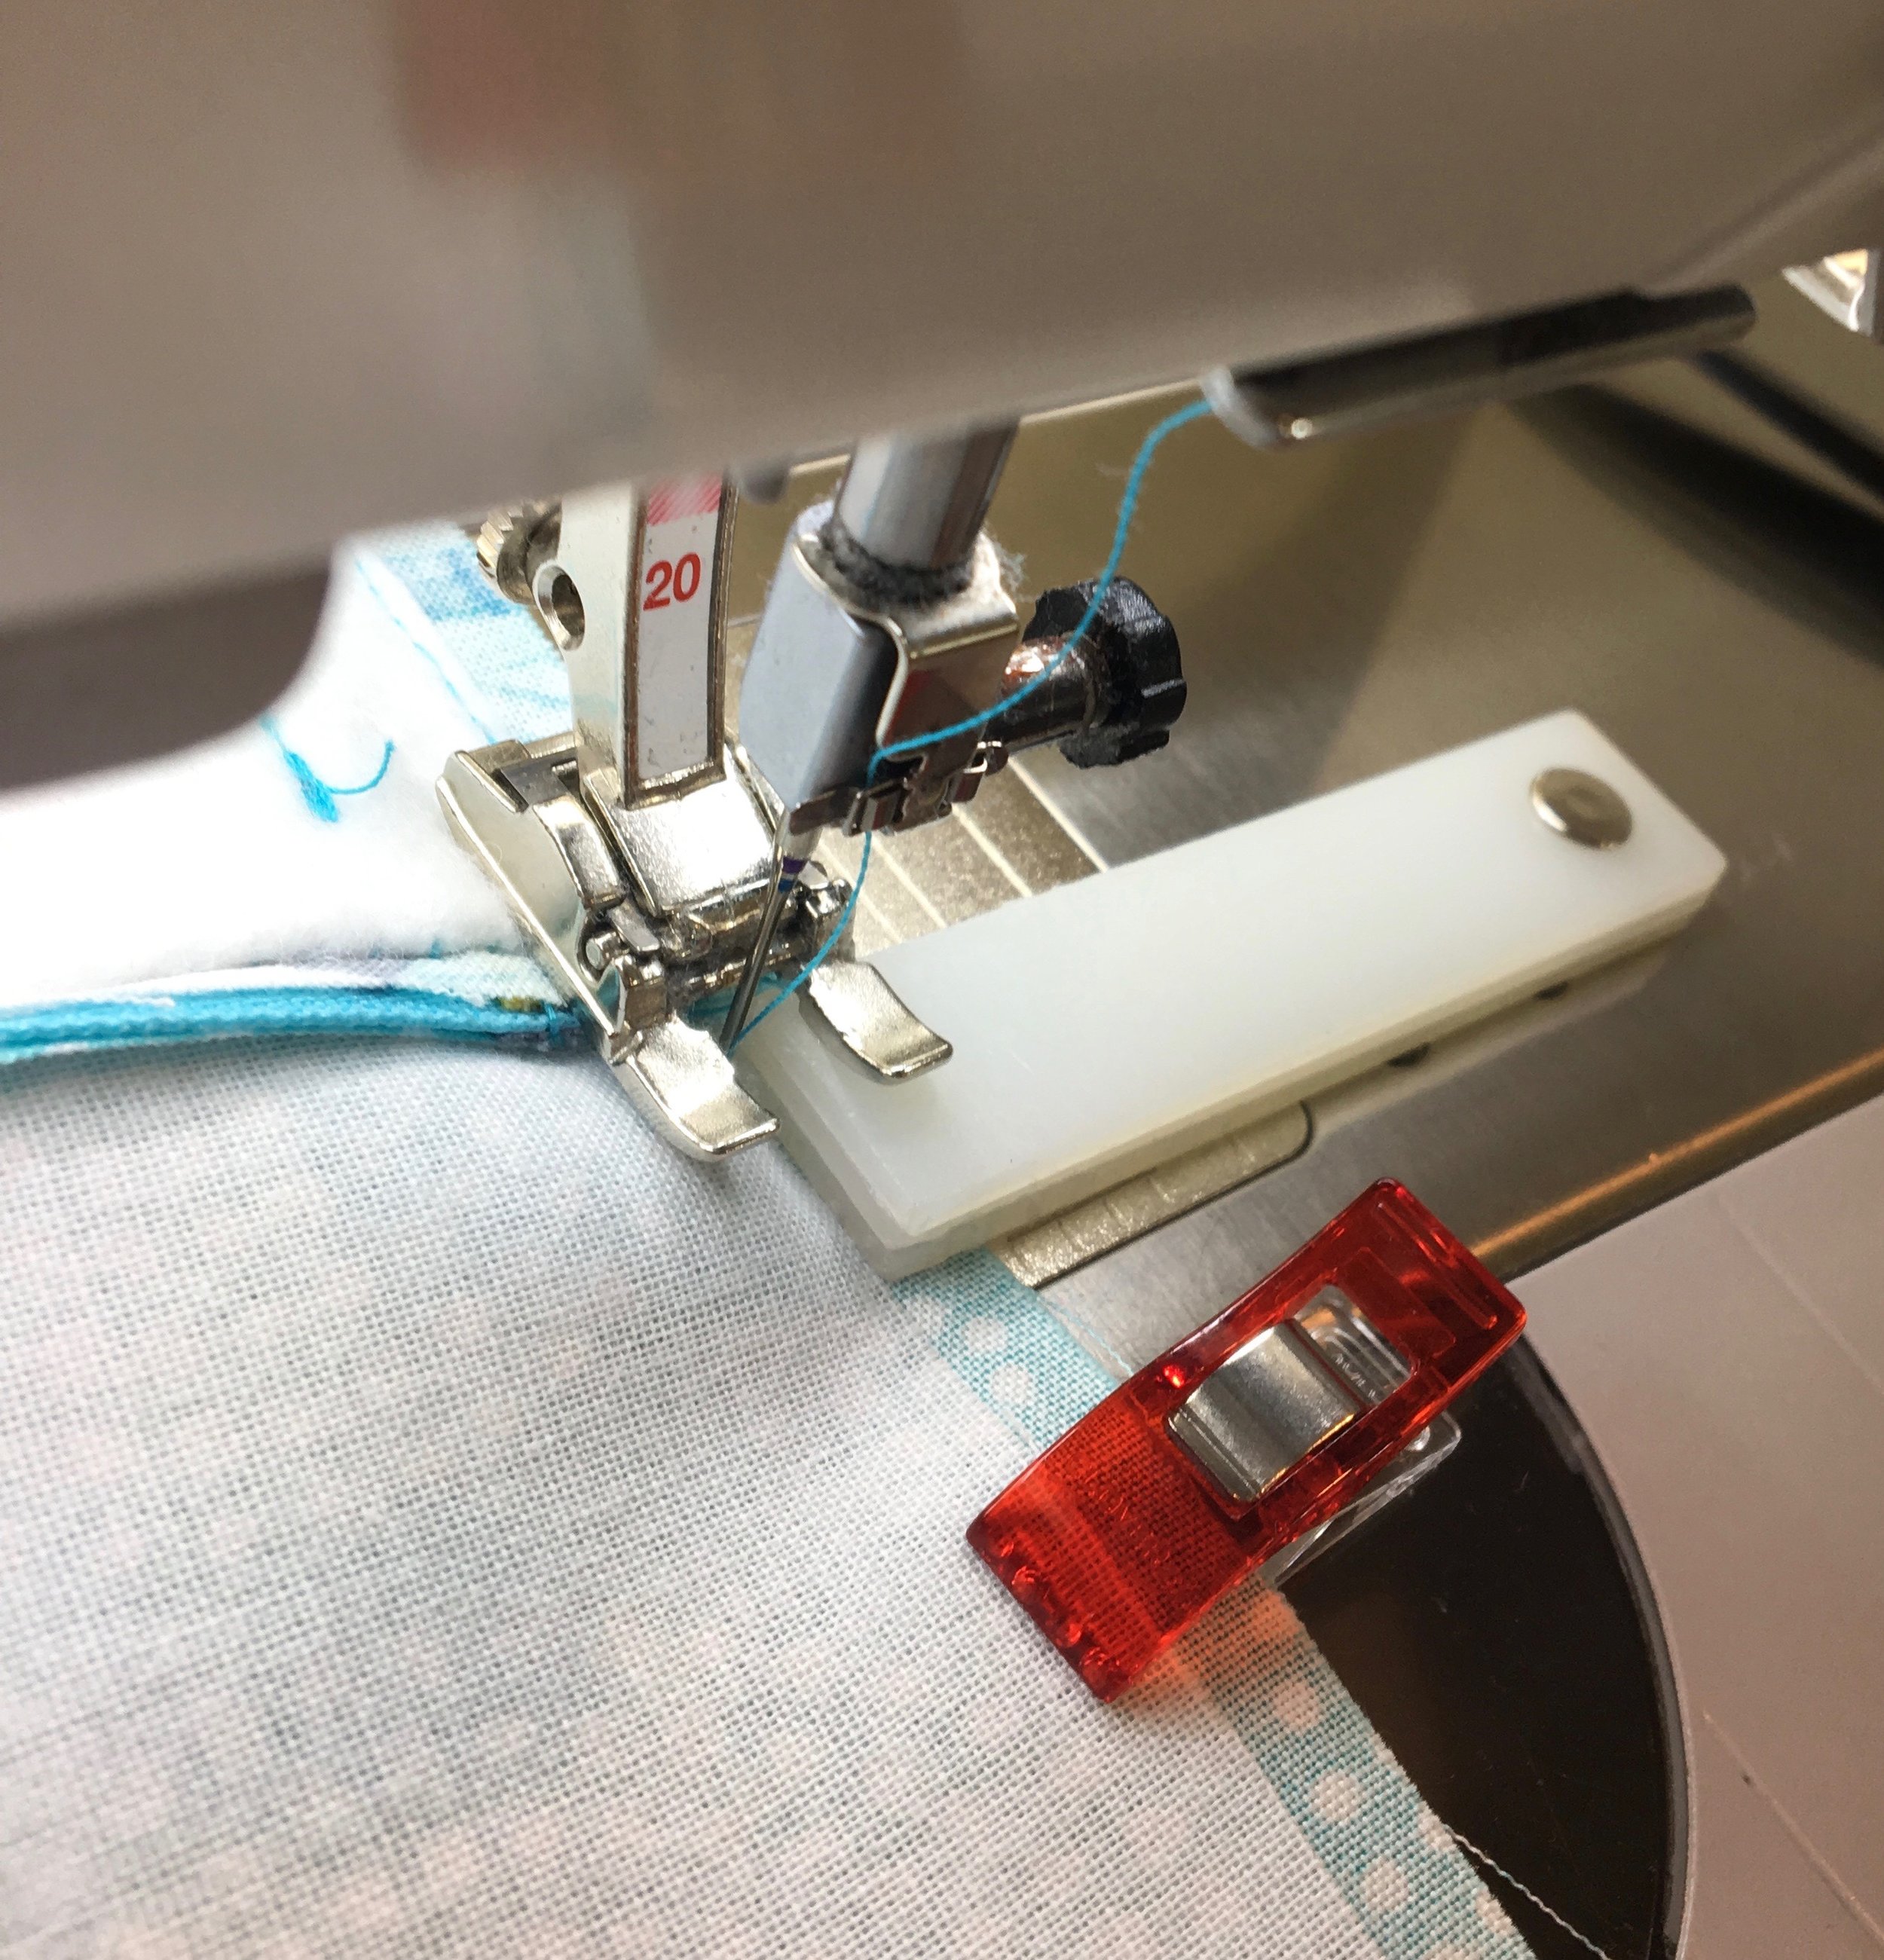
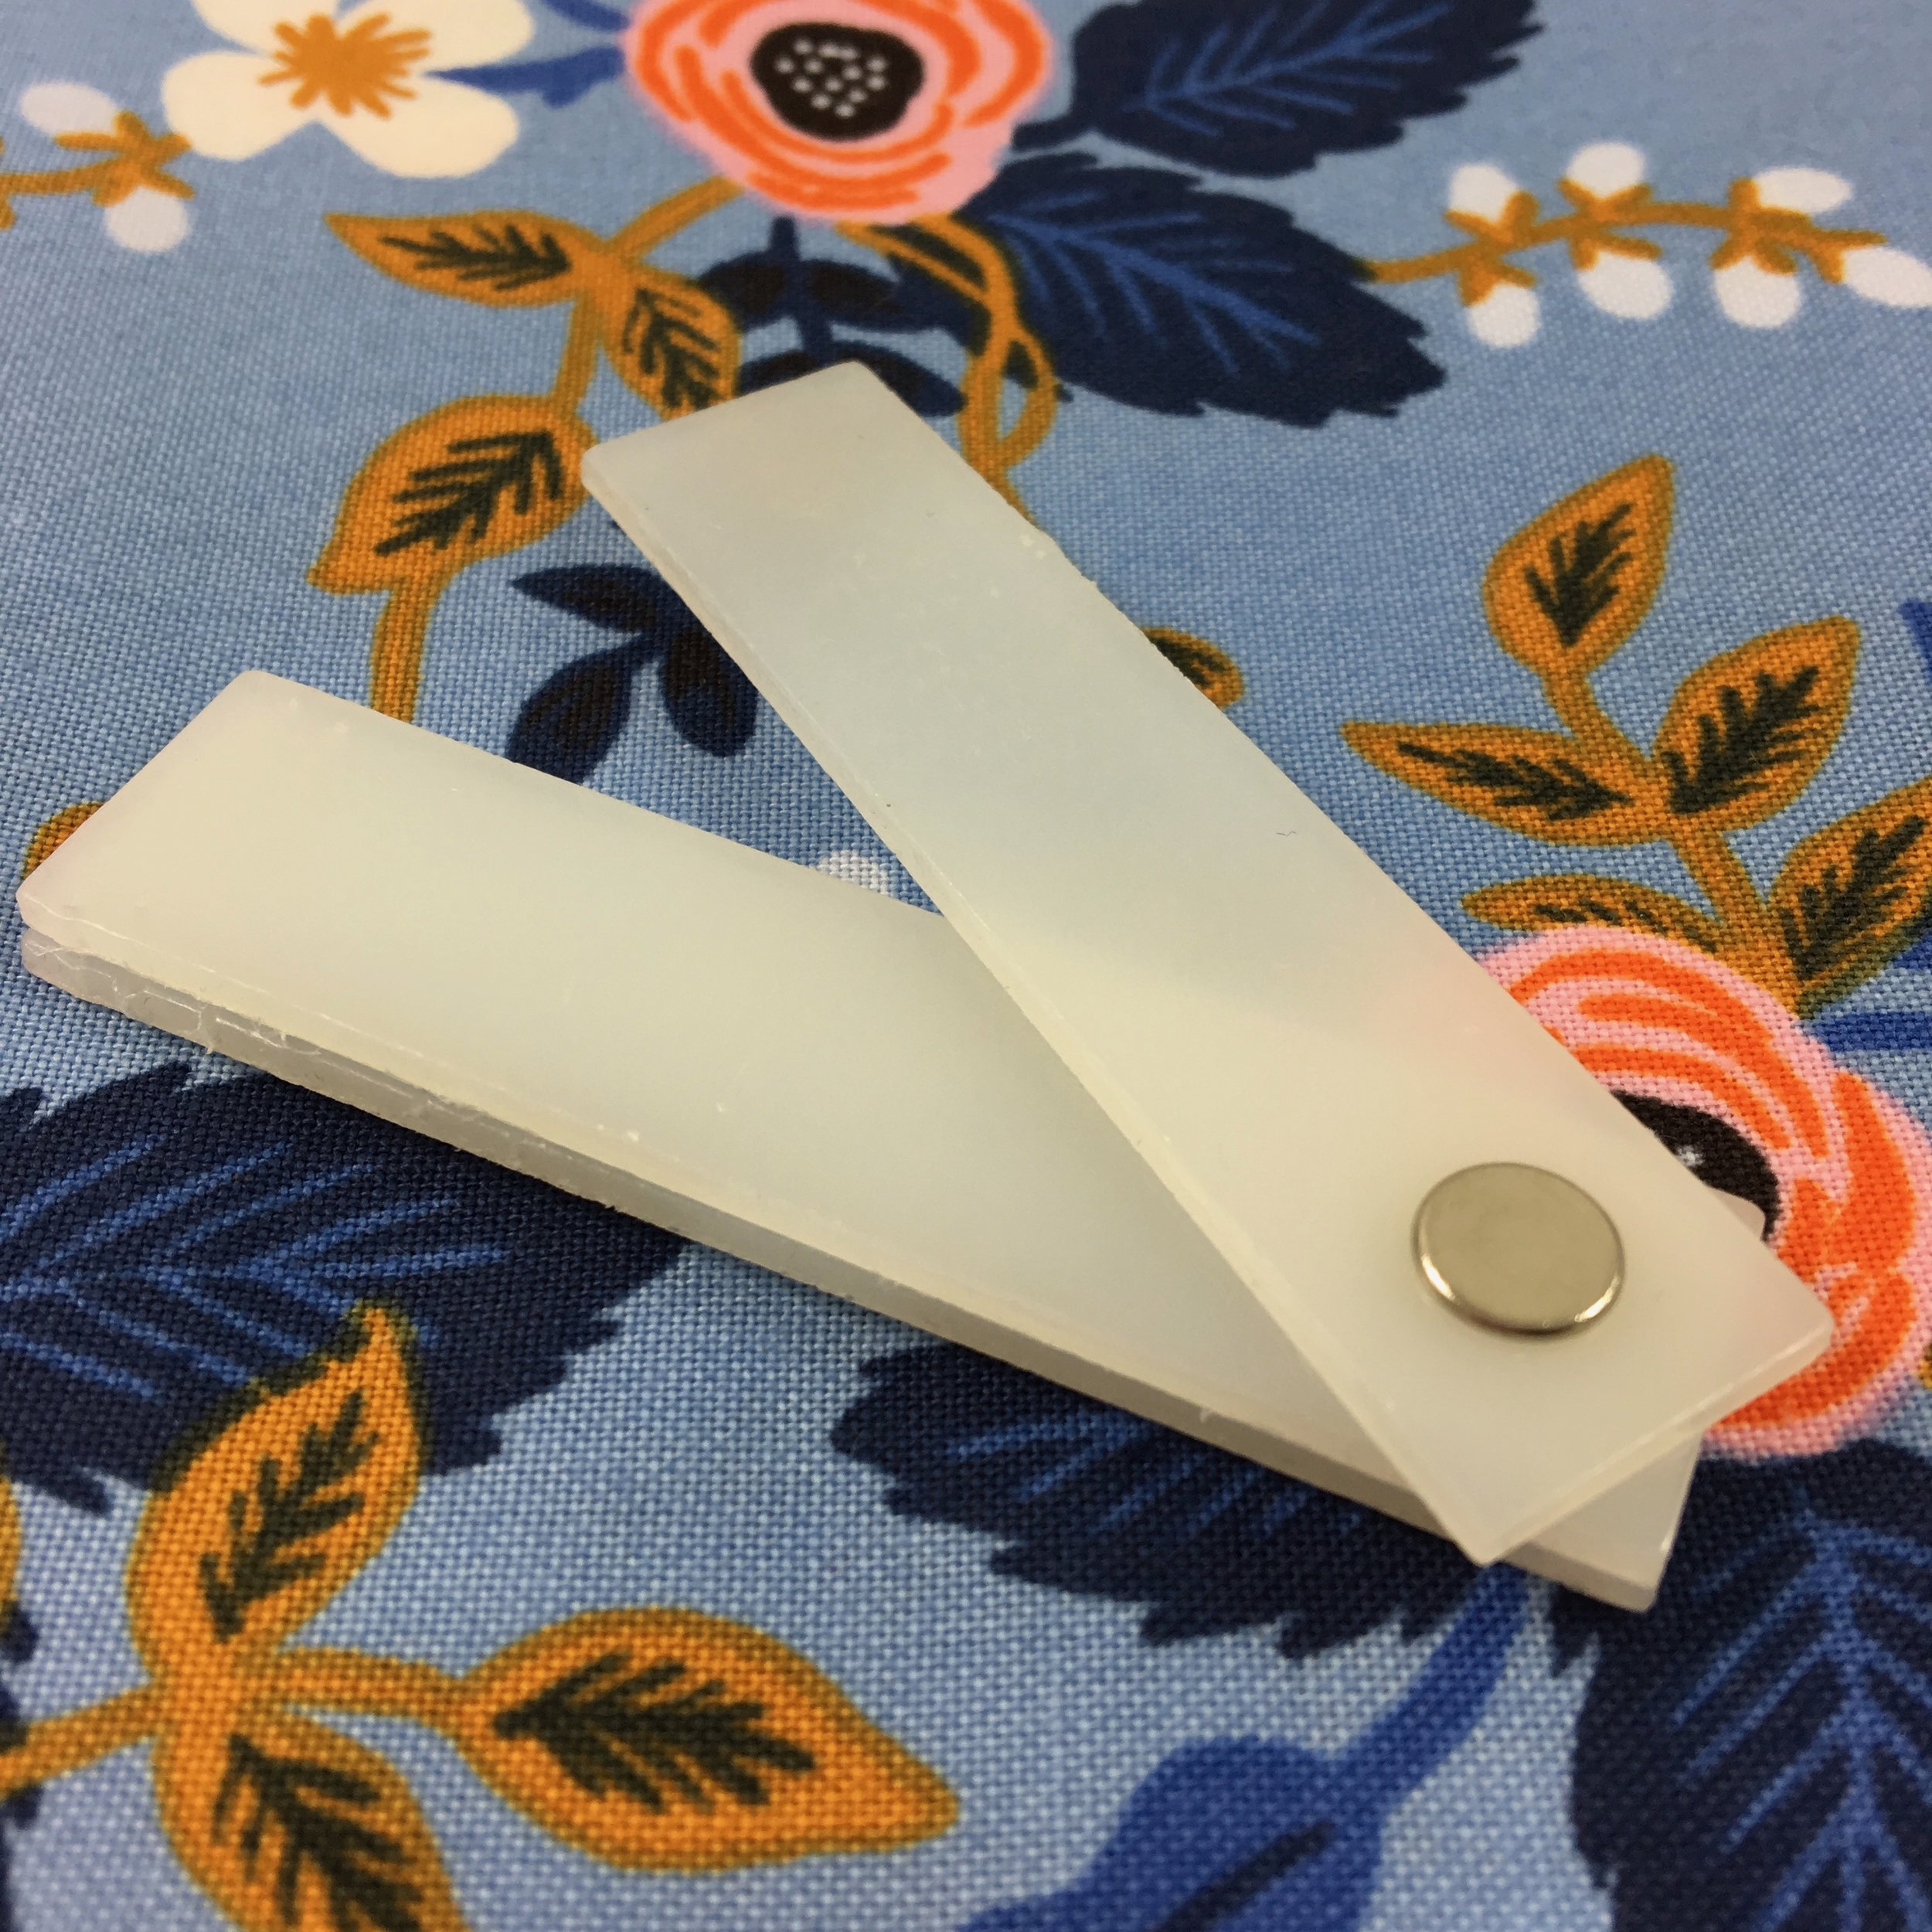
Have you ever seen one of these little gadgets?
It is a Bernina Height Compensation Tool. This is one of my many favorite tools because it keeps my stitches even in those tough spots. I got my Height Compensation Tool as an added freebie when I bought my sewing machine about 15 years ago. You don’t have to buy a Bernina sewing machine to get one of these little helpers, you can purchase them from your local Bernina retailer (the Bernina store near me sells them for $5.69) or you can find them on EBay (when I looked, they were being sold for between $8.50 and $15).
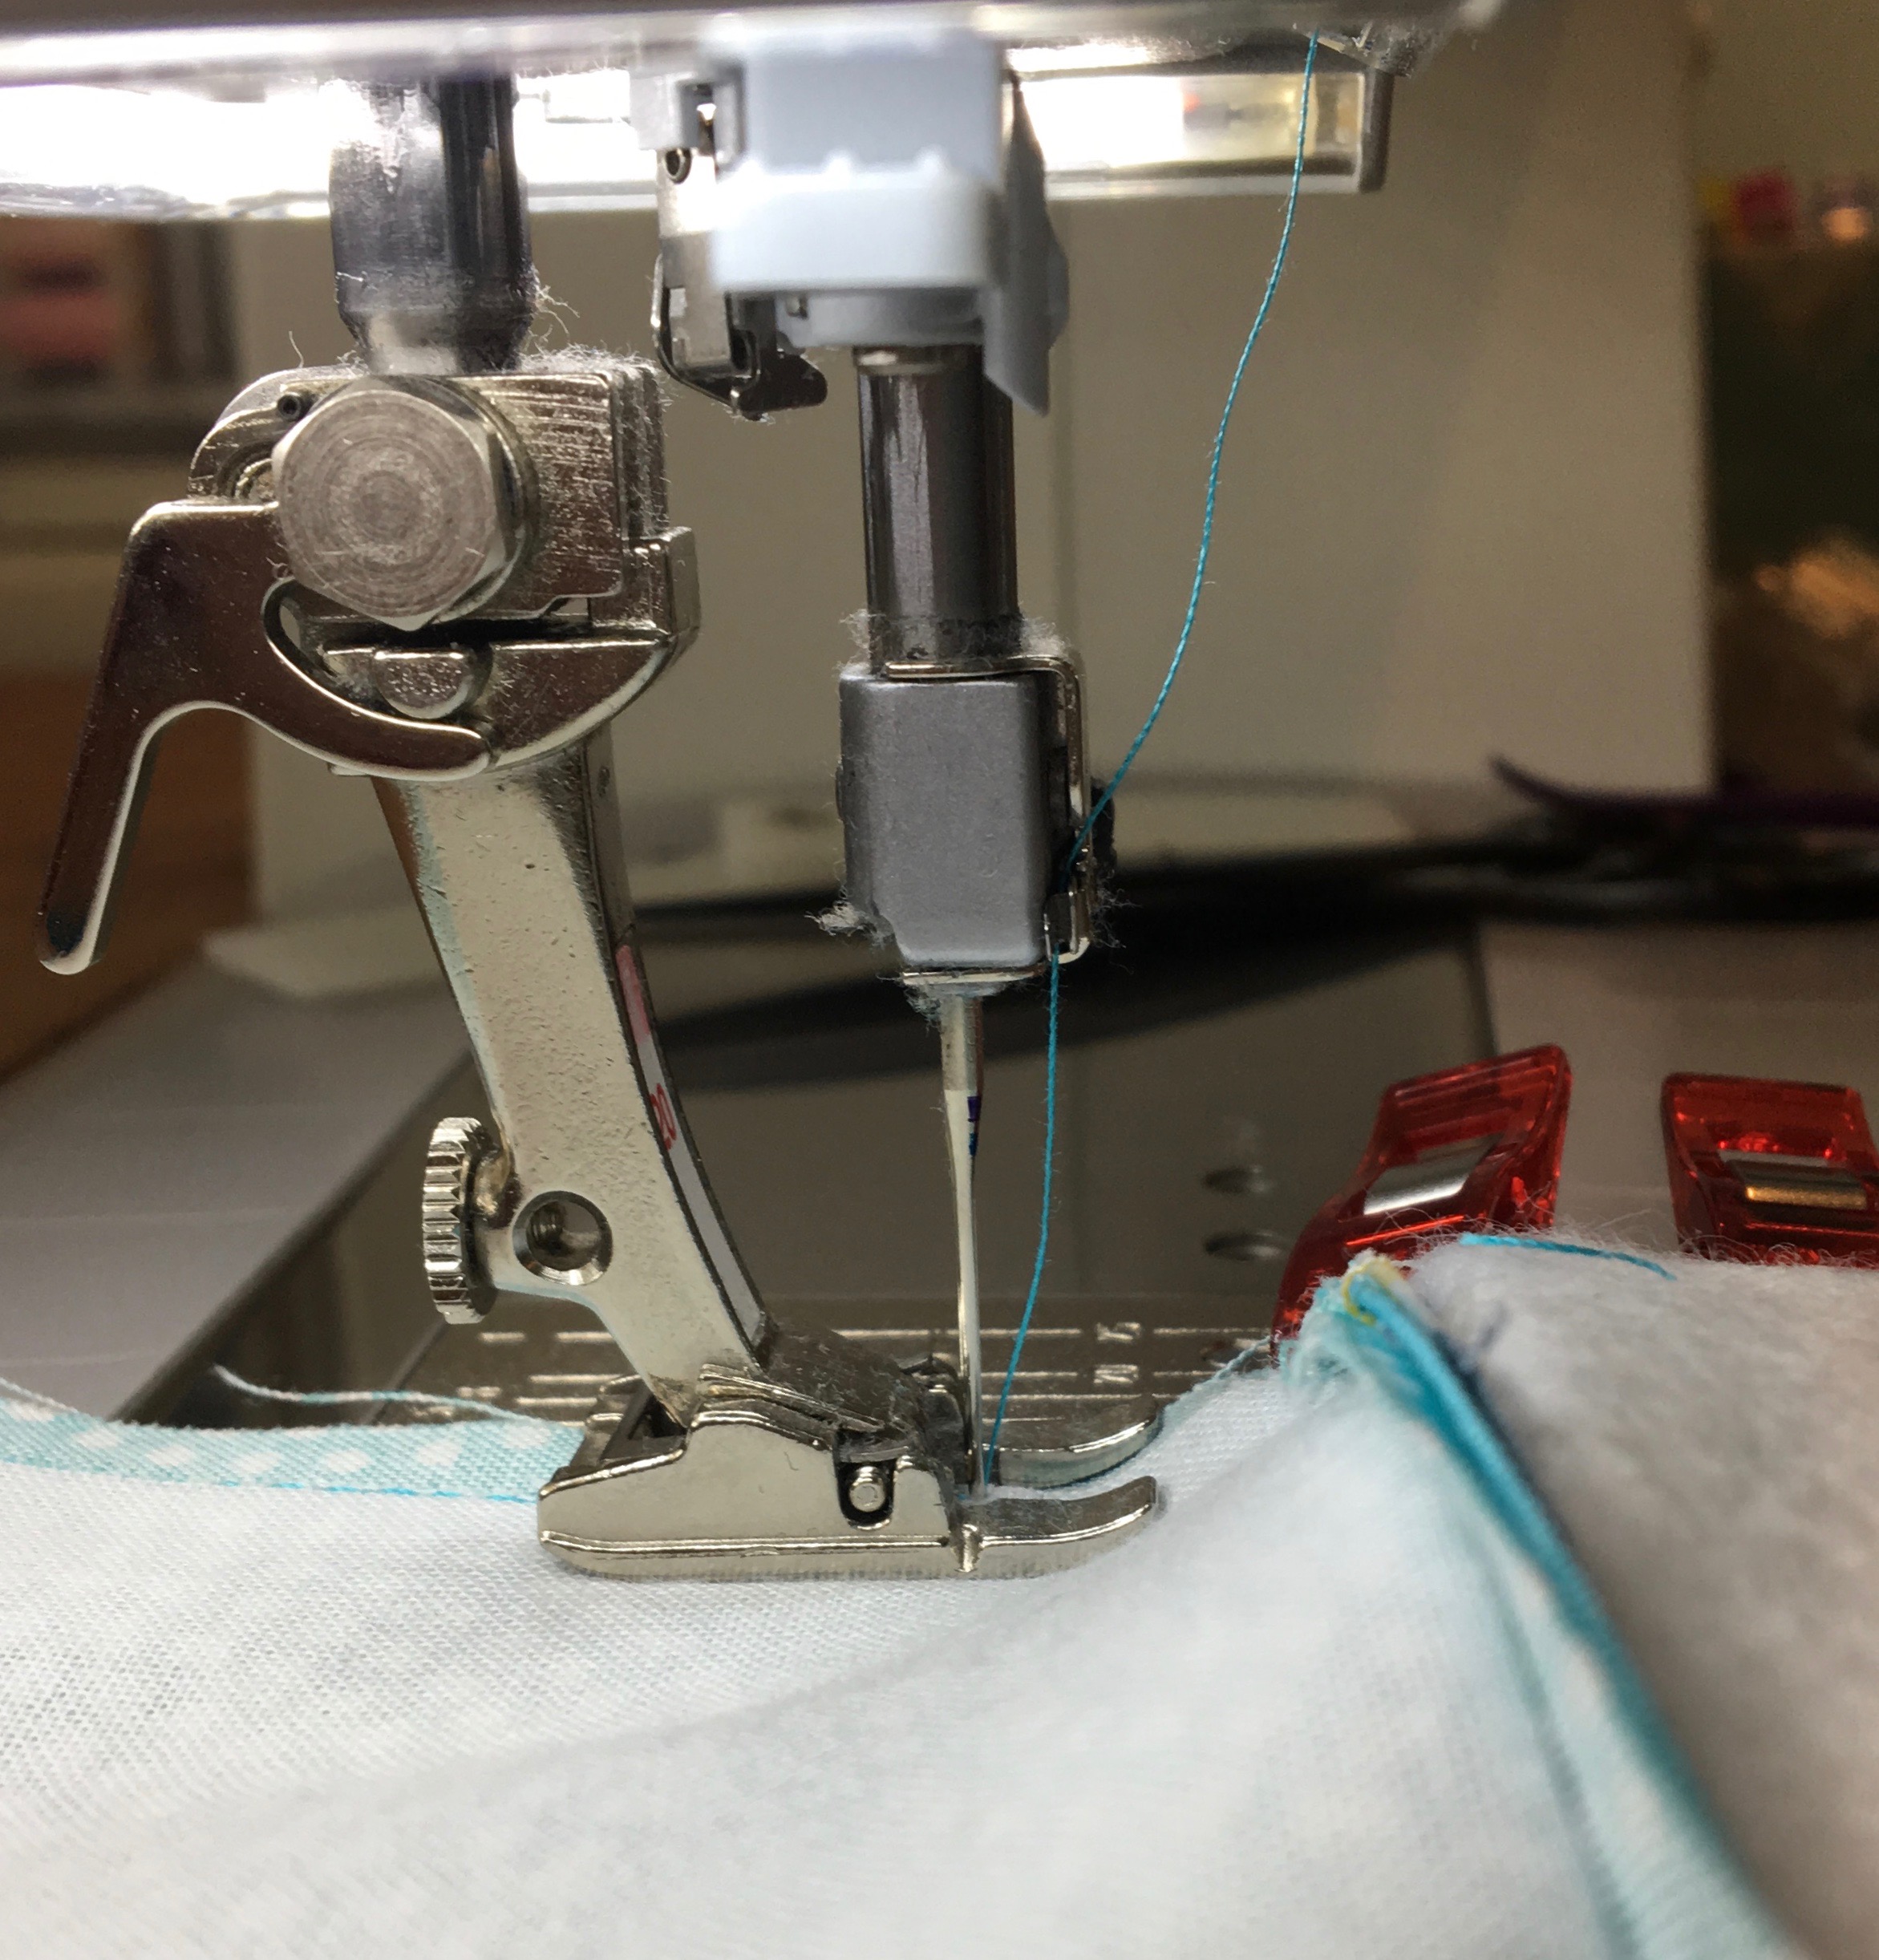
Although you may be able to guess by its name how the Height Compensation Tool is used let me tell you how I use it and why I love it. Have you ever been frustrated as you are sewing along and you reach a thicker spot – maybe it is a spot where you are going over a seam so there are several layers of fabric, or maybe it is where you are adding a strap to a bag?
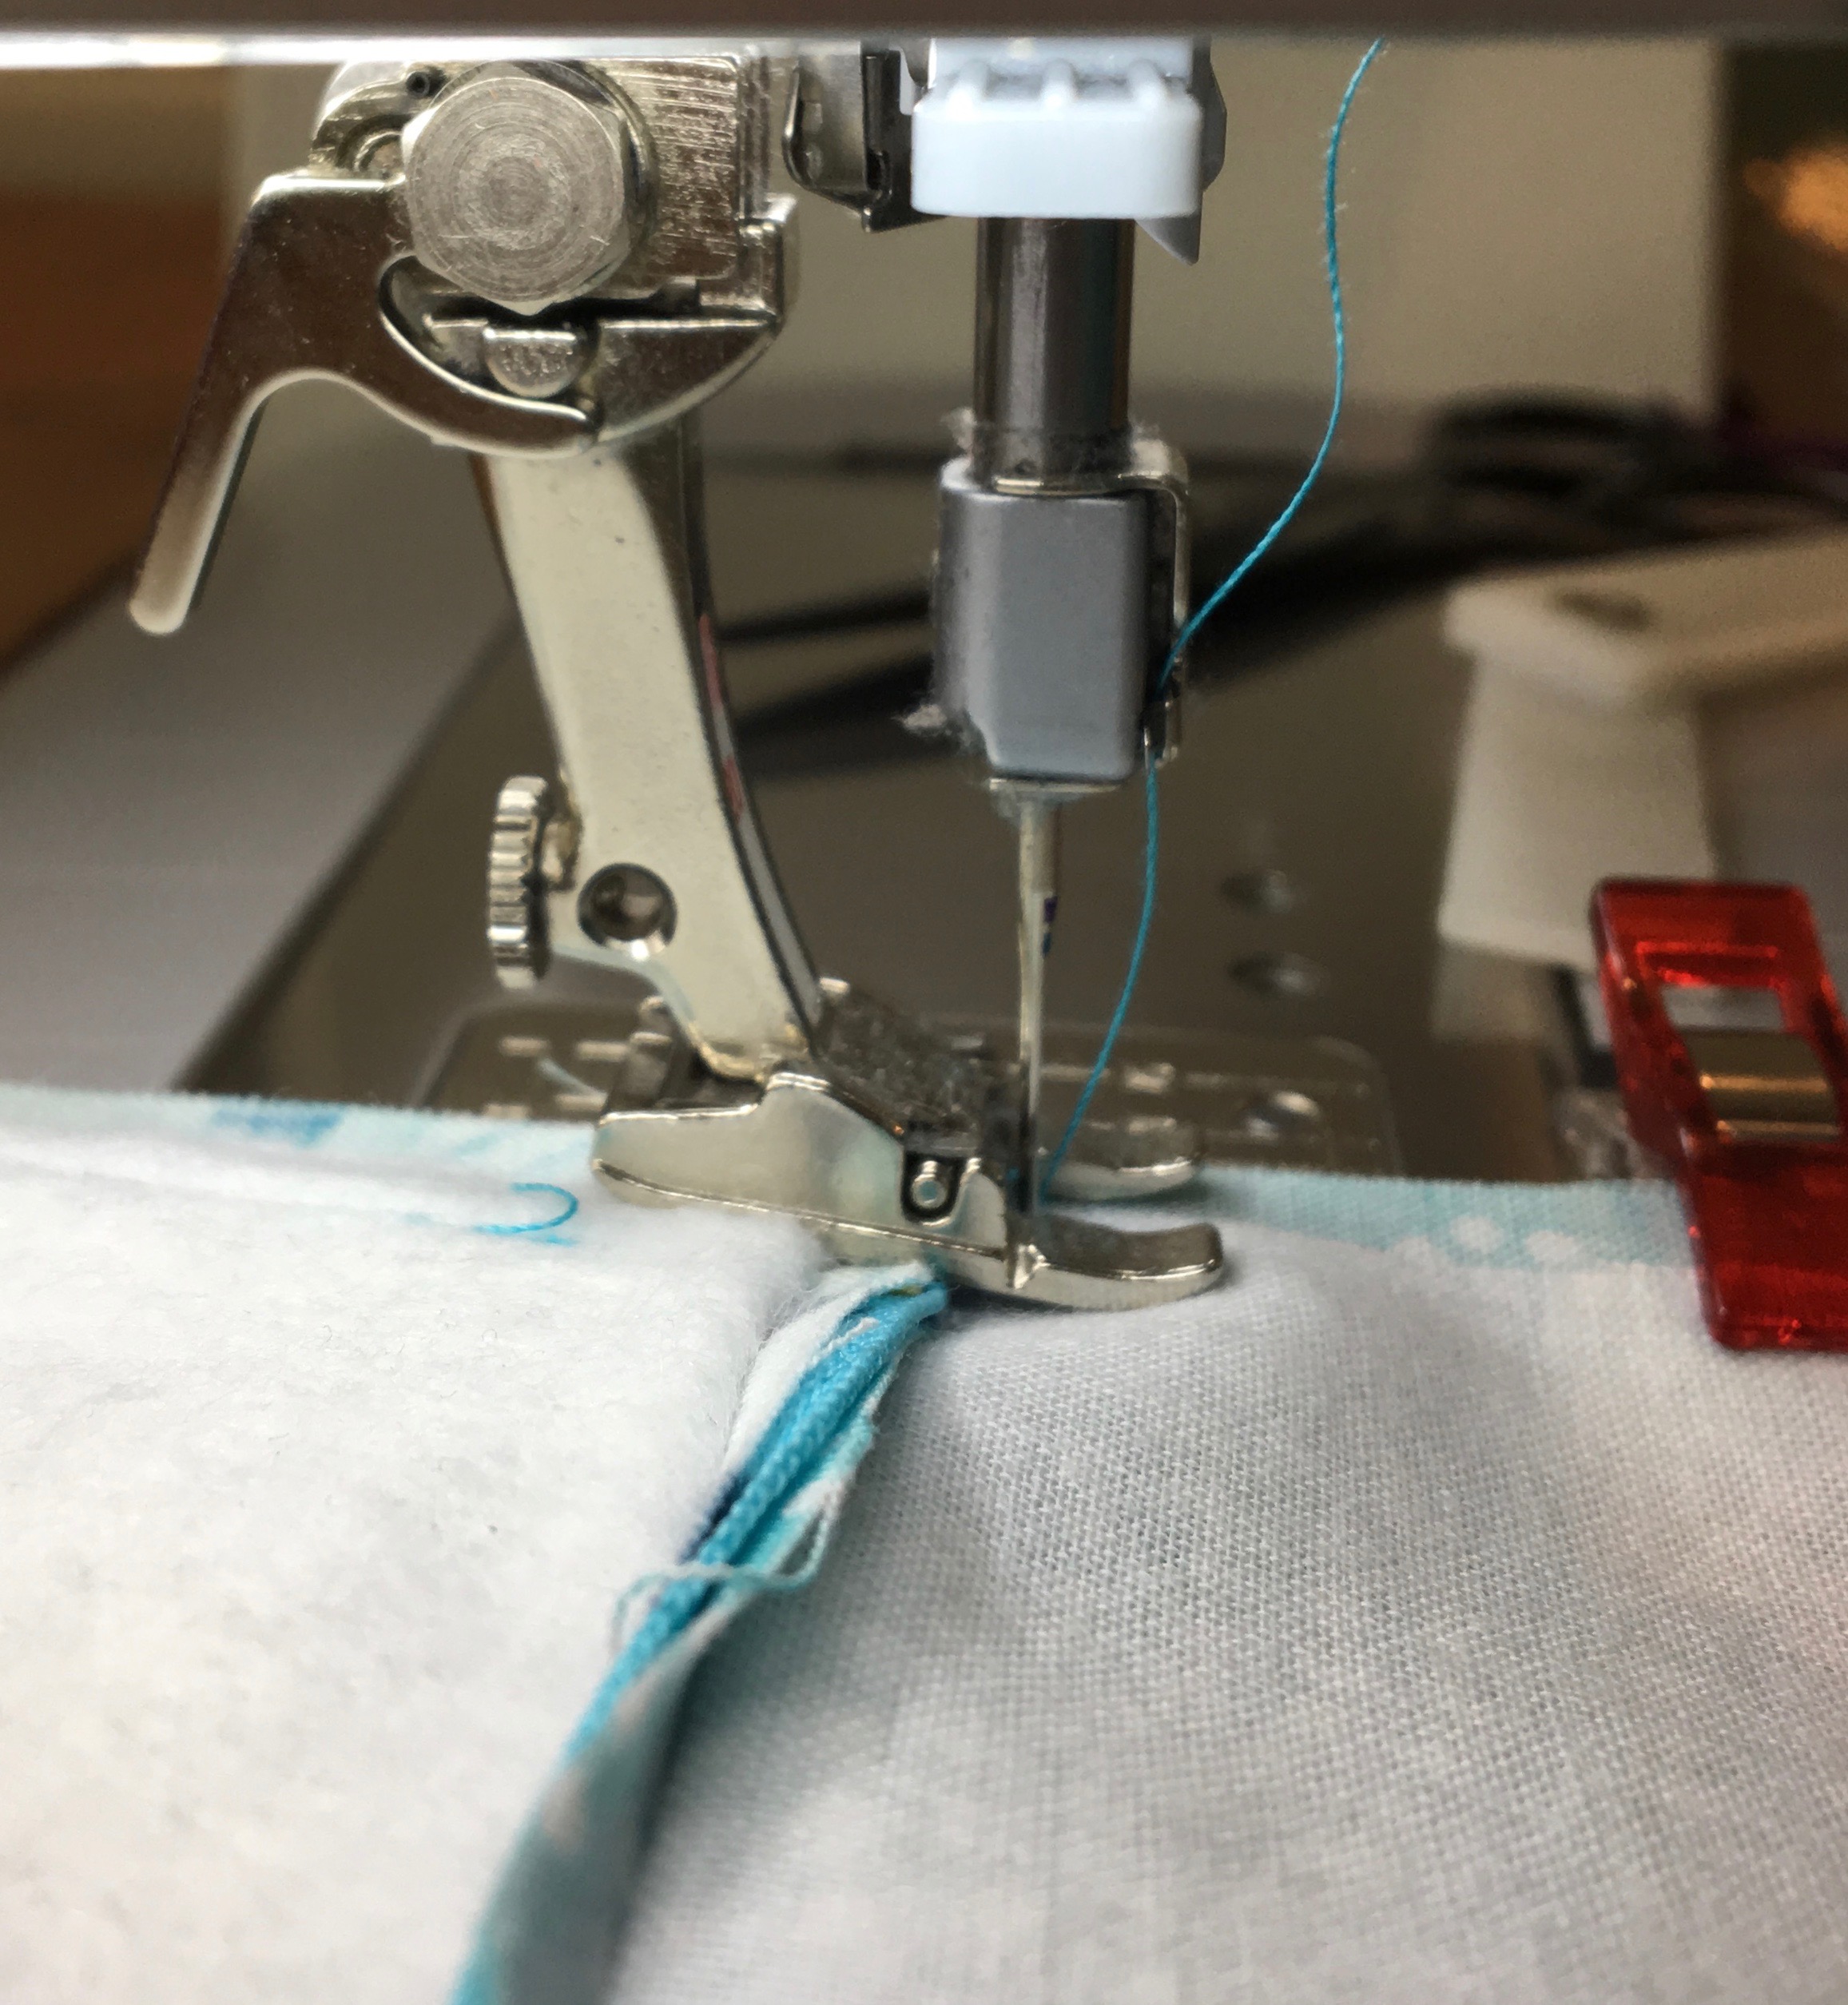
The frustration comes when suddenly your machine makes teeny tiny stitches as your foot works to climb up a thicker area and then it seems to skip stitches or make really long stitches as it goes down the other side. I think of it like running up and down a hill. When running uphill, you take mores steps, just as a sewing machine makes stitches closer together. When running downhill, you take longer strides, just as a sewing machine makes longer stitches when it is coming off a thicker spot. Your machine may not have trouble going through the extra layers, but it may just need help going over the hills. The Height Compensation Tool is a perfect help for this!
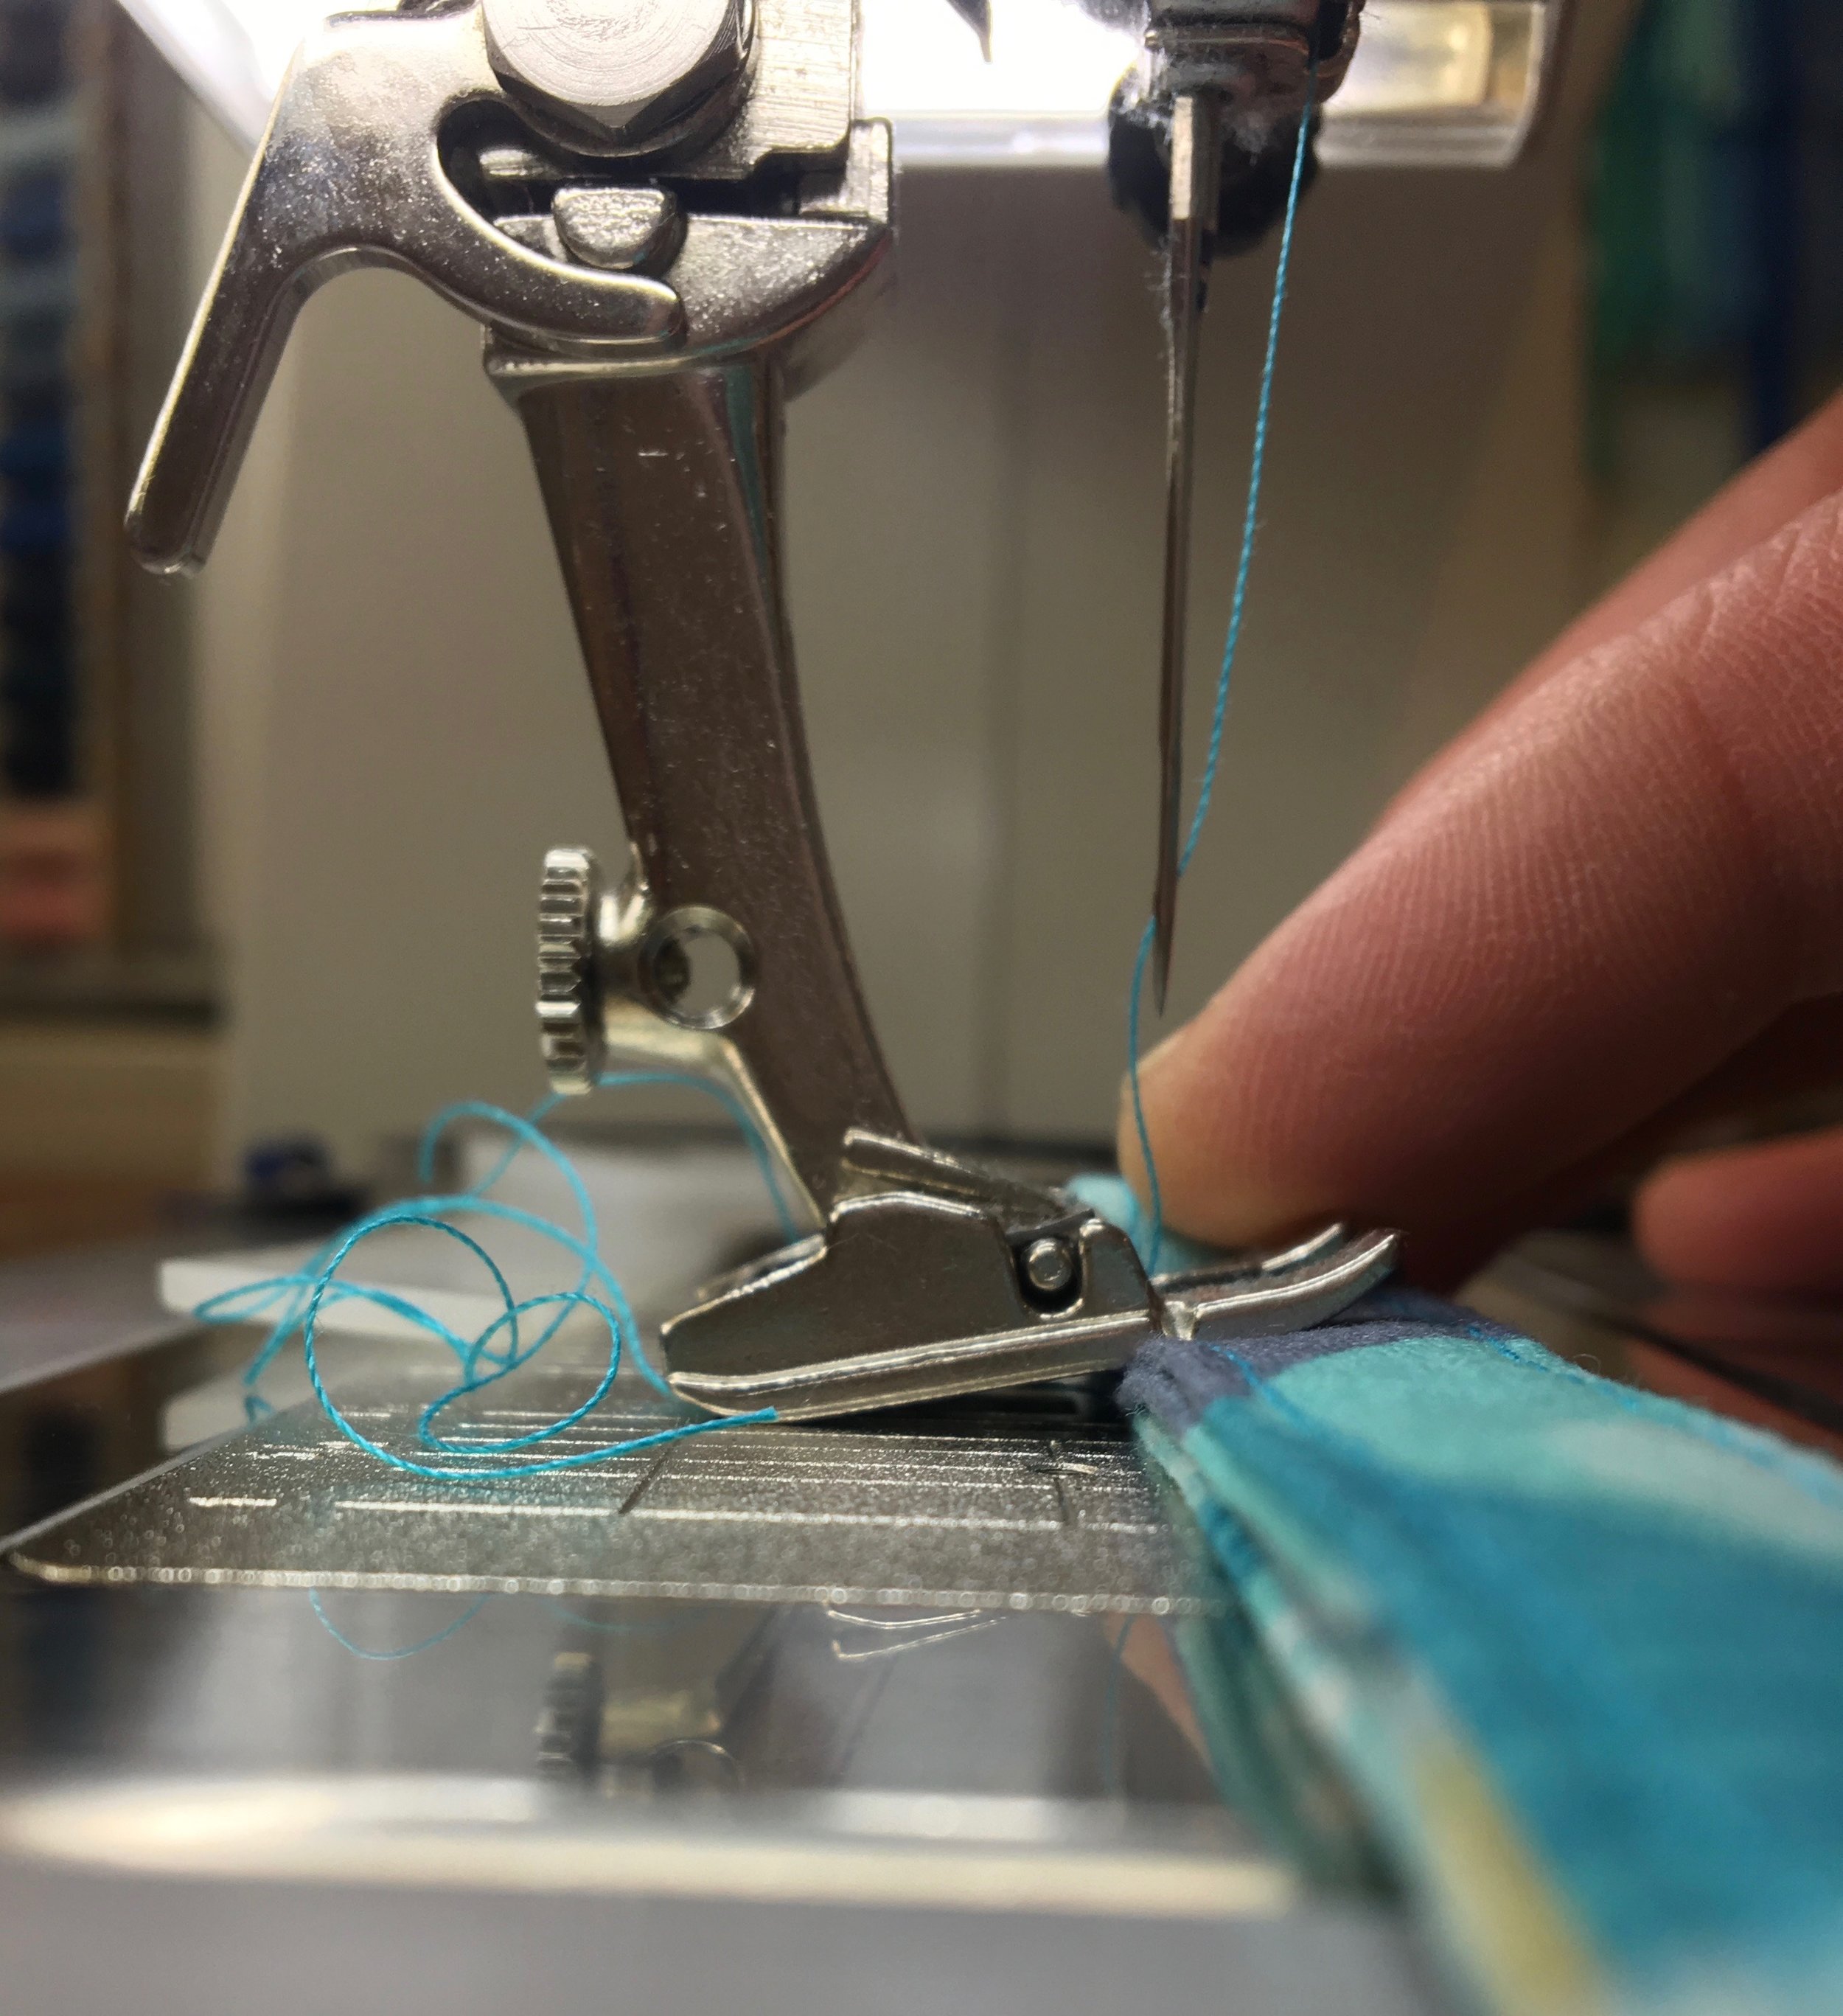
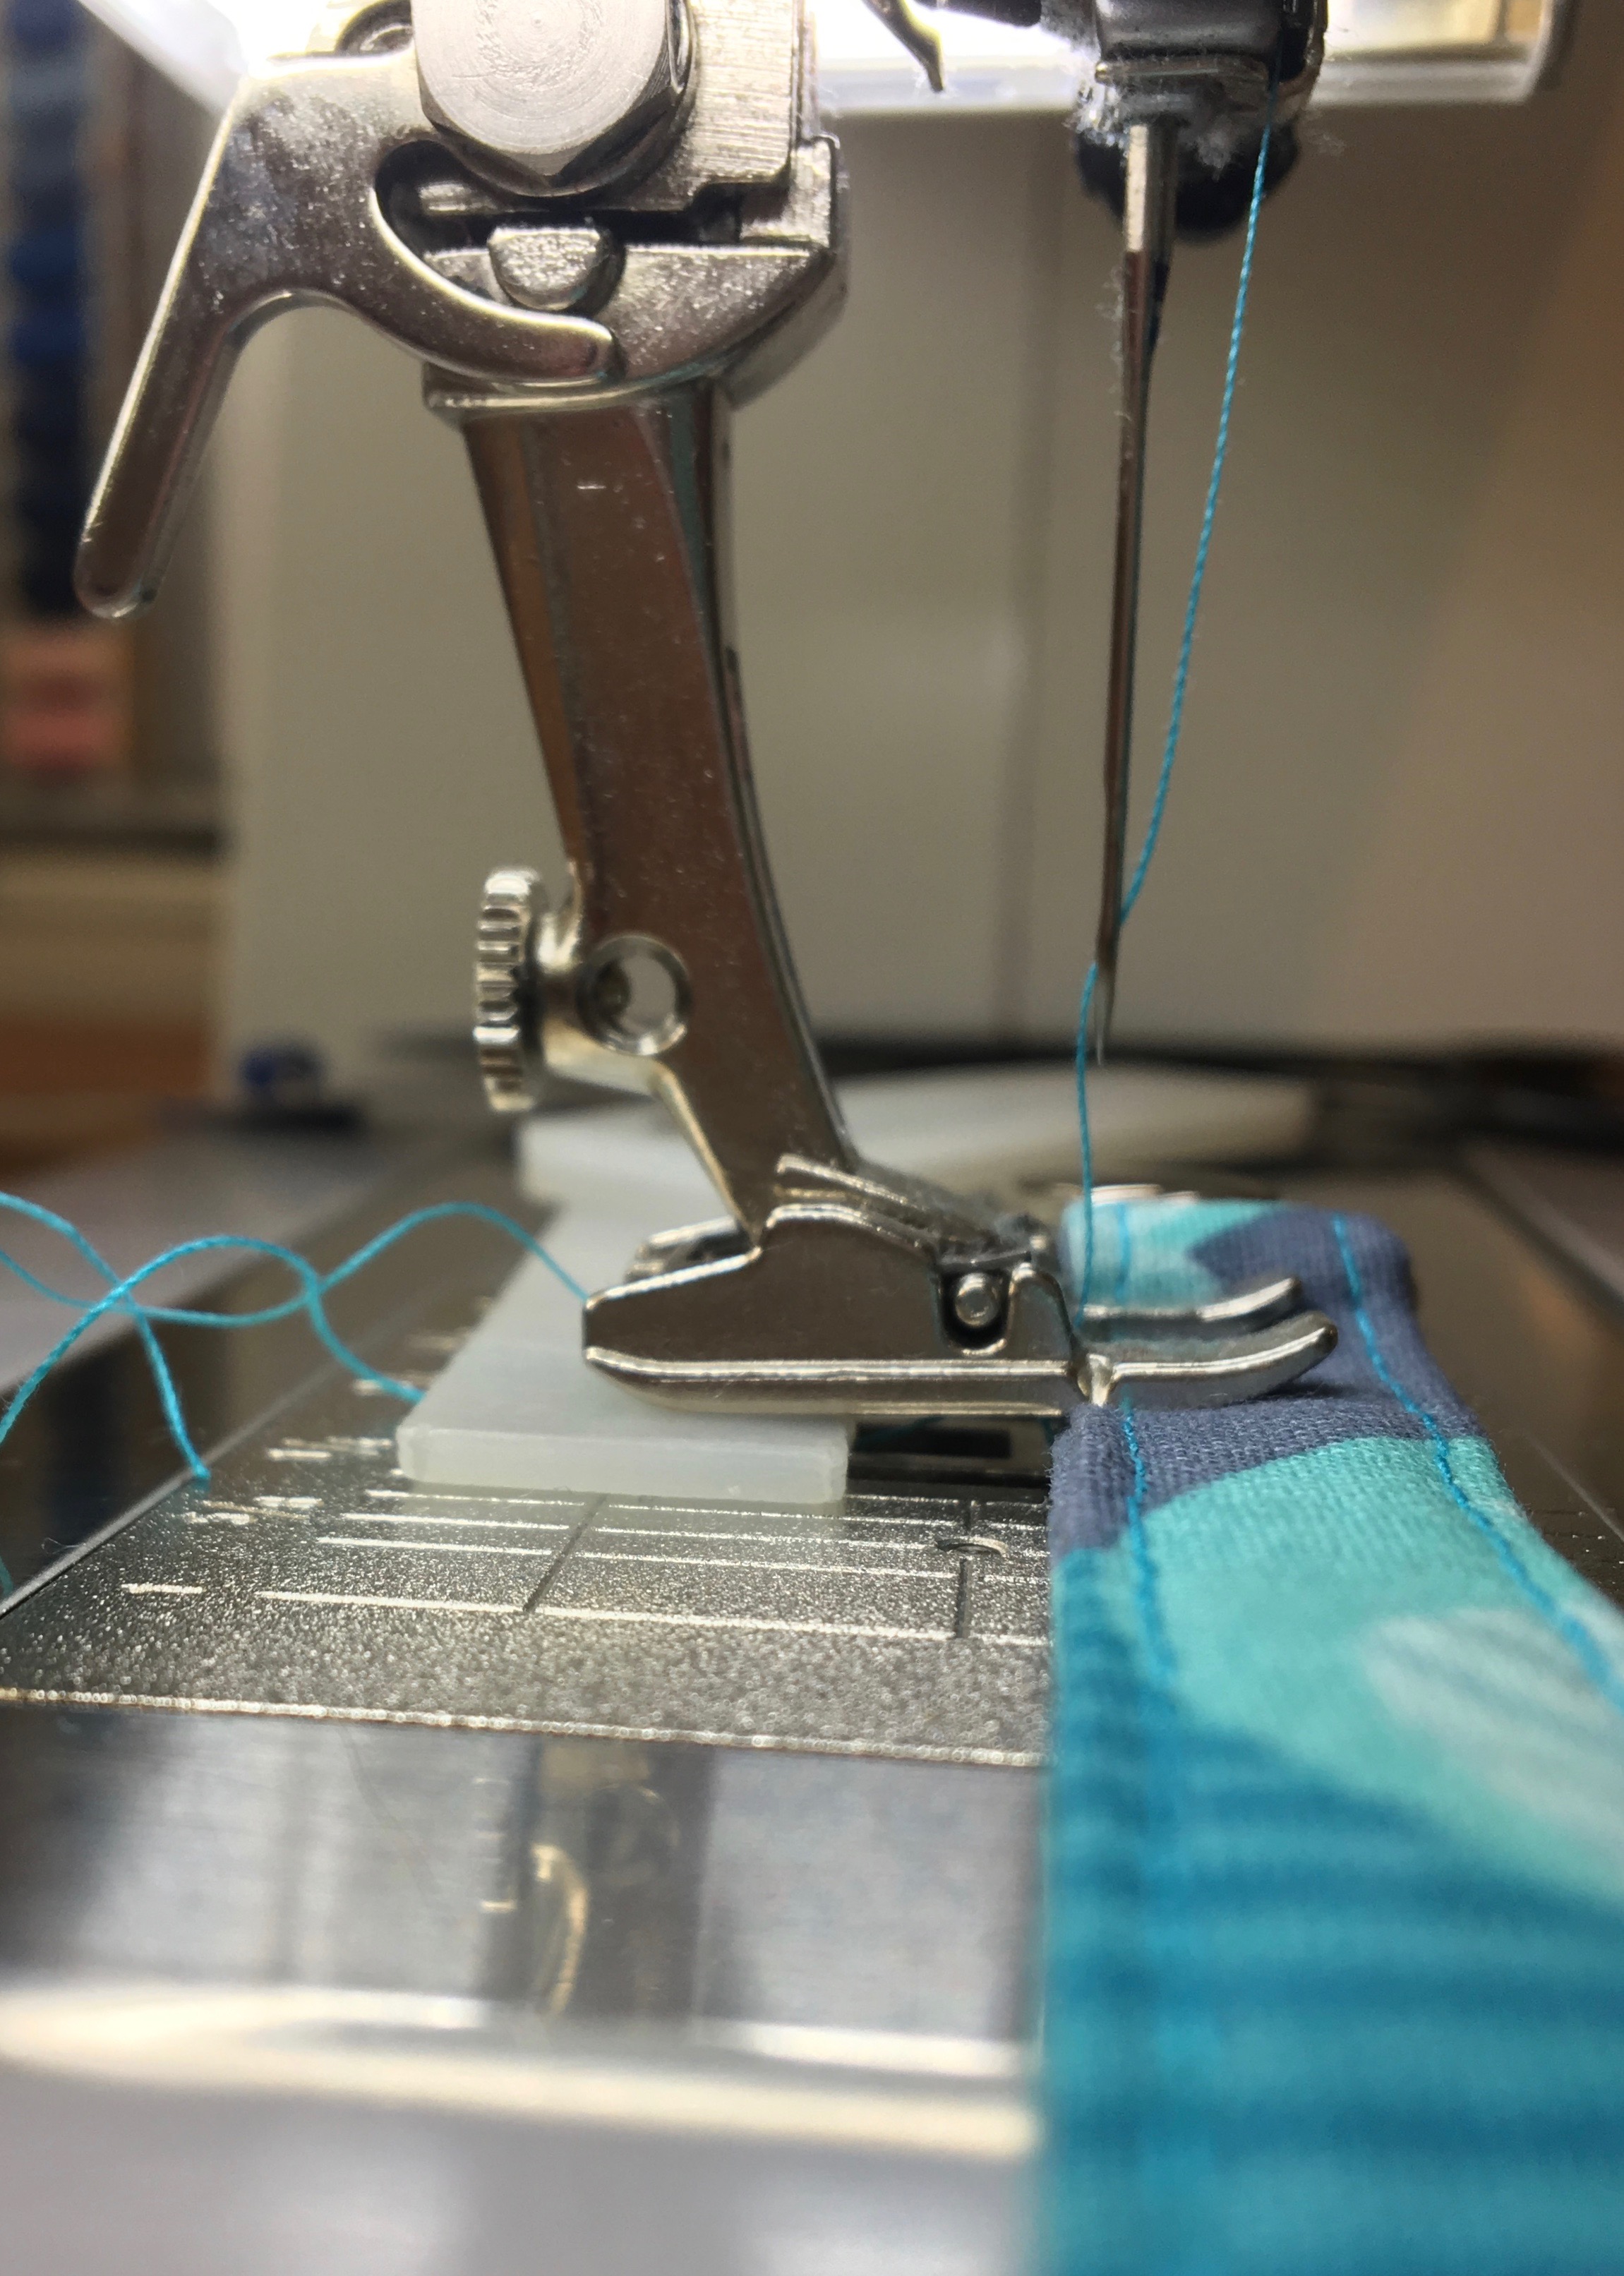
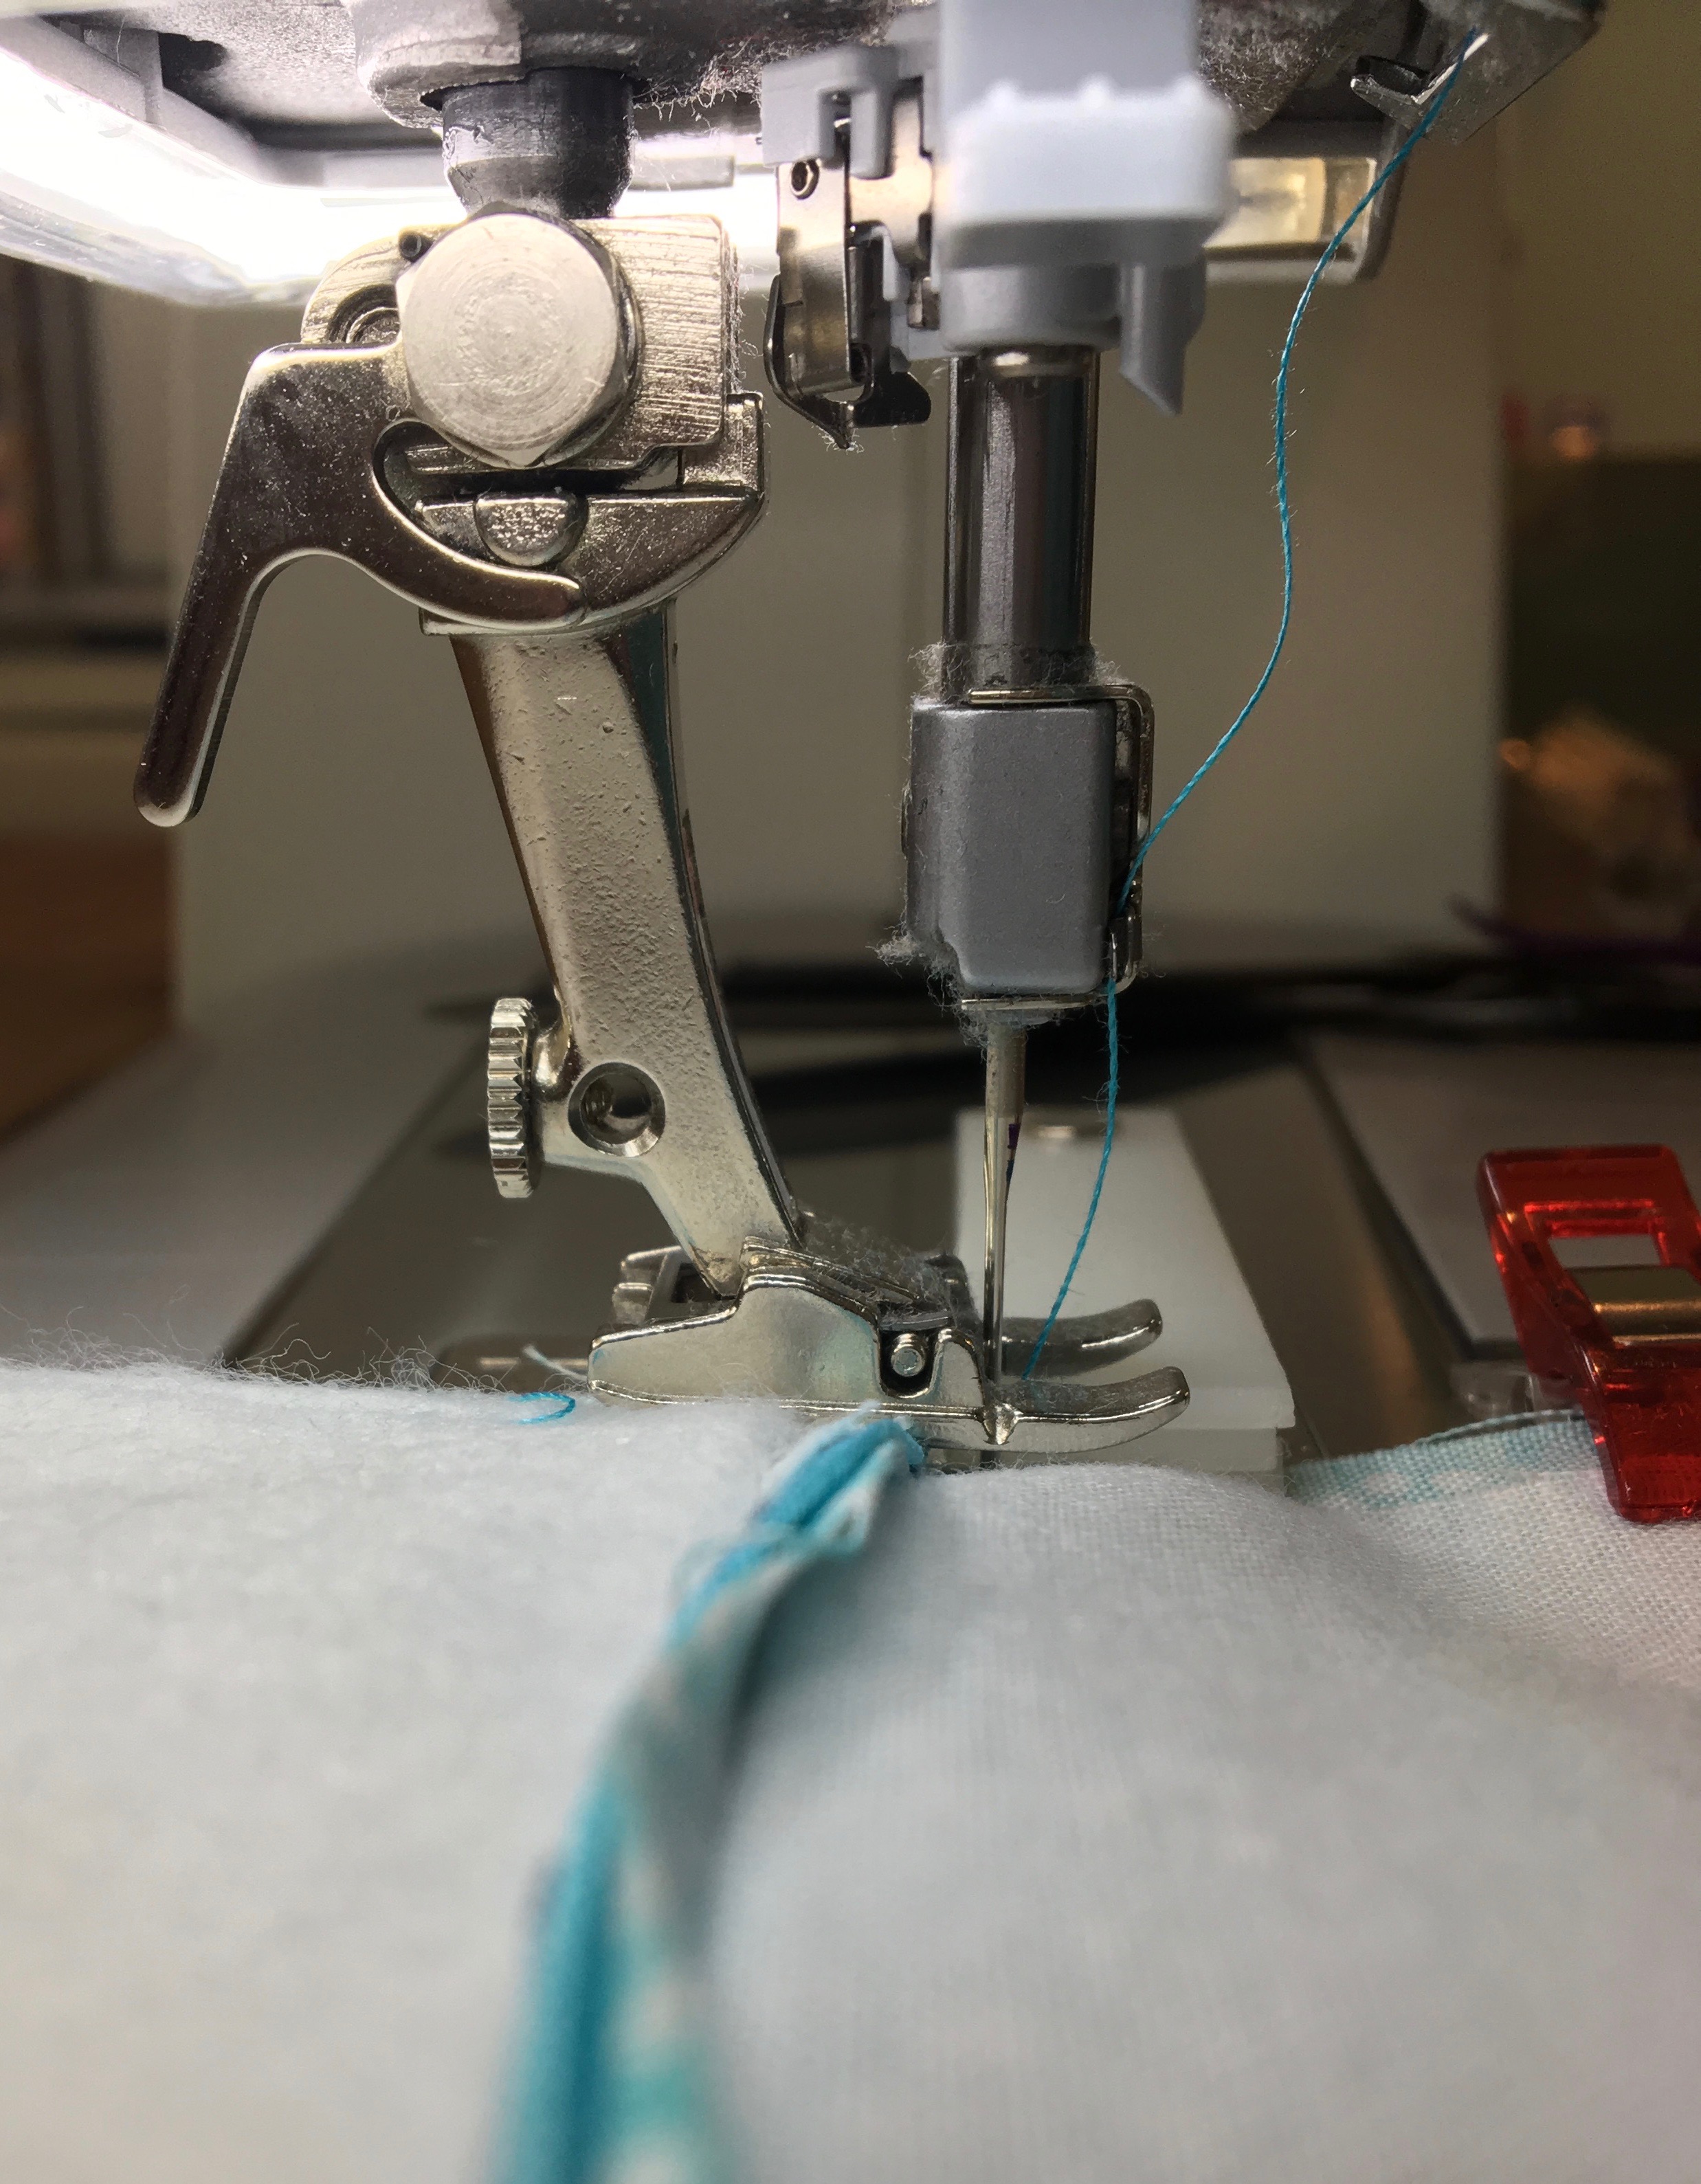
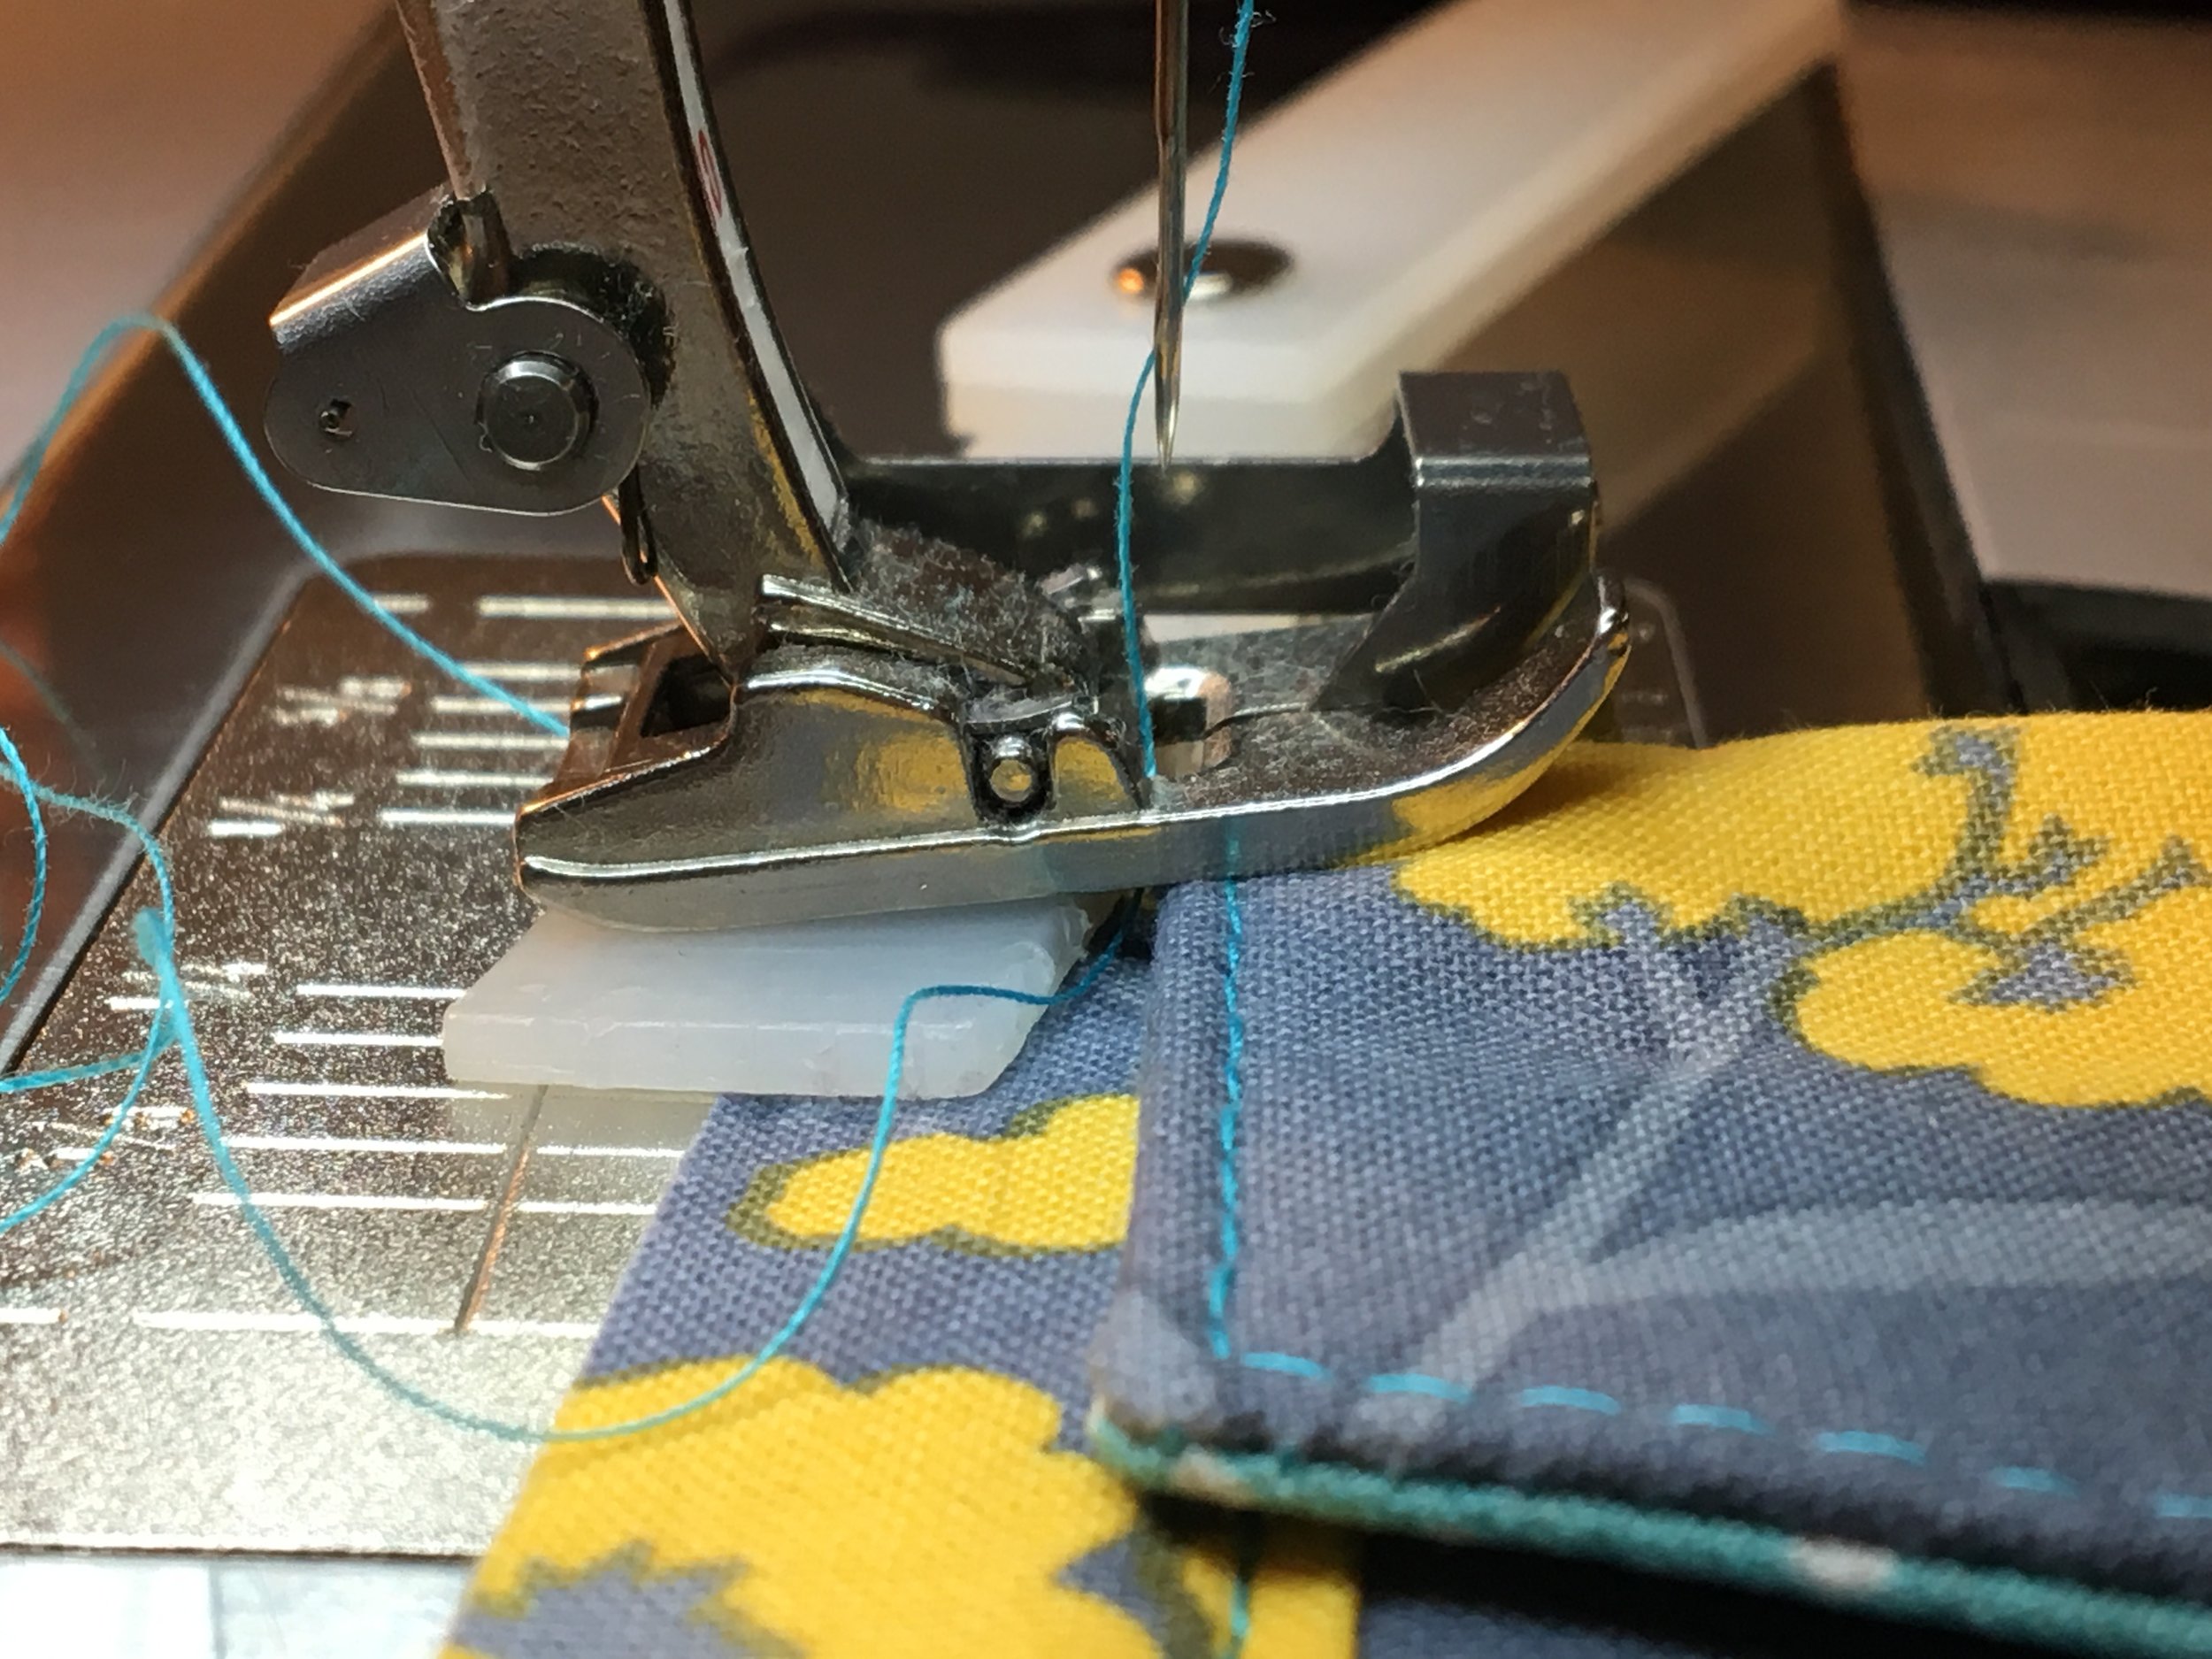
As my presser foot is just starting to climb a thicker area, I put the Height Compensation Tool under the back part of the presser foot so that the presser foot is parallel to the feed dogs. I keep the tool there until the entire presser foot is on the thicker part of the fabric. Sometimes I must stop and reposition the tool under the back of the presser foot again until I have sewn far enough.
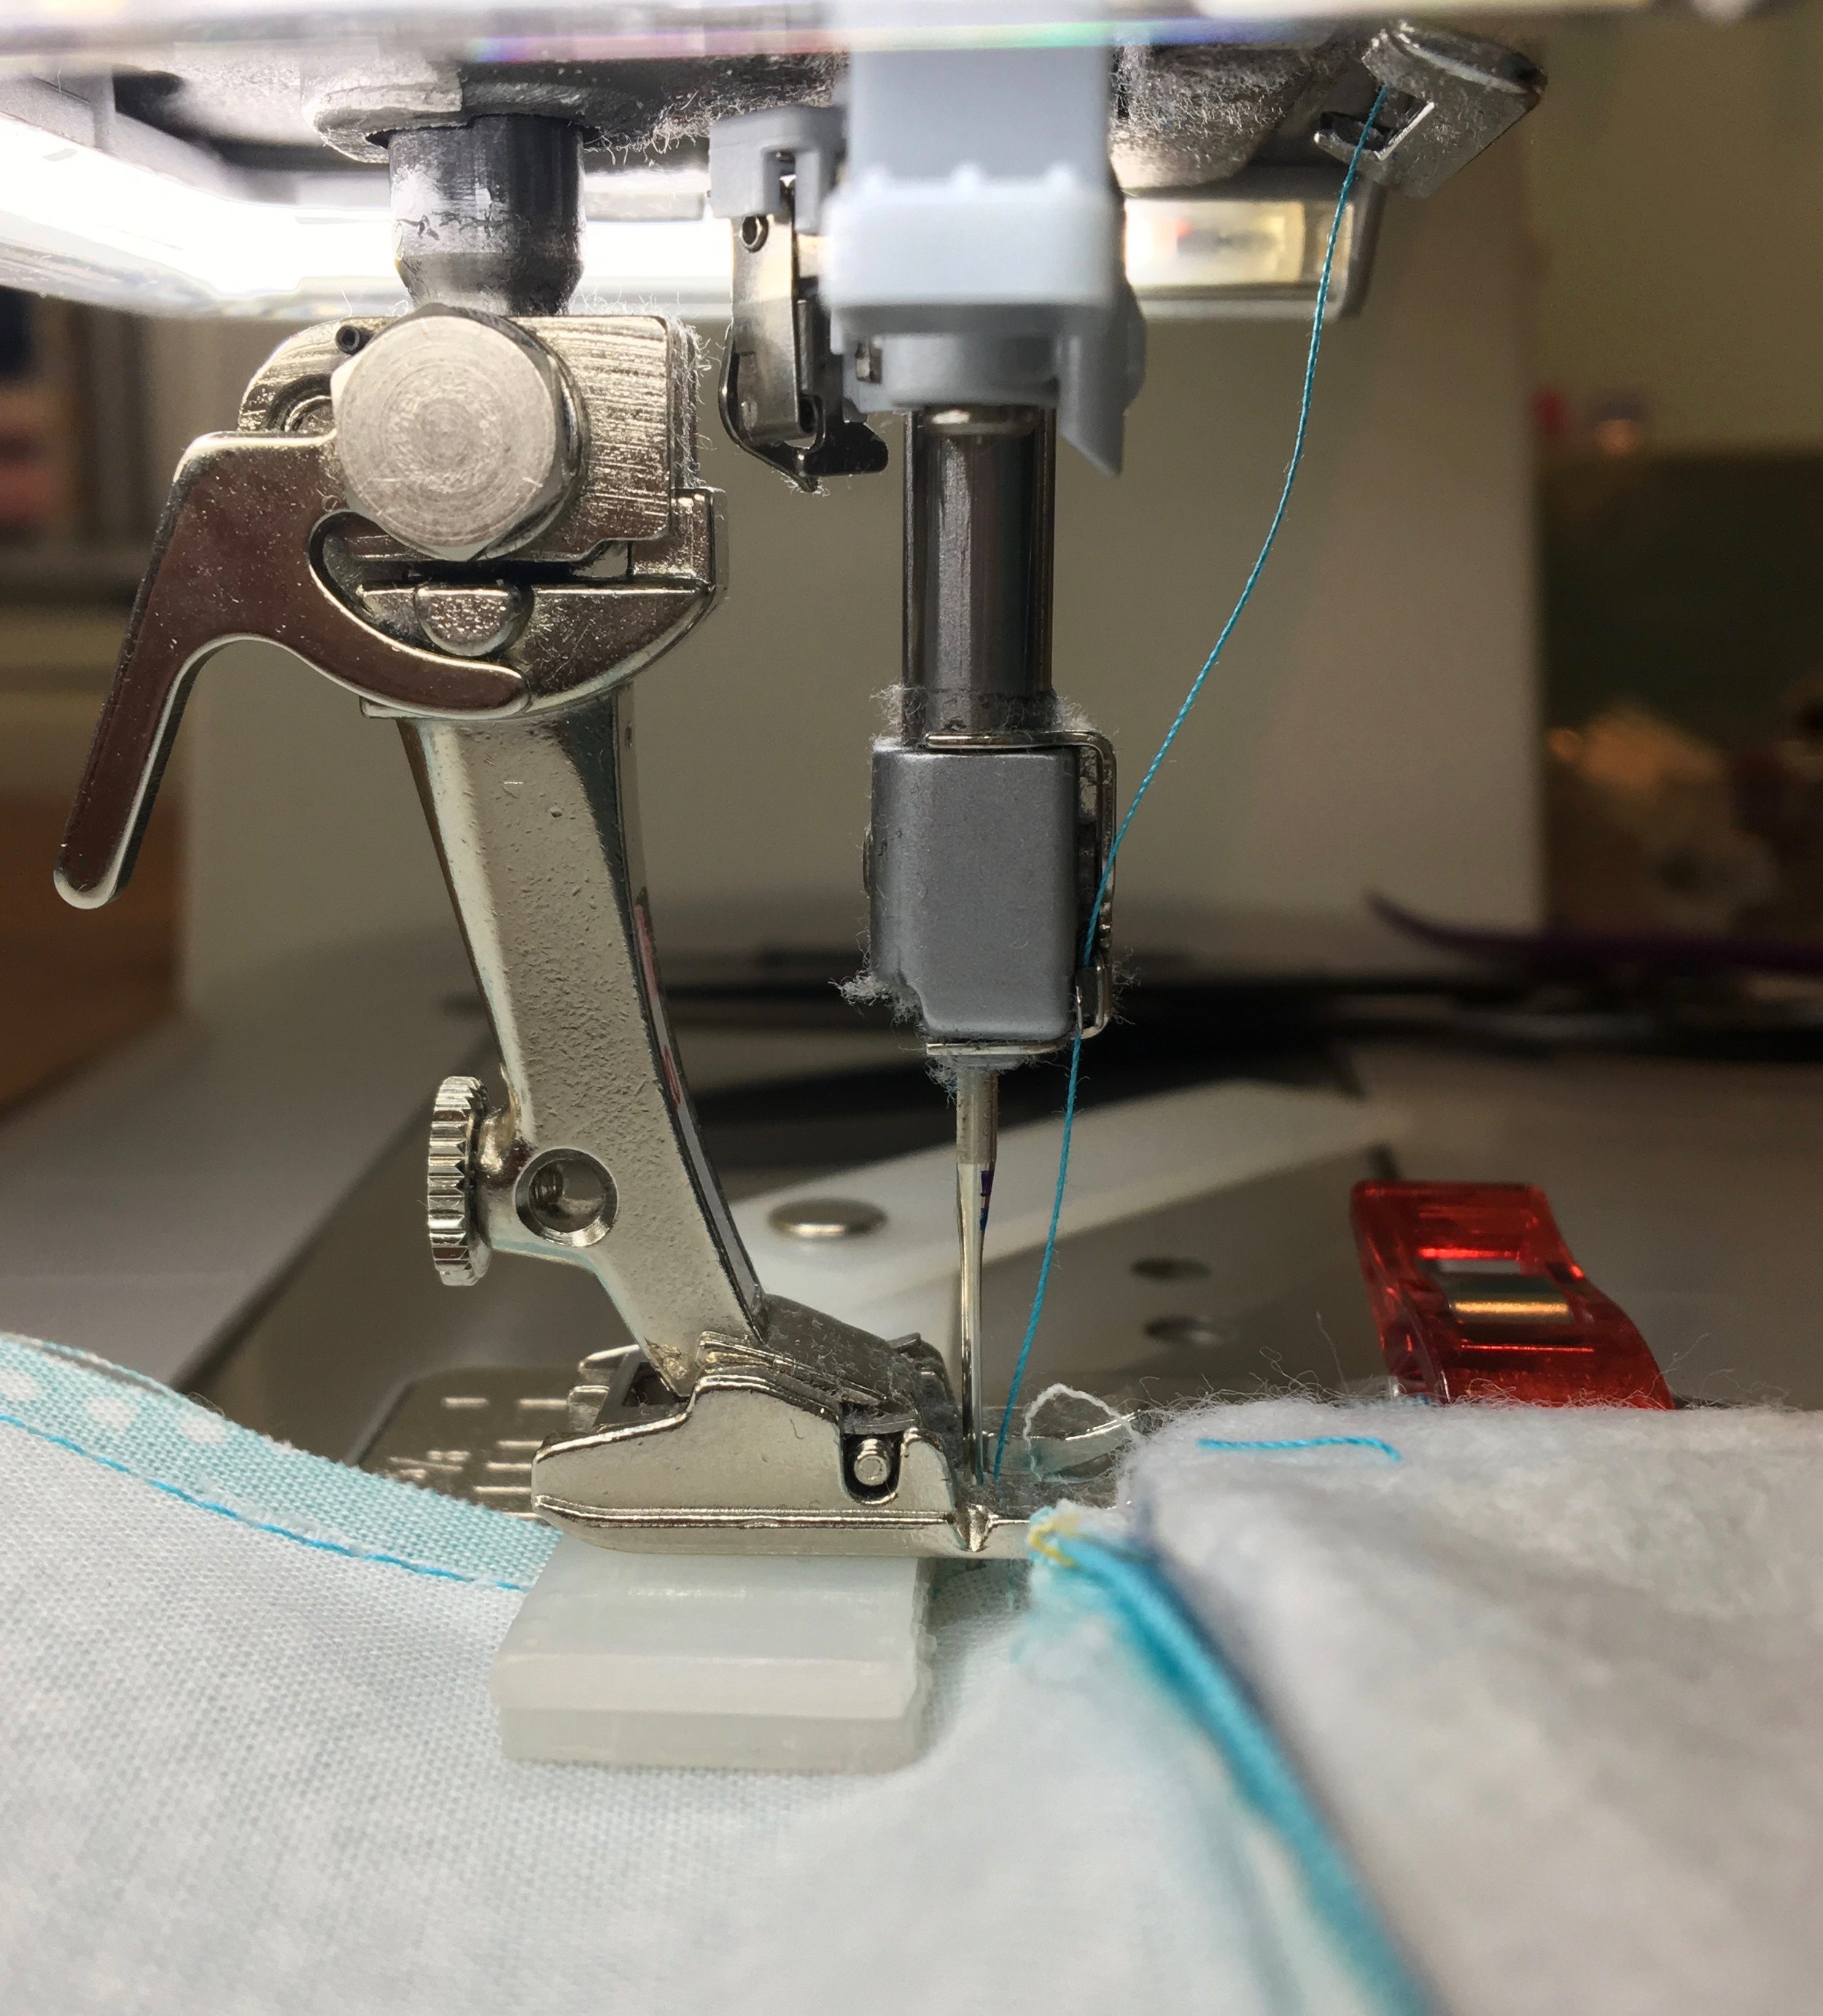
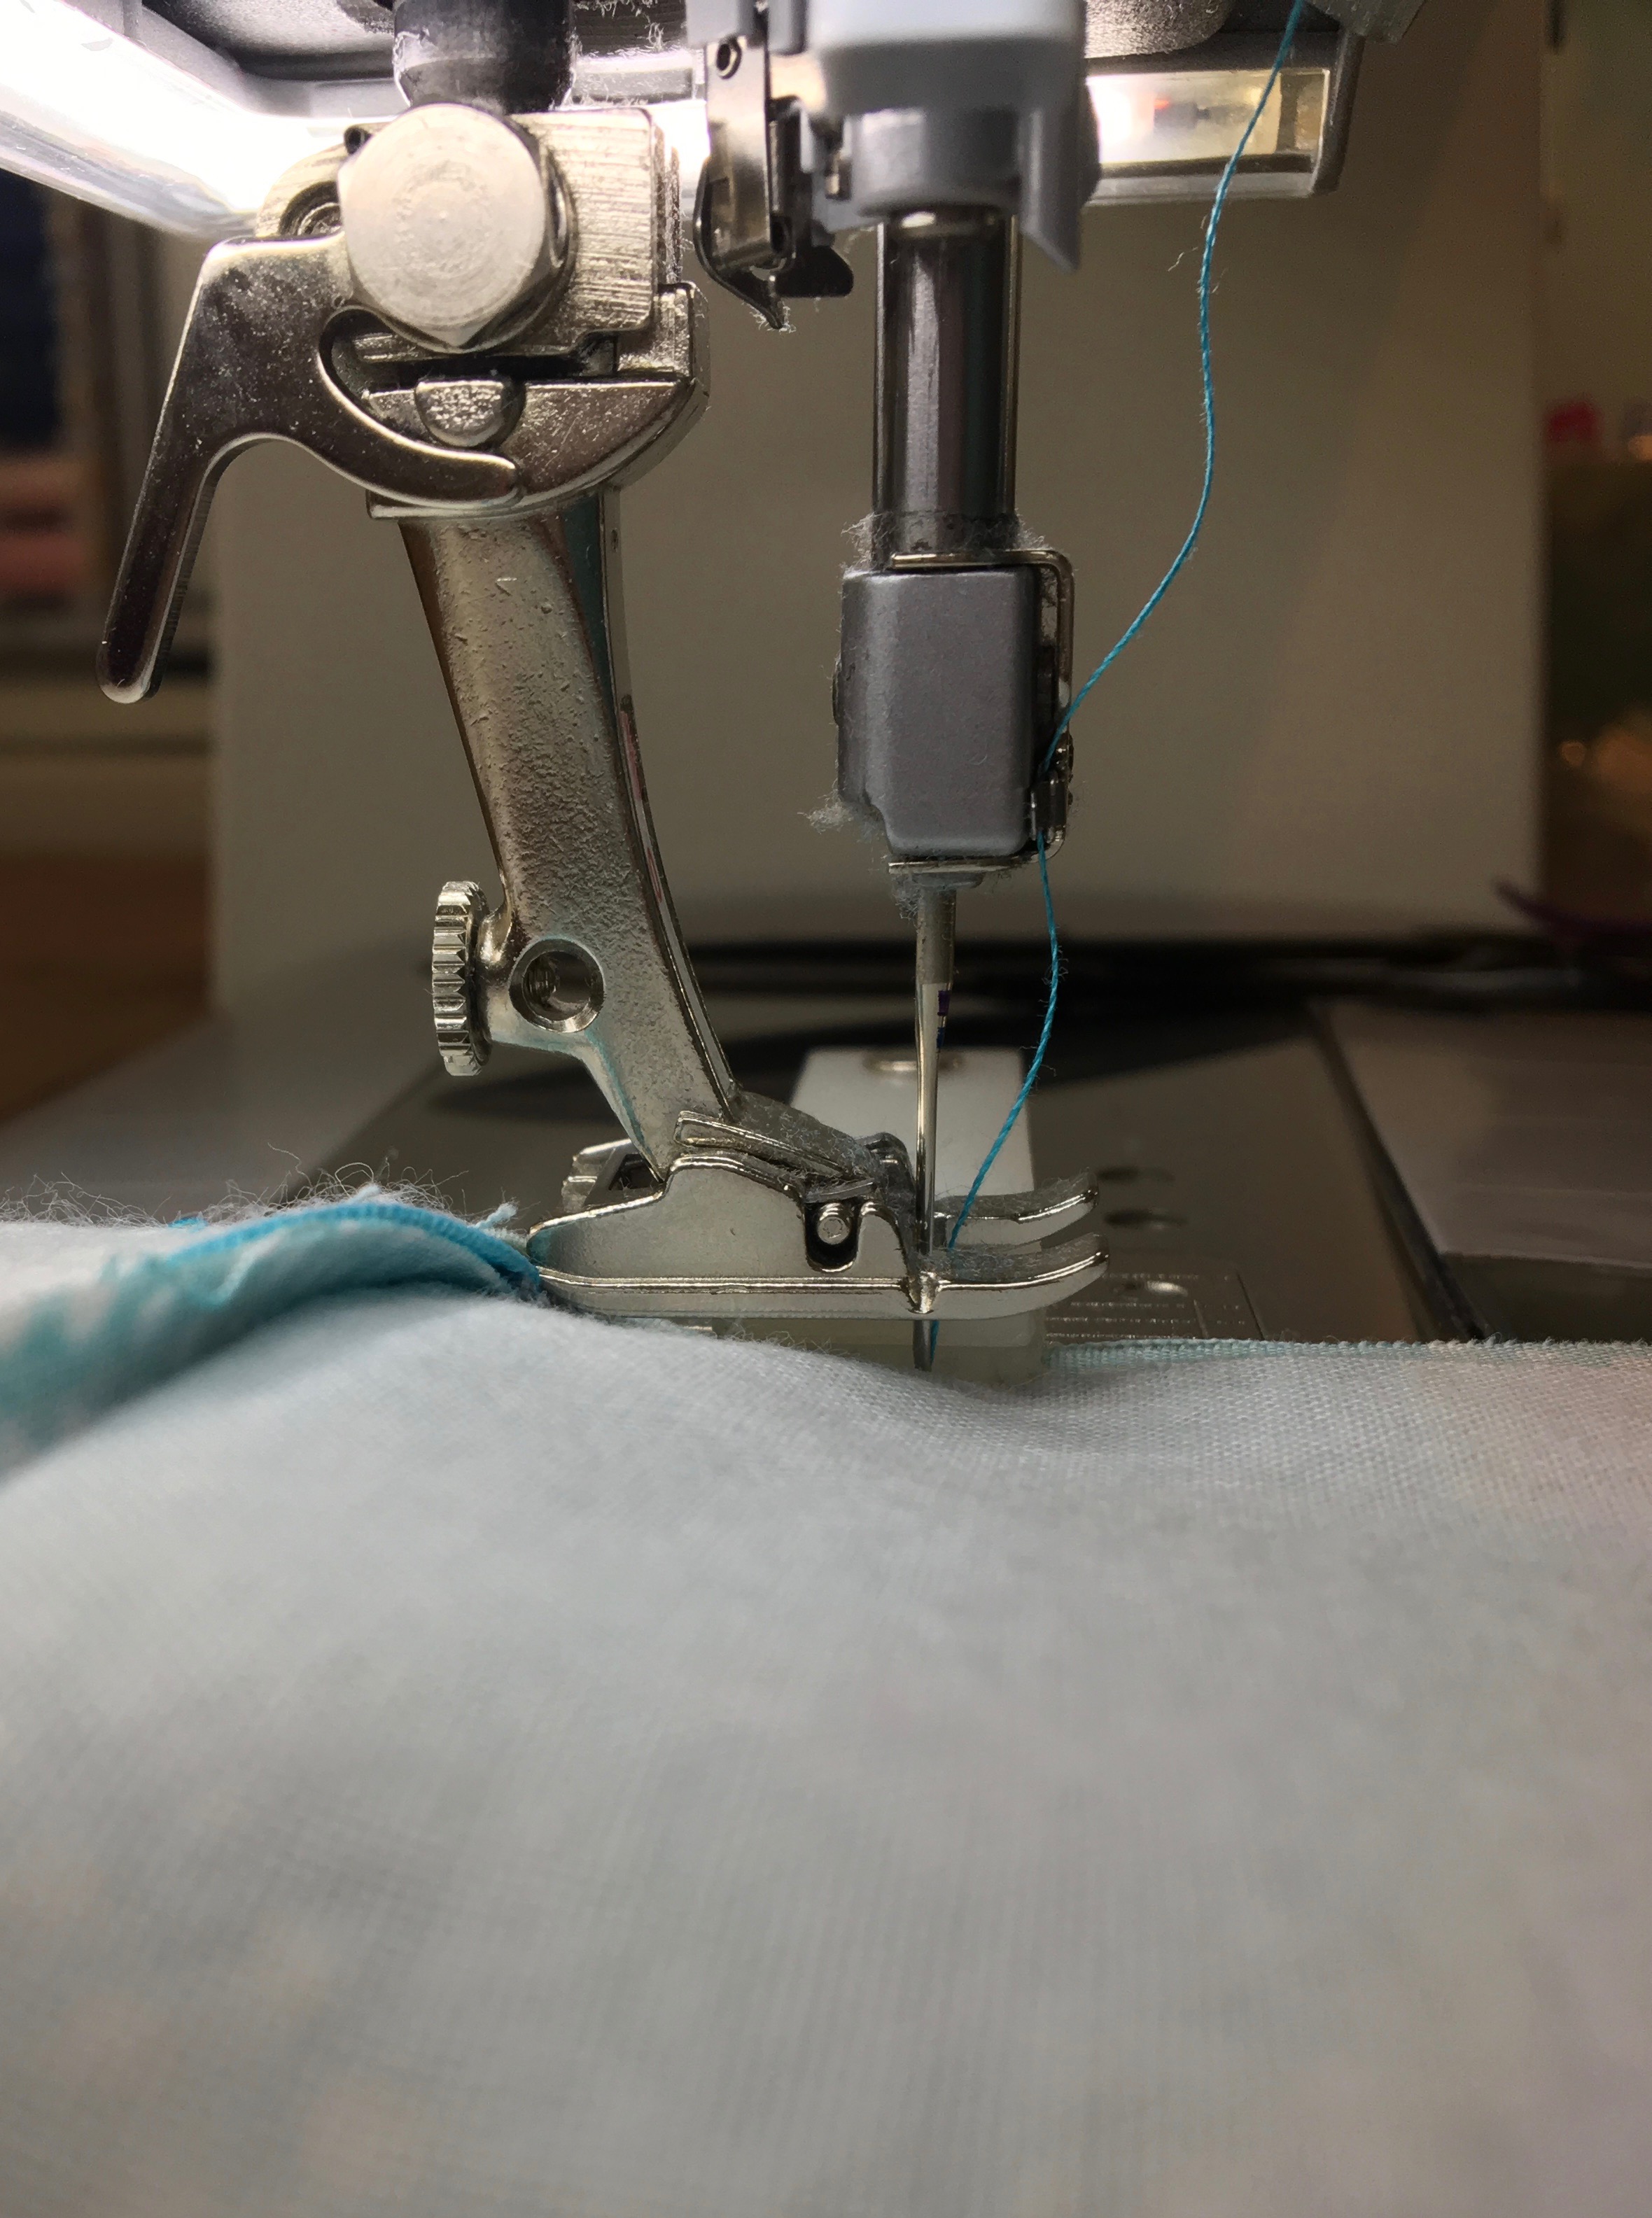
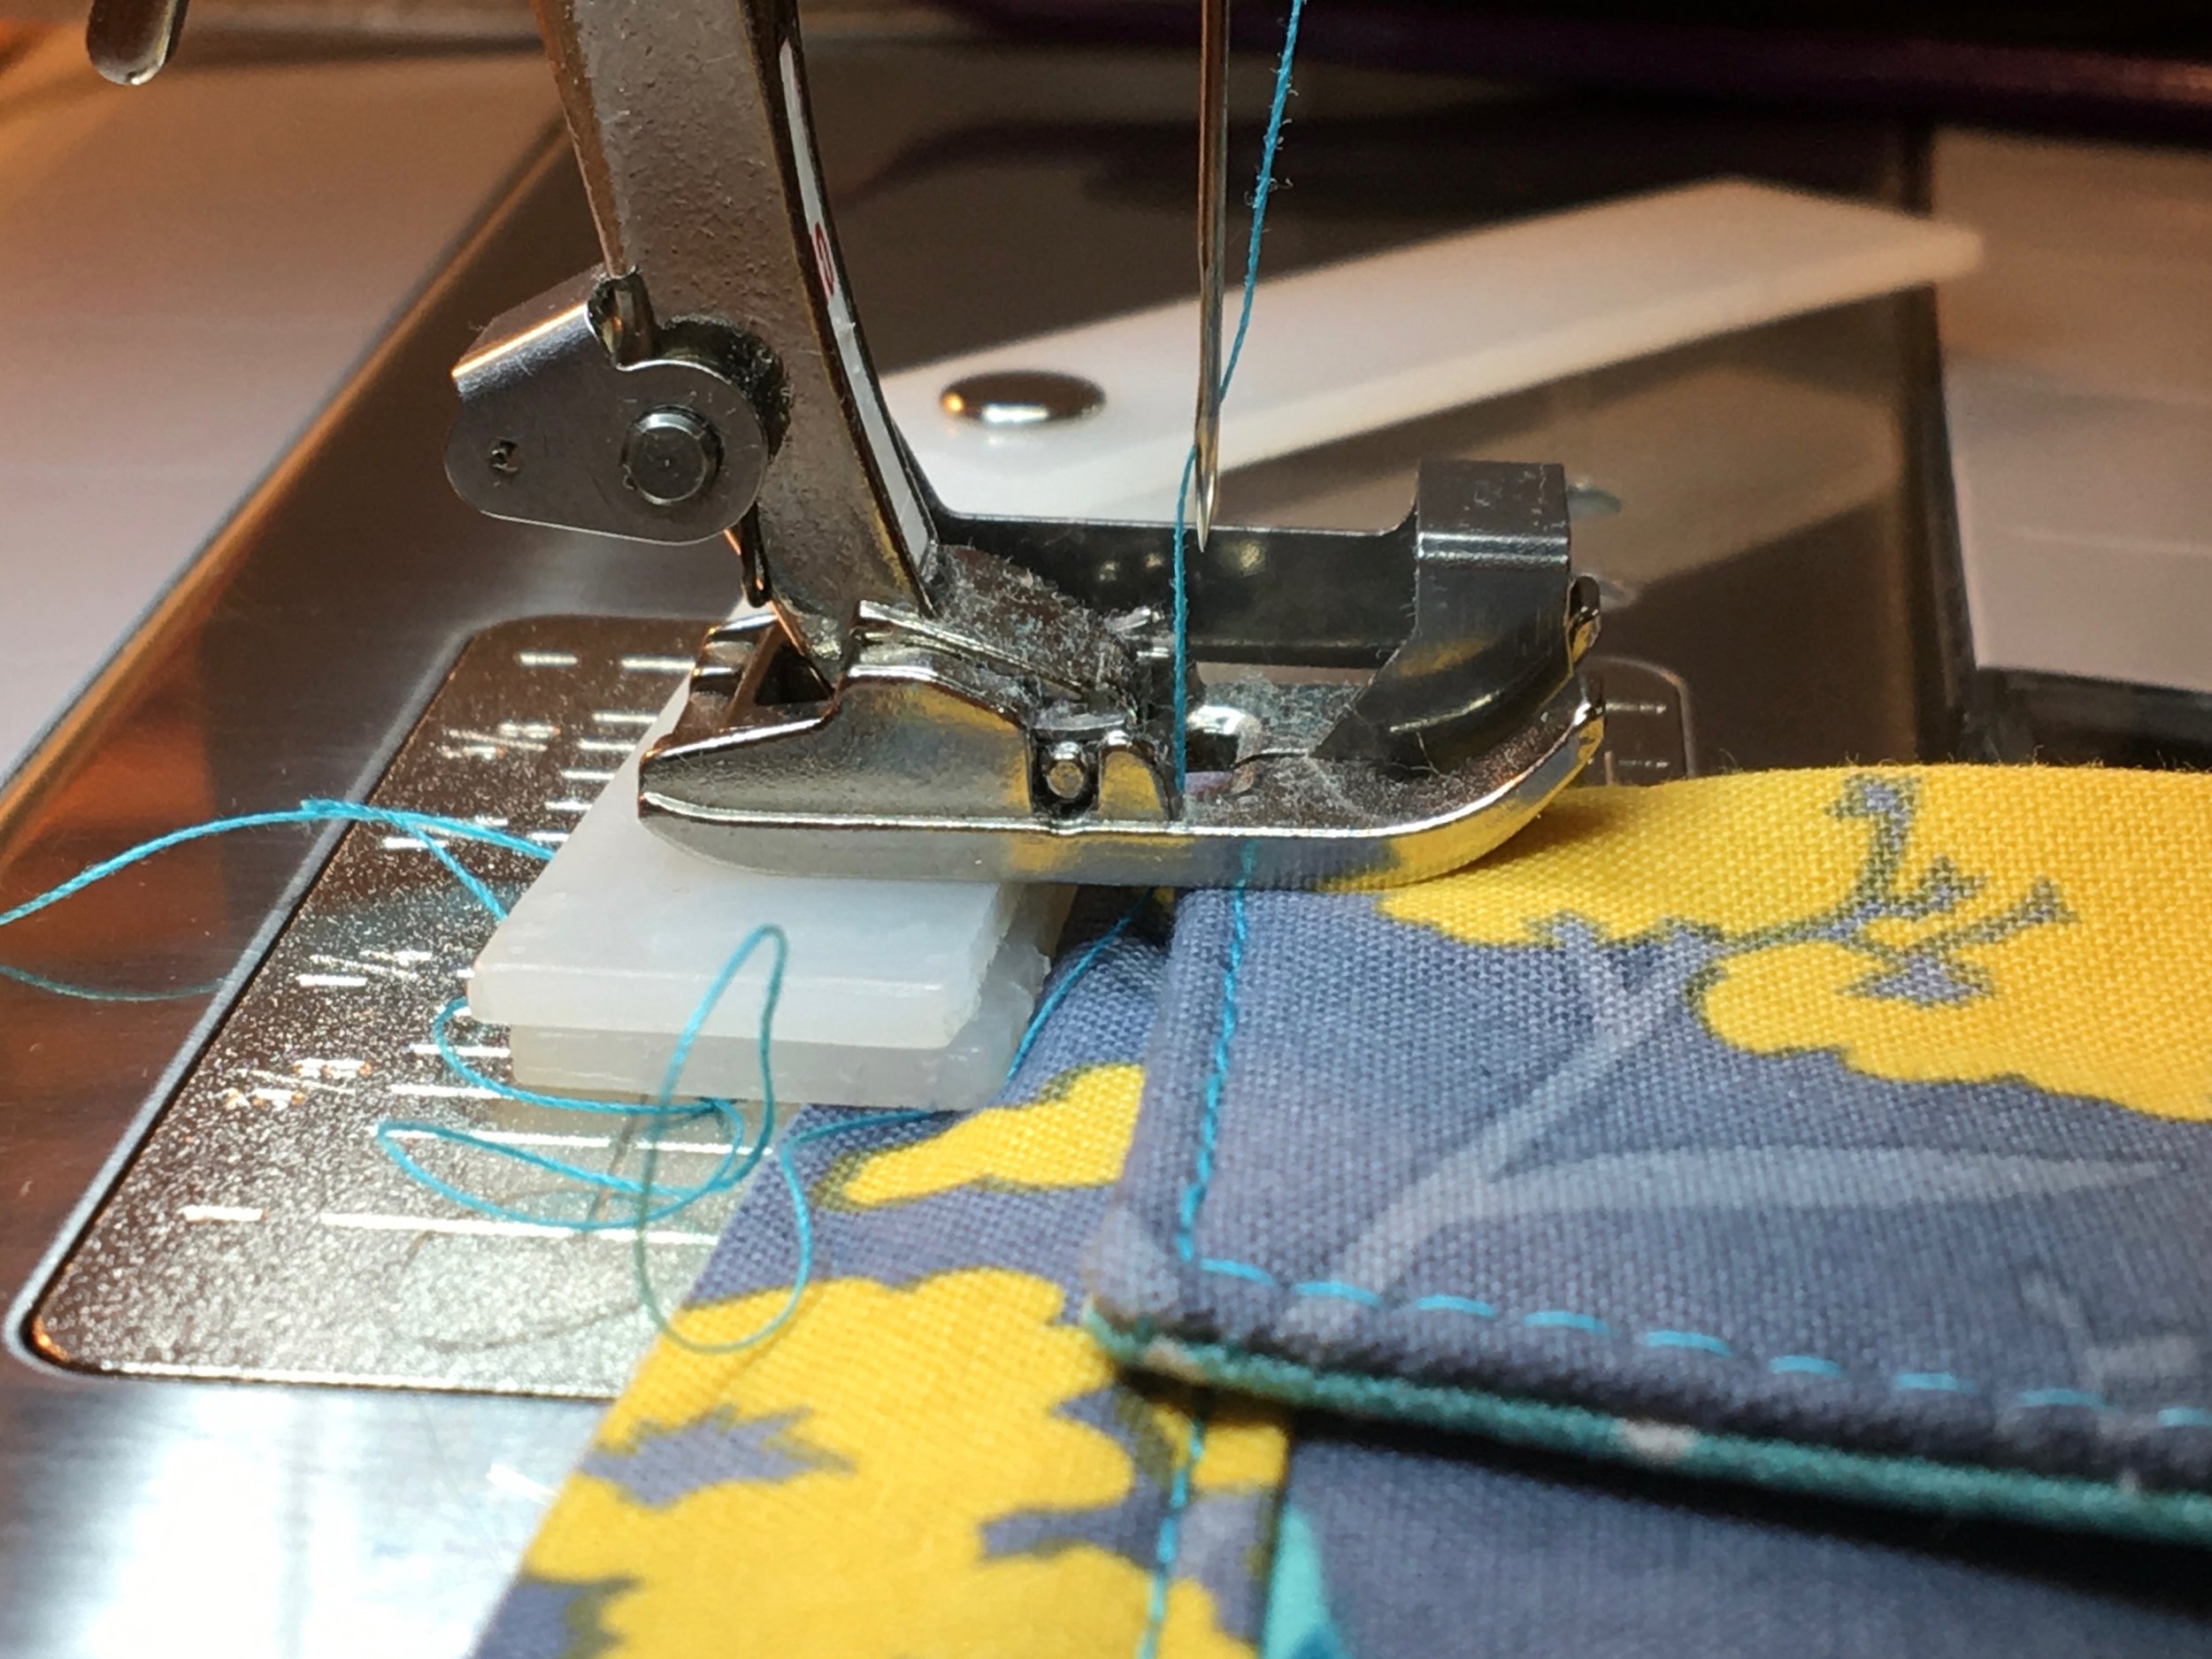
Once I am close to the end of the thicker area then the Height Compensation Tool goes under the front of the presser foot. I make sure it is off center so that I don’t run over it with my needle. I keep the tool under the front part of the presser foot, repositioning it if necessary until the foot can sit flat without any part of it being on the thicker area at all.
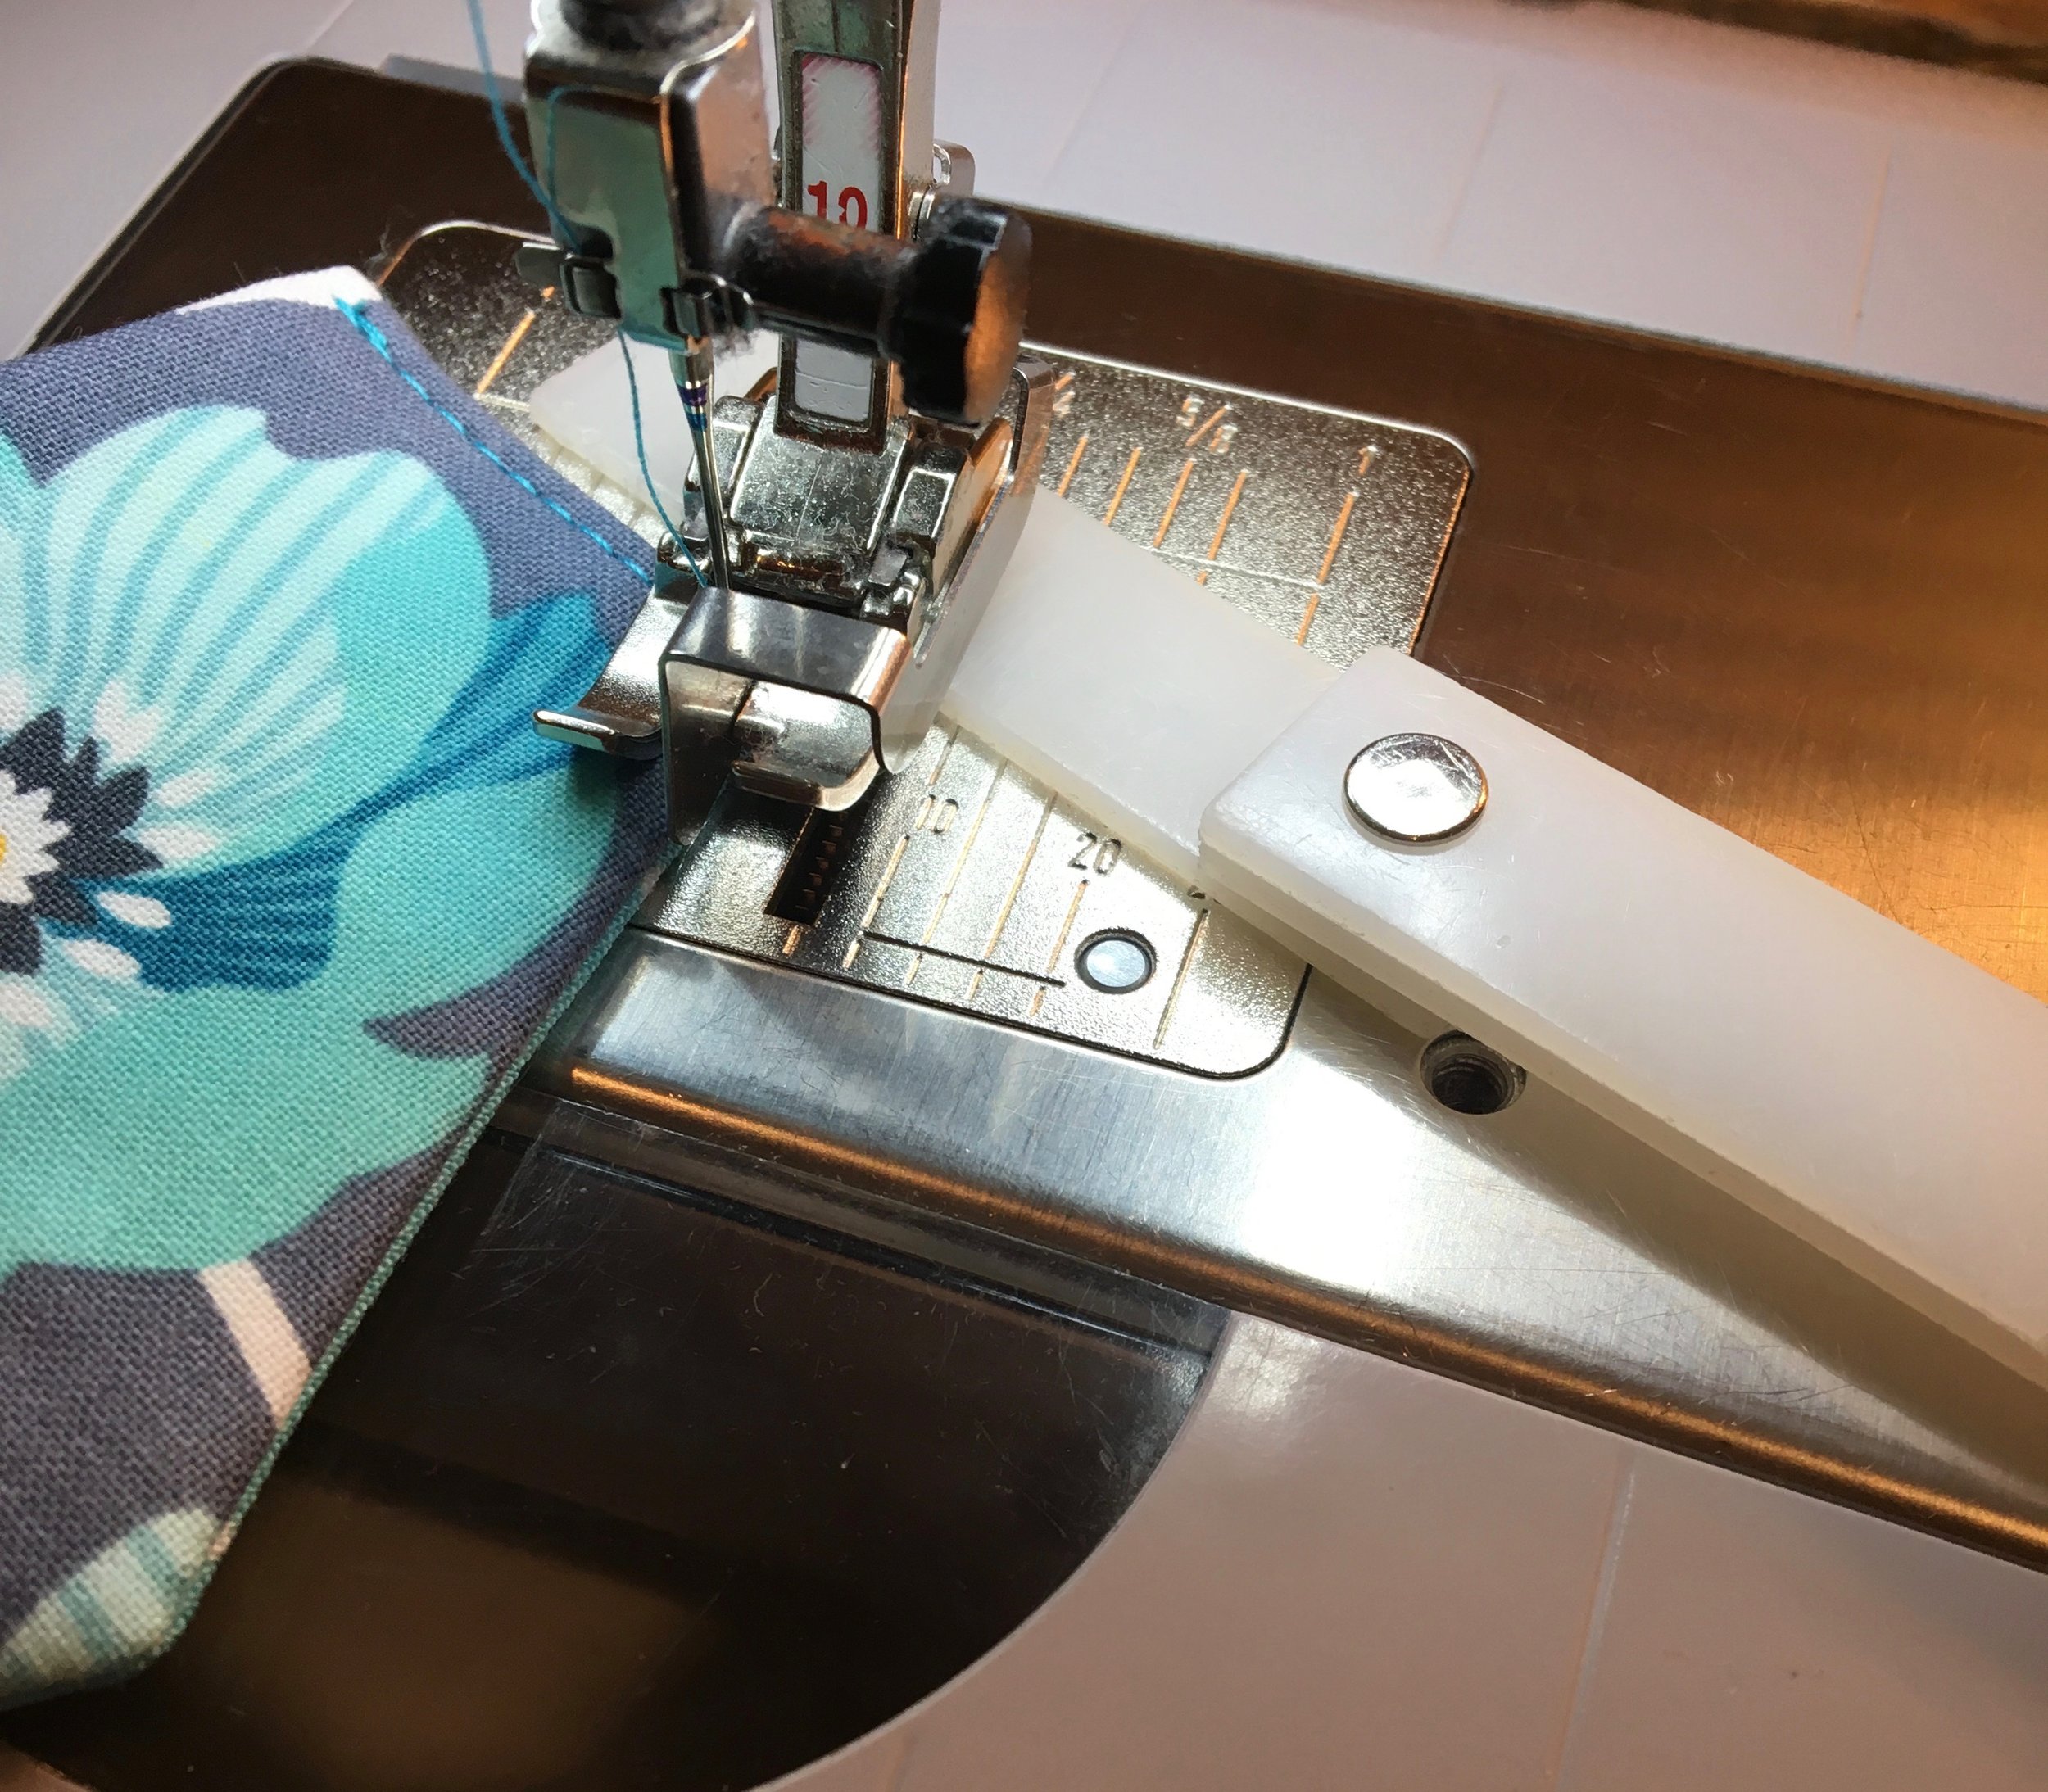
One feature of the Height Compensation Tool that I like is that it has three plastic rectangles each about 1/8” in thickness that rotate on a rivet. This makes it easy to use one, two or all three rectangles under your presser foot depending on how high you need your presser foot to be.
If you look closely, you will see that I have put the needle through my Height Compensation Tool a couple times, but fortunately it is made of a soft plastic so the needle just goes through it without breaking the needle or messing up my machine.
Using the Height Compensation Tool keeps my stitches uniform over the thicker parts and makes sewing these areas much less frustrating!


