Kristine ID Wallet Sew Along Day #2 - ID Window Pocket & Back of KIDW
Michelle Burke
I am really excited for day #2 of the Kristine ID Wallet Sew Along because we actually get to start sewing! If you missed day #1, you can click on the link in the schedule below and get caught up. If you still need the Kristine ID Wallet pattern, you can purchase it from the Uniquely Michelle website shop, the Uniquely Michelle Etsy shop, or the Uniquely Michelle Bluprint Pattern shop. Remember the discount code if you are purchasing from the website or Etsy – SEWKIDW. The price is already reduced on Craftsy.
The Kristine ID Wallet Sew Along schedule looks like this:
Day #2: ID Window Pocket/Back of KIDW
Day #3: Envelope Flap and Card Pockets/Front of KIDW
Day #4: Straps, Ring Loop and Zipper
Day #5: Finishing It Up
Today we will be constructing the back of the Kristine ID Wallet. The main feature on the back is the ID window pocket. I love the ID window pocket on the Kristine ID Wallet for two reasons, one you can make it stand out by using a different fabric for it than you use for the main part of the wallet and the second reason it is pretty on both the outside and inside.
If you want to know more about which clear vinyl I like to use and different sources for clear vinyl, check out the Some Information About Clear Vinyl blog post.
Okay, so let’s get started making the ID window pocket. After you have the two pieces for the pocket sewn together following the pattern instructions, then comes the most important part of making the ID window pocket – making the marks for folding and cutting. I like to use a Frixion pen for this, the marks from this pen disappear with a little heat from your iron. When you are making the rectangle marks, it is really important that you measure ½” from the stitching. Doing this will make the frame of the pocket even and professional looking.
Once you have all your marks made, it is time to cut on the cut lines. I use a pair of pointy, sharp scissors to cut all the way into each of the corners, this will make your corners more crisp. After all your cuts are made, put double-sided tape or fabric glue just on the outside edge of the fold lines. I like using double-sided tape because I feel it is more accurate; I can place the edge of the tape on the fold line and then it is easy to fold on the line and the edge of the tape helps keep my fold lines straight. Someone once suggested using a credit card to help get a very straight, crisp fold.
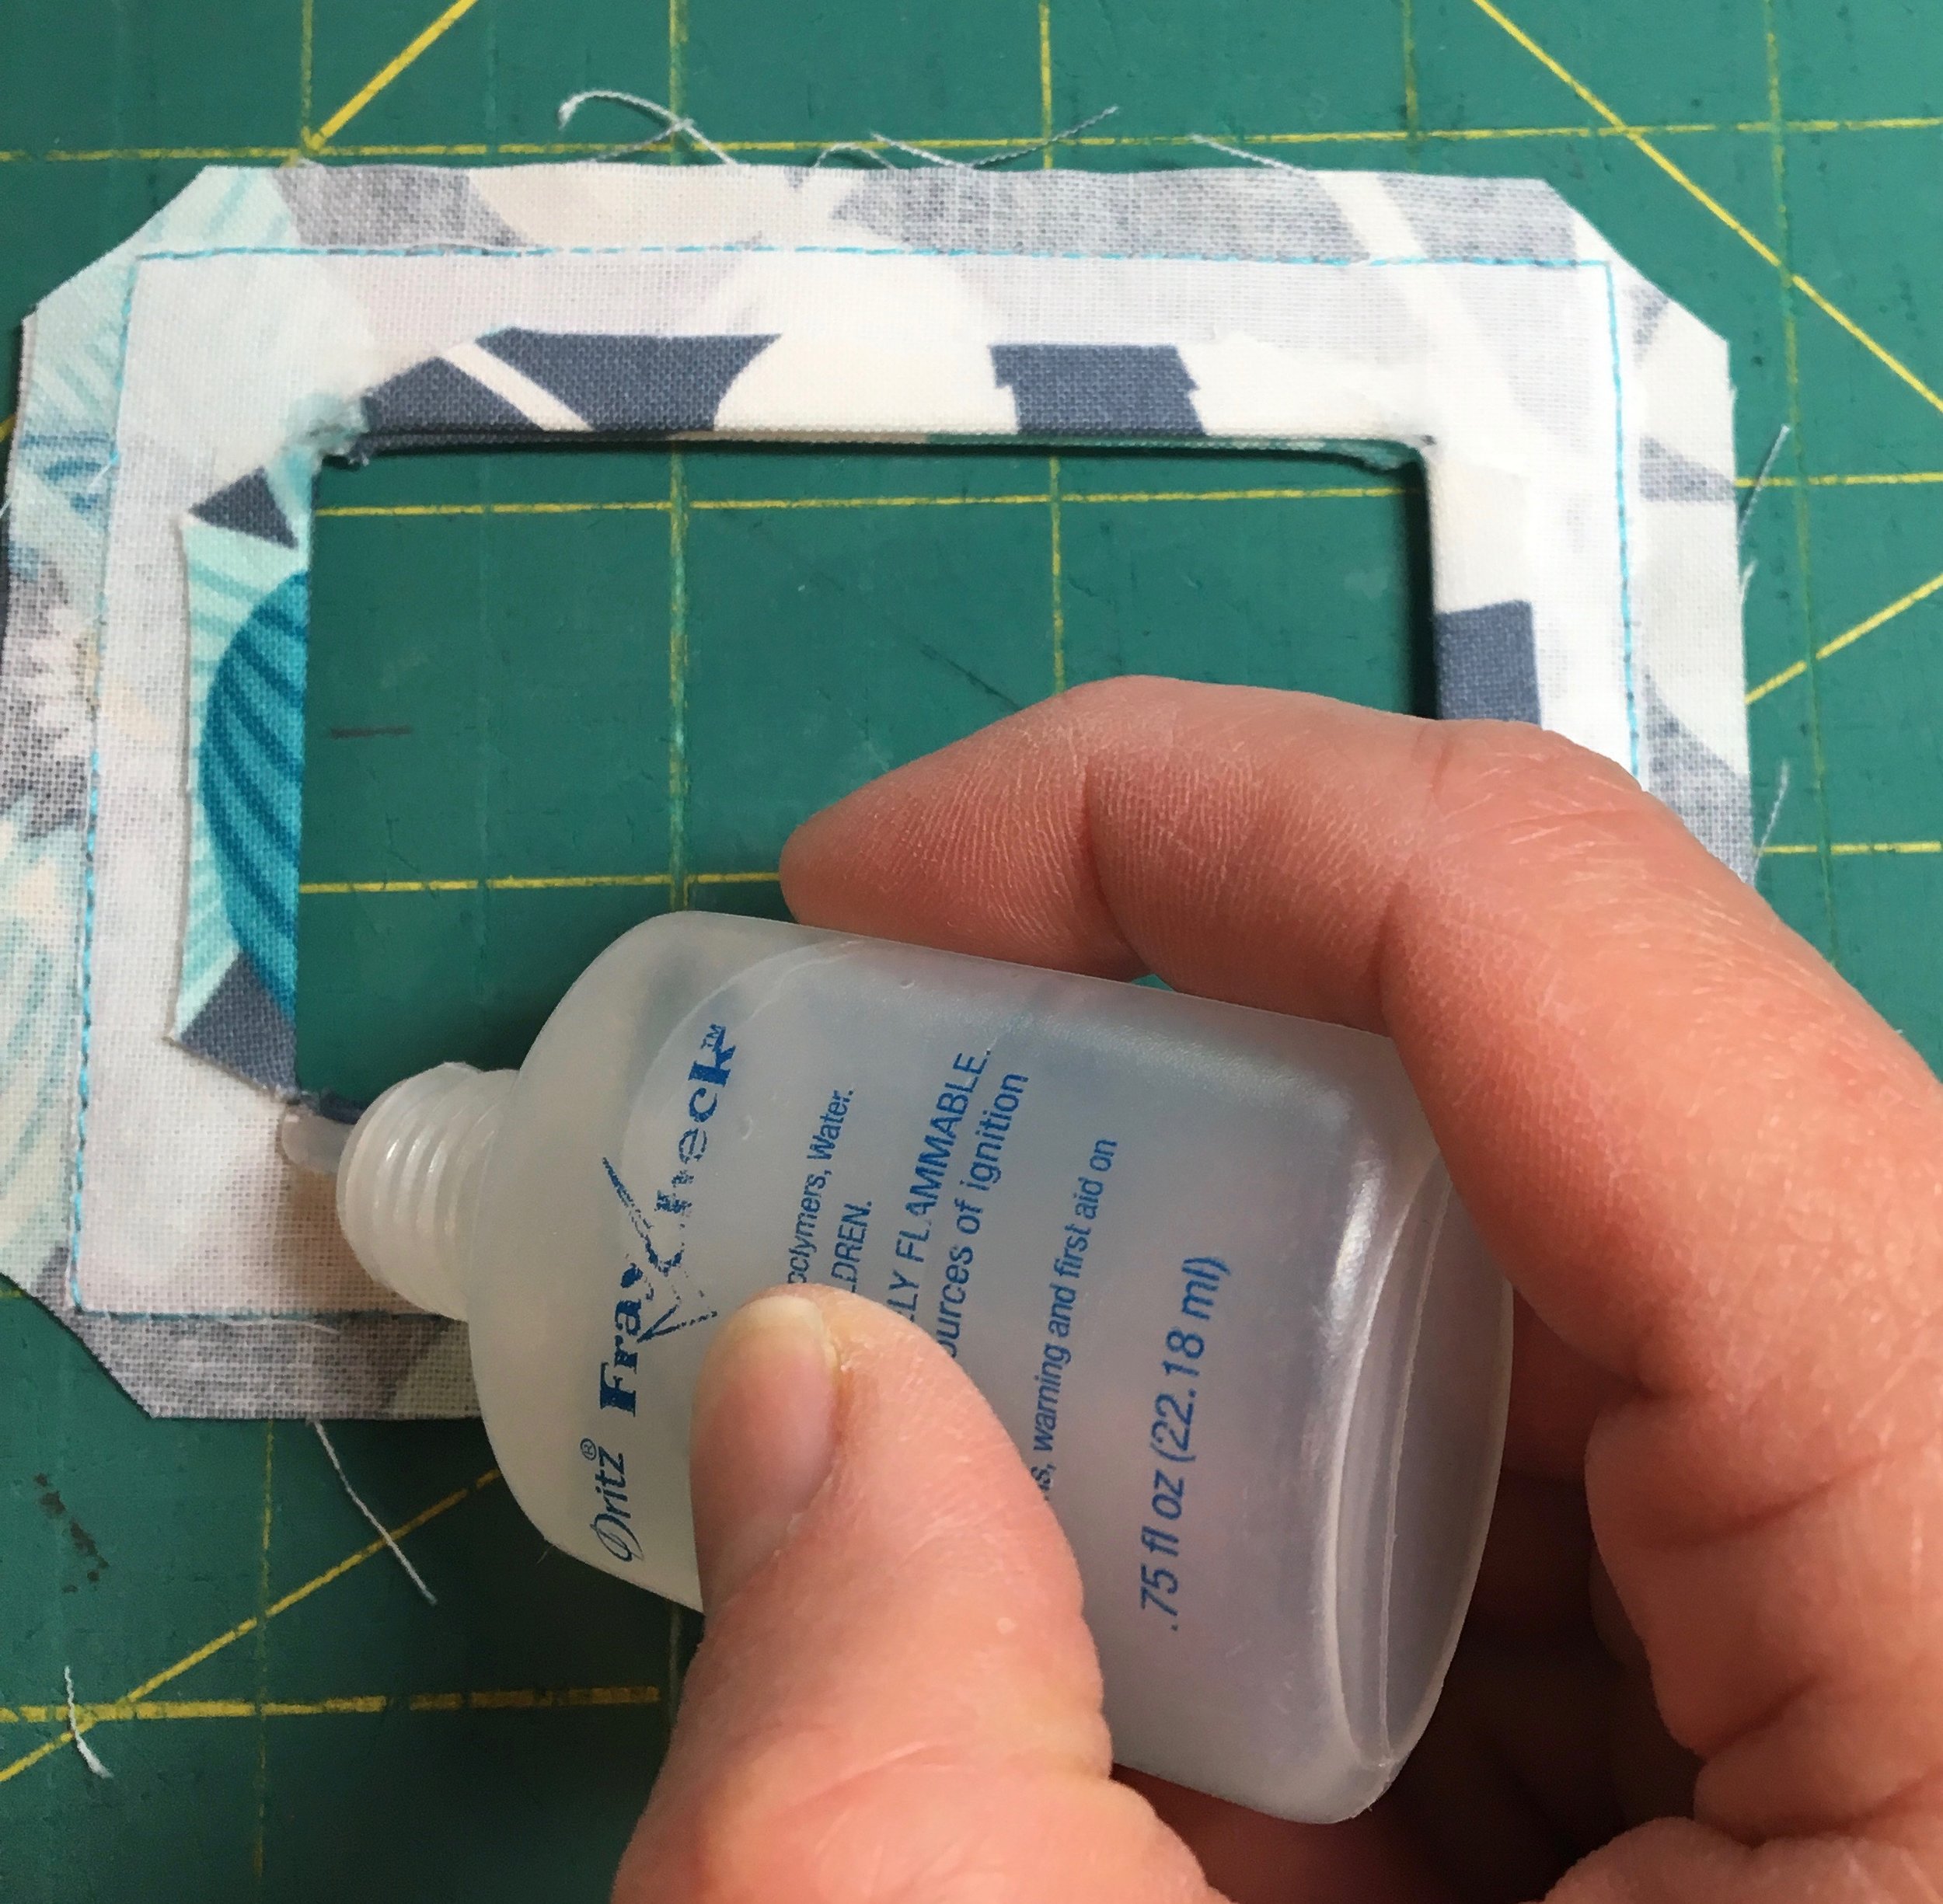
Is it weird that I think the triangles that you cut off the ID pocket kind of look neat? Now is the time to add Fray Check to the corners on both sides of the ID window pocket.
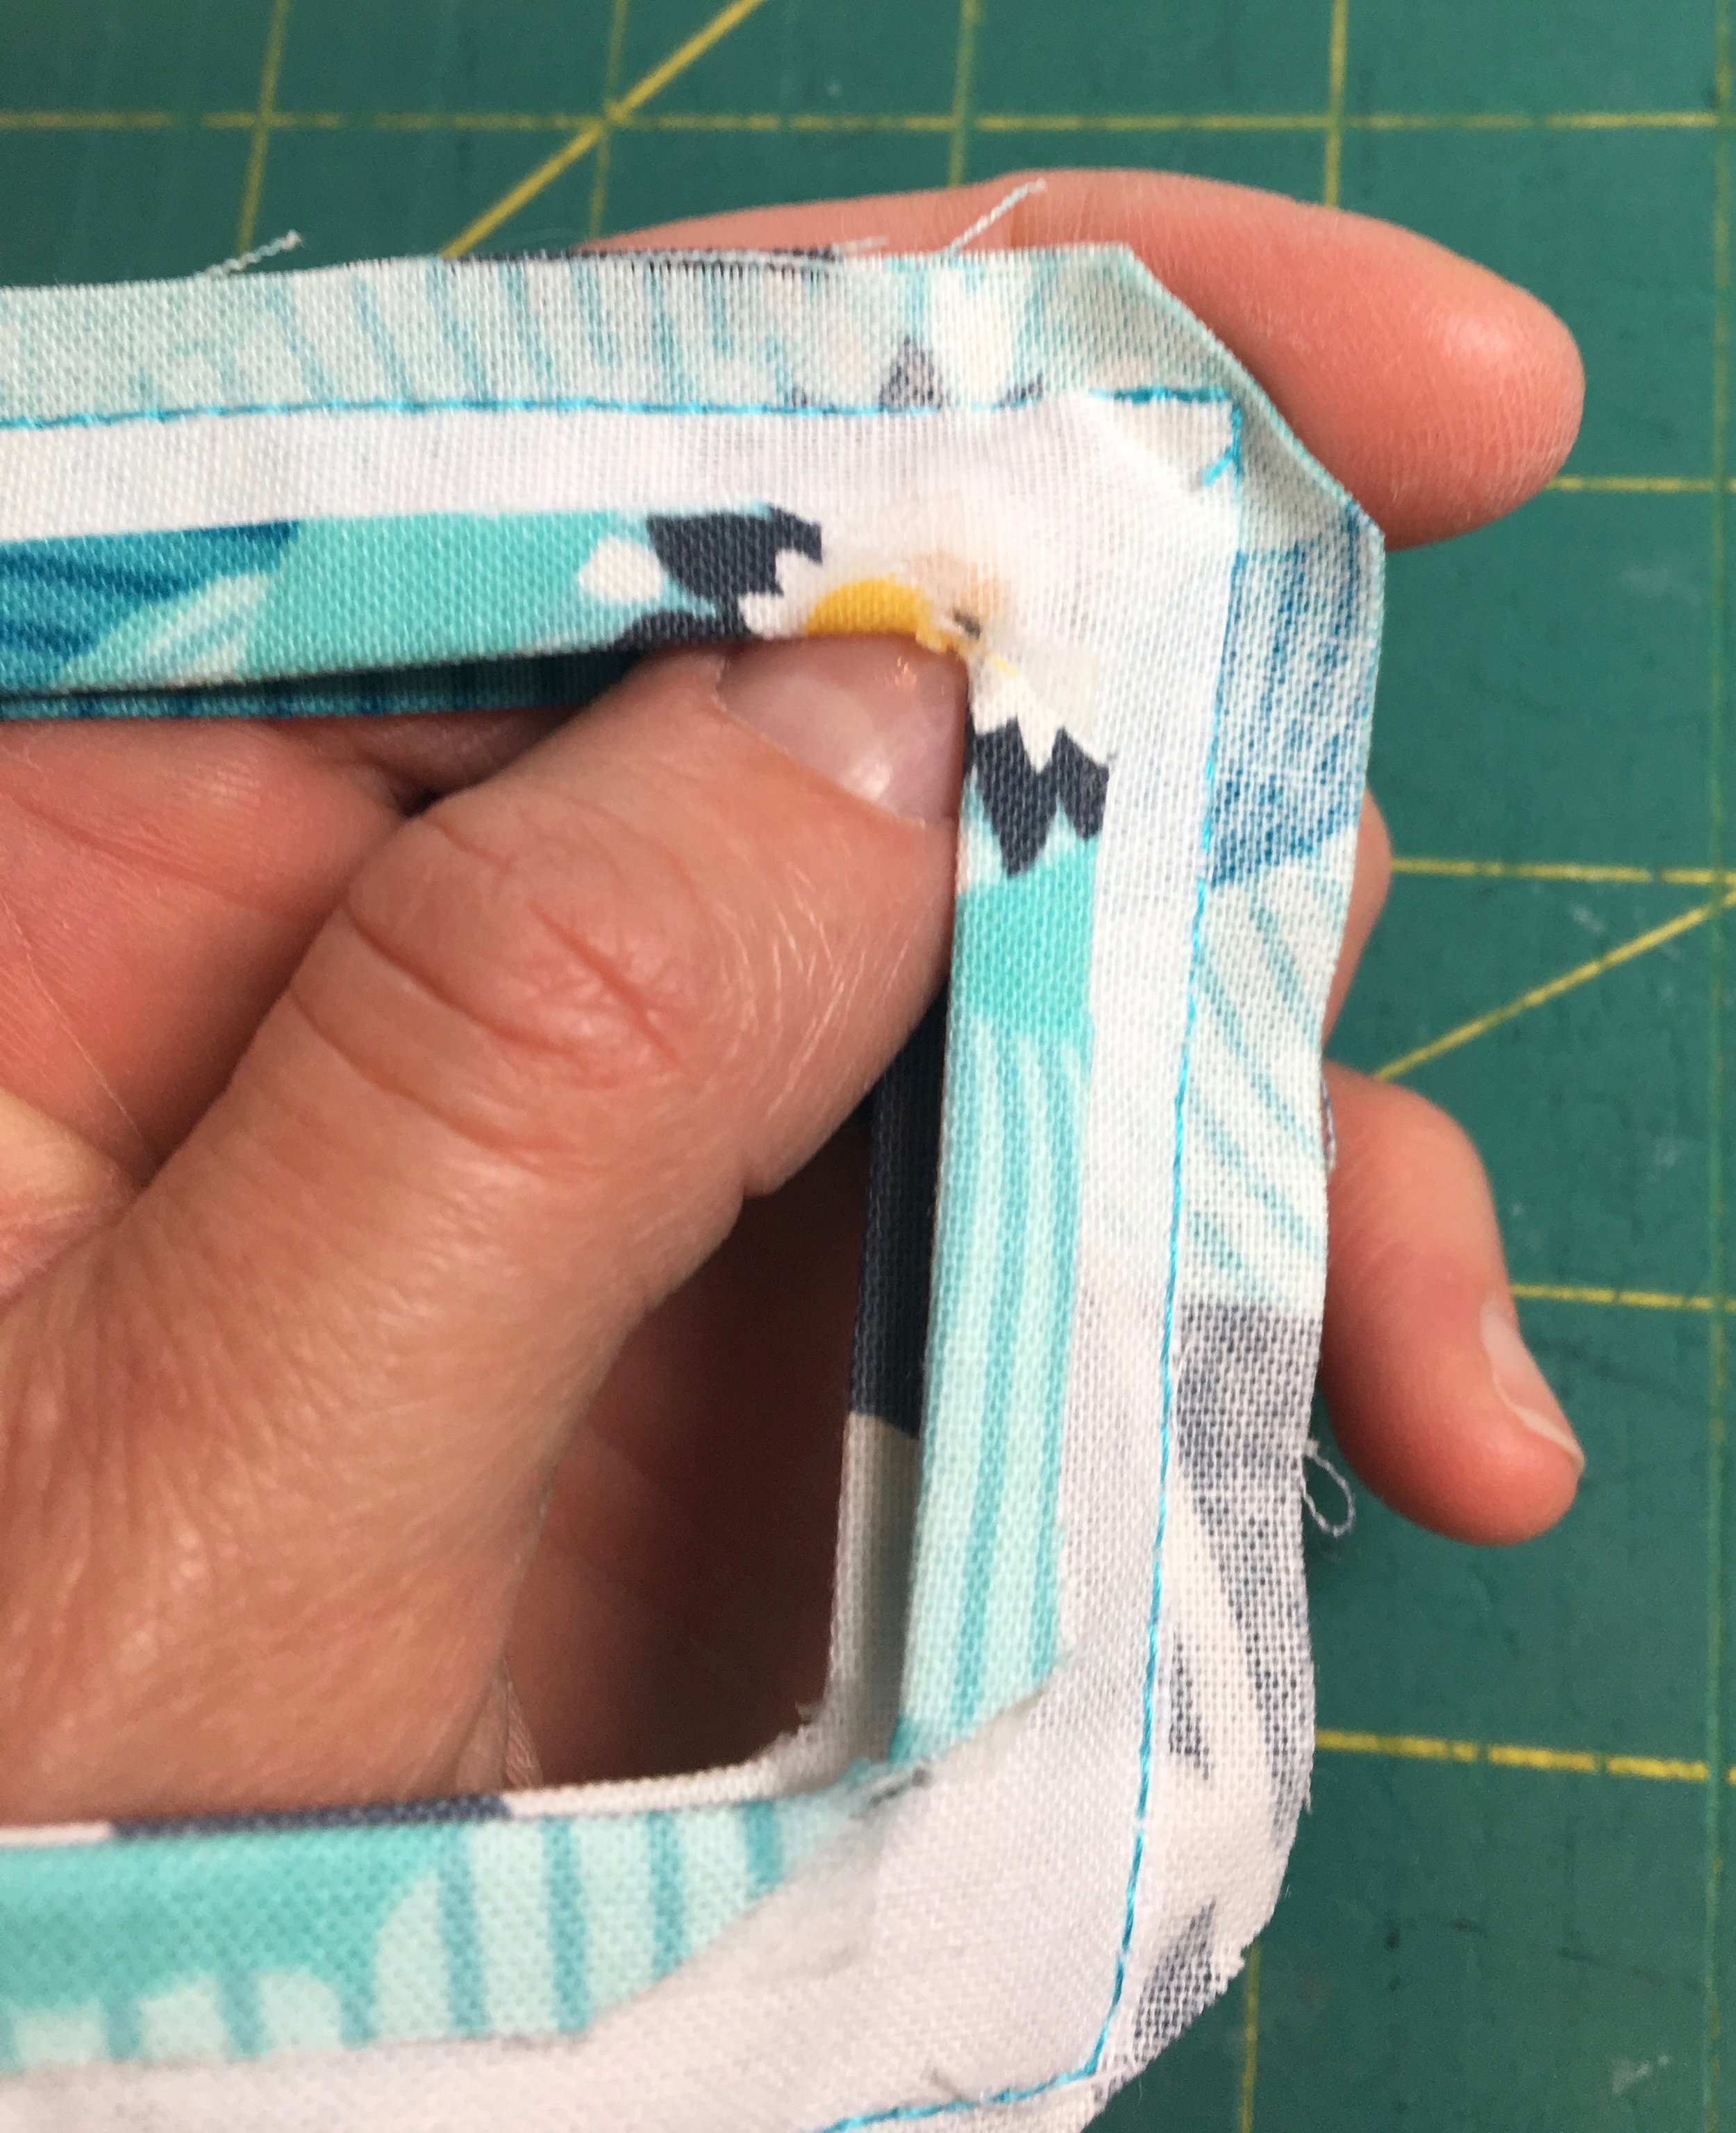
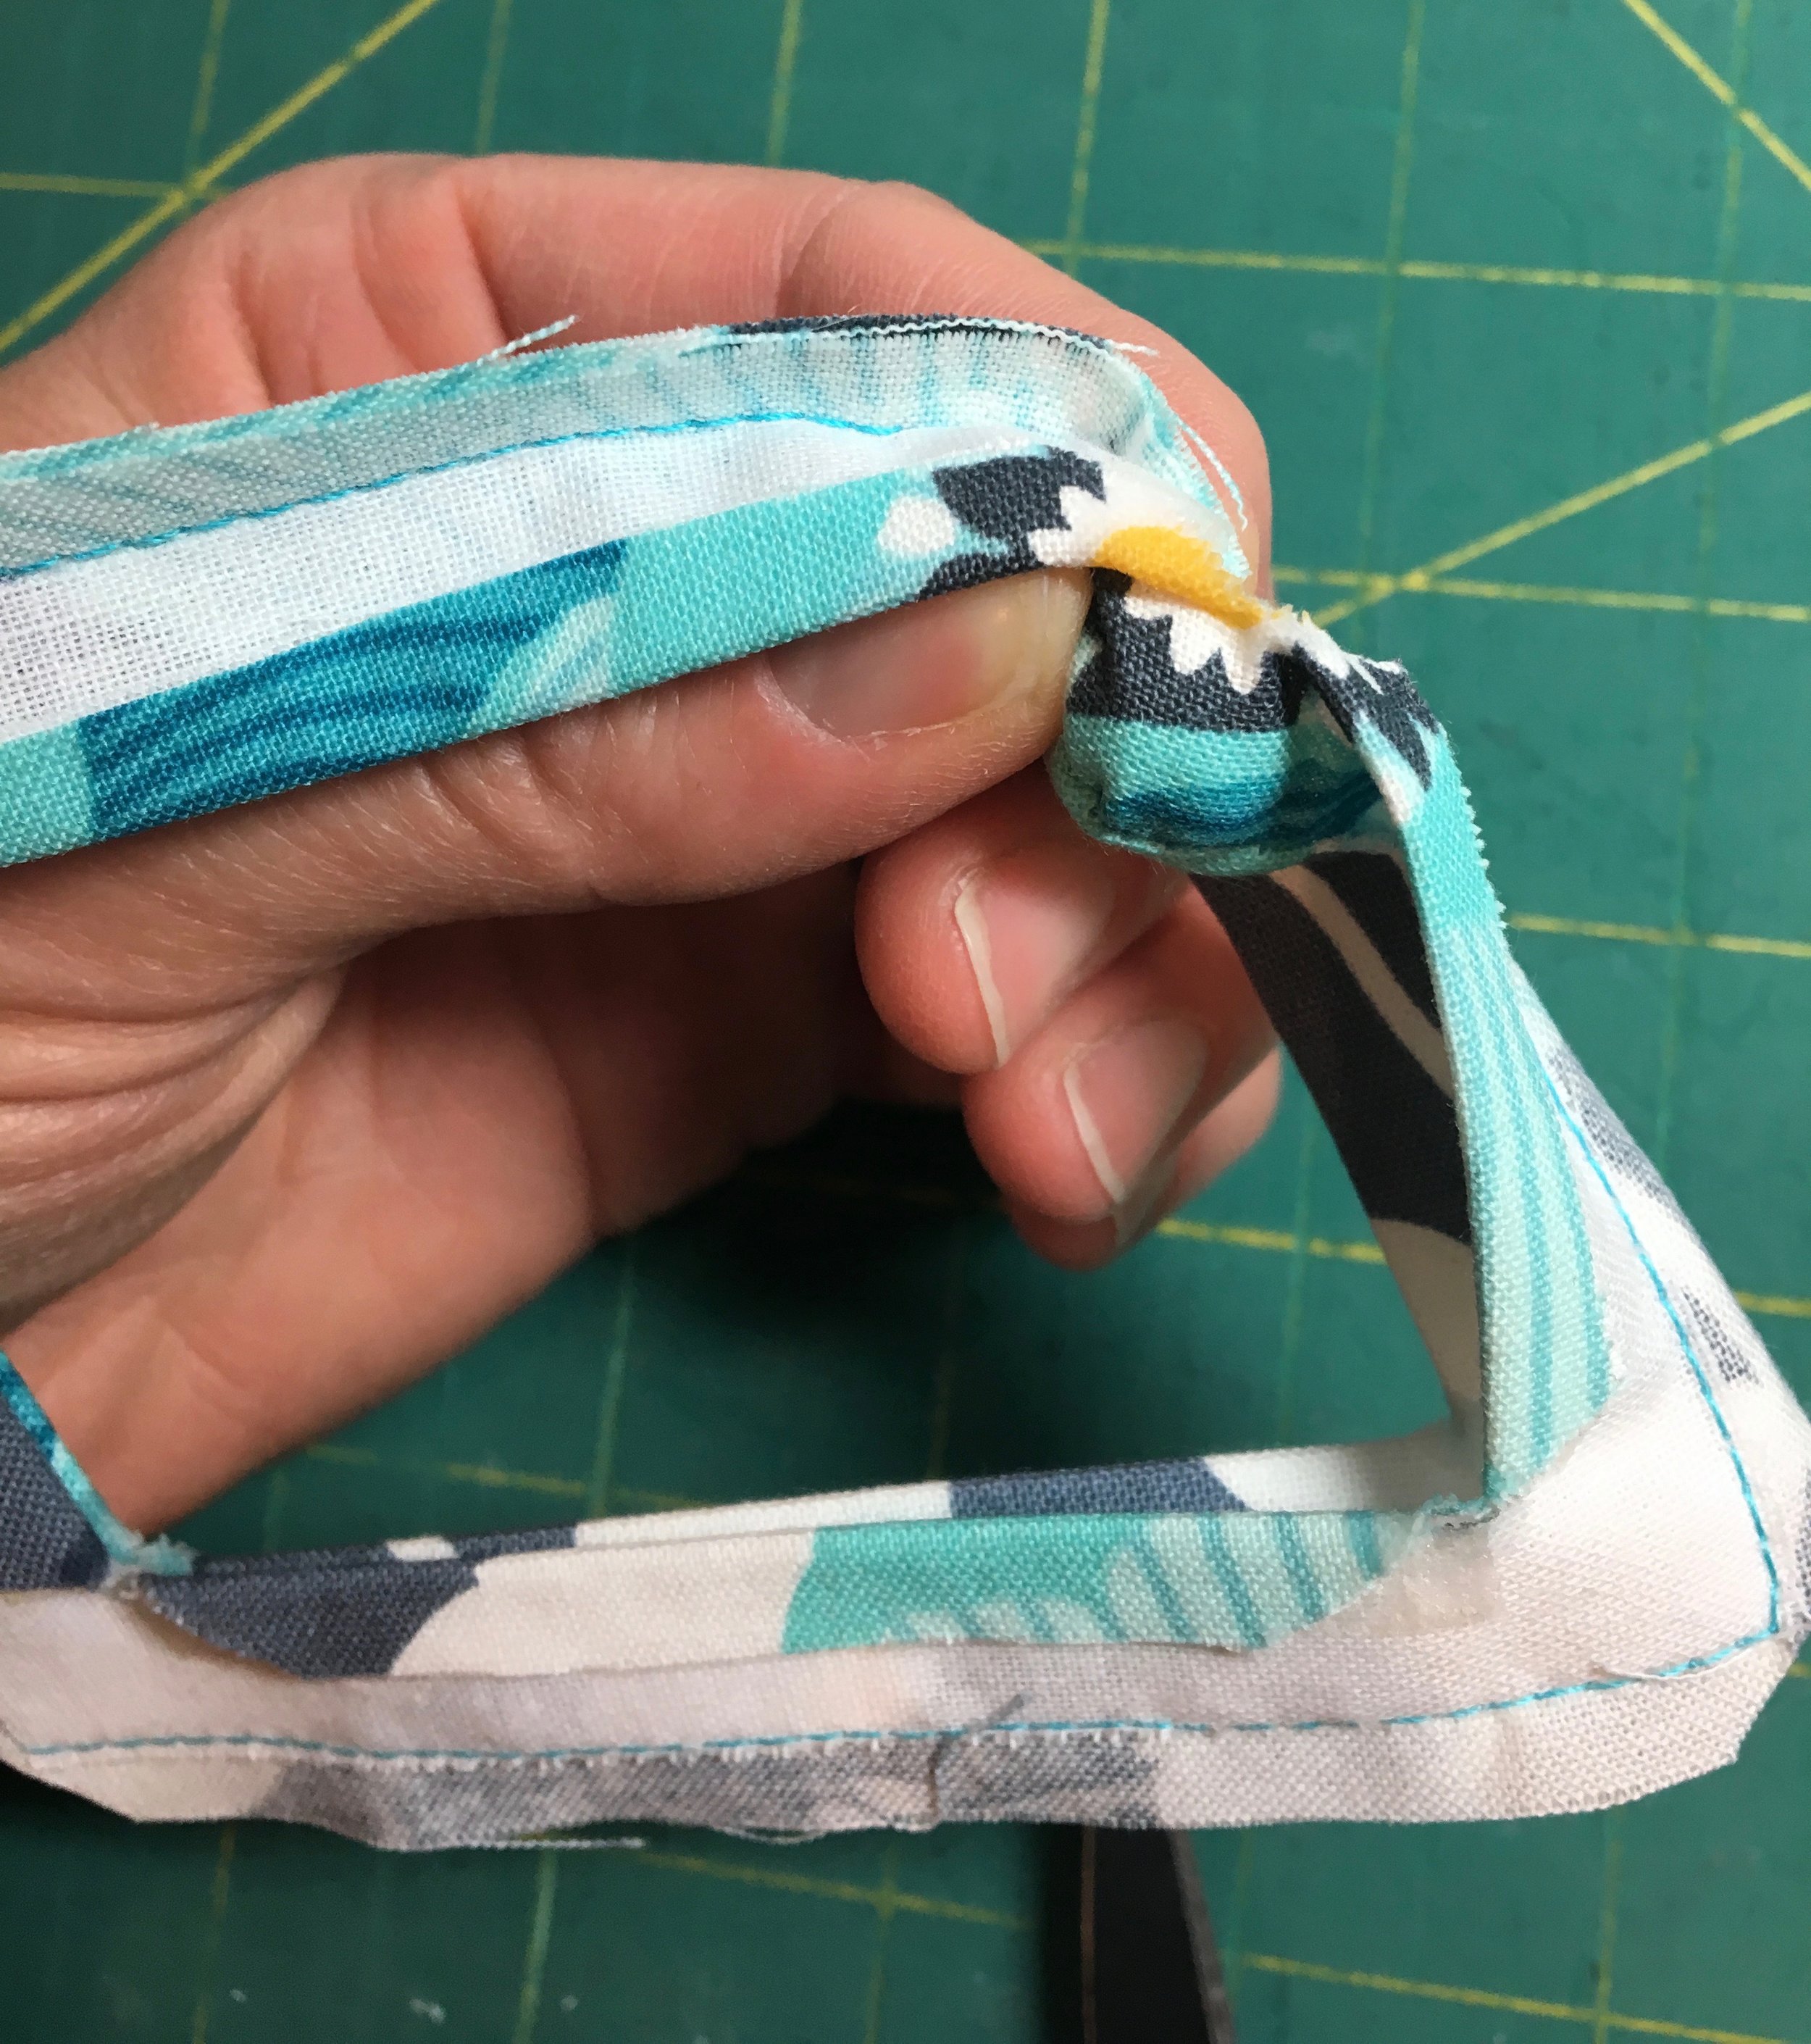
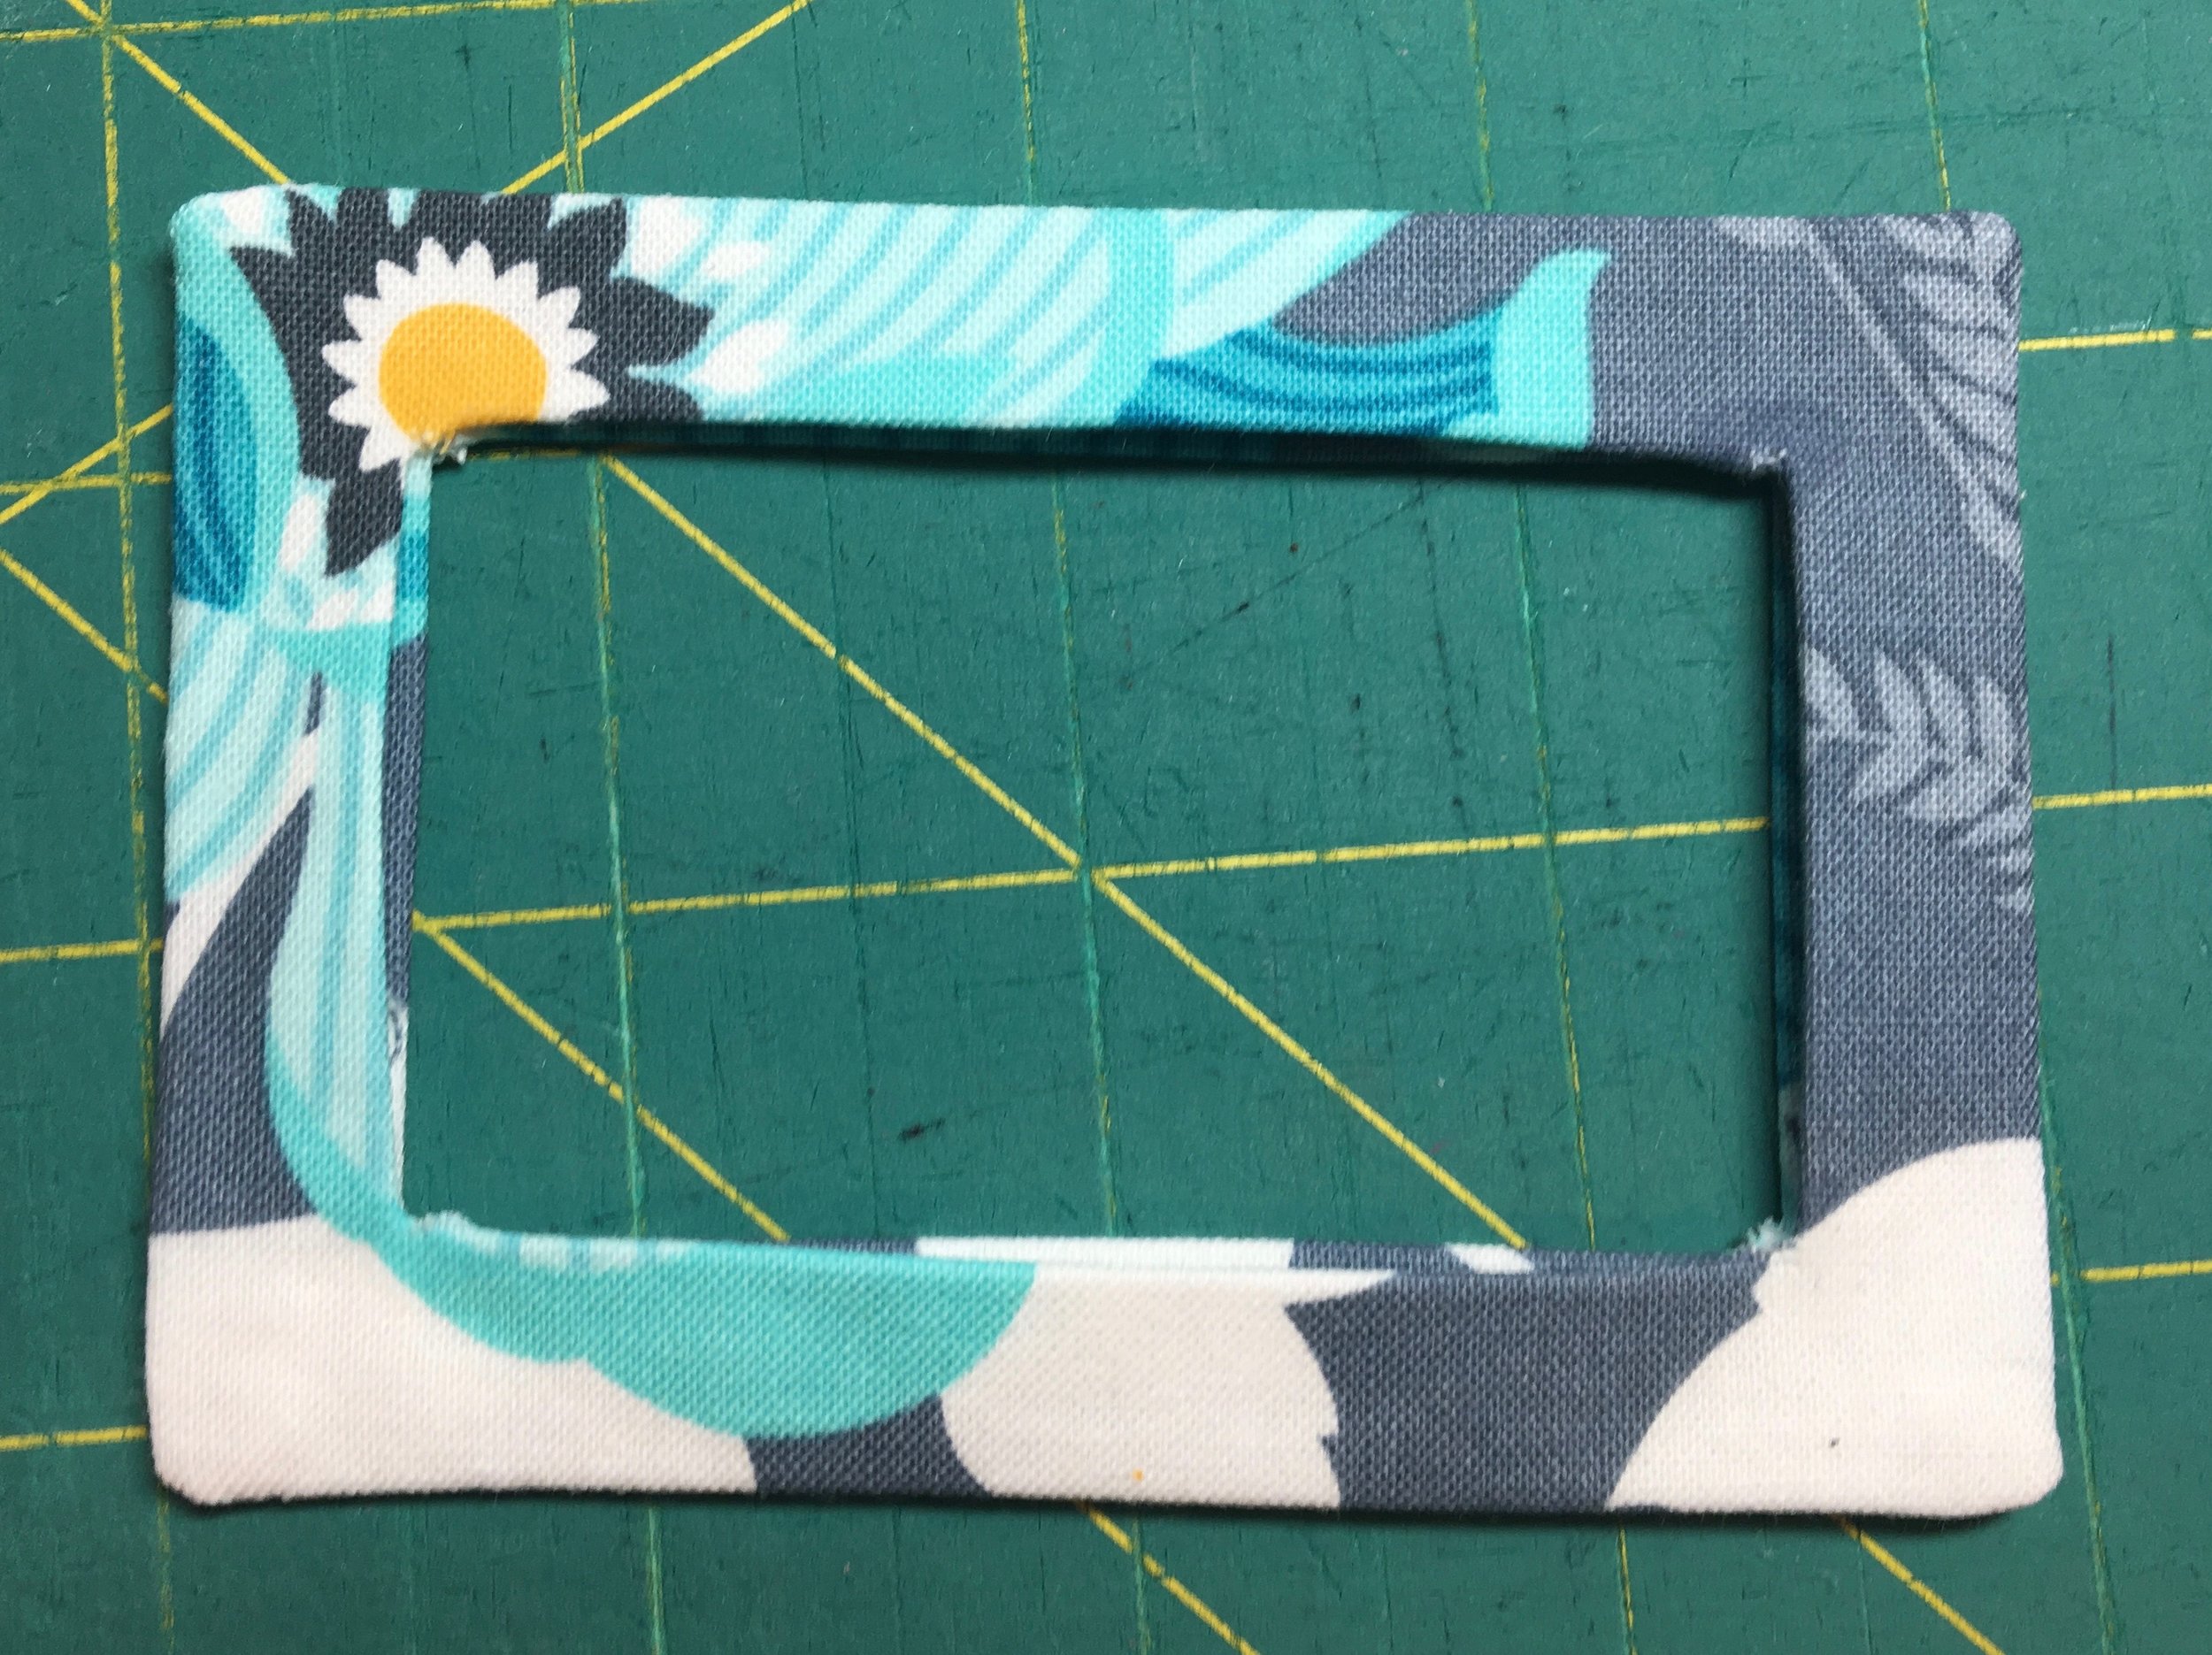
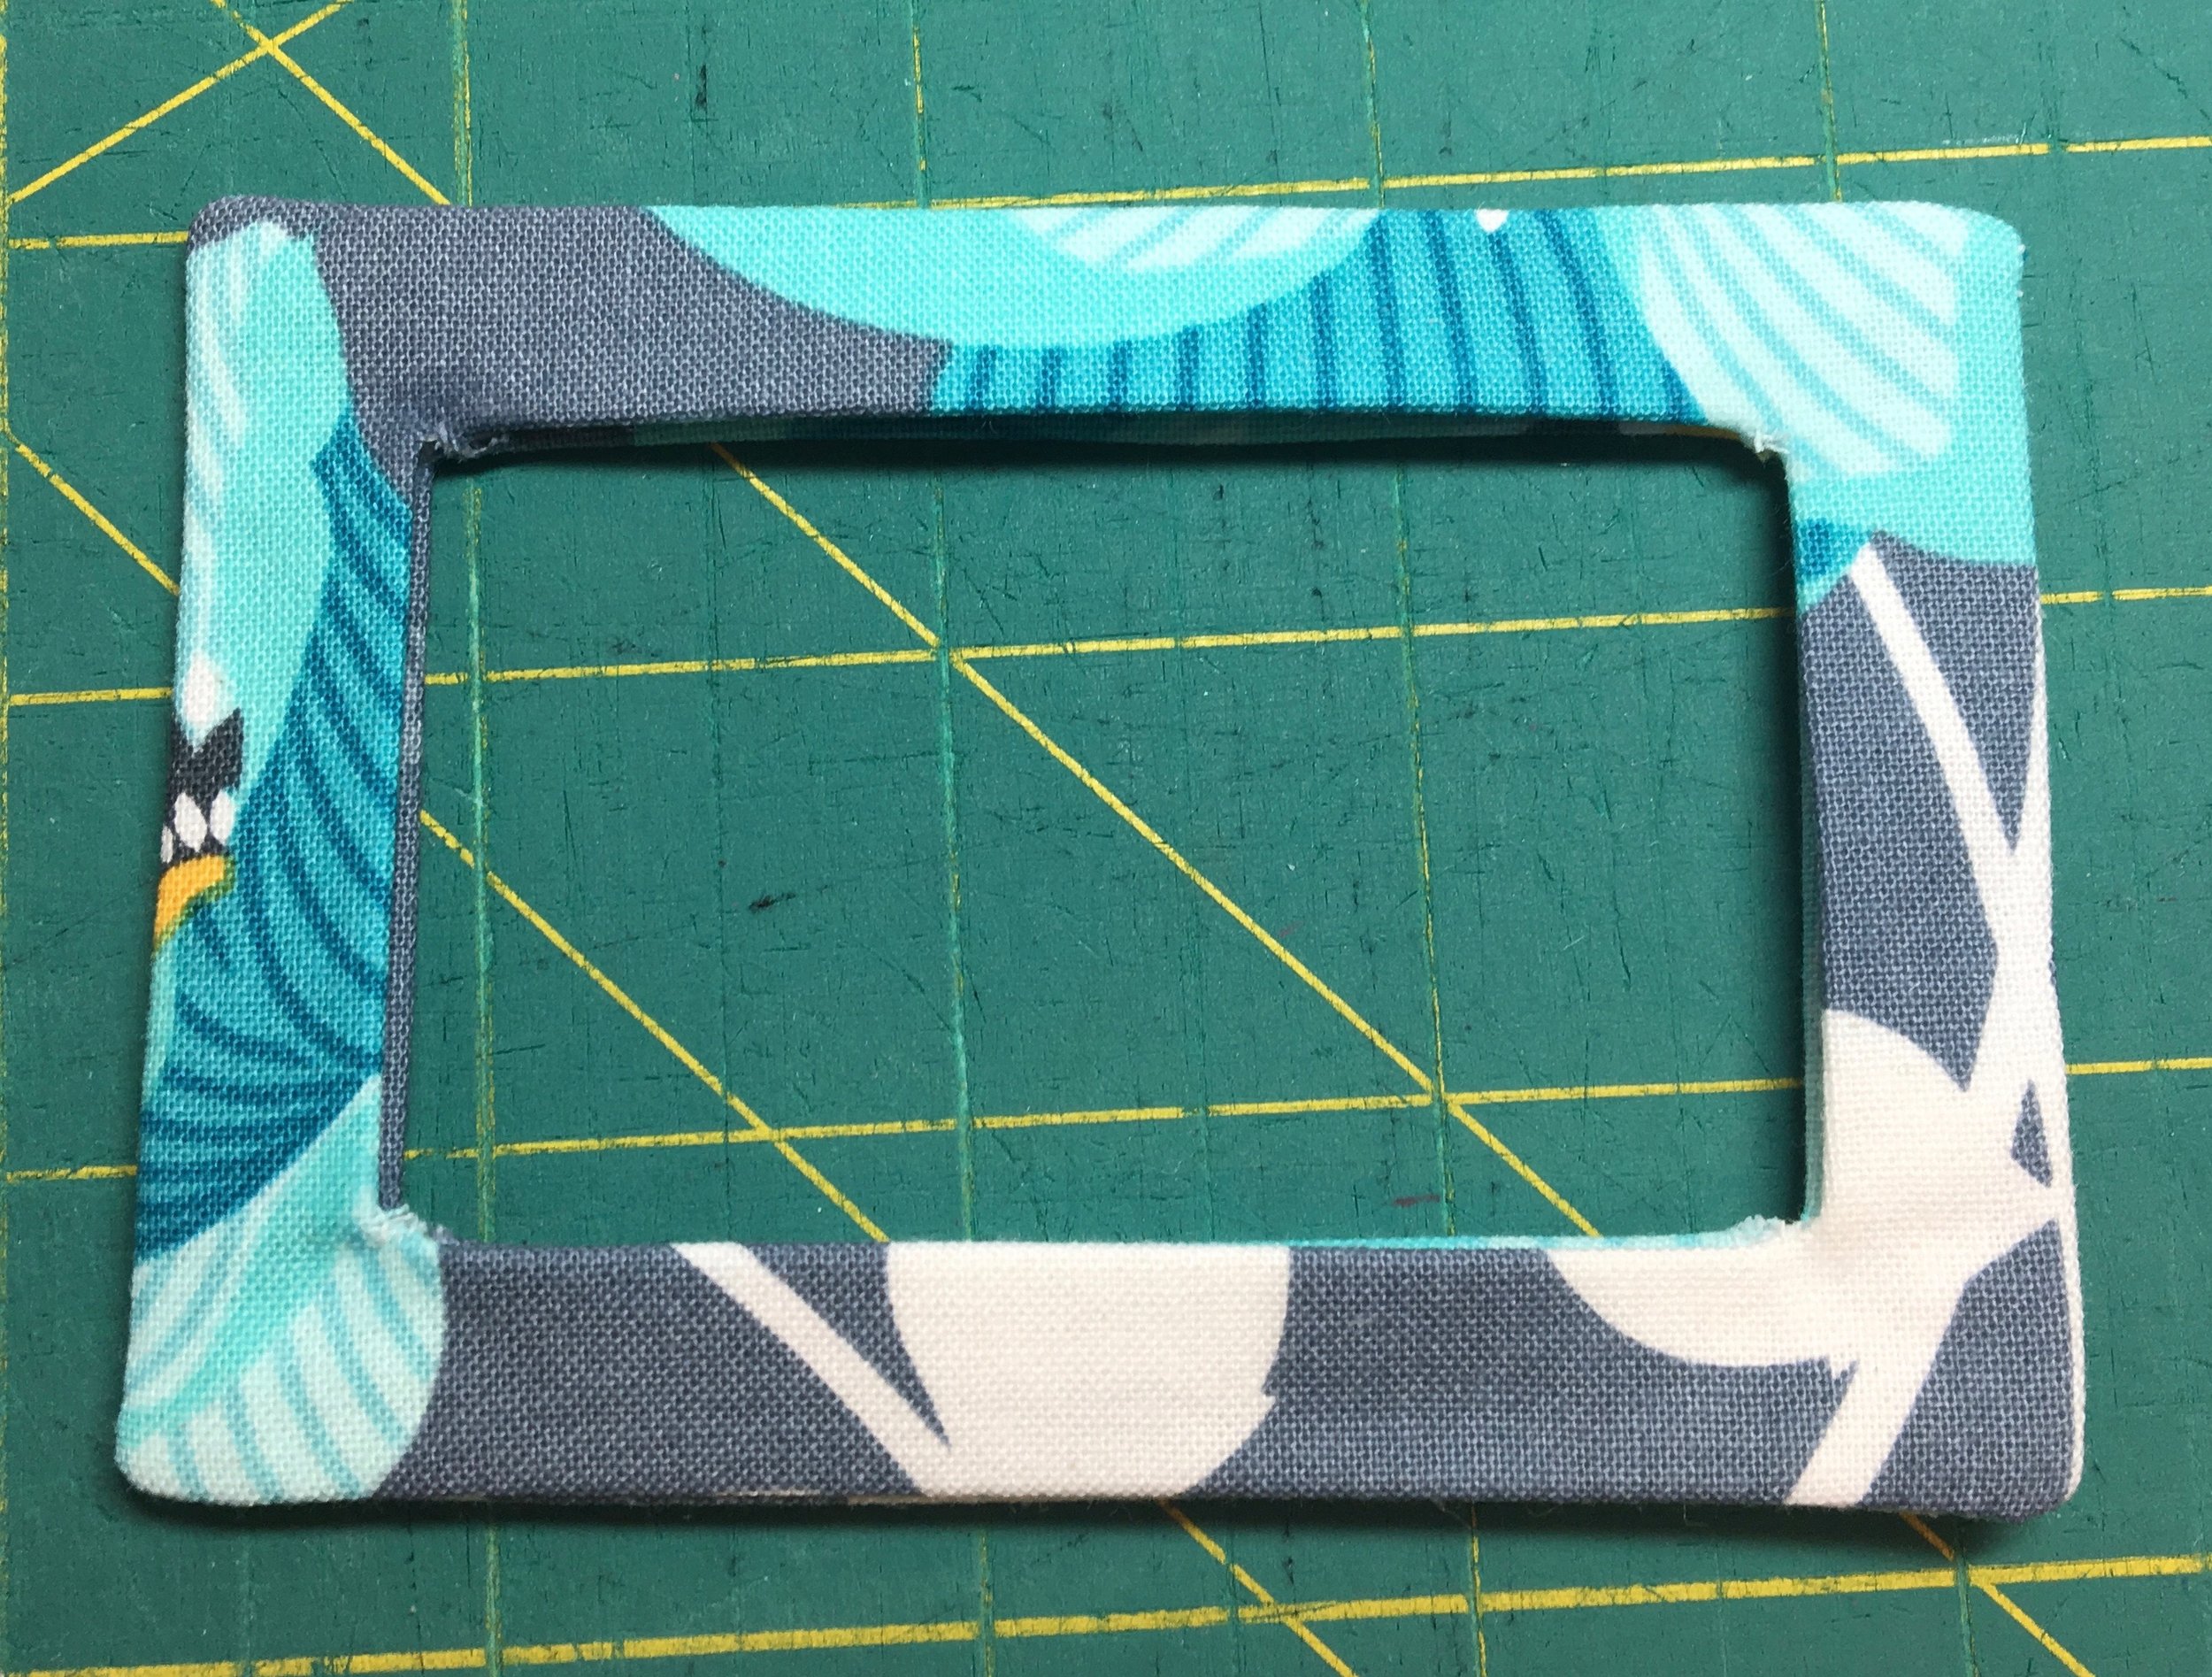
I am always really excited to turn the ID window pocket right side out. I start pushing in one corner and flip everything right side out. It always looks like such a mess at this point. Before I iron it to make it look good, I finger press it a bit to get it all heading in the right direction. I love how the ID window pocket looks after it is pressed well!
I have to take a little break here to figure out which side of the ID pocket I want facing out. I usually pick the side that is a little more colorful or has a more interesting part of the fabric showing - definitley the one on the left!
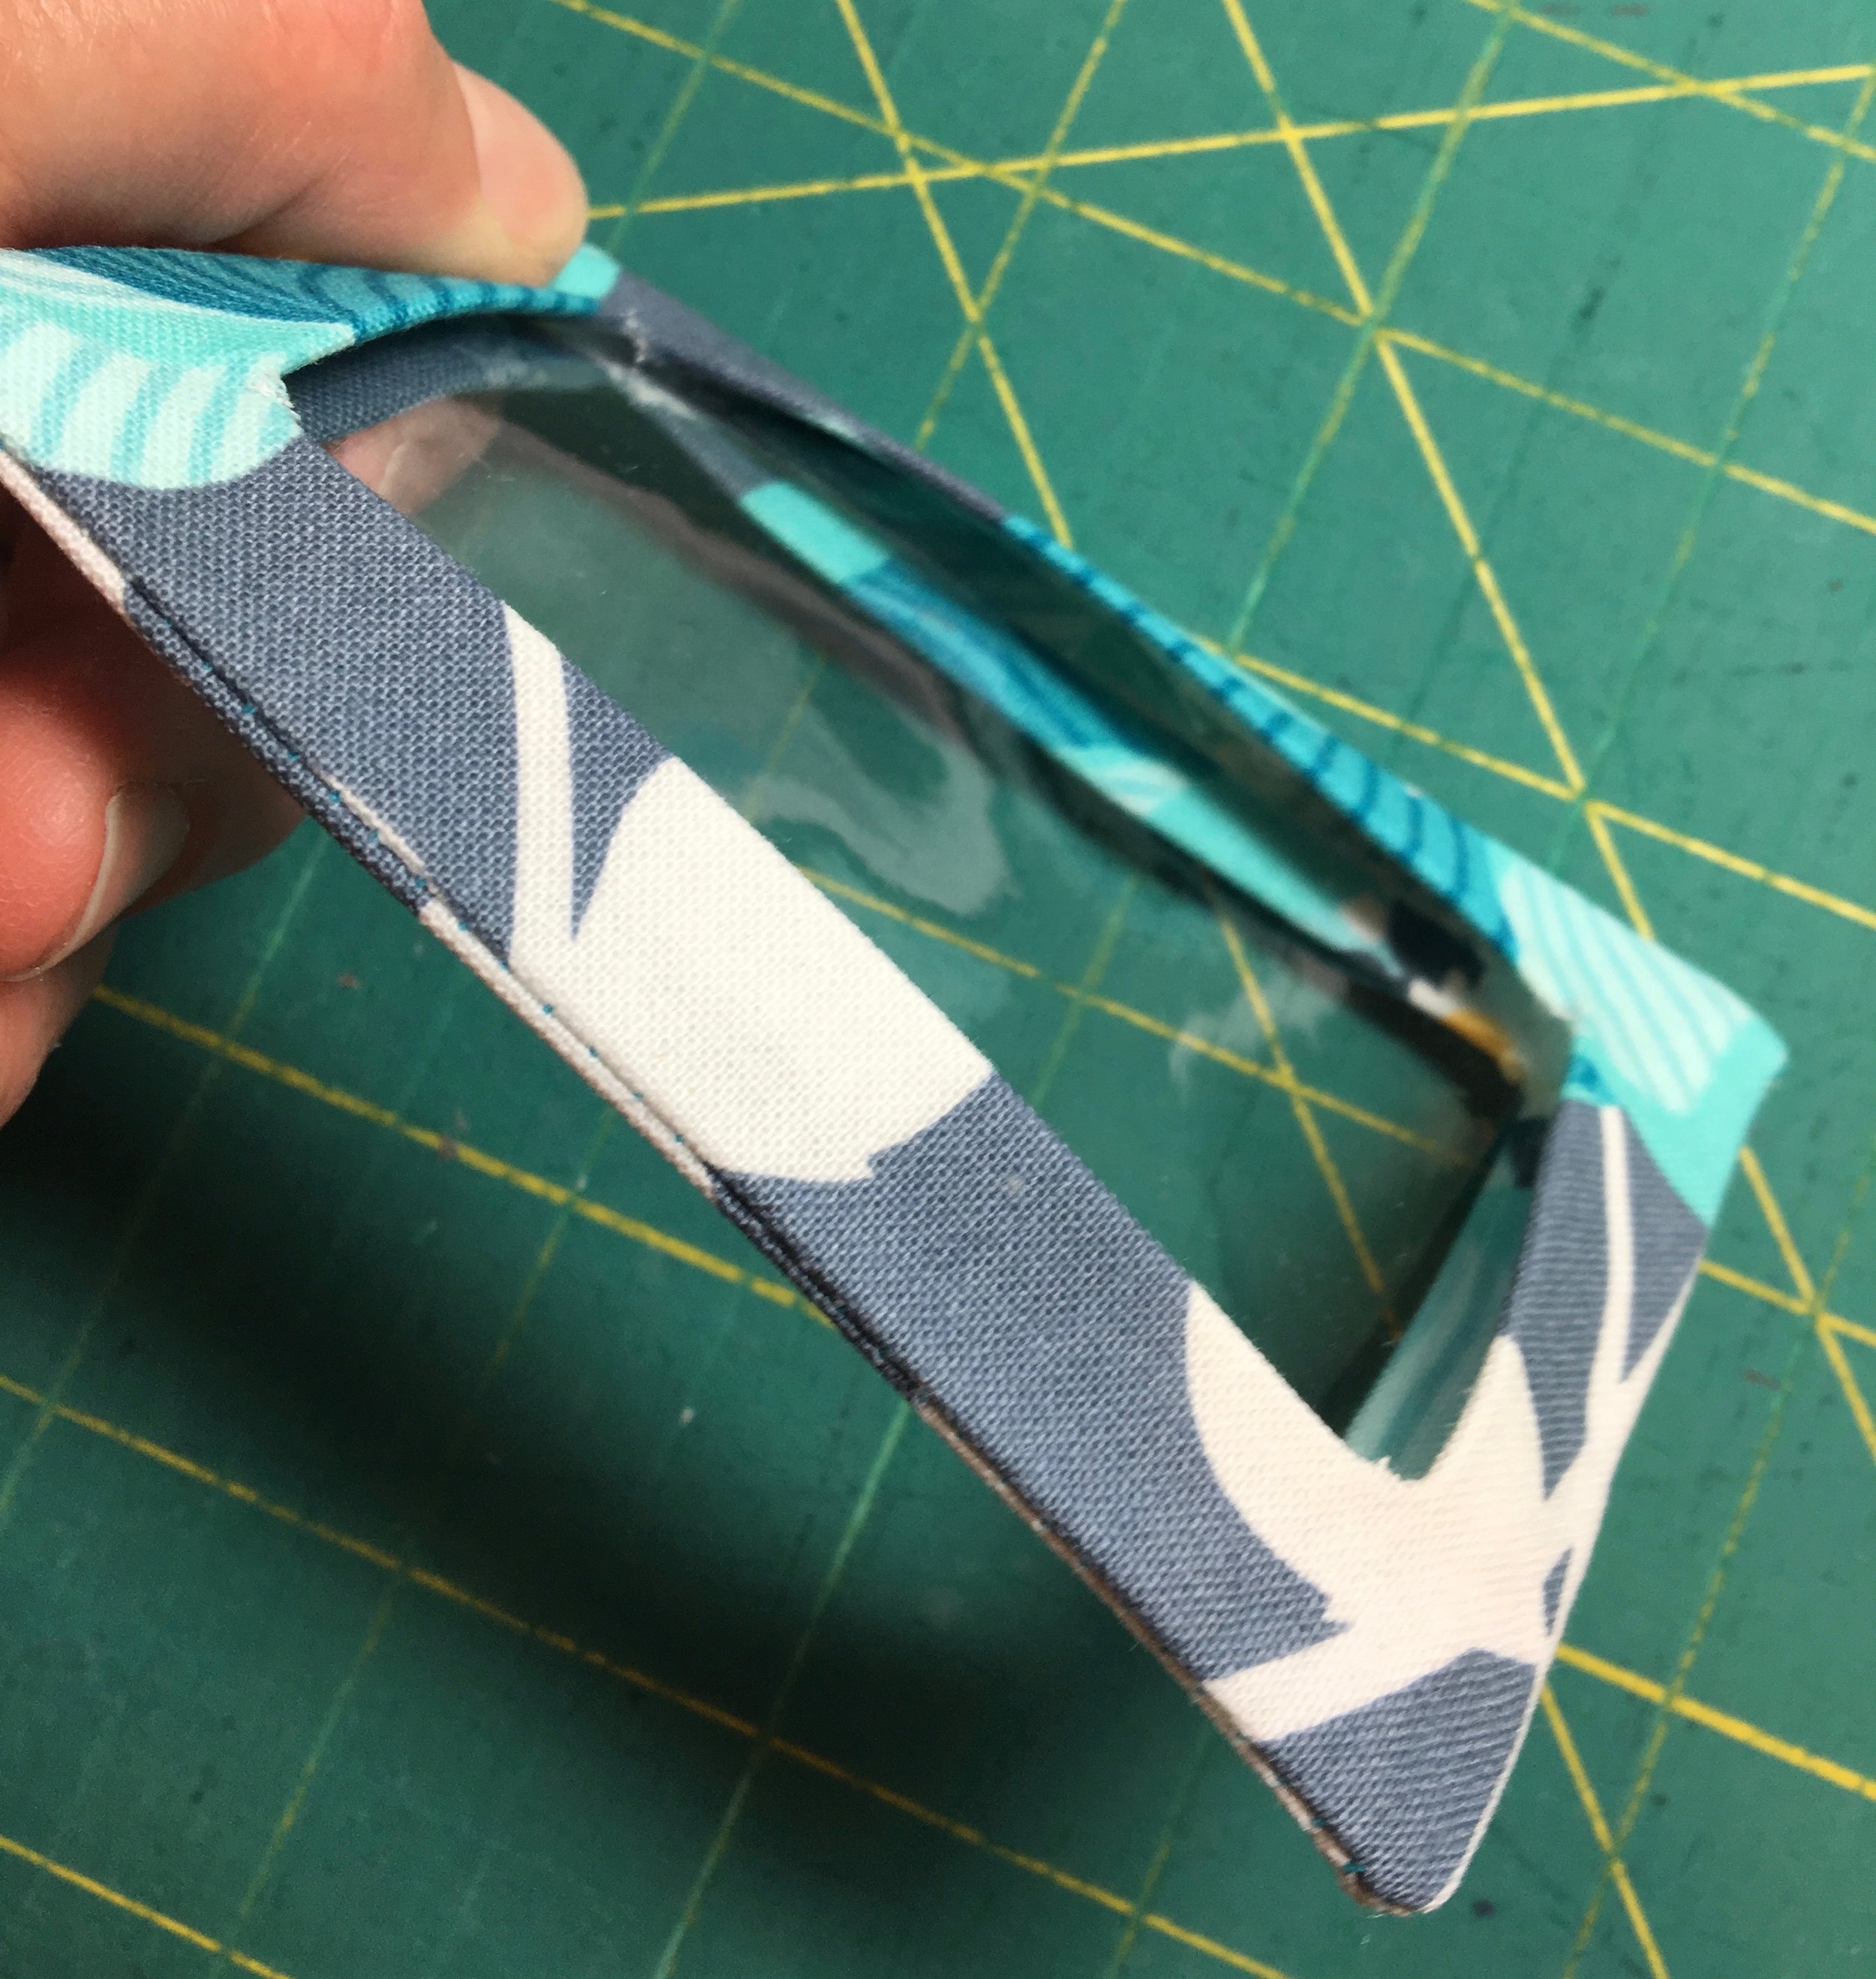
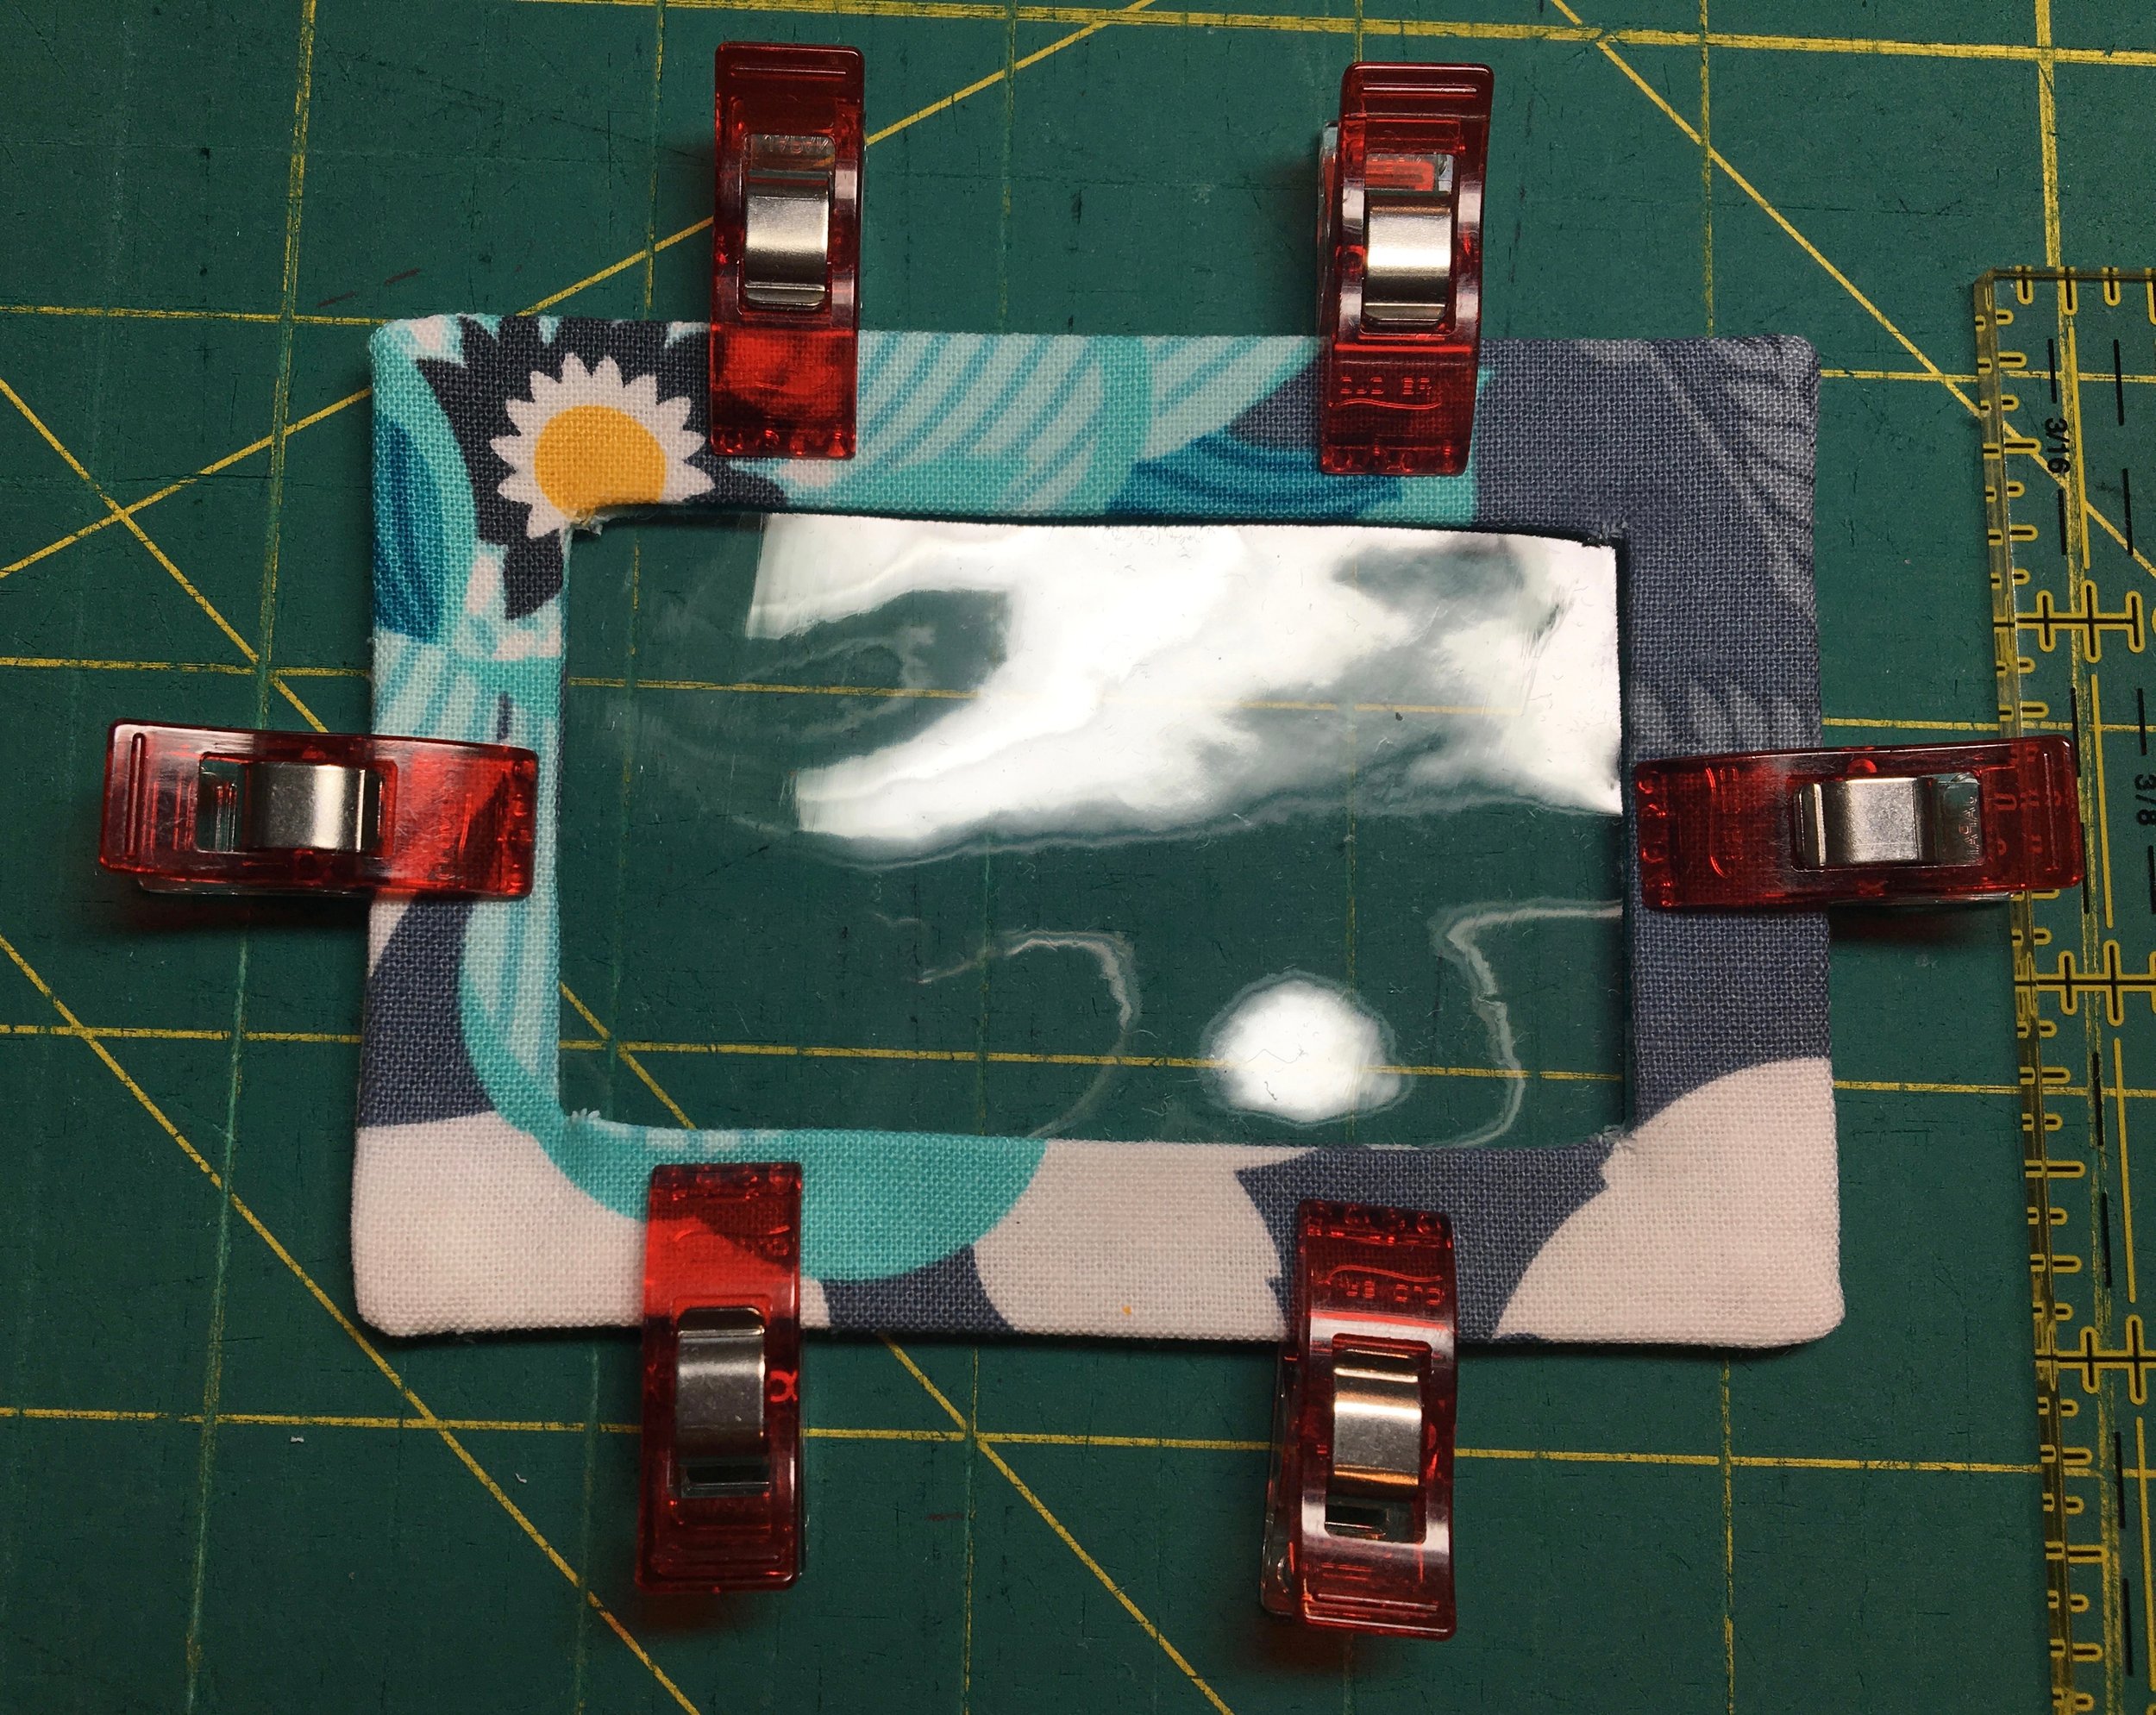
This next part can be tricky, sometimes I can get the clear vinyl piece to pop right into place and sometimes it takes me a couple tries to get it in place. When I wrote the pattern for the Kristine ID Wallet pattern, I hadn’t heard of Wonder Clips yet. Using clips to hold the vinyl in place can be very helpful at this point.
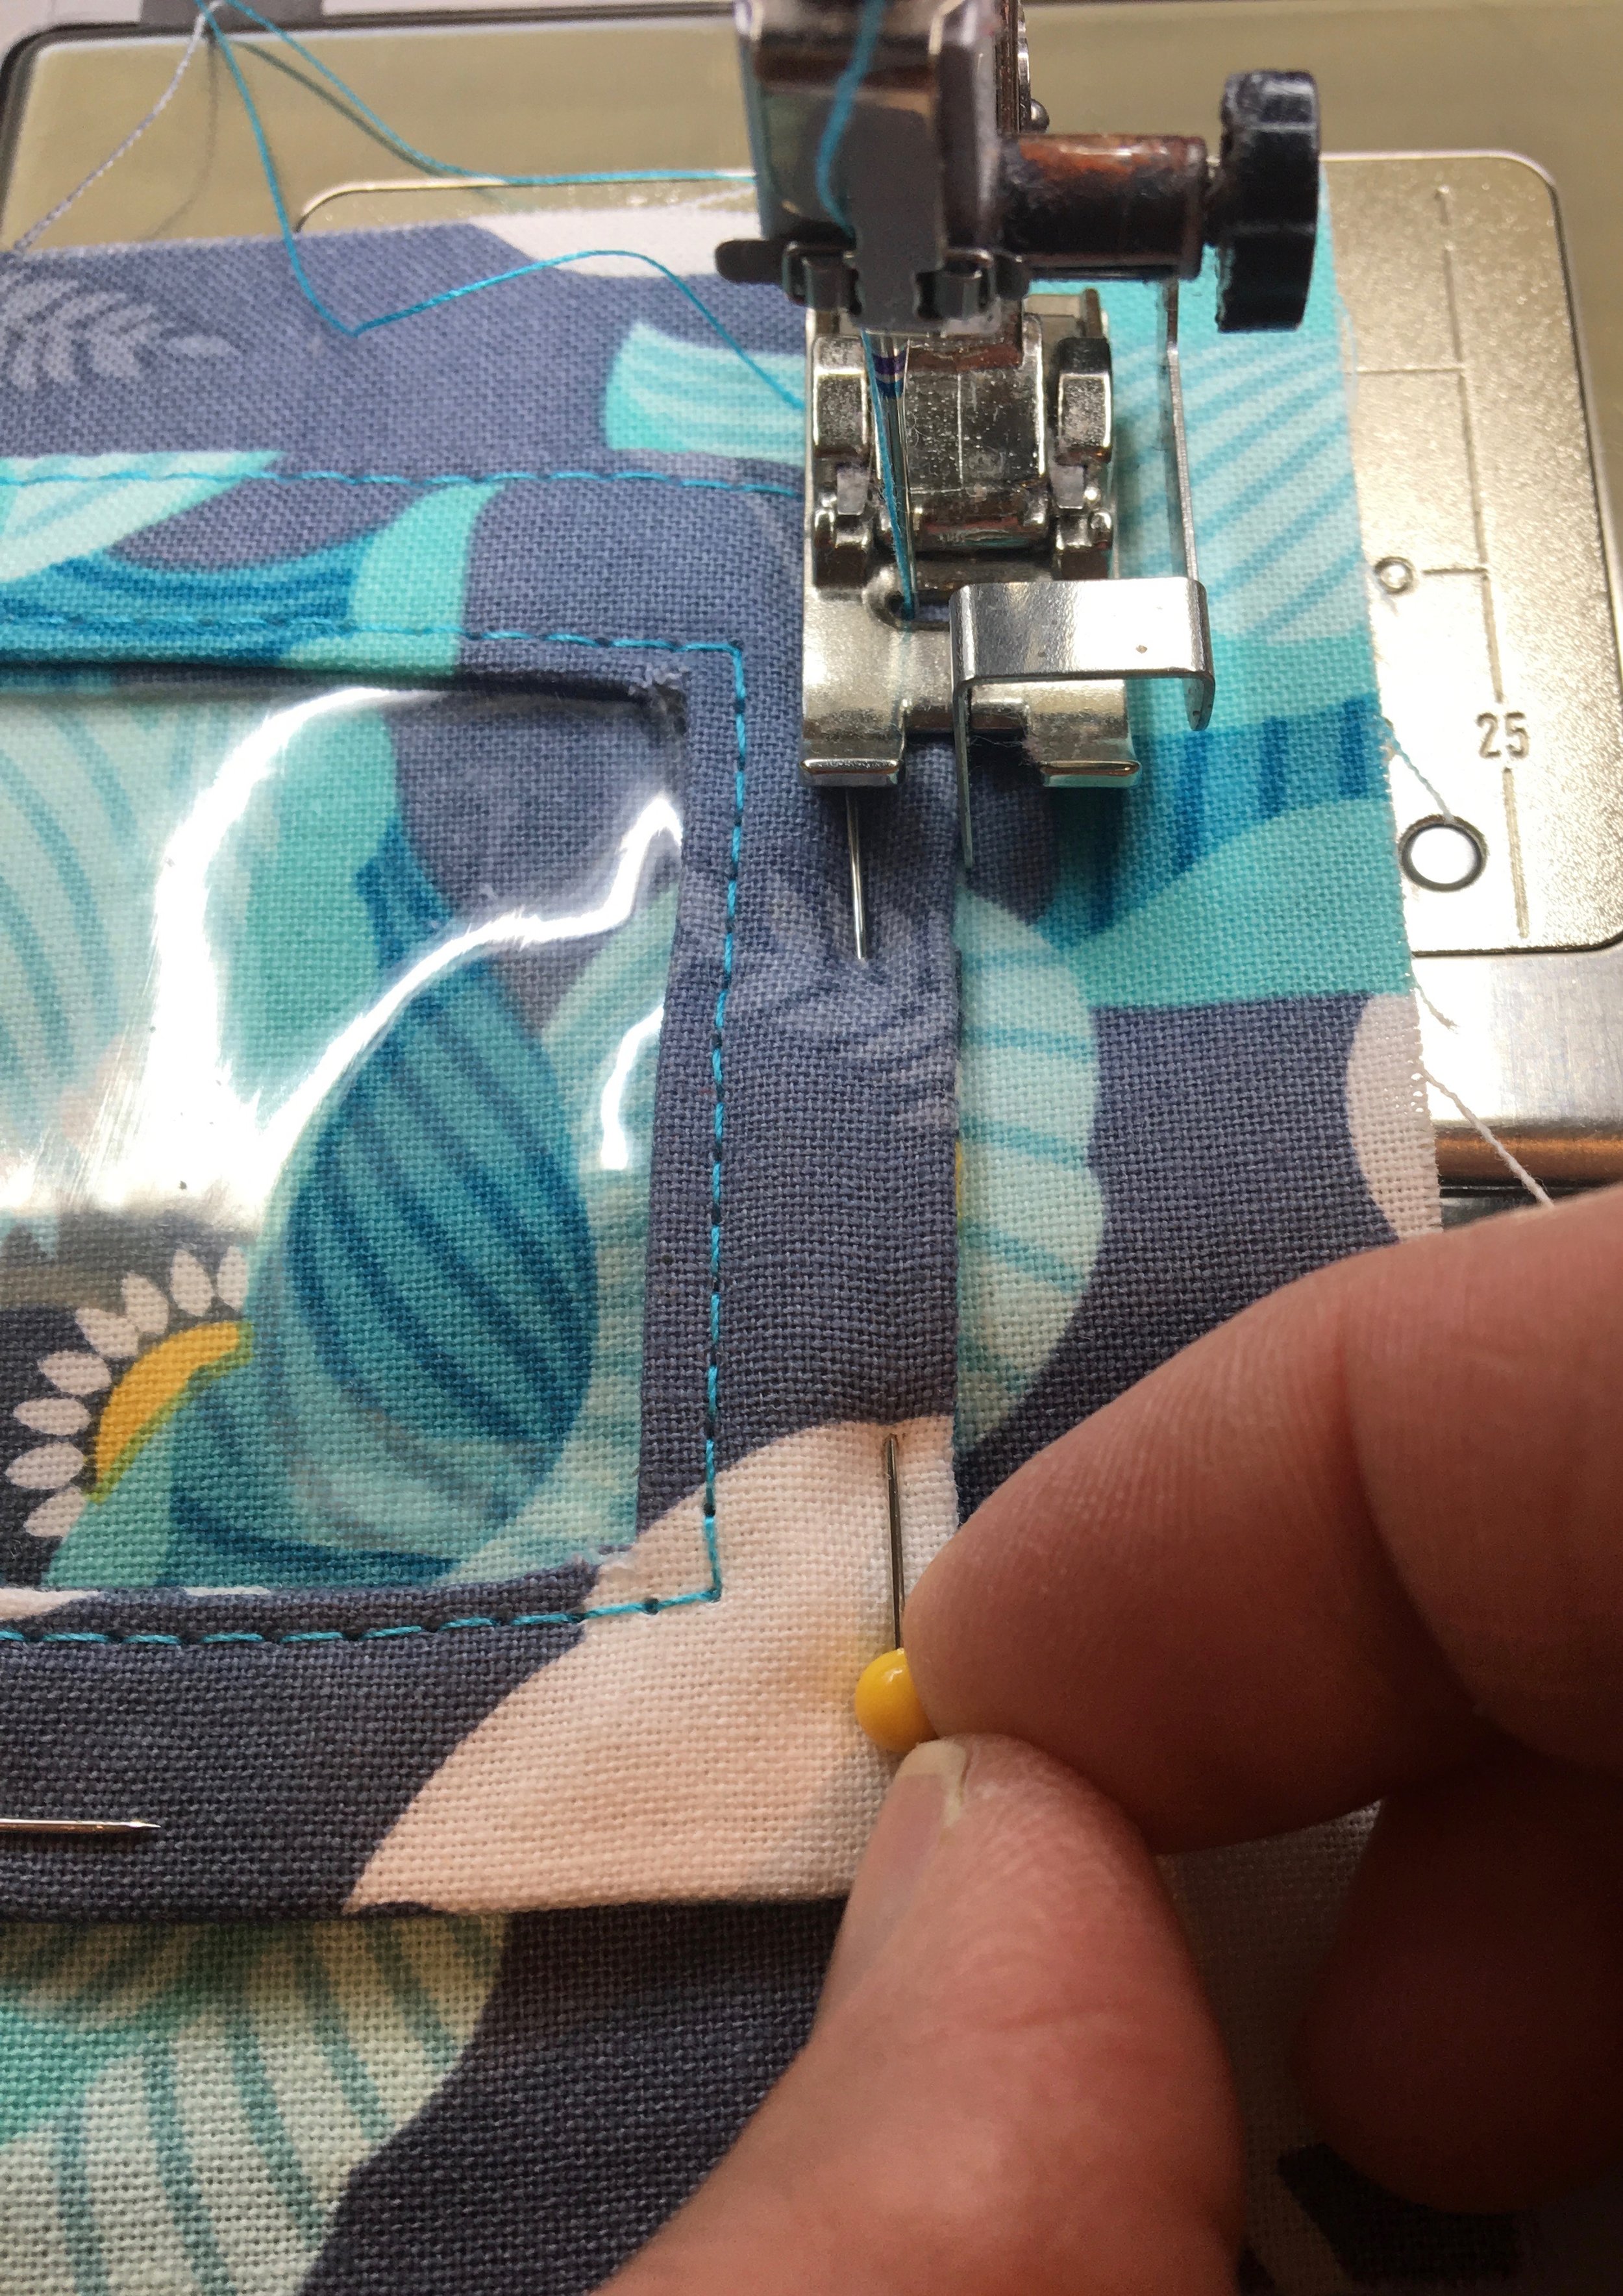
I use a tool called That Purple Thang as I top-stitch the vinyl in place. That Purple Thang helps me to push or shift the inner folded edges on both the front and back of the ID window pocket so that they match perfectly. I also use this tool to make sure that each corner is folded under and sticking to the tape just before I get to it, helping to make my corners more crisp.
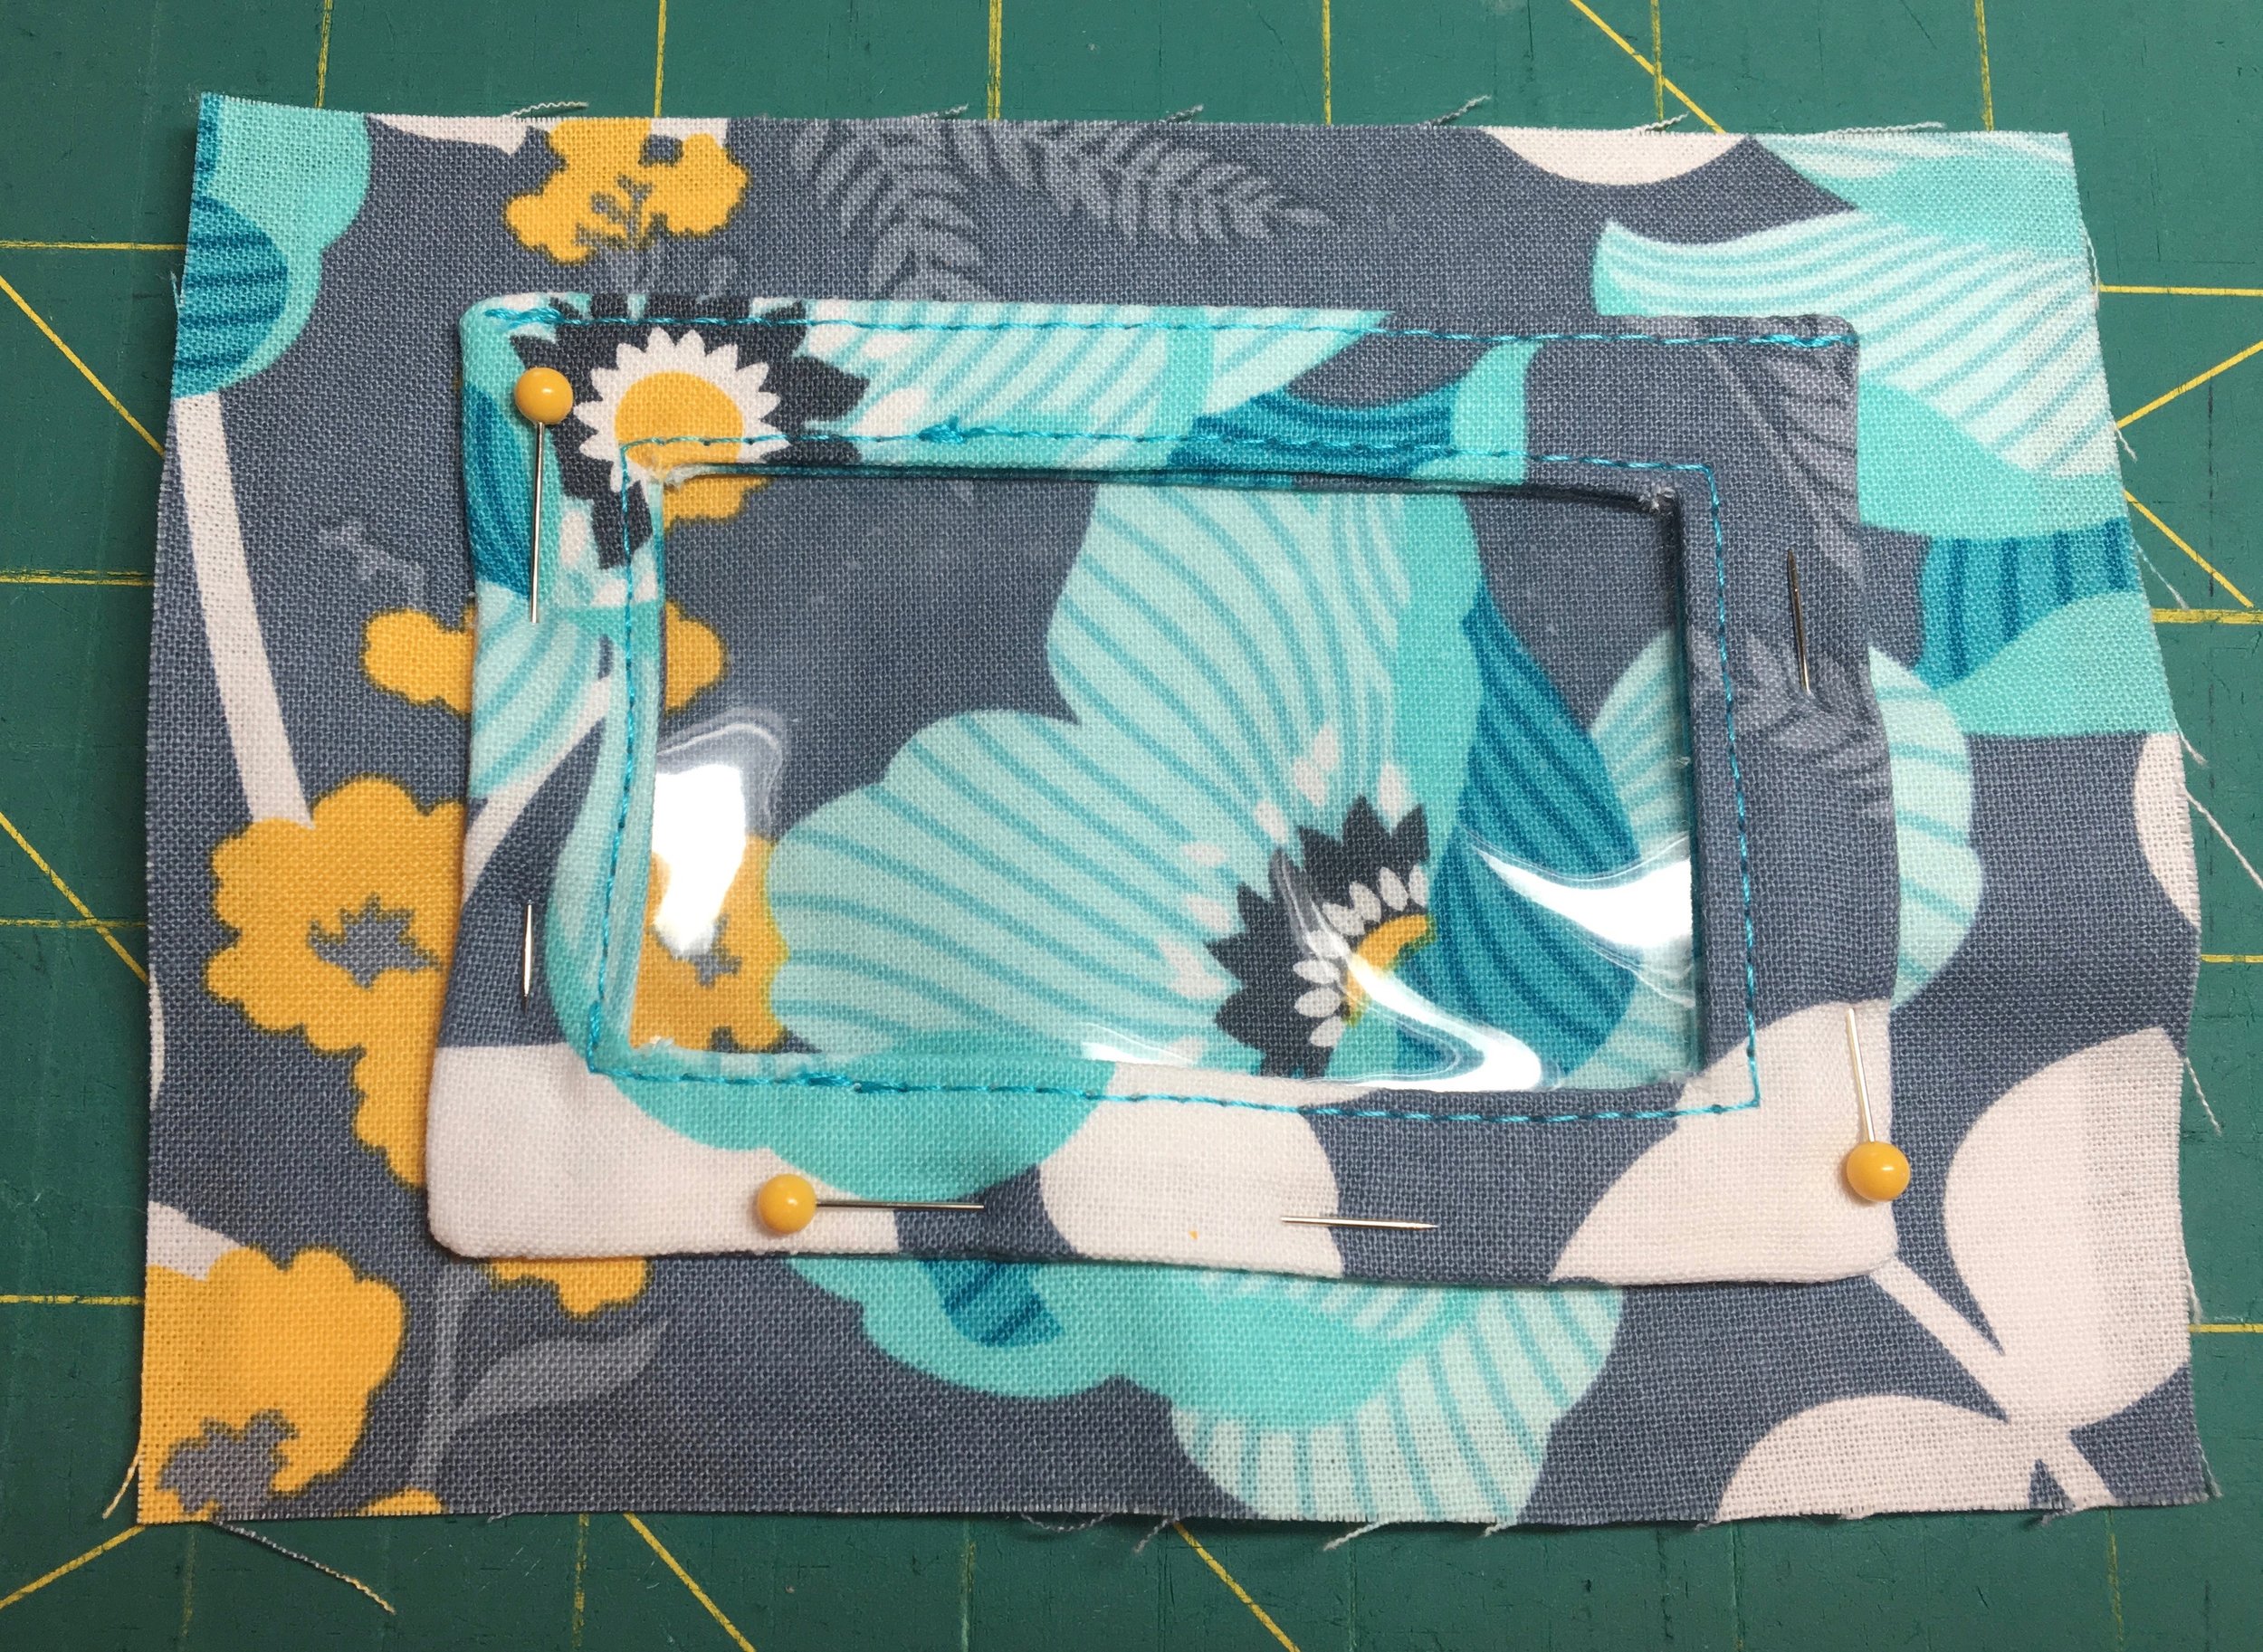
Make sure when you pin the ID window pocket in place that the top-stitched, top edge is up – this is especially important if your fabric is directional. I usually just hold the pocket in place as I sew it on the back piece, but when I decide to pin it in place, I put the pins in so that they are not making holes in the vinyl and so that the pins can be easily removed as I sew. Note: I just found longer Wonder Clips!!! I think they will work to hold the ID pocket in place as you top stitch. I ordered some and will have to try it out. If they work, they will be added to at least one of the three prizes!
Yay – the back of your Kristine ID Wallet is complete! Tomorrow we will work on the front side of the wallet. I would love to see pictures of your progress! Remember progress pictures posted in the Uniquely Michelle Sewing Patterns Facebook Group and on Instagram (use #KIDWSewAlong so I can find your post) to increase your chances of winning one of the three prizes that will be given away with the random drawing that will take place on Monday, October 16th at 10:00pm MDT! Of course, you will have to post a finished picture of your Kristine ID Wallet by the draw day and time to be entered into the drawing.
For day 3 of the sew along, you will need either a magnetic snap or a regular snap. If you want more information about where I get my hardware and supplies for the Kristine ID Wallet, check out this blog post. I’ll see you back here tomorrow for day 3 of the Kristine ID Sew Along!


