Kristine ID Wallet Sew Along Day #4 - Straps, Ring Loop and Zipper
Michelle Burke
Are you ready for a quick and easy day of sewing today? I hope so, because that is what day #4 of the Kristine ID Wallet Sew Along is! If you haven’t been able to sew along with us each day or you are just starting the Kristine ID Wallet Sew Along, you can click on the links in the schedule below to catch up with what we did on days 1-3. The Kristine ID Wallet is a fast sew, so it will be easy to catch up! Do you still need the Kristine ID Wallet pattern? You can purchase it from the Uniquely Michelle Website Shop, the Uniquely Michelle Etsy Shop, or the Uniquely Michelle Craftsy Pattern Shop. Remember the discount code if you are purchasing from the website or Etsy – SEWKIDW. The price is already reduced on Craftsy.
The Kristine ID Wallet Sew Along schedule:
- Day #1: Cutting and Fusing
- Day #2: ID Window Pocket/Back of KIDW
- Day #3: Envelope Flap and Card Pockets/Front of KIDW
- Day #4: Straps, Ring Loop and Zipper
- Day #5: Finishing It Up
Day #4 is easy, but will involve a lot of pressing! So, get those irons hot and let’s get started! Today we will be making the wrist strap, lanyard and ring loop; and prepping the zipper for installation!
When I first wrote this pattern, I was only going to include instructions for a wrist strap. Then one of my testers made it with a lanyard and I asked my testers if I should include instructions for both a wrist strap and a lanyard. Of course, the answer was YES! I’m glad I listened to my testers (they are a pretty smart group of ladies) because most people make the lanyard and not the wrist strap. Those who sell Kristine ID Wallets sell them with lanyards usually. Paula of Paula Made It has a great idea for selling Kristine ID Wallets, she makes matching lanyards for each one and then makes only a few wrist straps that could coordinate with several of the Kristine ID Wallets that she has made. People can then choose to switch out the lanyard for a wrist strap or buy a wrist strap along with their purchase of a Kristine ID Wallet with a lanyard – perfect!
Even though the instructions have you making the wrist strap and lanyard in a different step than making the ring loop and prepping the zipper for installation, I like to construct these parts at the same time. The first steps for all of them are the same, so we might as well make them in a more assembly line fashion.
The first stop is the iron today! All four fabric pieces, the wrist strap, the lanyard, the ring loop and the zipper end tabs get pressed in the exact same way – in half and then the raw edges are pressed toward the center fold. It’s a lot of pressing, be careful not to burn those fingers!
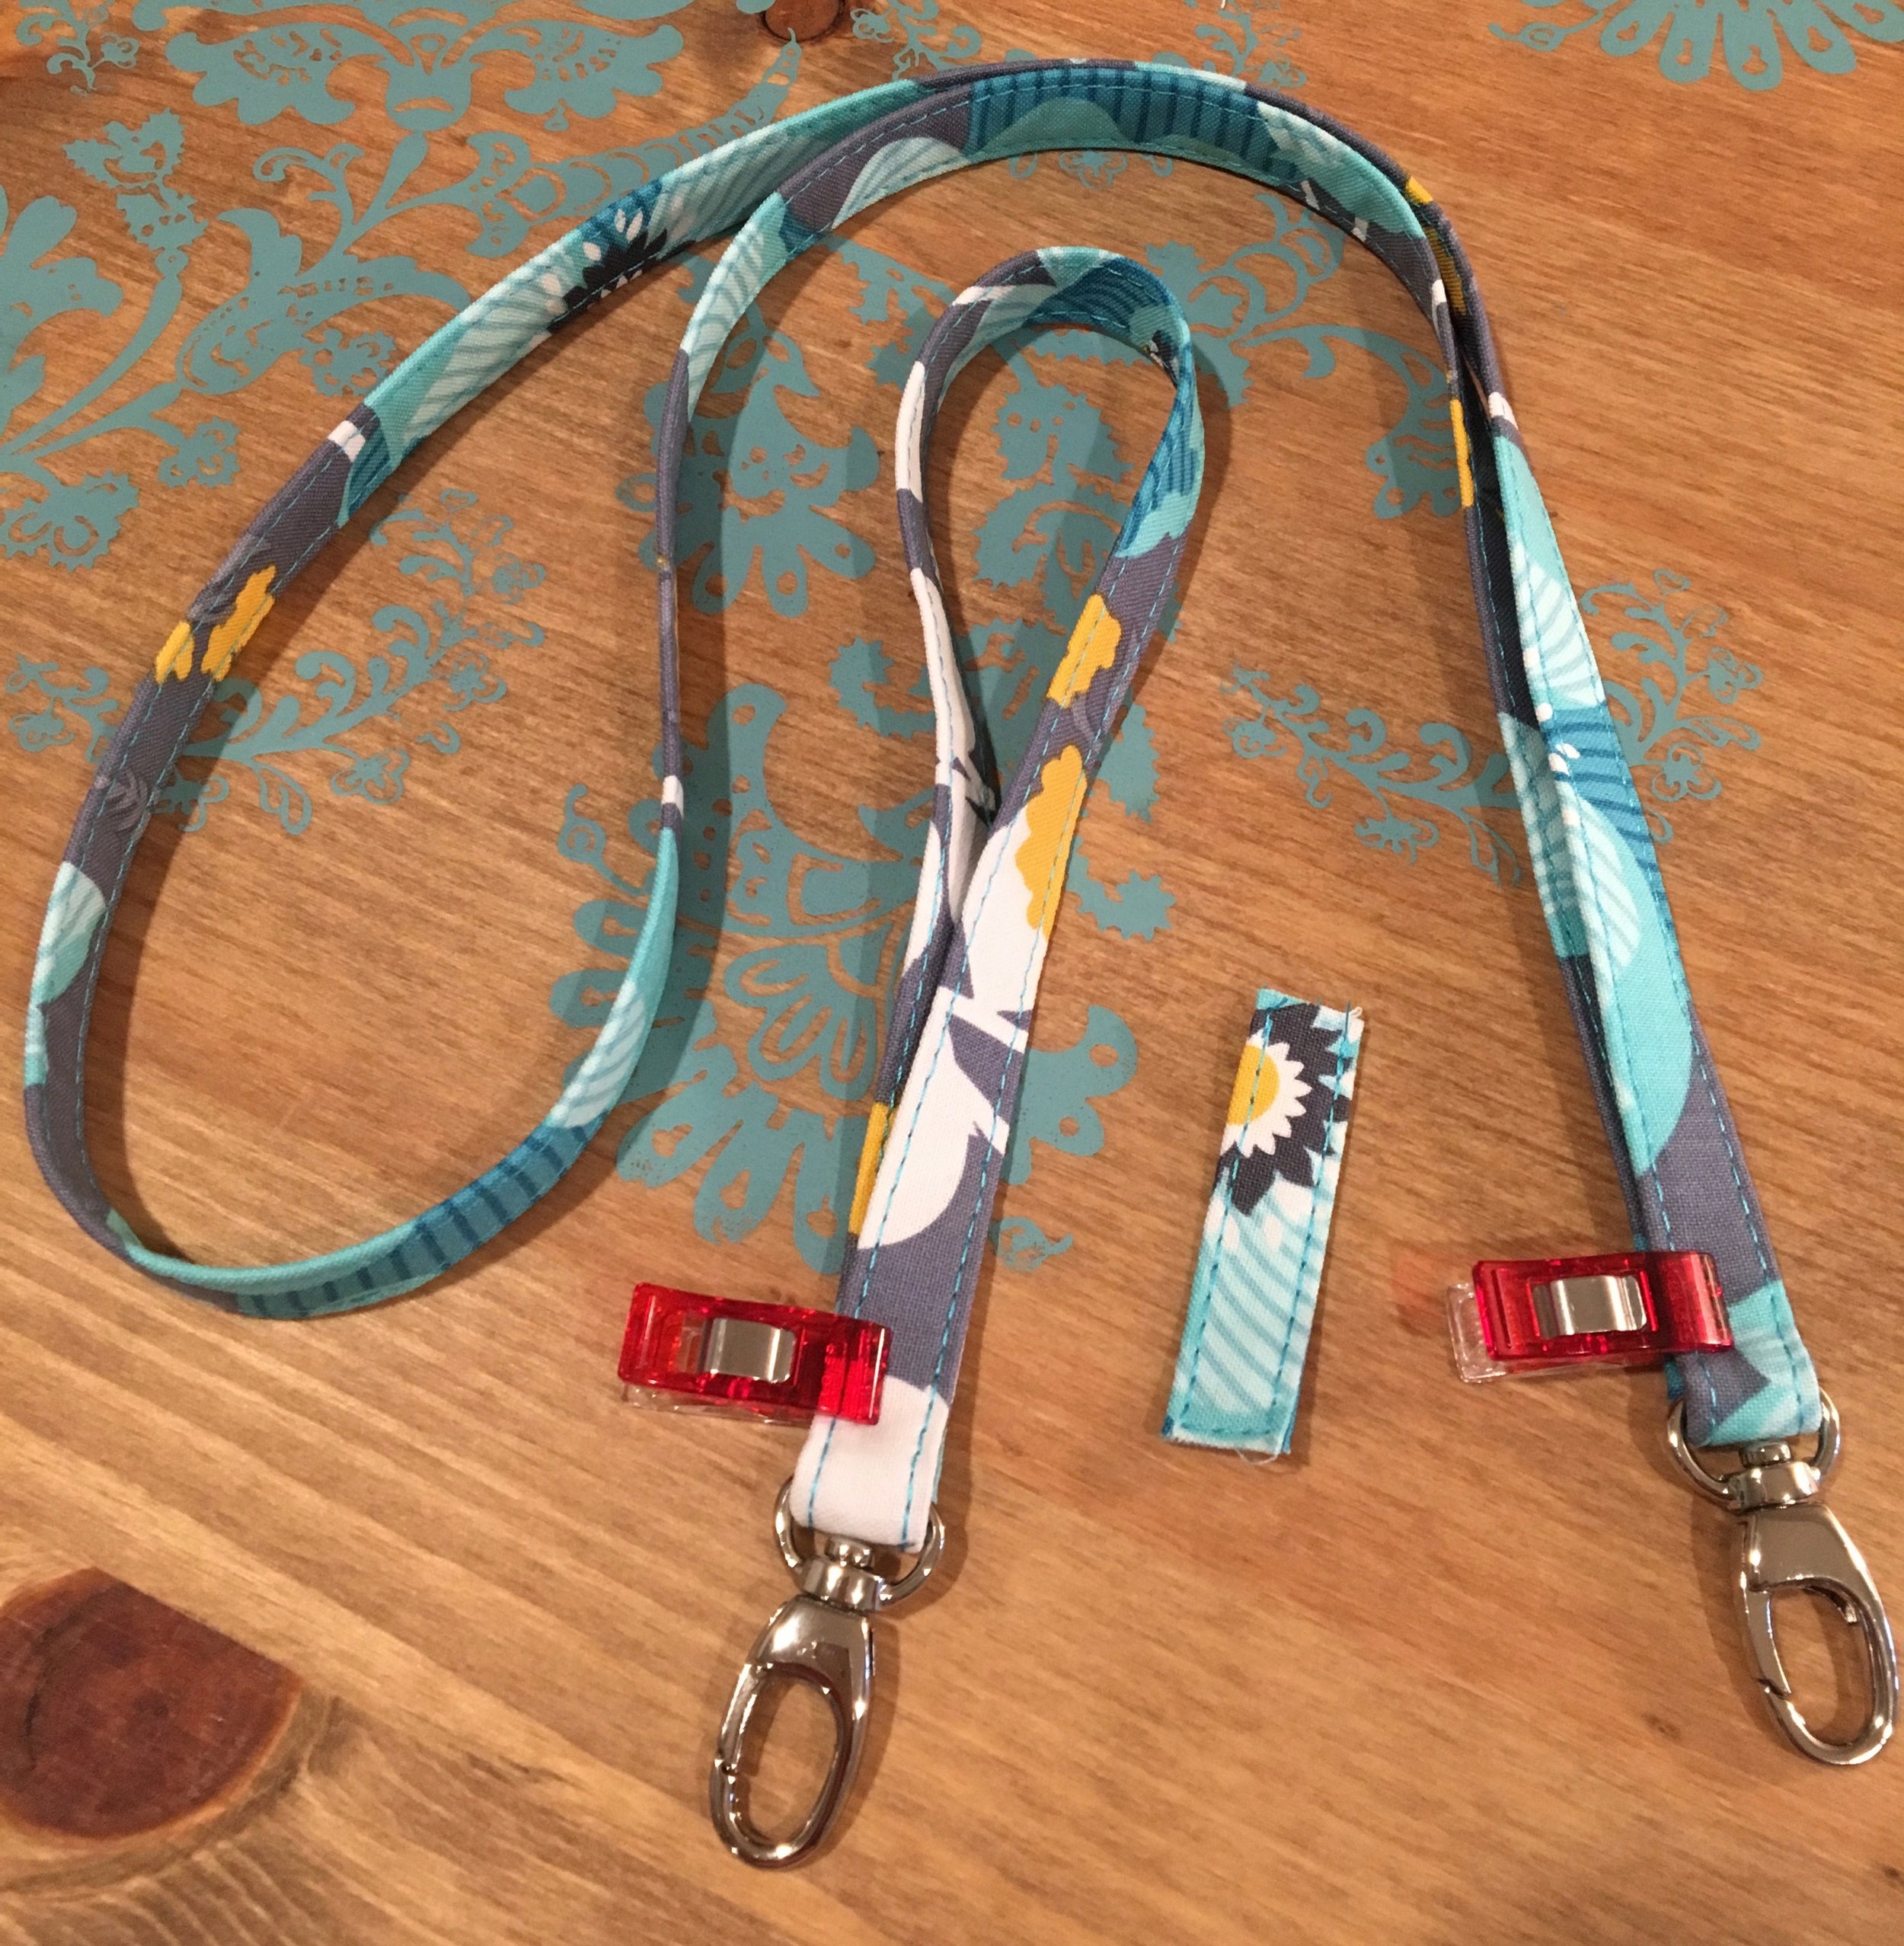
Once everything is pressed, let’s work first with the wrist strap and lanyard. Remember to put the swivel snap hook on these before you sew the short ends together – something I forget to do sometimes! It is also important to make sure the wrist strap and lanyard aren’t twisted when you sew the short ends together.
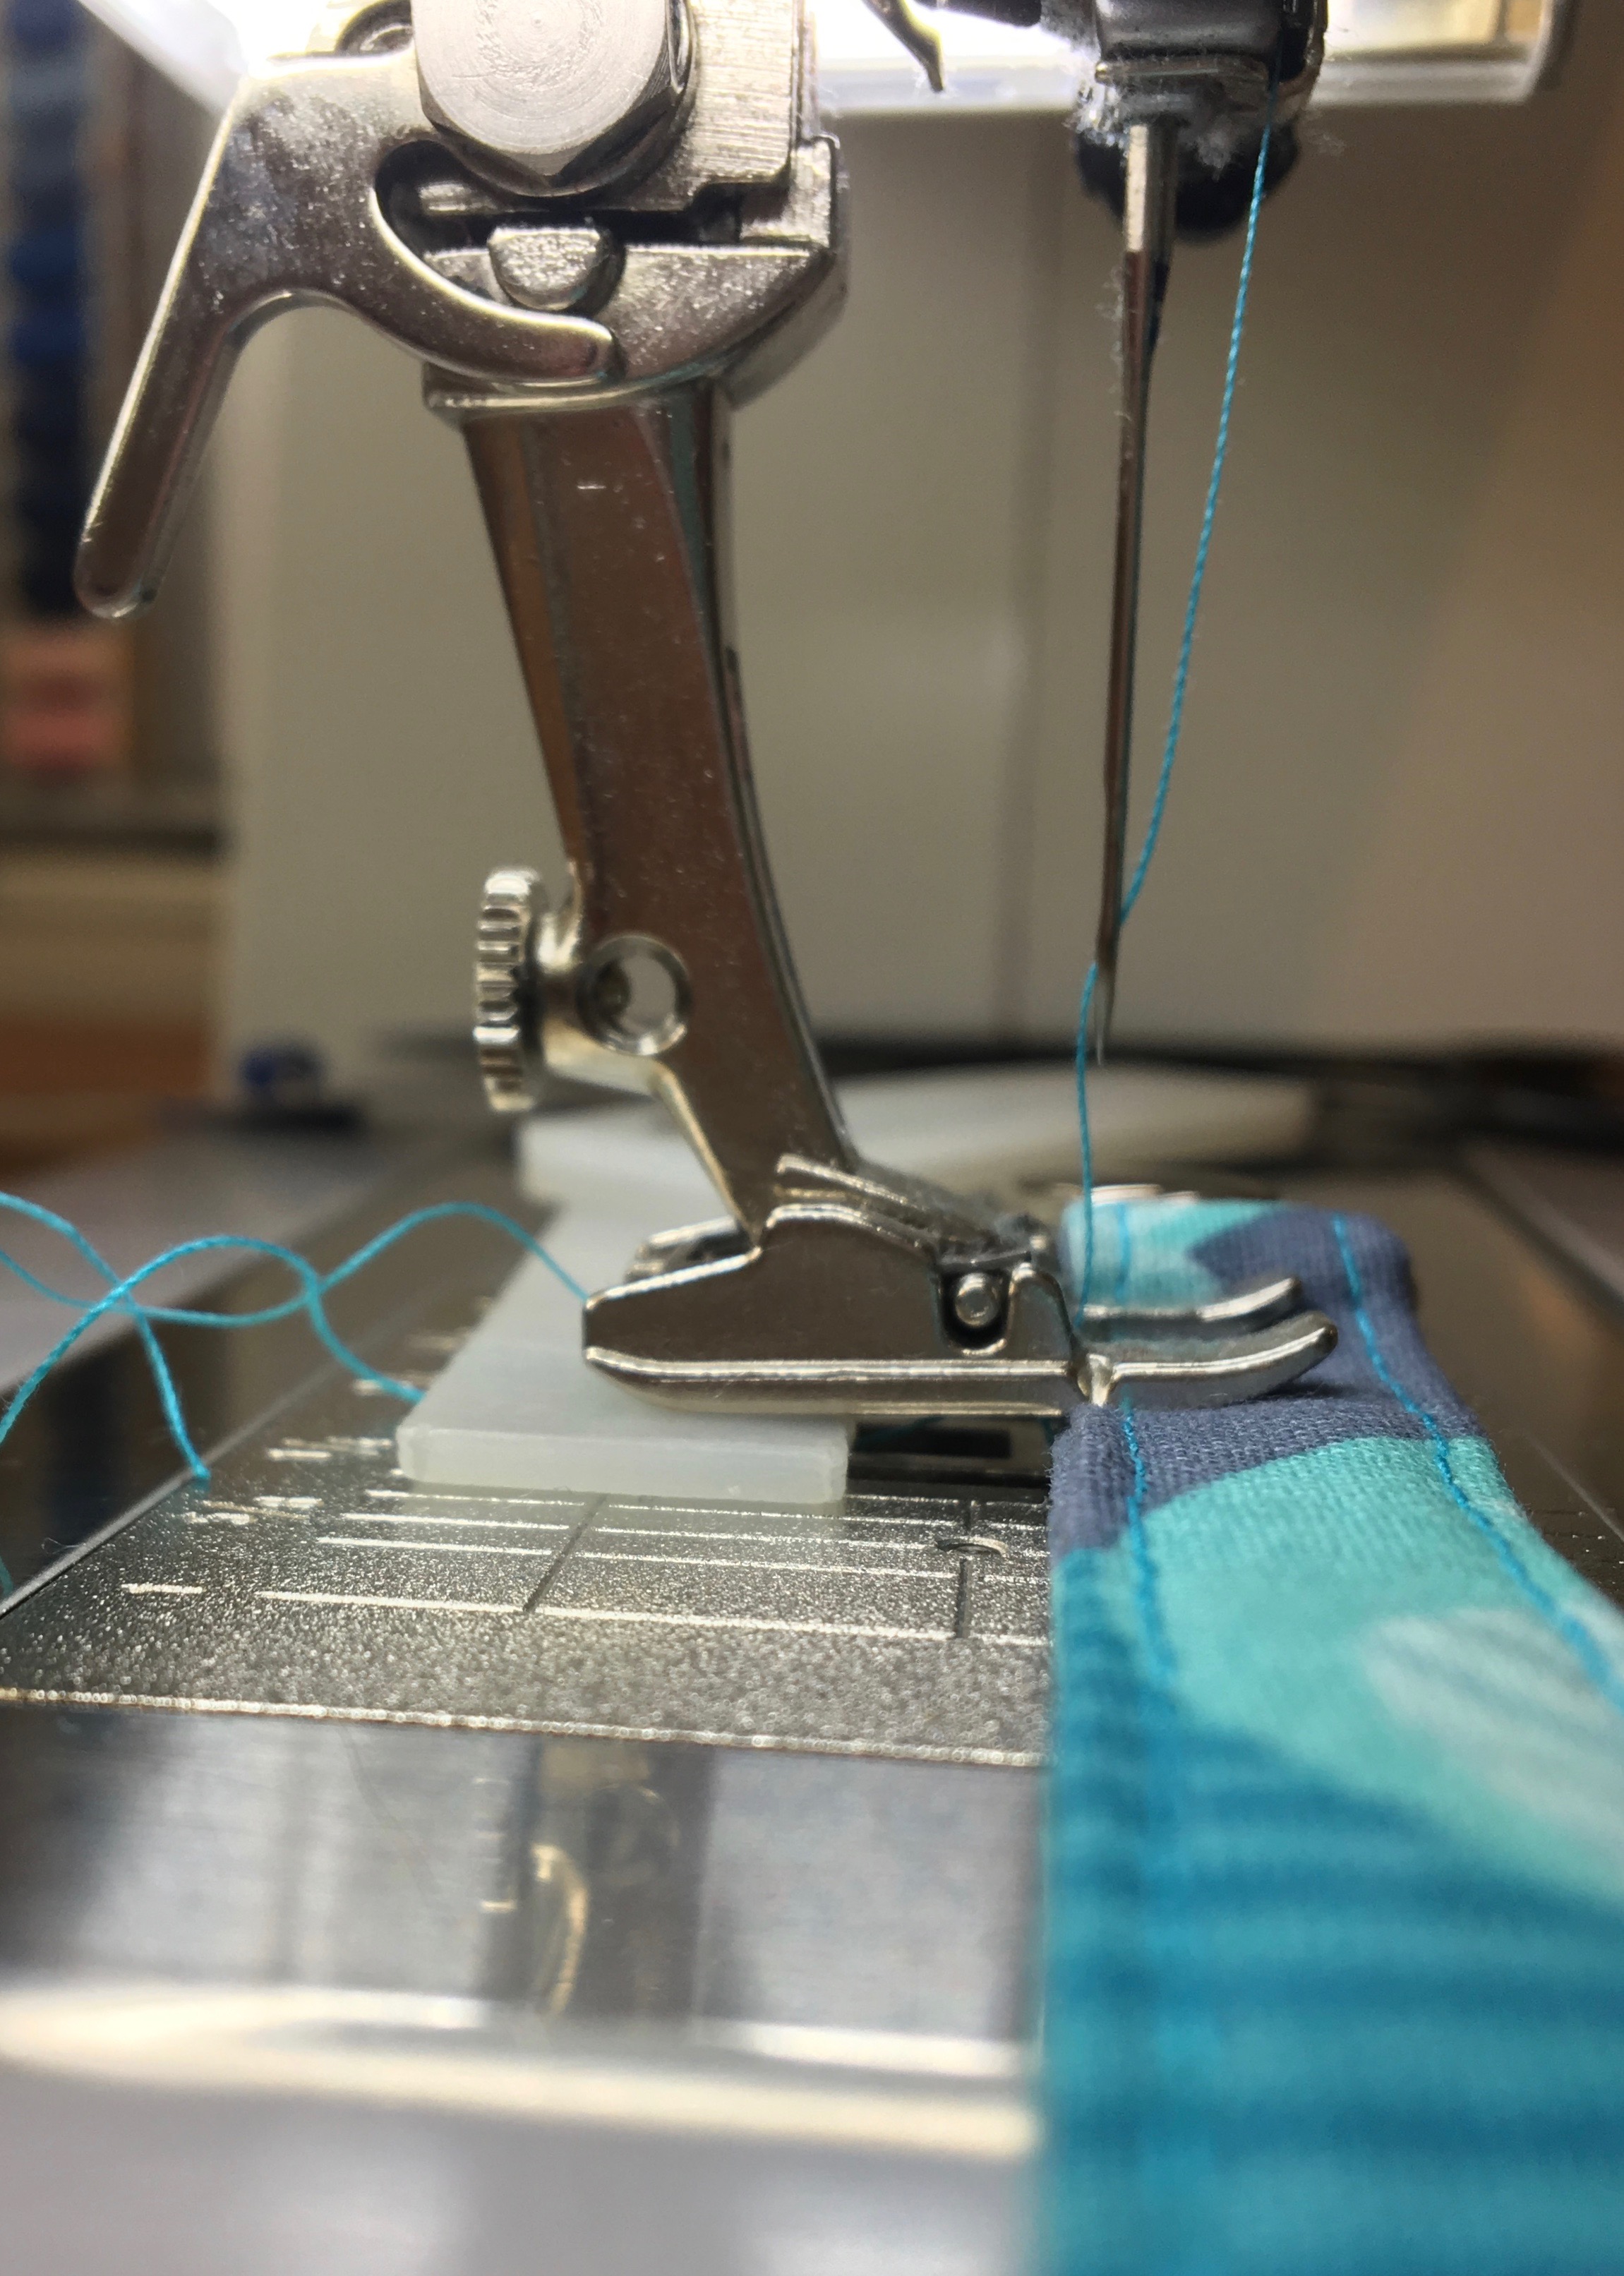
After pressing the seam you just sewed open, and then pressing the folds in place again, the edge top-stitching is easy. If you start by top-stitching the open side of the strap, then it is a piece of cake to sew the folded side. I like to place the swivel snap hook directly on the seam, then it is more hidden that way. I use my Bernina Height Compensation Tool to keep my stitches even as I sew the little square that closes the loop near the swivel snap hook. You can see more about this handy little tool by going to the Sewing Can Have Its Ups and Downs blog post.
Here is my ring loop with a D-ring, but in reality I want to use a split key ring!
With the wrist strap and lanyard strap finished, the ring loop is up next. The edges need to be top-stitched on this and if you are adding a D-ring, now is the time to do that. If you are adding a split key ring, you won’t add that until your wallet is completely finished. Stitch the ring loop in place on the wallet and that’s it for the ring loop!
The last item for today is getting the zipper ready for installation. Cut the zipper down to size following the instructions in the pattern. Add the zipper end tabs to each end of the zipper. When I add the zipper end tabs, I like to see if I can put a more colorful or fun part of the fabric design centered over each end of the zipper so that it will be seen once the zipper is sewn in place. The zipper can be set aside until tomorrow.
Tomorrow is day five, the last day of the Kristine ID Wallet Sew Along. Keep sharing your awesome progress pictures, they are fun to see! Progress pictures posted in the Uniquely Michelle Sewing Patterns Facebook Group and on Instagram with #KIDWSewAlong increase your chances of winning one of the three prizes that will be given away with the random drawing that will take place on Monday, October 16th at 10:00pm MDT! Of course, you will have to post a finished picture of your Kristine ID Wallet by the draw day and time to be entered into the drawing.
For day 5 of the sew along, you will need all the parts of your Kristine ID Wallet that you have made so far – the front, back, zipper, wrist strap, and lanyard. You will also need your split key ring if you are using that and not a D-ring. I am excited to finish up our Kristine ID Wallets tomorrow!


