Kristine ID Wallet Sew Along Day #5 - Finishing It Up
Michelle Burke
Today is the last day of the Kristine ID Sew Along! It has been so fun seeing everyone’s progress pictures and reading everyone’s comments along the way! Don’t worry if you have missed parts or all of the sew along, you can click on the links in the schedule below to catch up with what we did on days 1-4. The Kristine ID Wallet is a fast sew! Also, you still have time to enter the random drawing for the three prizes – see the details at the end of this post. If you need the Kristine ID Wallet pattern, you can purchase it from the Uniquely Michelle Website Shop, the Uniquely Michelle Etsy Shop, or the Uniquely Michelle Craftsy Pattern Shop. Remember the discount code if you are purchasing from the website or Etsy – SEWKIDW. The price is already reduced on Craftsy. The sale on the Kristine ID Wallet continues through Monday, October 16.
The Kristine ID Wallet Sew Along schedule:
Day #5: Finishing It Up
I hope you are as excited as I am to finish your Kristine ID Wallet today! We should have completed wallets in no time today! The pattern gives complete instructions on how to finish up your Kristine ID Wallet, but I have a few hints to share that may help with the final steps.
The pattern mentions several times that you should be careful not to touch your iron to the clear vinyl on your ID pocket. I keep a pressing cloth on my ironing board during this last part so that I remember to use it as I am pressing anything near the clear vinyl. So far, I have not messed up a Kristine ID Wallet by ironing the clear vinyl, but I have accidently touched the iron to the vinyl while making a Just the Ticket Luggage Tag – not a happy time in my sewing room!
Once the zipper is installed and all your pretty top-stitching is finished, it is time for the final step. Make sure your zipper is most of the way open for this step, otherwise turning your Kristine ID Wallet will be a much longer process than necessary.
I use clips instead of pins now to pin the exterior pieces together and the lining pieces together. I like to put a clip on the spot where my ring loop is placed, then when I am sewing that spot, I remember to go back and forth several times. The ring loop will get a lot of stress from use and it is important to make sure the wallet doesn’t come apart!
When it comes to clipping the transition area from interior to exterior, I make sure that the zipper tab is folded in such a way that the outer part of the fold is toward the exterior portion of the wallet. This is the direction I want the zipper tabs to fold when the wallet is finished.
Speaking of the ring loop and the transition areas, these are places that are perfect to use the Bernina Height Compensation Tool. I wrote a blog post about how this tool works – Sewing Can Have Its Ups and Downs. It is worth getting one, it is a game changer!
I find when turning any bag that it is easiest if I start by bringing one of the lower exterior corners through the opening in the lining first. This I think definitely helps when turning something as small as the Kristine ID Wallet!
Before sewing the opening close, make sure all four exterior corners are pushed out all the way. The upper corners where the zipper tabs are can be a little tricky and take a little time, but they look great in the end if they have been pushed out completely.


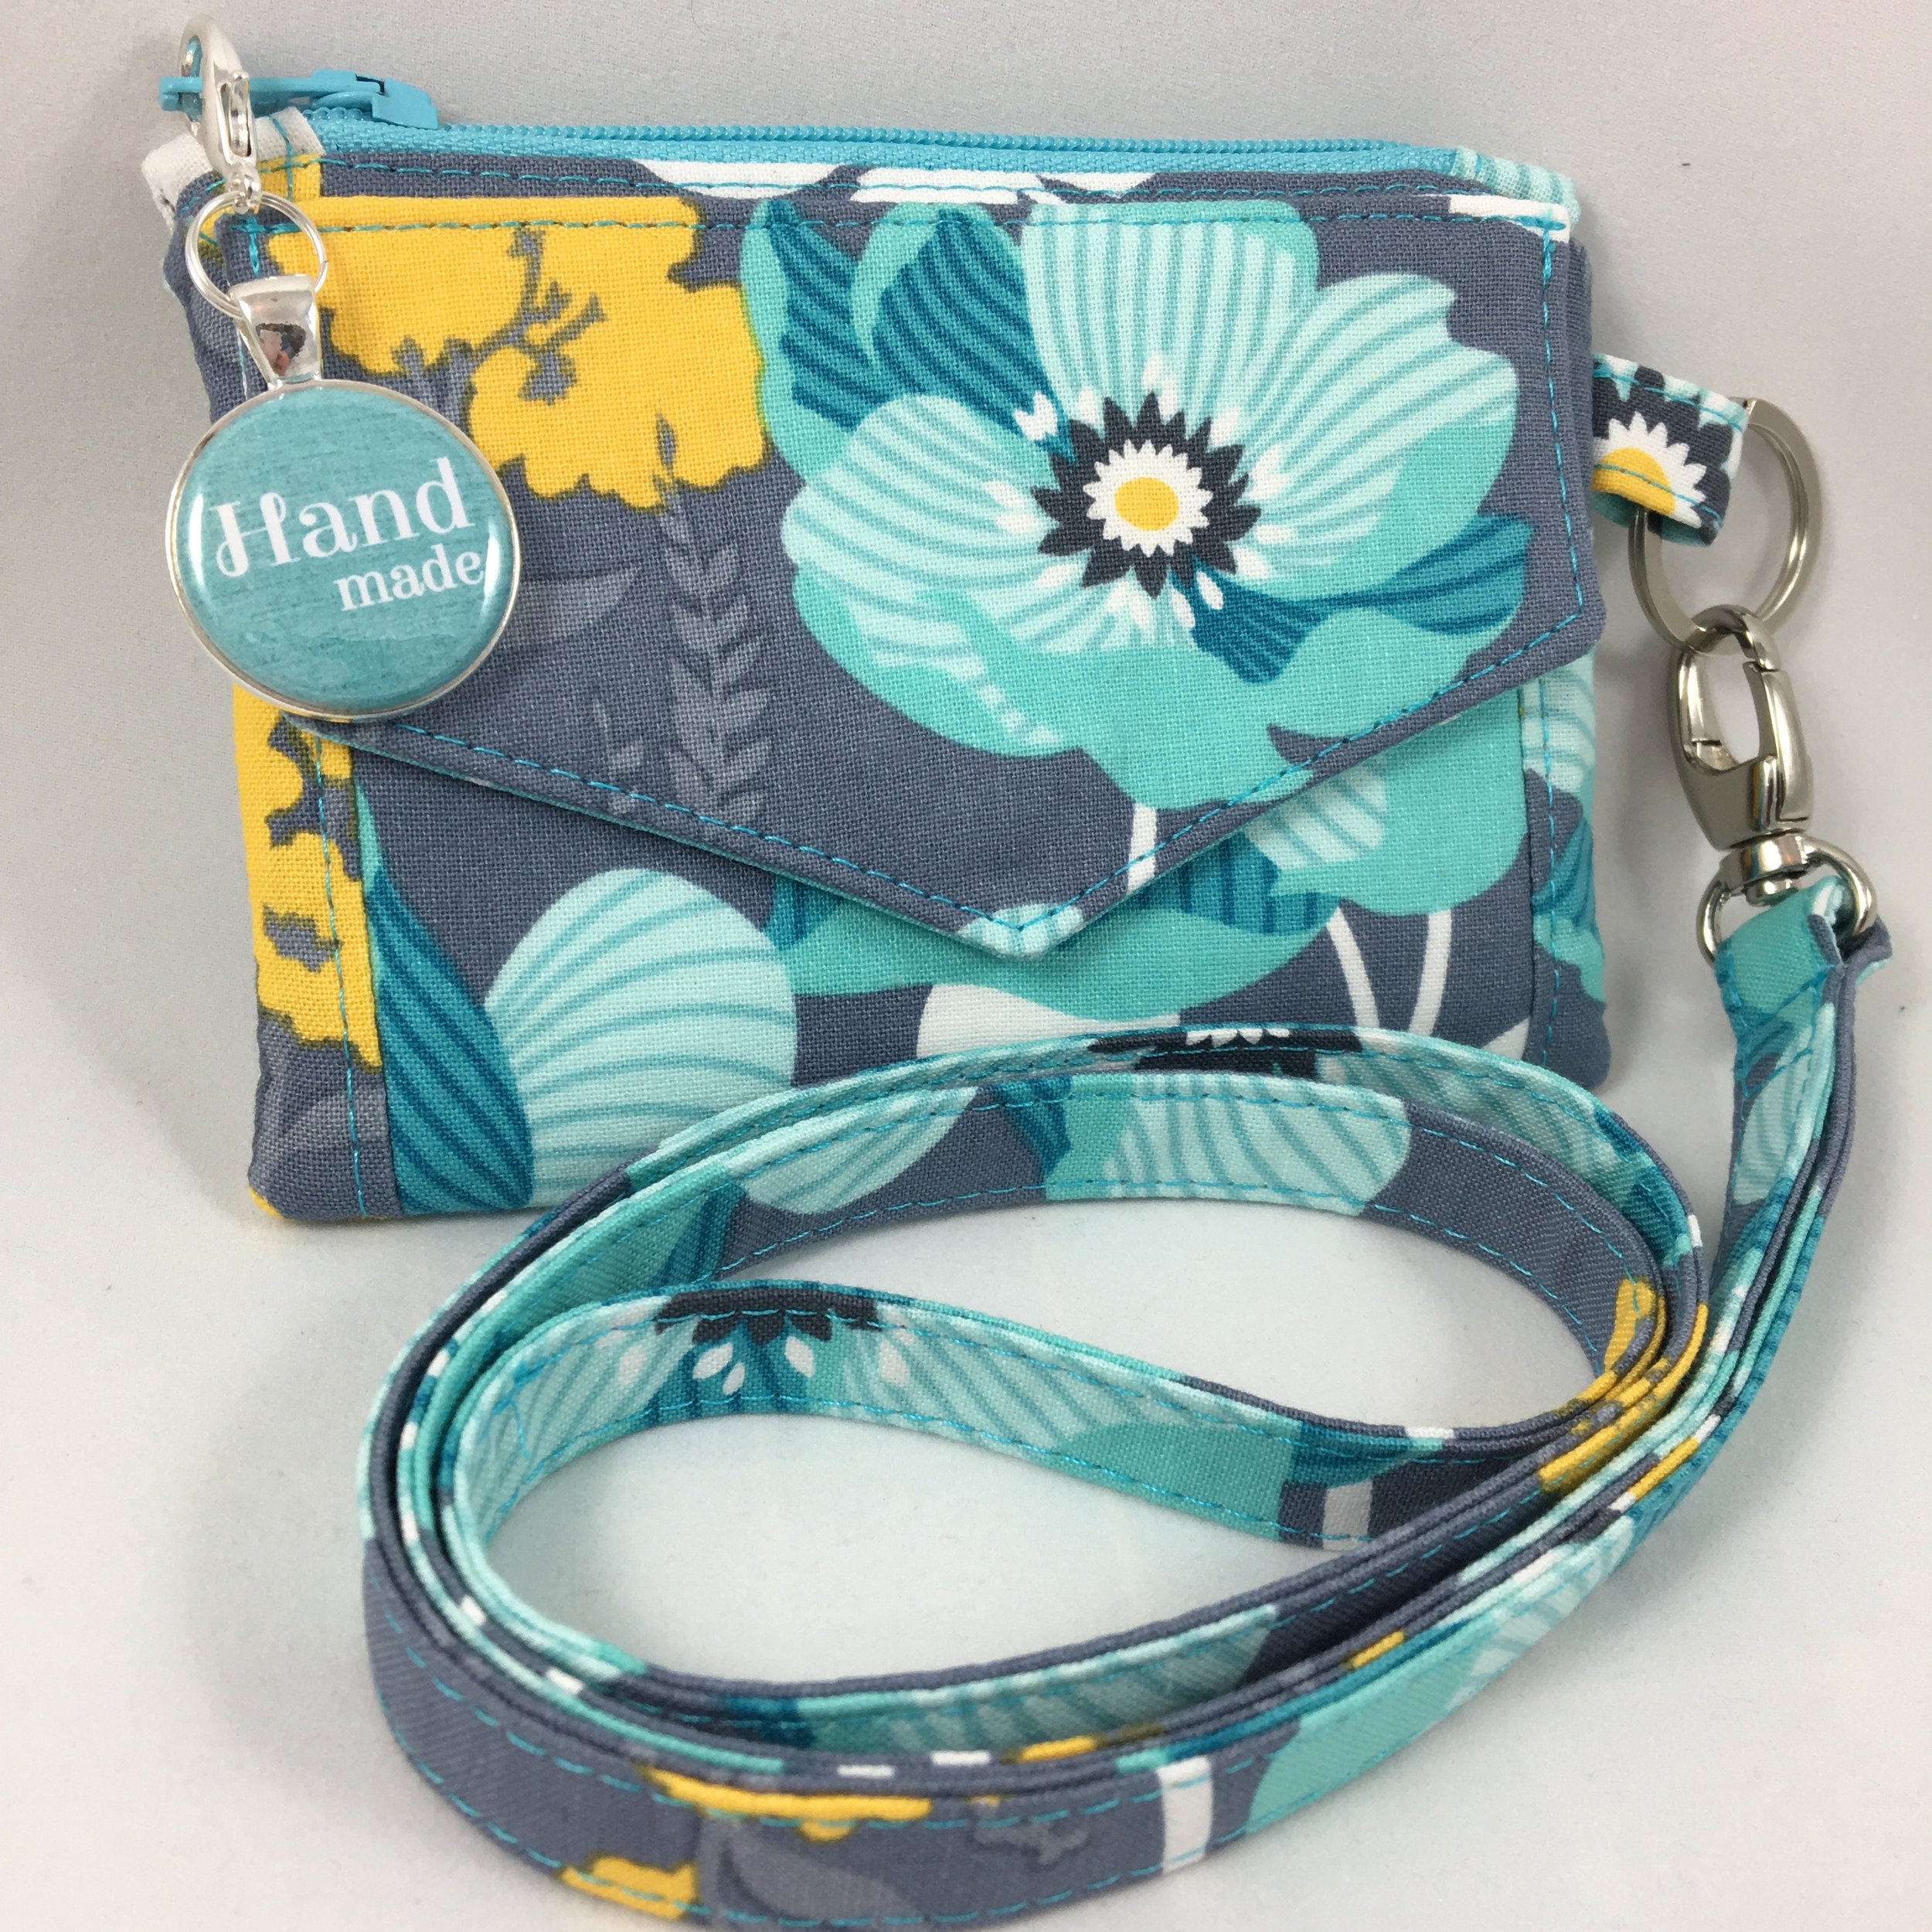
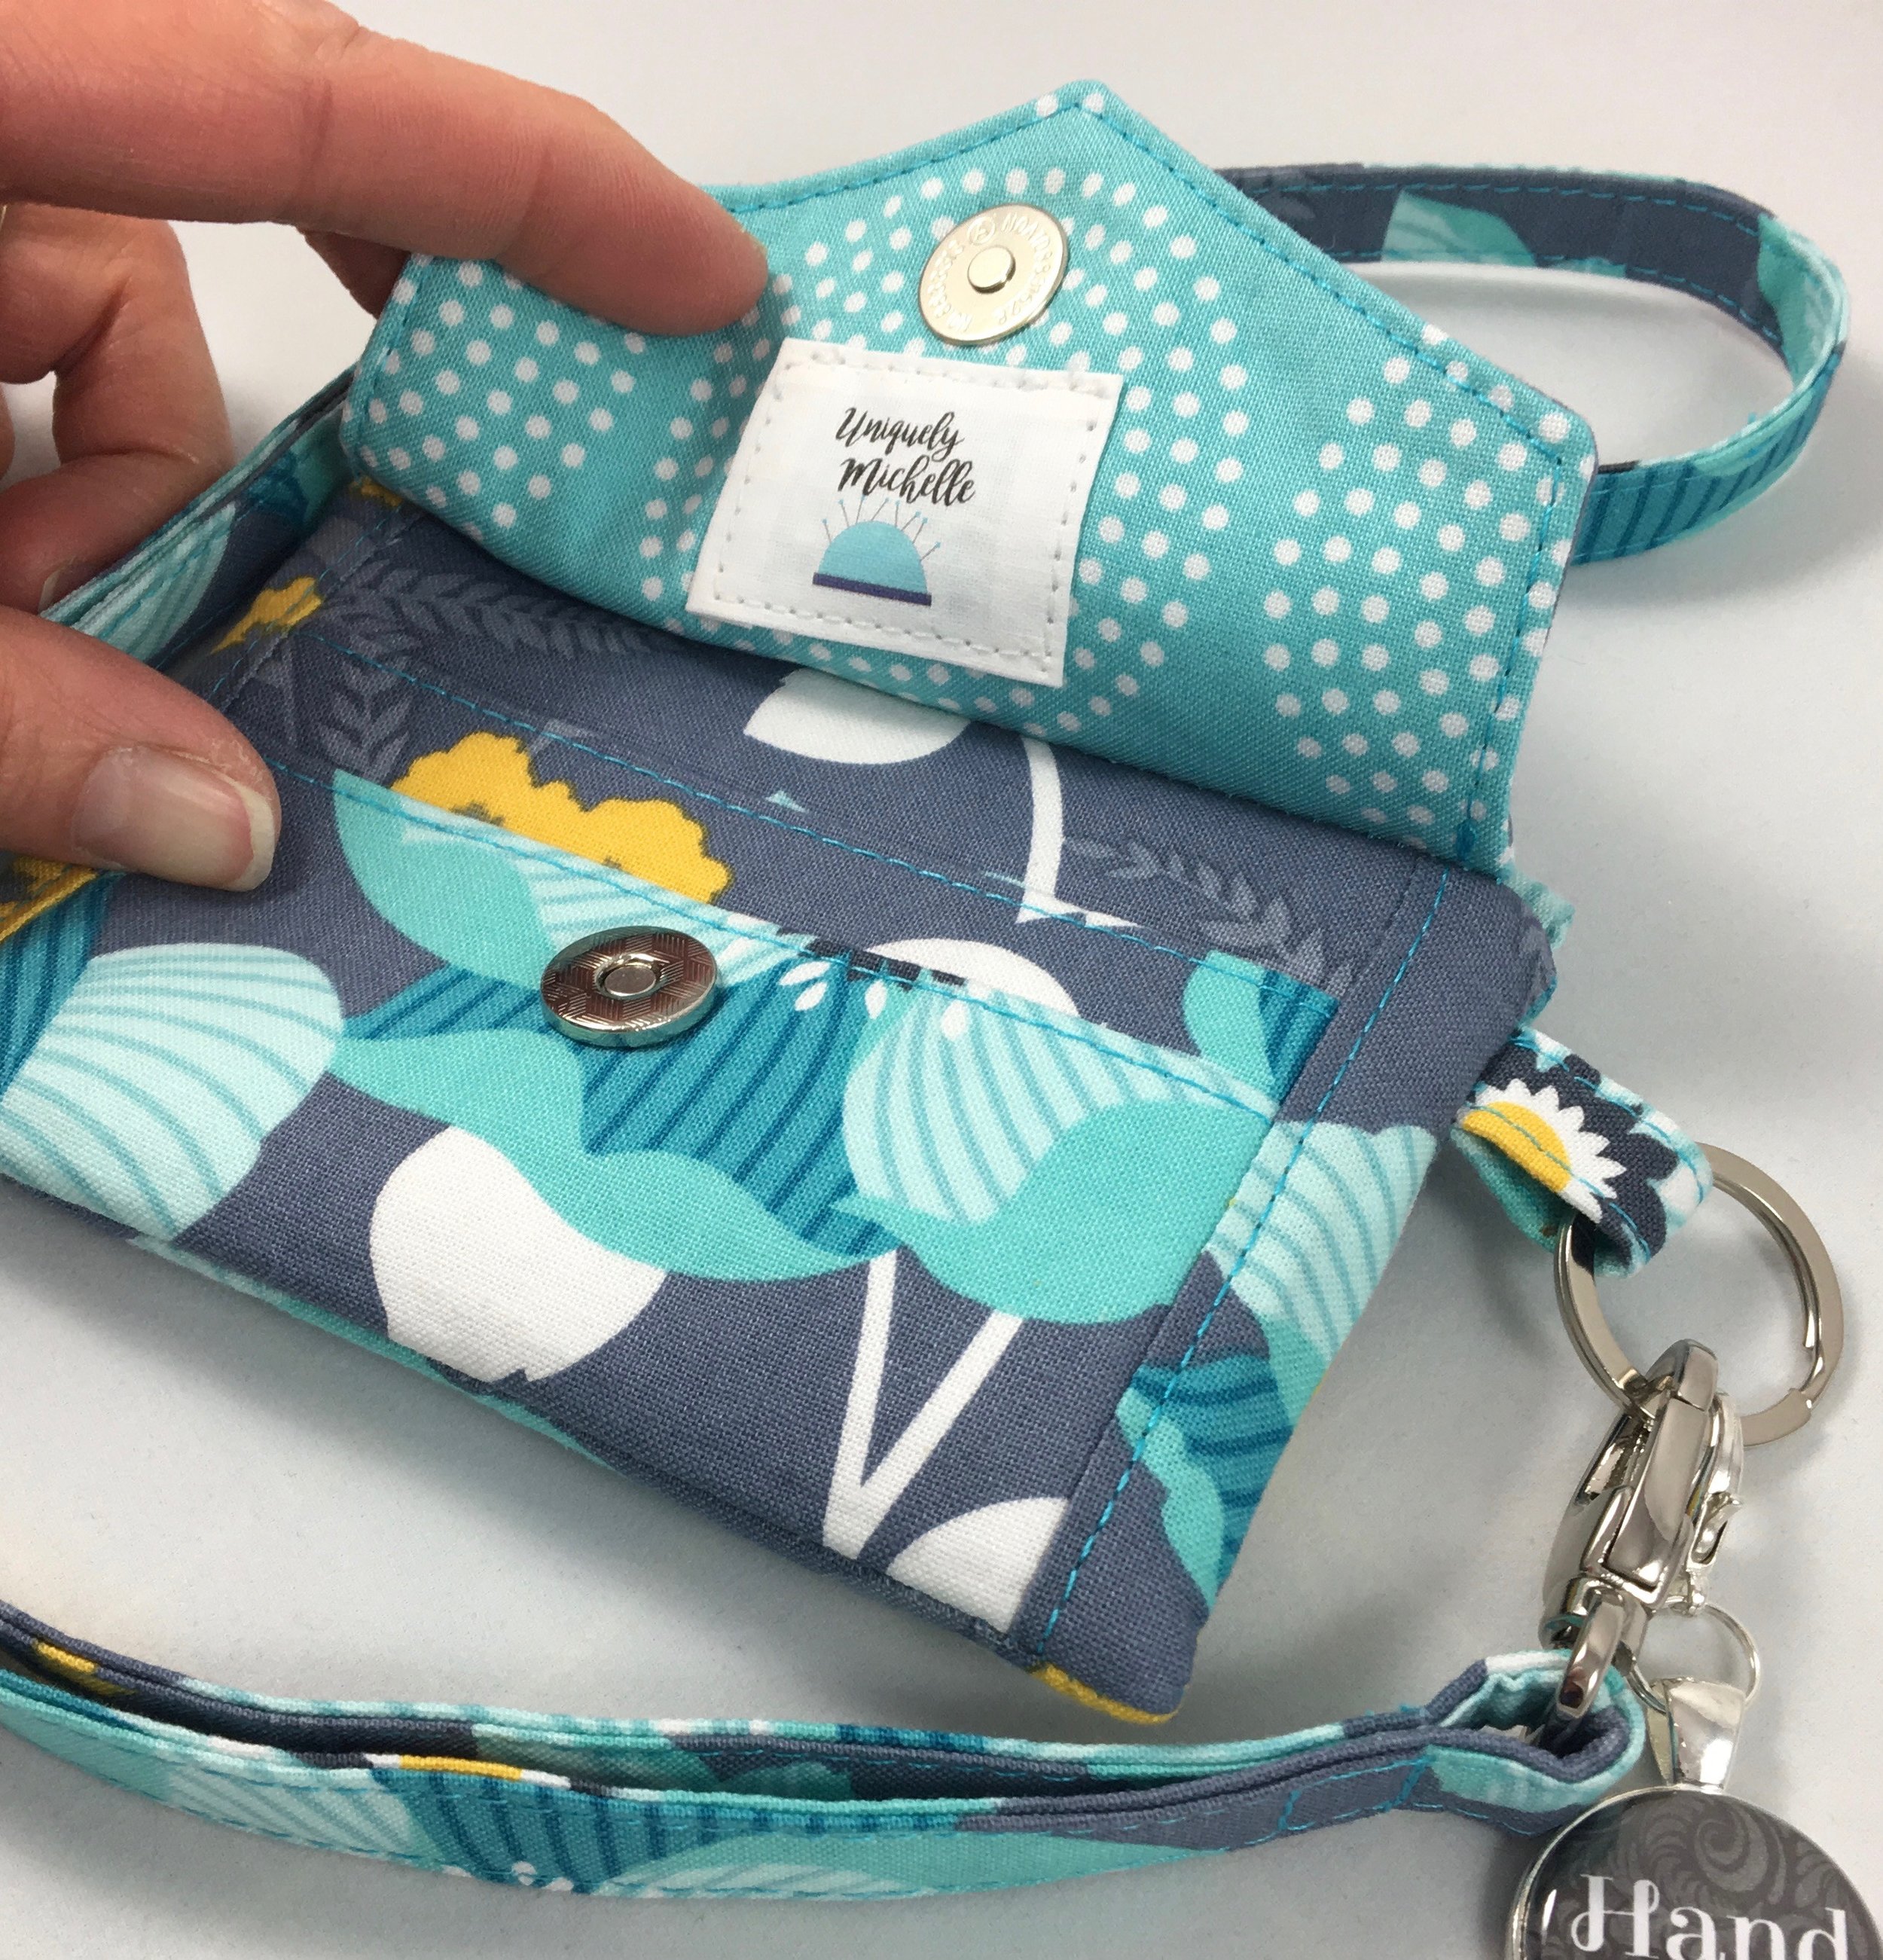
Now you just need to add your split key ring (if you didn’t use a D-ring) and some pretty bling and your Kristine ID Wallet is finished! I love Andrie Adornments Zipper Pulls on the Kristine ID Wallet! The size is perfect and the come in a variety of colors and with a variety of quotes!
I think Andrie Adornments Zipper Pulls work well as a zipper pull on the Kristine ID Wallet, but they also look great when used as a charm on the key ring!
I hope you have had fun sewing a Kristine ID Wallet with a few of your closest internet, sewing friends and I hope you love your Kristine ID Wallet! Please share any useful hints or ideas you have for making a Kristine ID Wallet or ask any questions you may have in the comments! I am always happy to answer questions too! If you don’t want to ask me questions, you can get answers to questions in the Uniquely Michelle Sewing Patterns Facebook Group – there are a lot of Kristine ID Wallet experts out there!
Please share those pictures of your completed Kristine ID Wallet! Even if you have shared progress pictures, you need to share a picture of your finished Kristine ID Wallet by Monday, October 16 at 10:00pm MDT in the Uniquely Michelle Sewing Patterns Facebook Group and/or on Instagram with #KIDWSewAlong to be entered into the random drawing! You can still post progress pictures to increase your chances of winning one of the three prizes that will be given away with the random drawing that will take place on Monday, October 16th at 10:00pm MDT! I am loving seeing all your beautiful Kristine ID Wallet progress pictures and I am beyond excited to see everyone’s completed Kristine ID Wallet!
So, are you ready to take your Kristine ID Wallet to the next level? You can get some ideas and inspiration for doing just that from Kristine ID Wallet Week! Kristine ID Wallet week happened several weeks ago, but no worries, you can see all the great blog posts from the week! There are a total of 6 posts, so make sure to check out all of them!
Here are all the Kristine ID Wallet Week links:
A couple of ladies have made a video as they construct the Kristine ID Wallet. Watch Kylie of Lean Mean Sewing Machine as she sews a Kristine ID Wallet. Nicole of Sew Much Moore In Store also has a Kristine ID Wallet Video.
I would like to thank Jaby of Sew1980’s for her expert comments as we went along! Also, Kylie of Lean Mean Sewing Machine for her helpful comments! Thanks ladies!


