Snaps - Installing Plastic KAM Snaps
Michelle Burke
The snap blog post series continues here at Uniquely Michelle! I have already talked about the two different types of snaps - metal snaps were the topic of Monday's blog post and plastic snaps were the topic of Tuesday’s blog post. In yesterday’s blog post, I showed you just how easy it is to install SnapSource snaps with their SnapSource SnapSetter. Today, I will show you how to install KAM snaps. I will mention it again here that the products I recommend are based on my use and opinion of them, I have not been given anything from the companies that make my favorite products nor do they even know that I wrote this blog series.
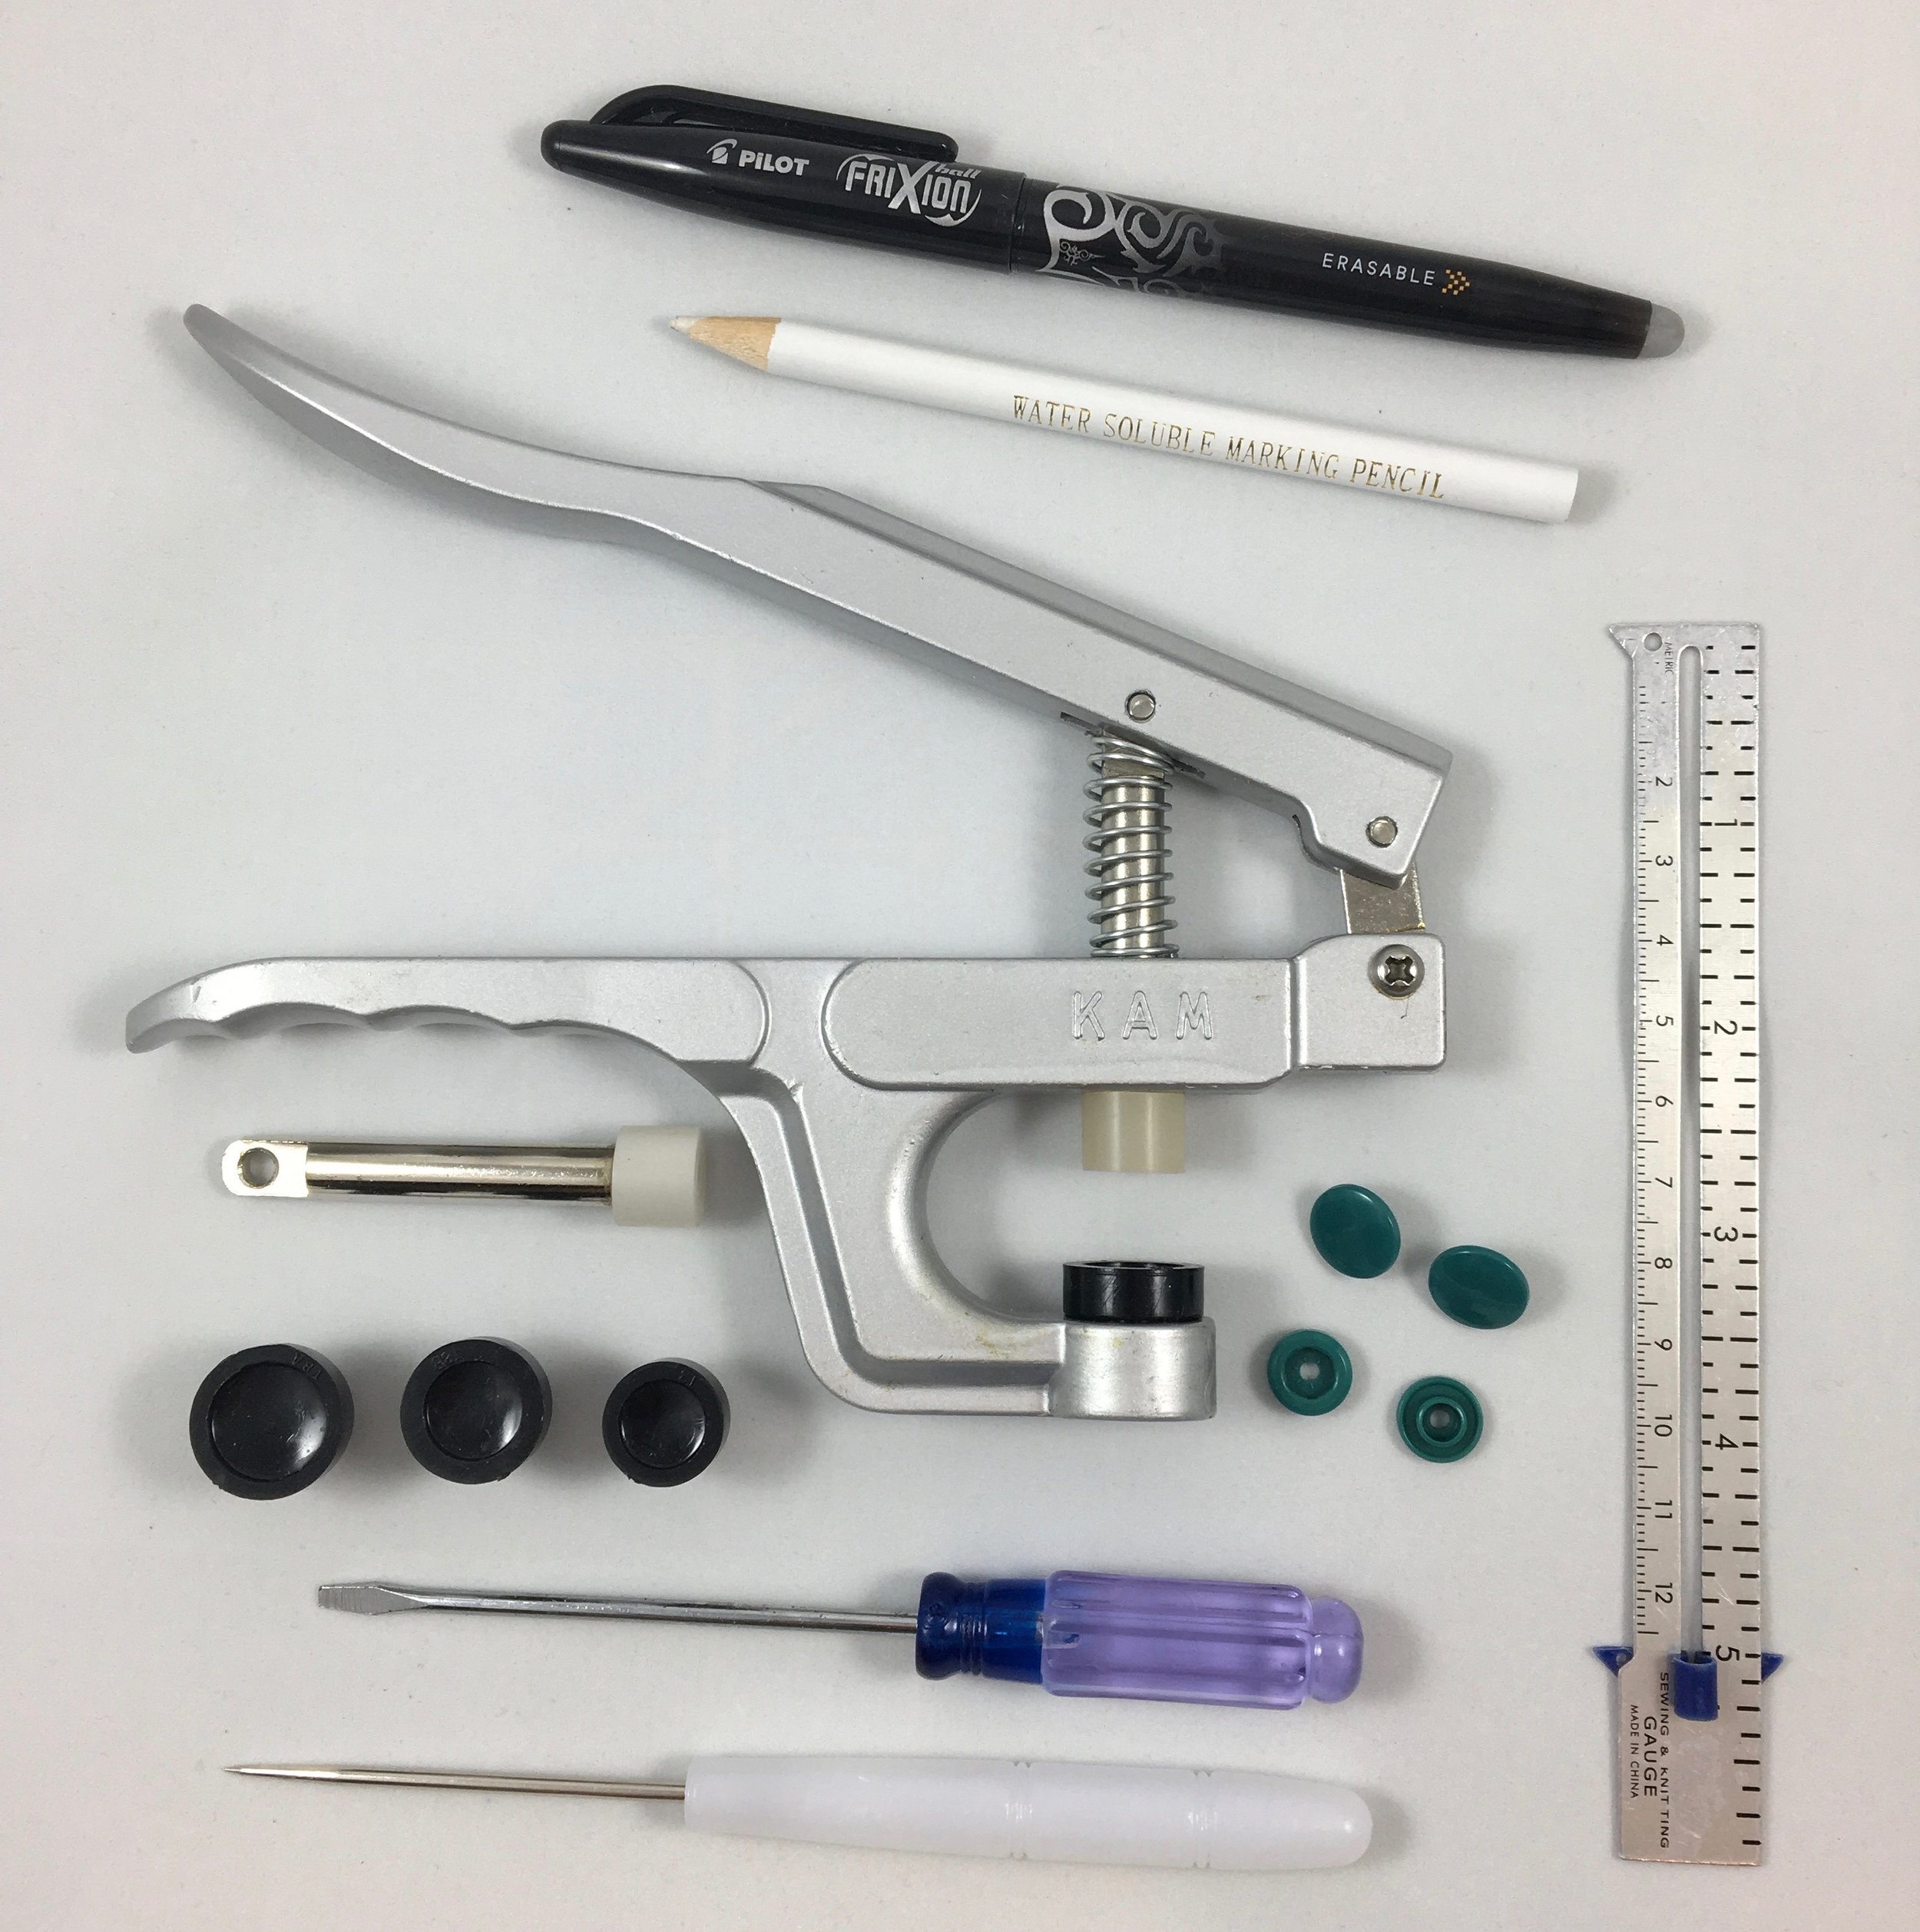
KAM snaps are super easy to install. I will be installing a size 20 KAM snap because it is the most common size, but the installation process is the same for any size, you will just need to change out the die on the KAM snap pliers to accommodate the size of the cap you are using. You will need KAM snap pliers, size 20 KAM snaps and an awl, all of which you can purchase from KAMsnaps.com. You will also need a ruler and a marking pen or pencil.

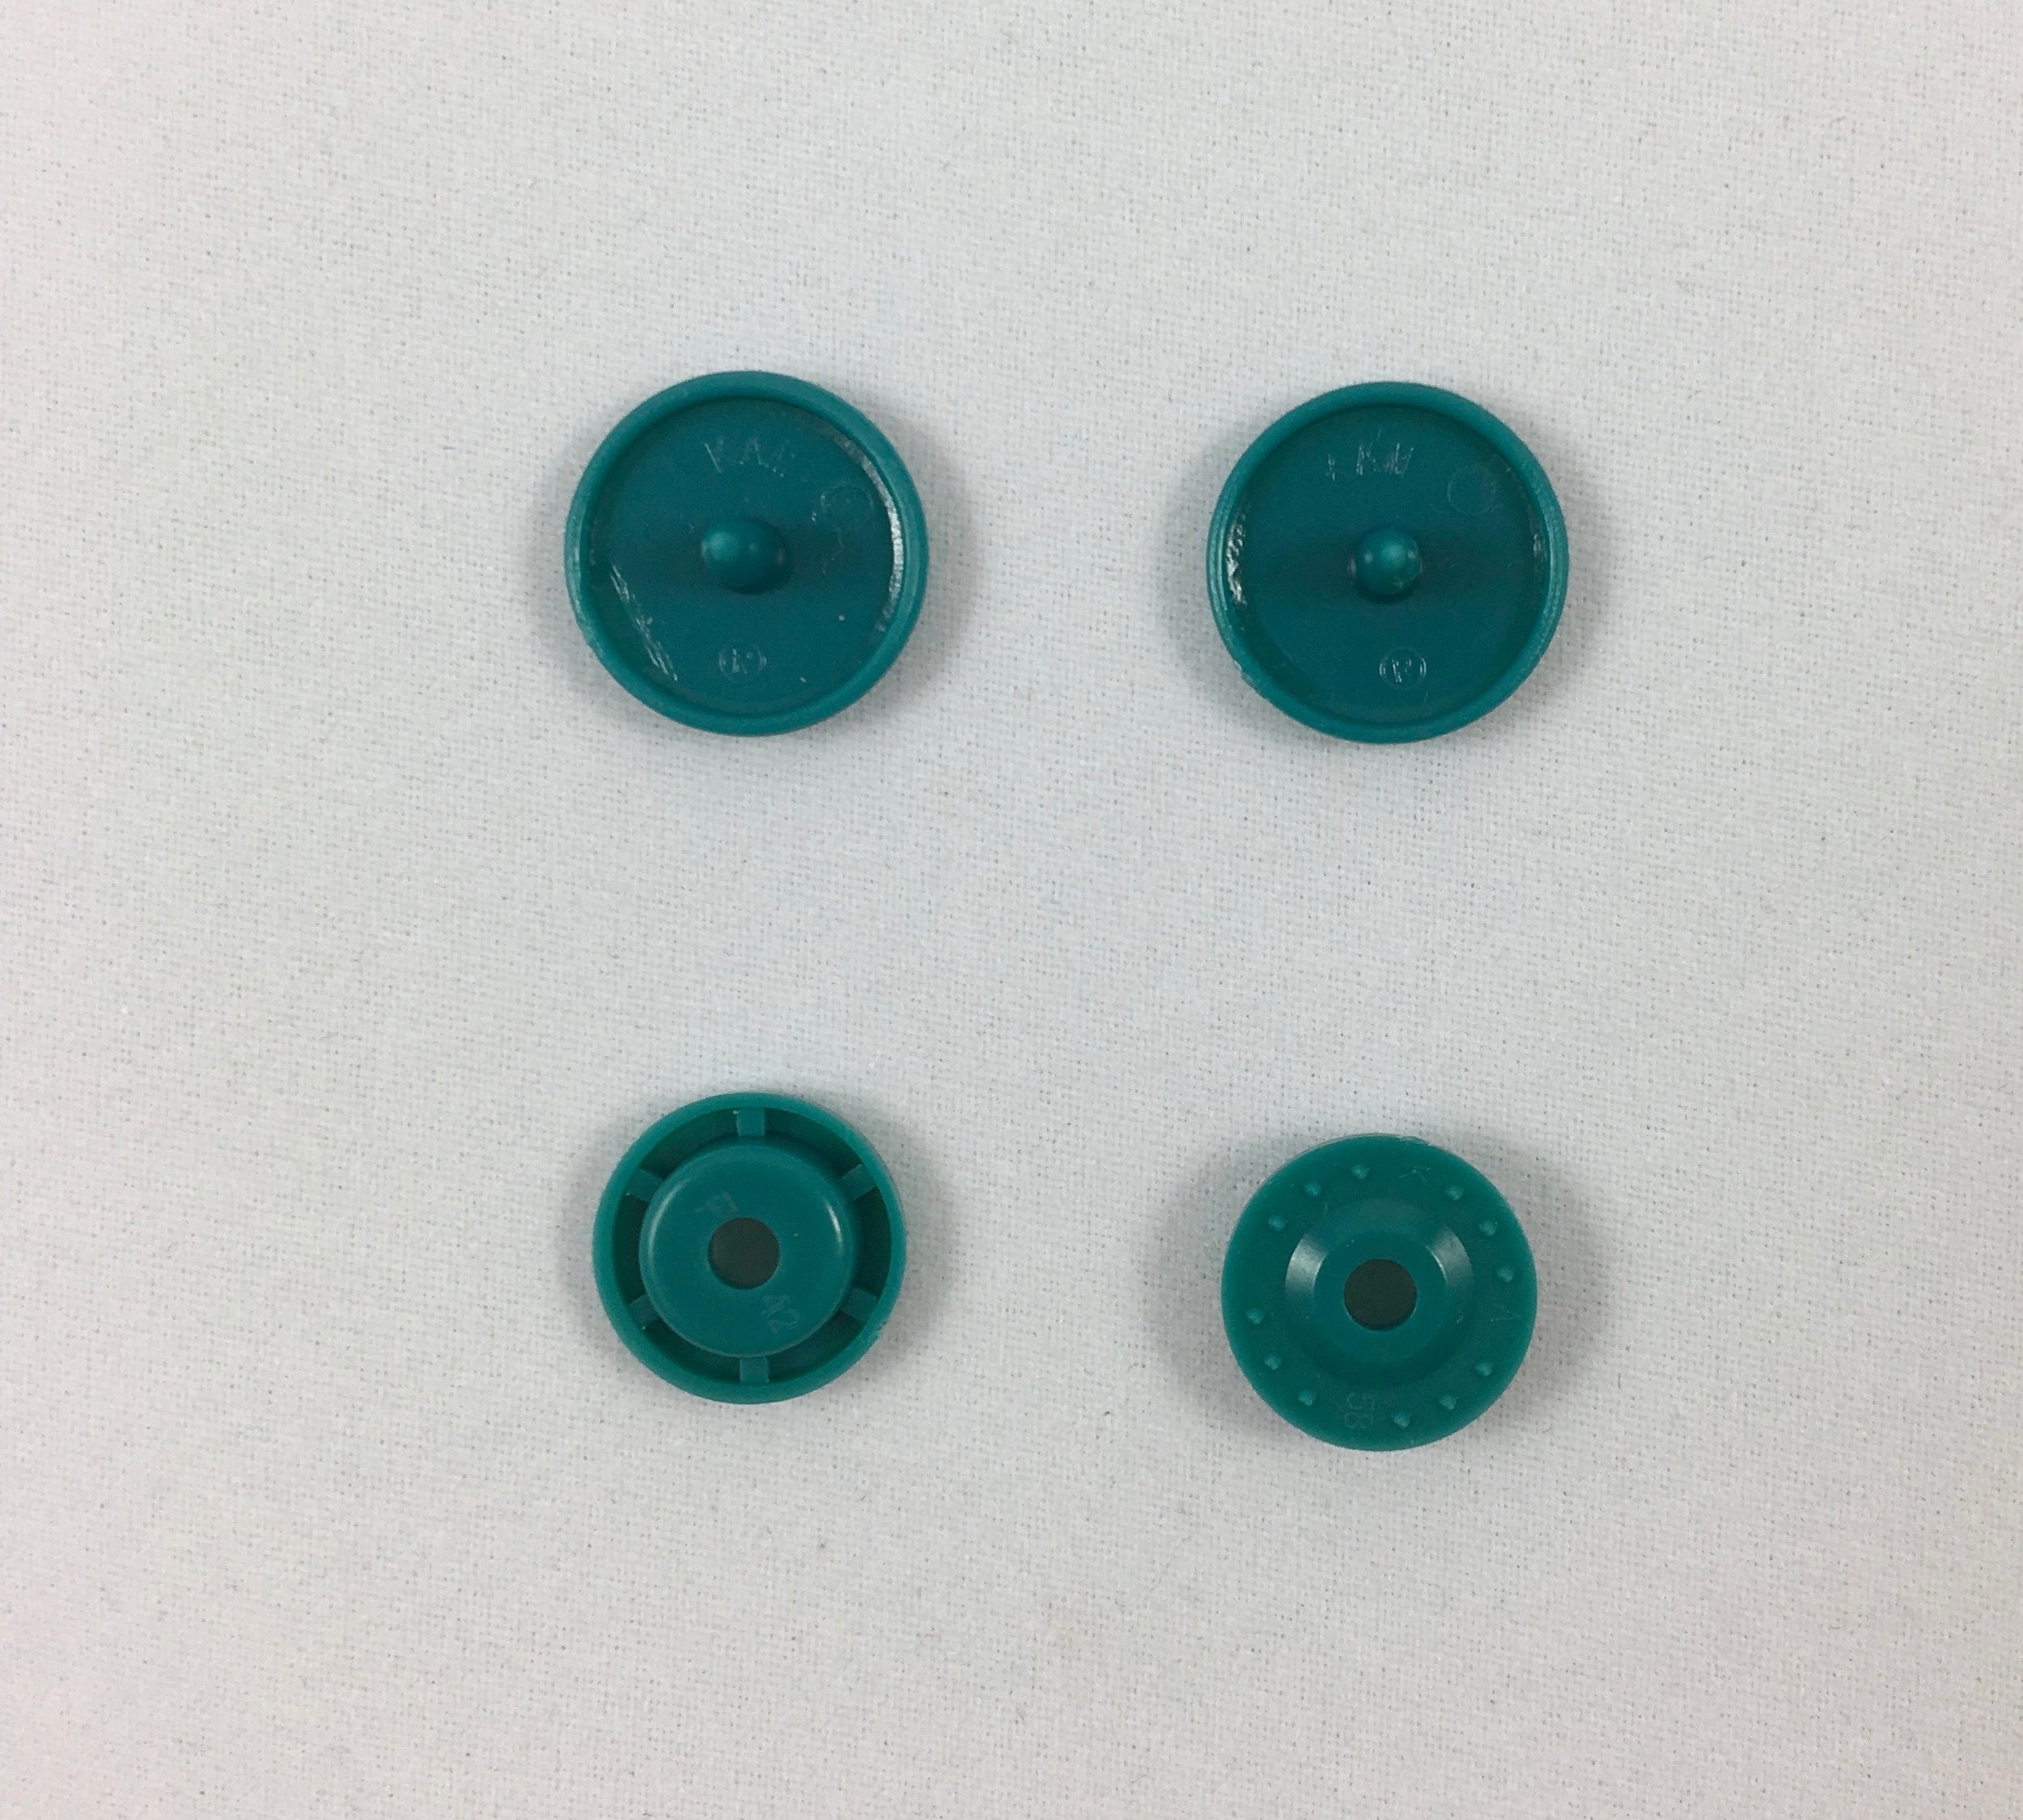
First let's get to know the parts of a KAM snap. The picture on the left shows the side of each snap piece that you will see once it is installed (the right side). The picture on the right shows the side of each snap piece that is against the fabric once it is installed (the wrong side). KAM snaps have four parts to each snap, just as metal snaps do, except two of the parts are the same. For each snap set you will have two caps, a socket and a stud. The caps have a single center prong on the back side (the top two pieces). The socket has a smooth, rounded outer ring on one side of it (lower left piece). The stud has a raised ring in the middle on the right side of it (lower right piece). Both the socket and the stud have a hole in the center – the prong will go through that hole for installation.
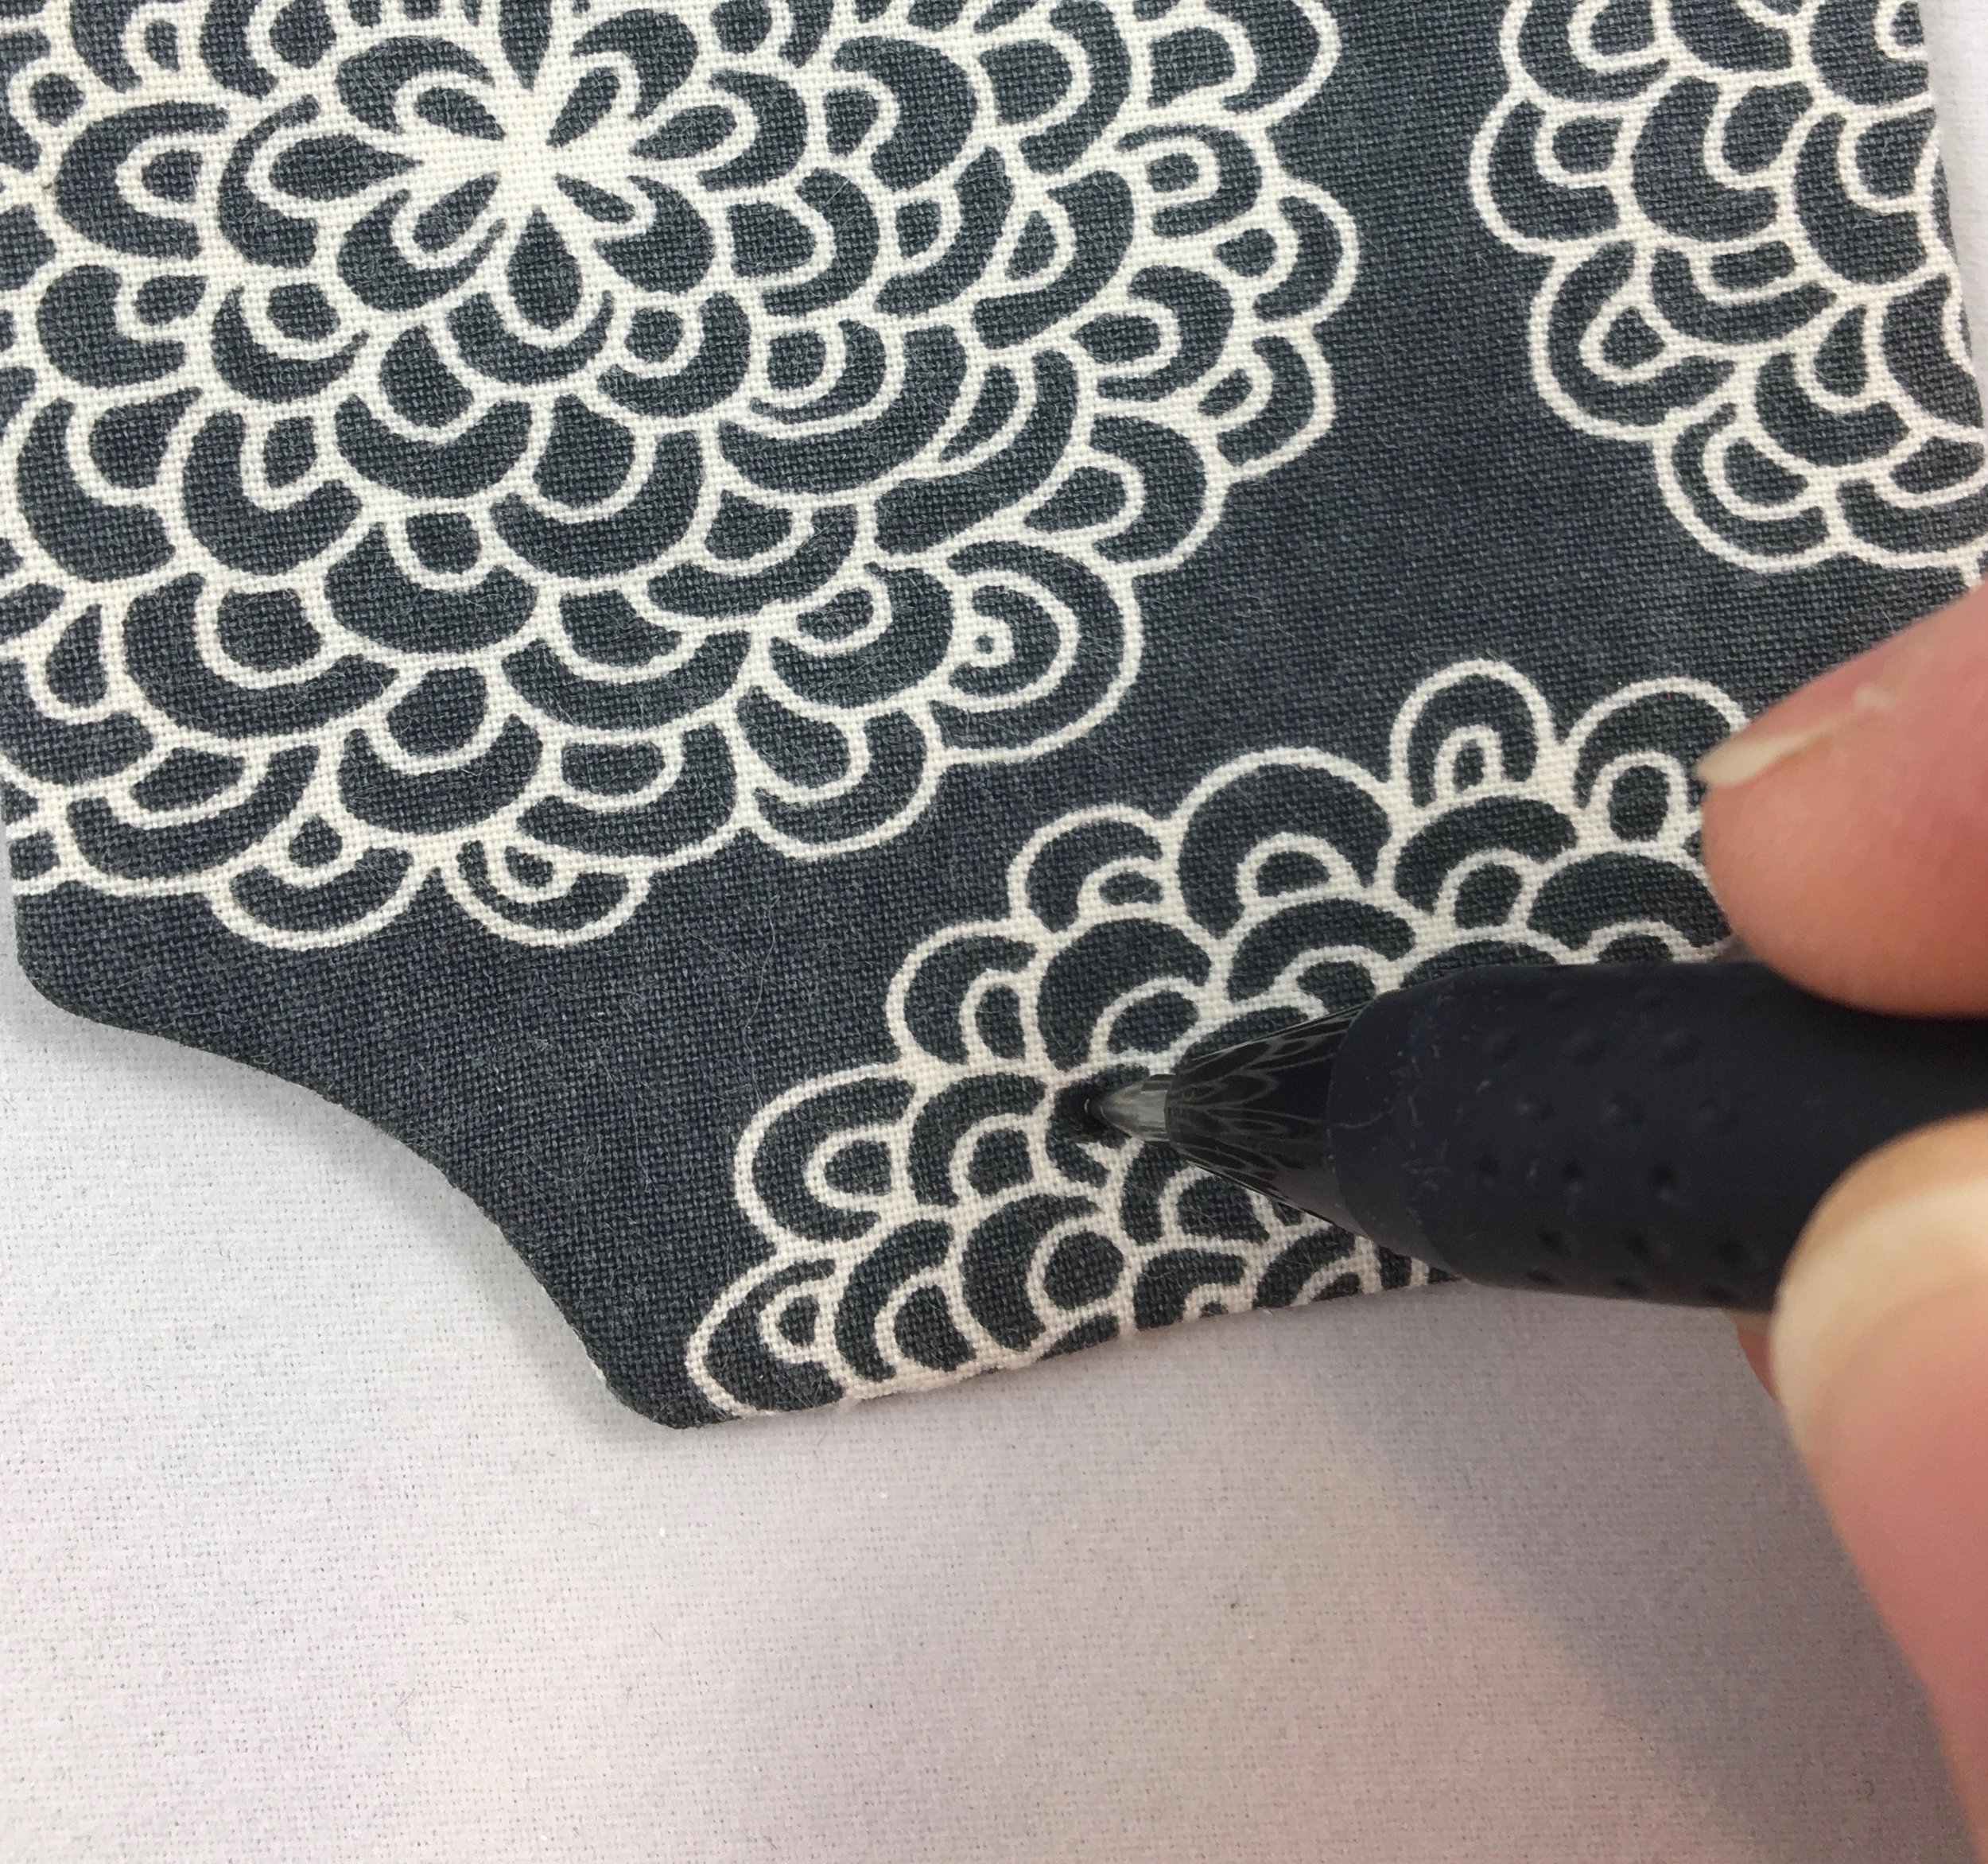
The first step in KAM snap installation is marking the placement for both halves of your snap. Follow the instructions for the item you are making and mark the location of the snaps using a marking pen or pencil. I like to mark the side of the project where the caps will be located, but it actually doesn't make any difference since we will be putting a hole through all the layers of fabric and interfacing for each half of the snap..and mark those spots using a marking pen or pencil.

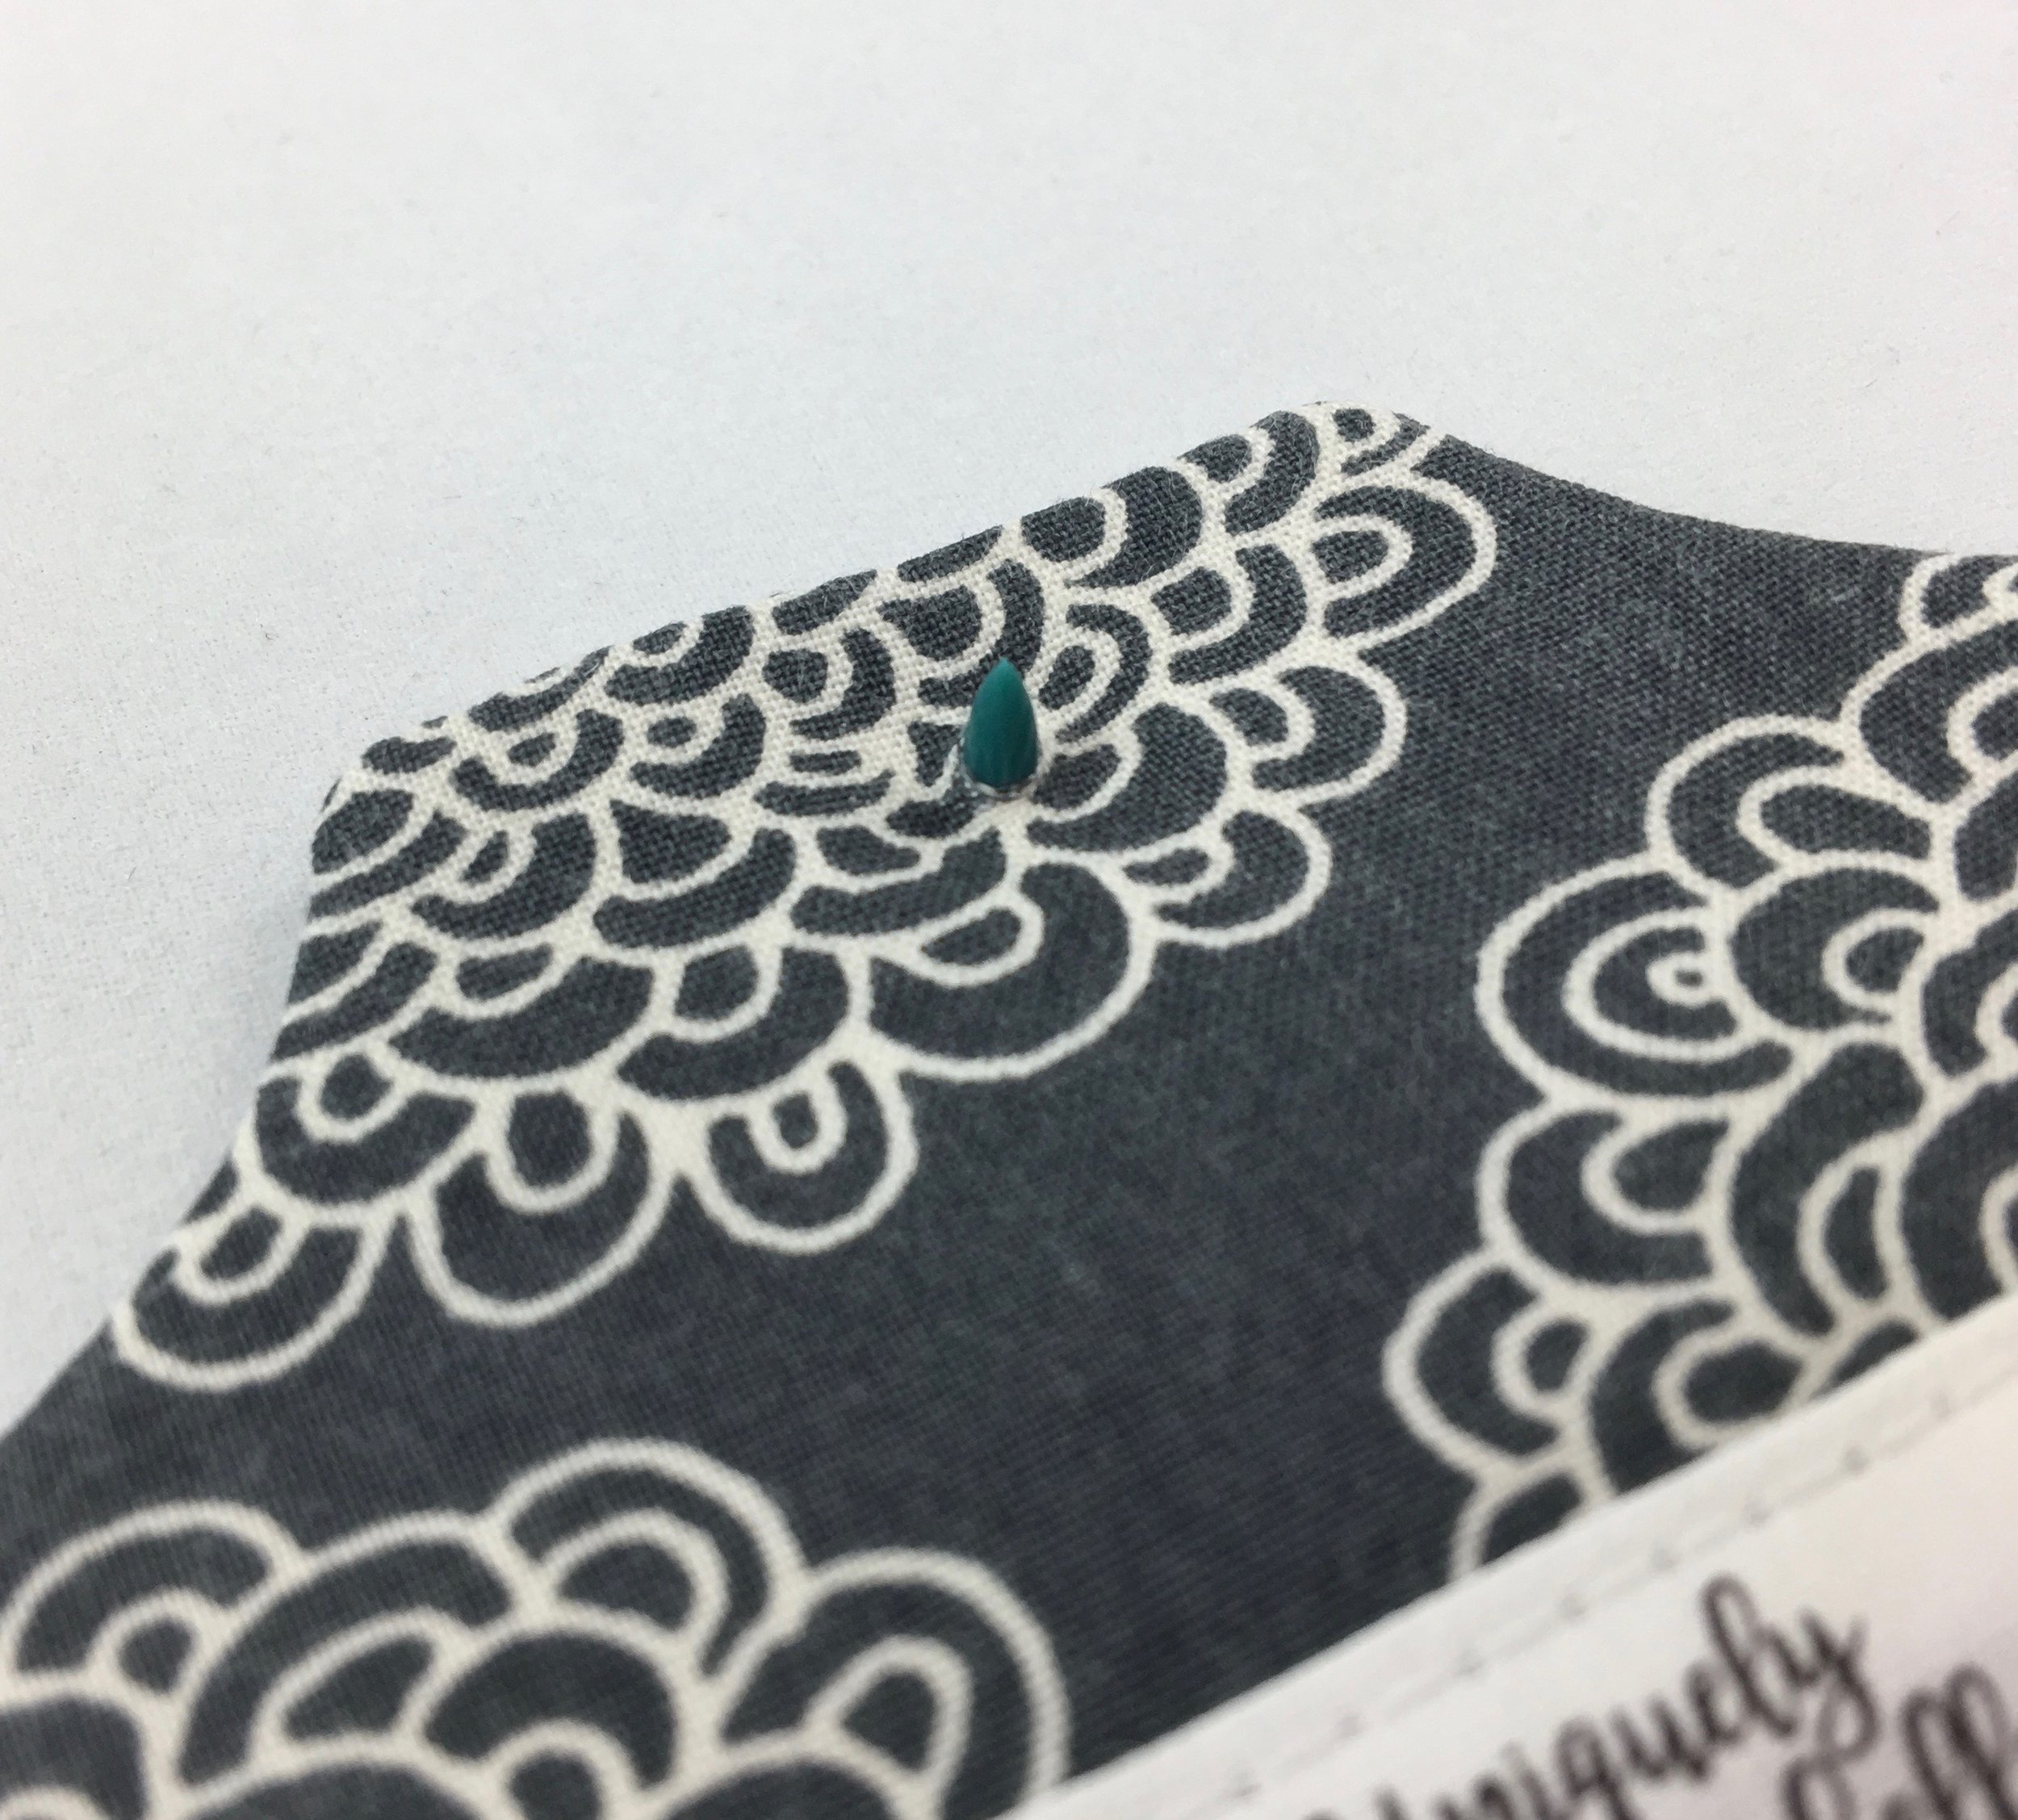
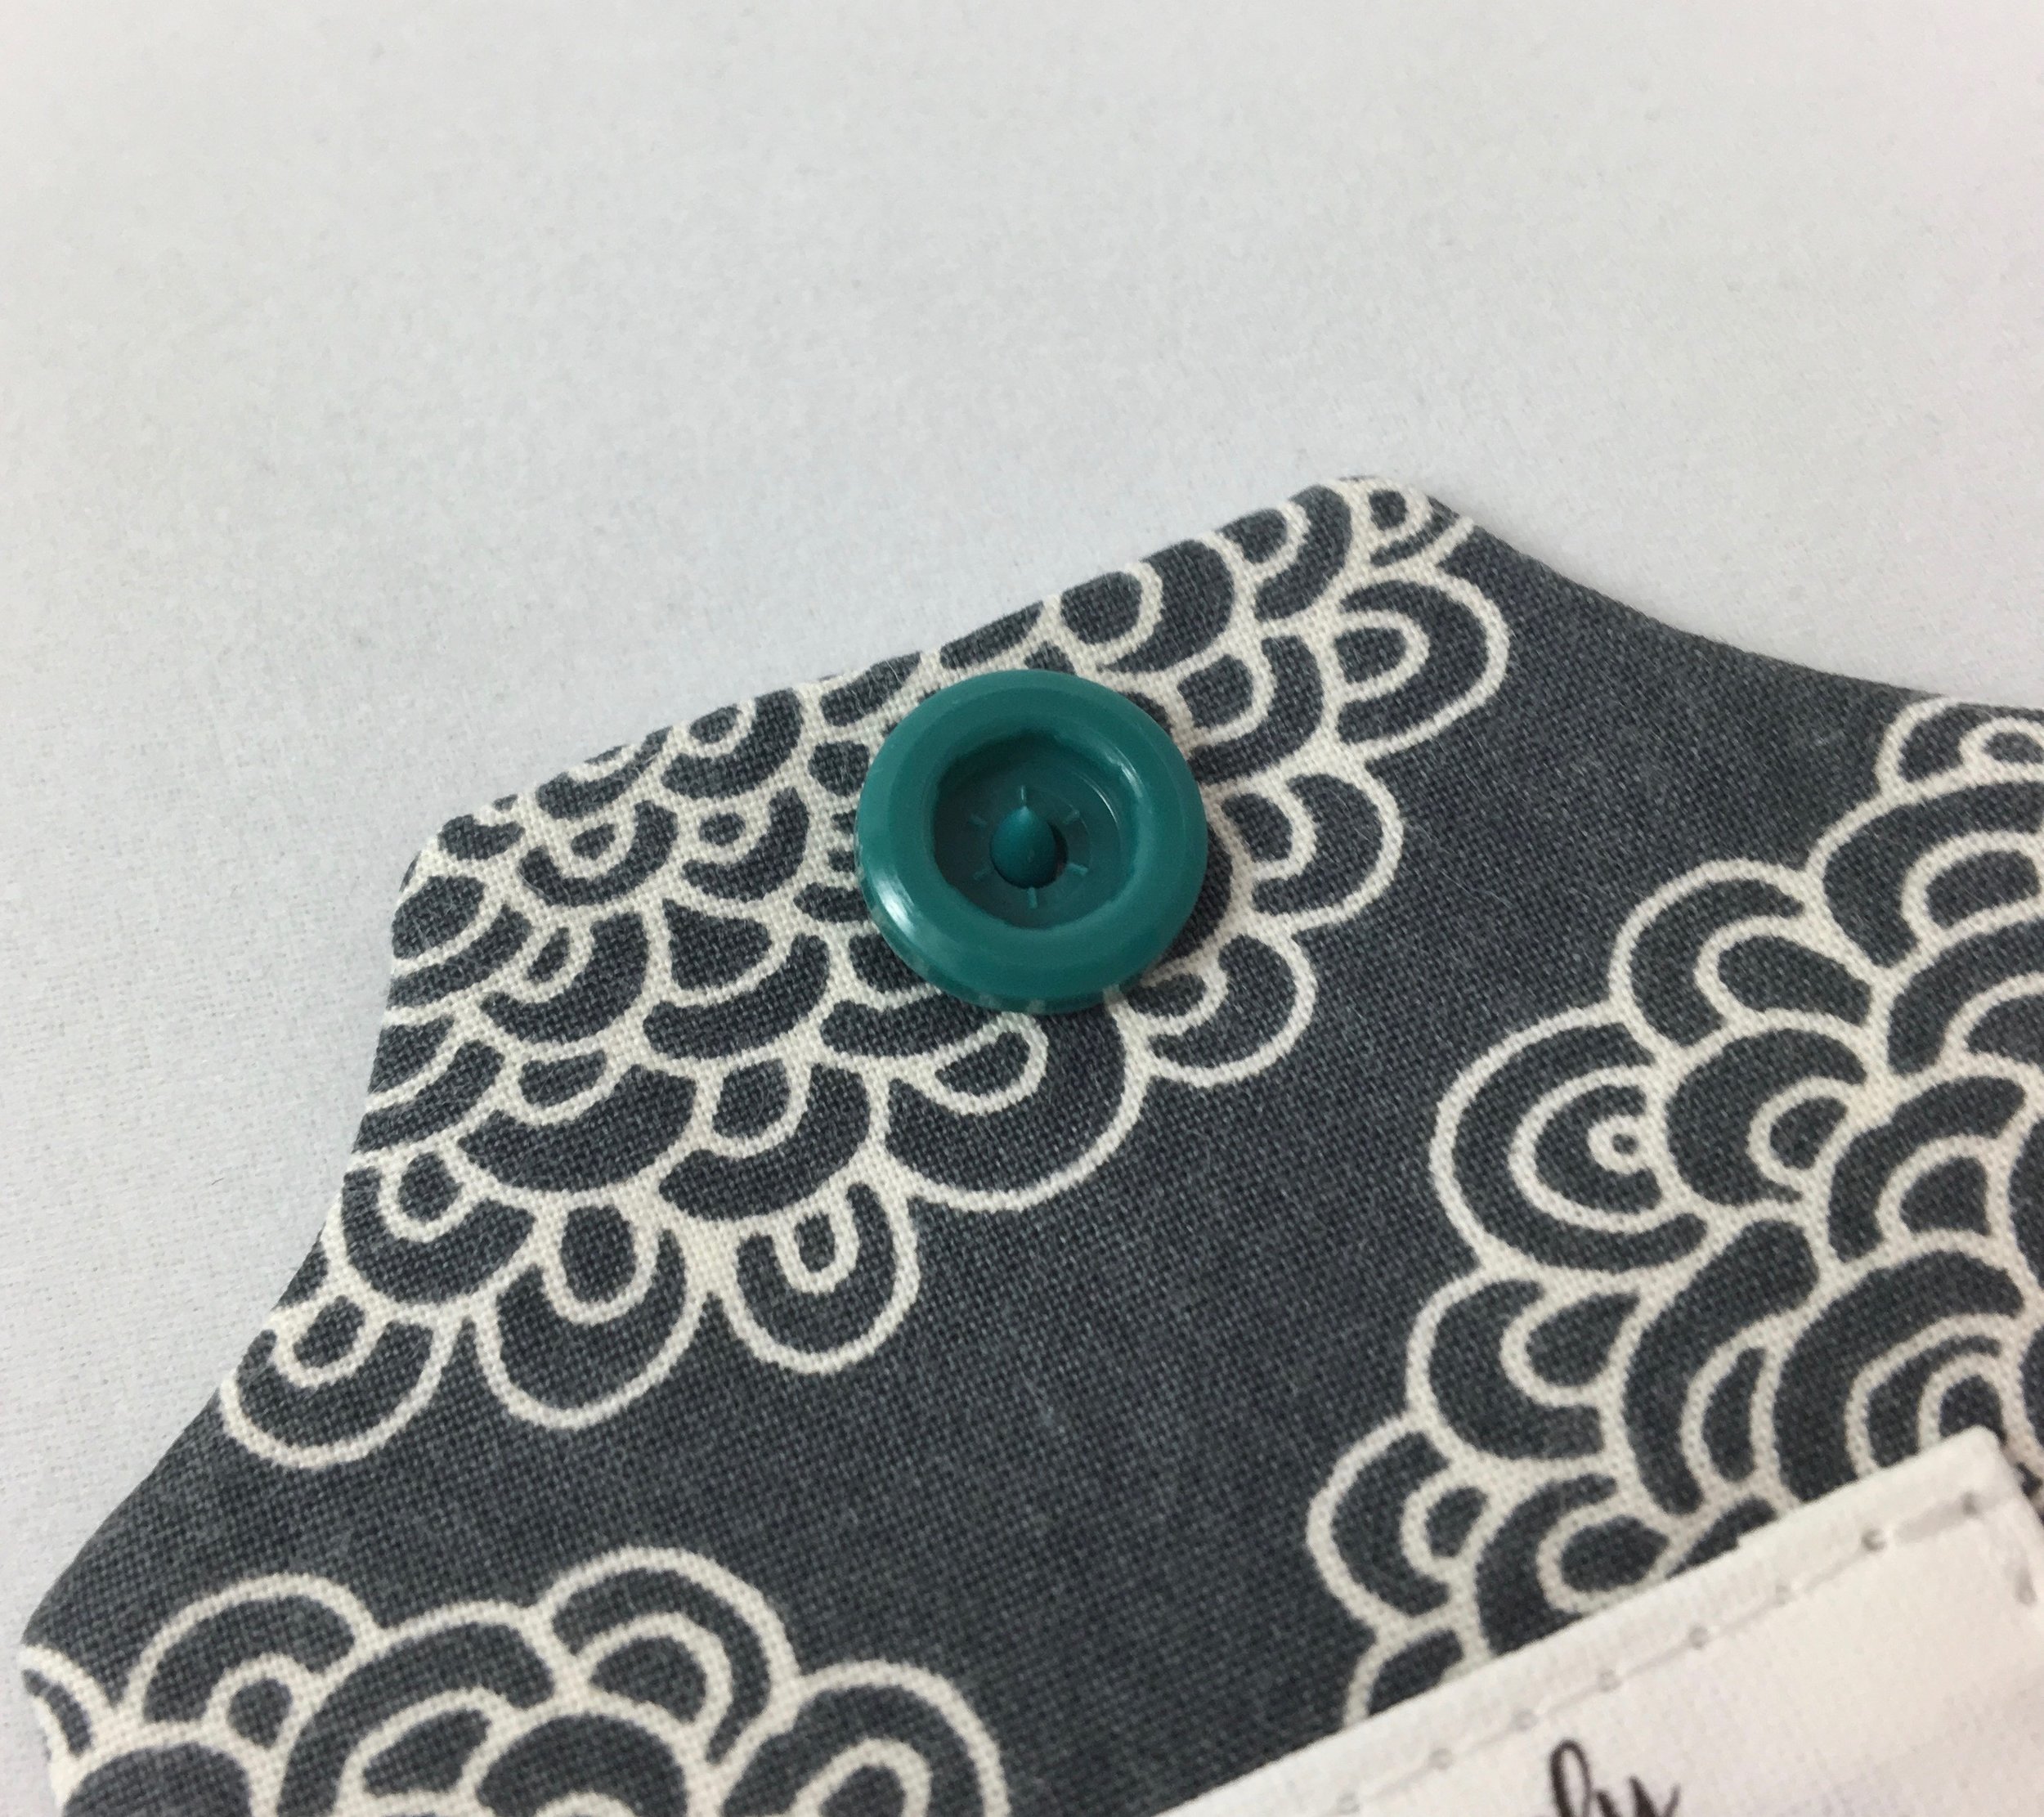
Gently push the awl through the fabric and interfacing at one of the marks you just made. Put the prong of the cap through the hole, making sure the cap is on the correct side of your project so that your snap will function as intended. Now, place the socket over the prong that is sticking out of the fabric so that the smooth, rounded side is facing away from the cap.
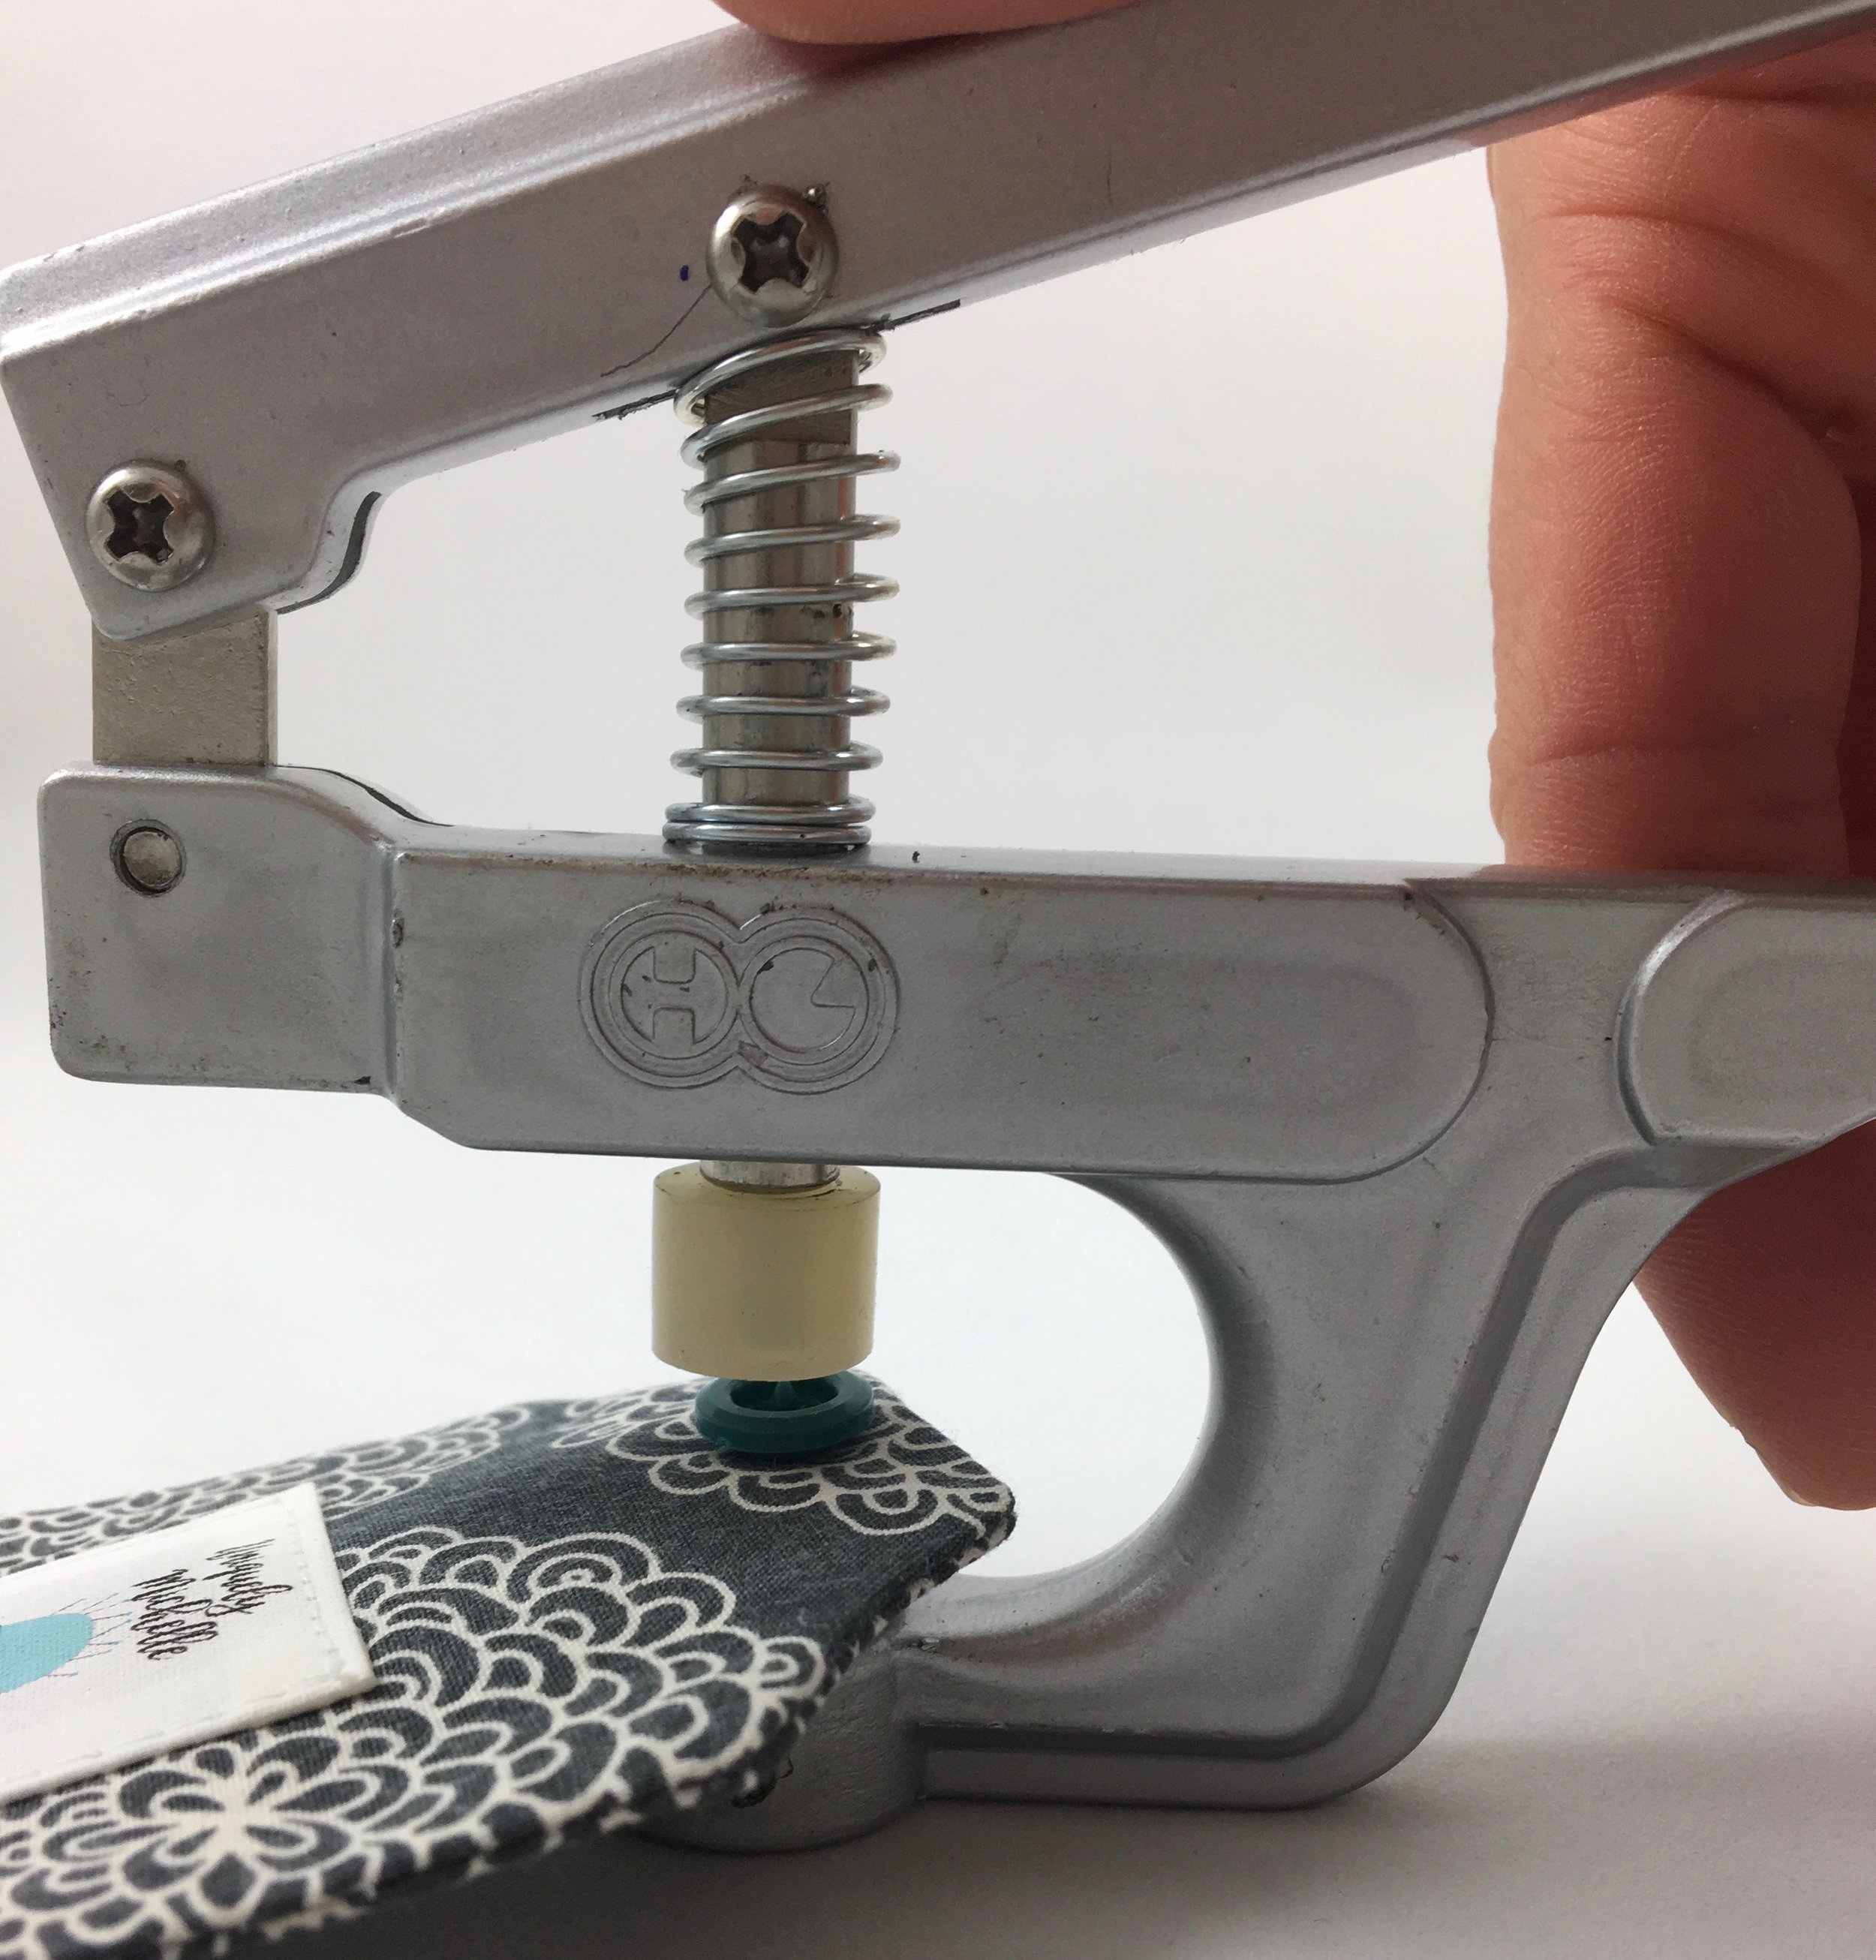

Put this half of the KAM snap into the KAM snap pliers pressing the cap into the black die until it clicks into place. Press the handles of the pliers together firmly, but you don’t want or need to overdo it! Check to see that the prong that was sticking out through the hole in the socket has been smooshed into a disk that will hold this half of the snap together and in place.

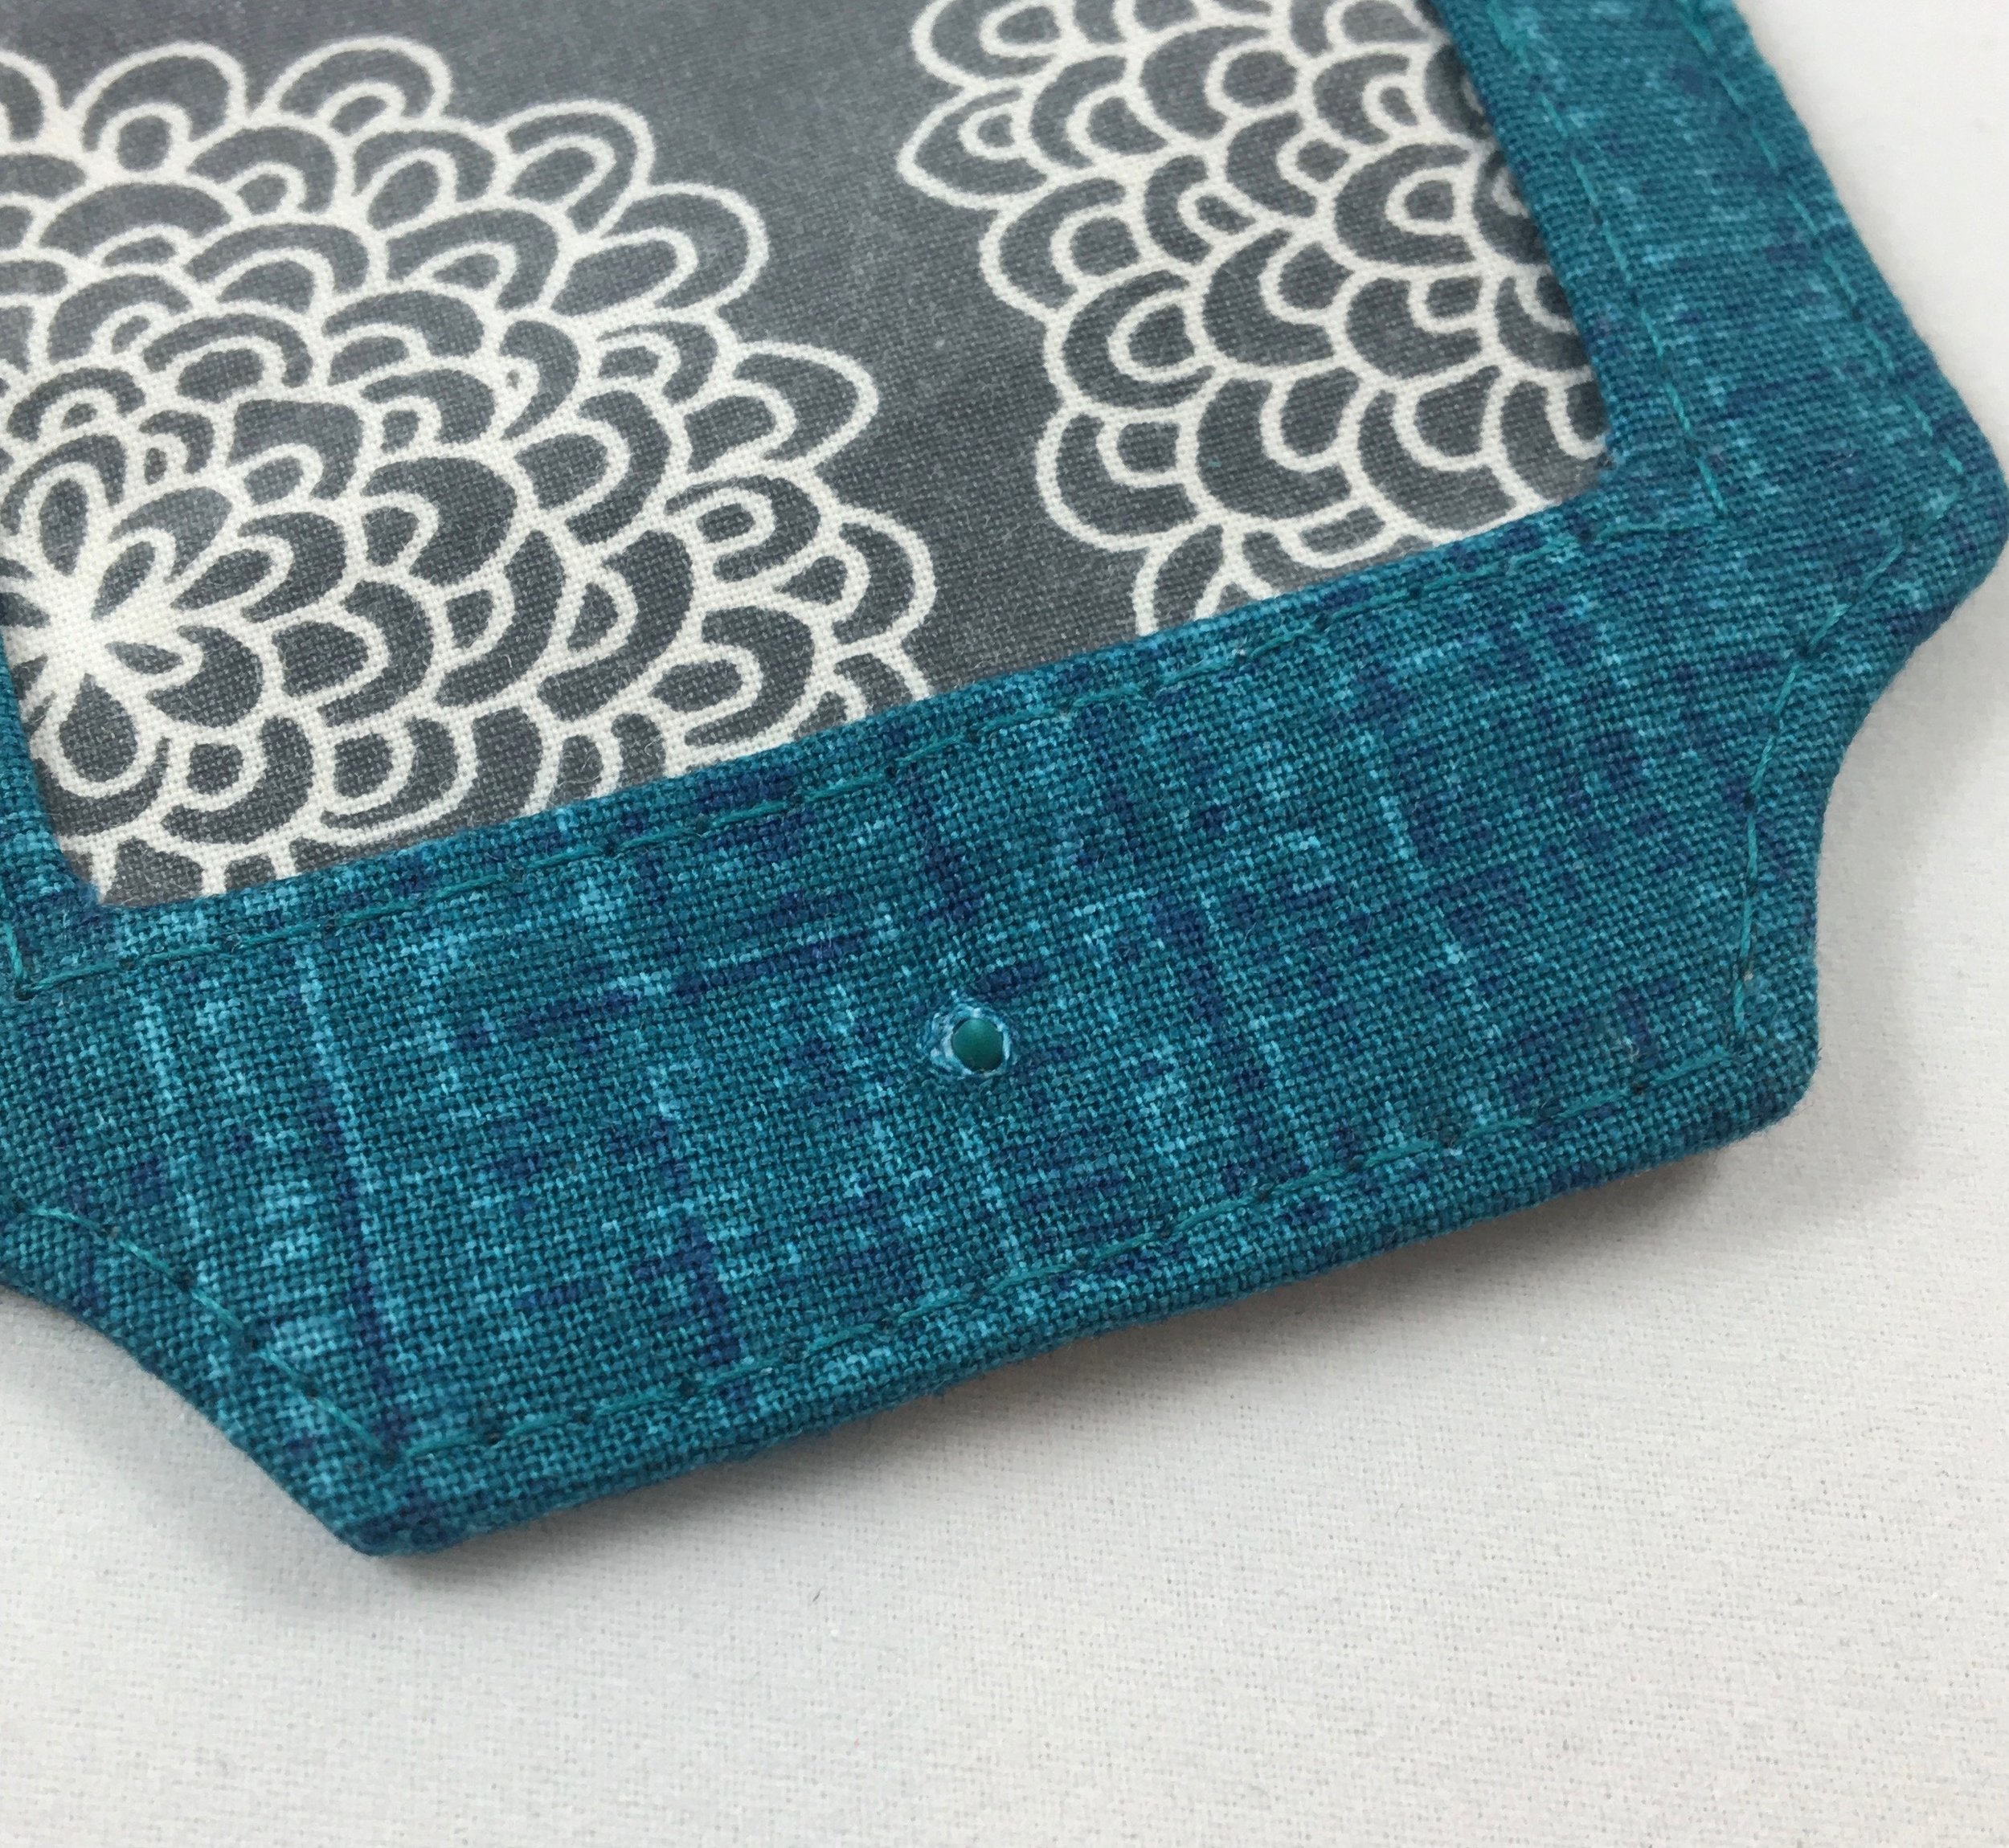
Before making a hole in the fabric at the other mark for the cap, I like to check to make sure the placement mark for the second part of my snap will line up with the first part of the snap I just installed. Make a hole in the location of the second placement mark with the awl and add your cap as you did for the first half of the snap, making sure you have the cap on the correct side of your project.

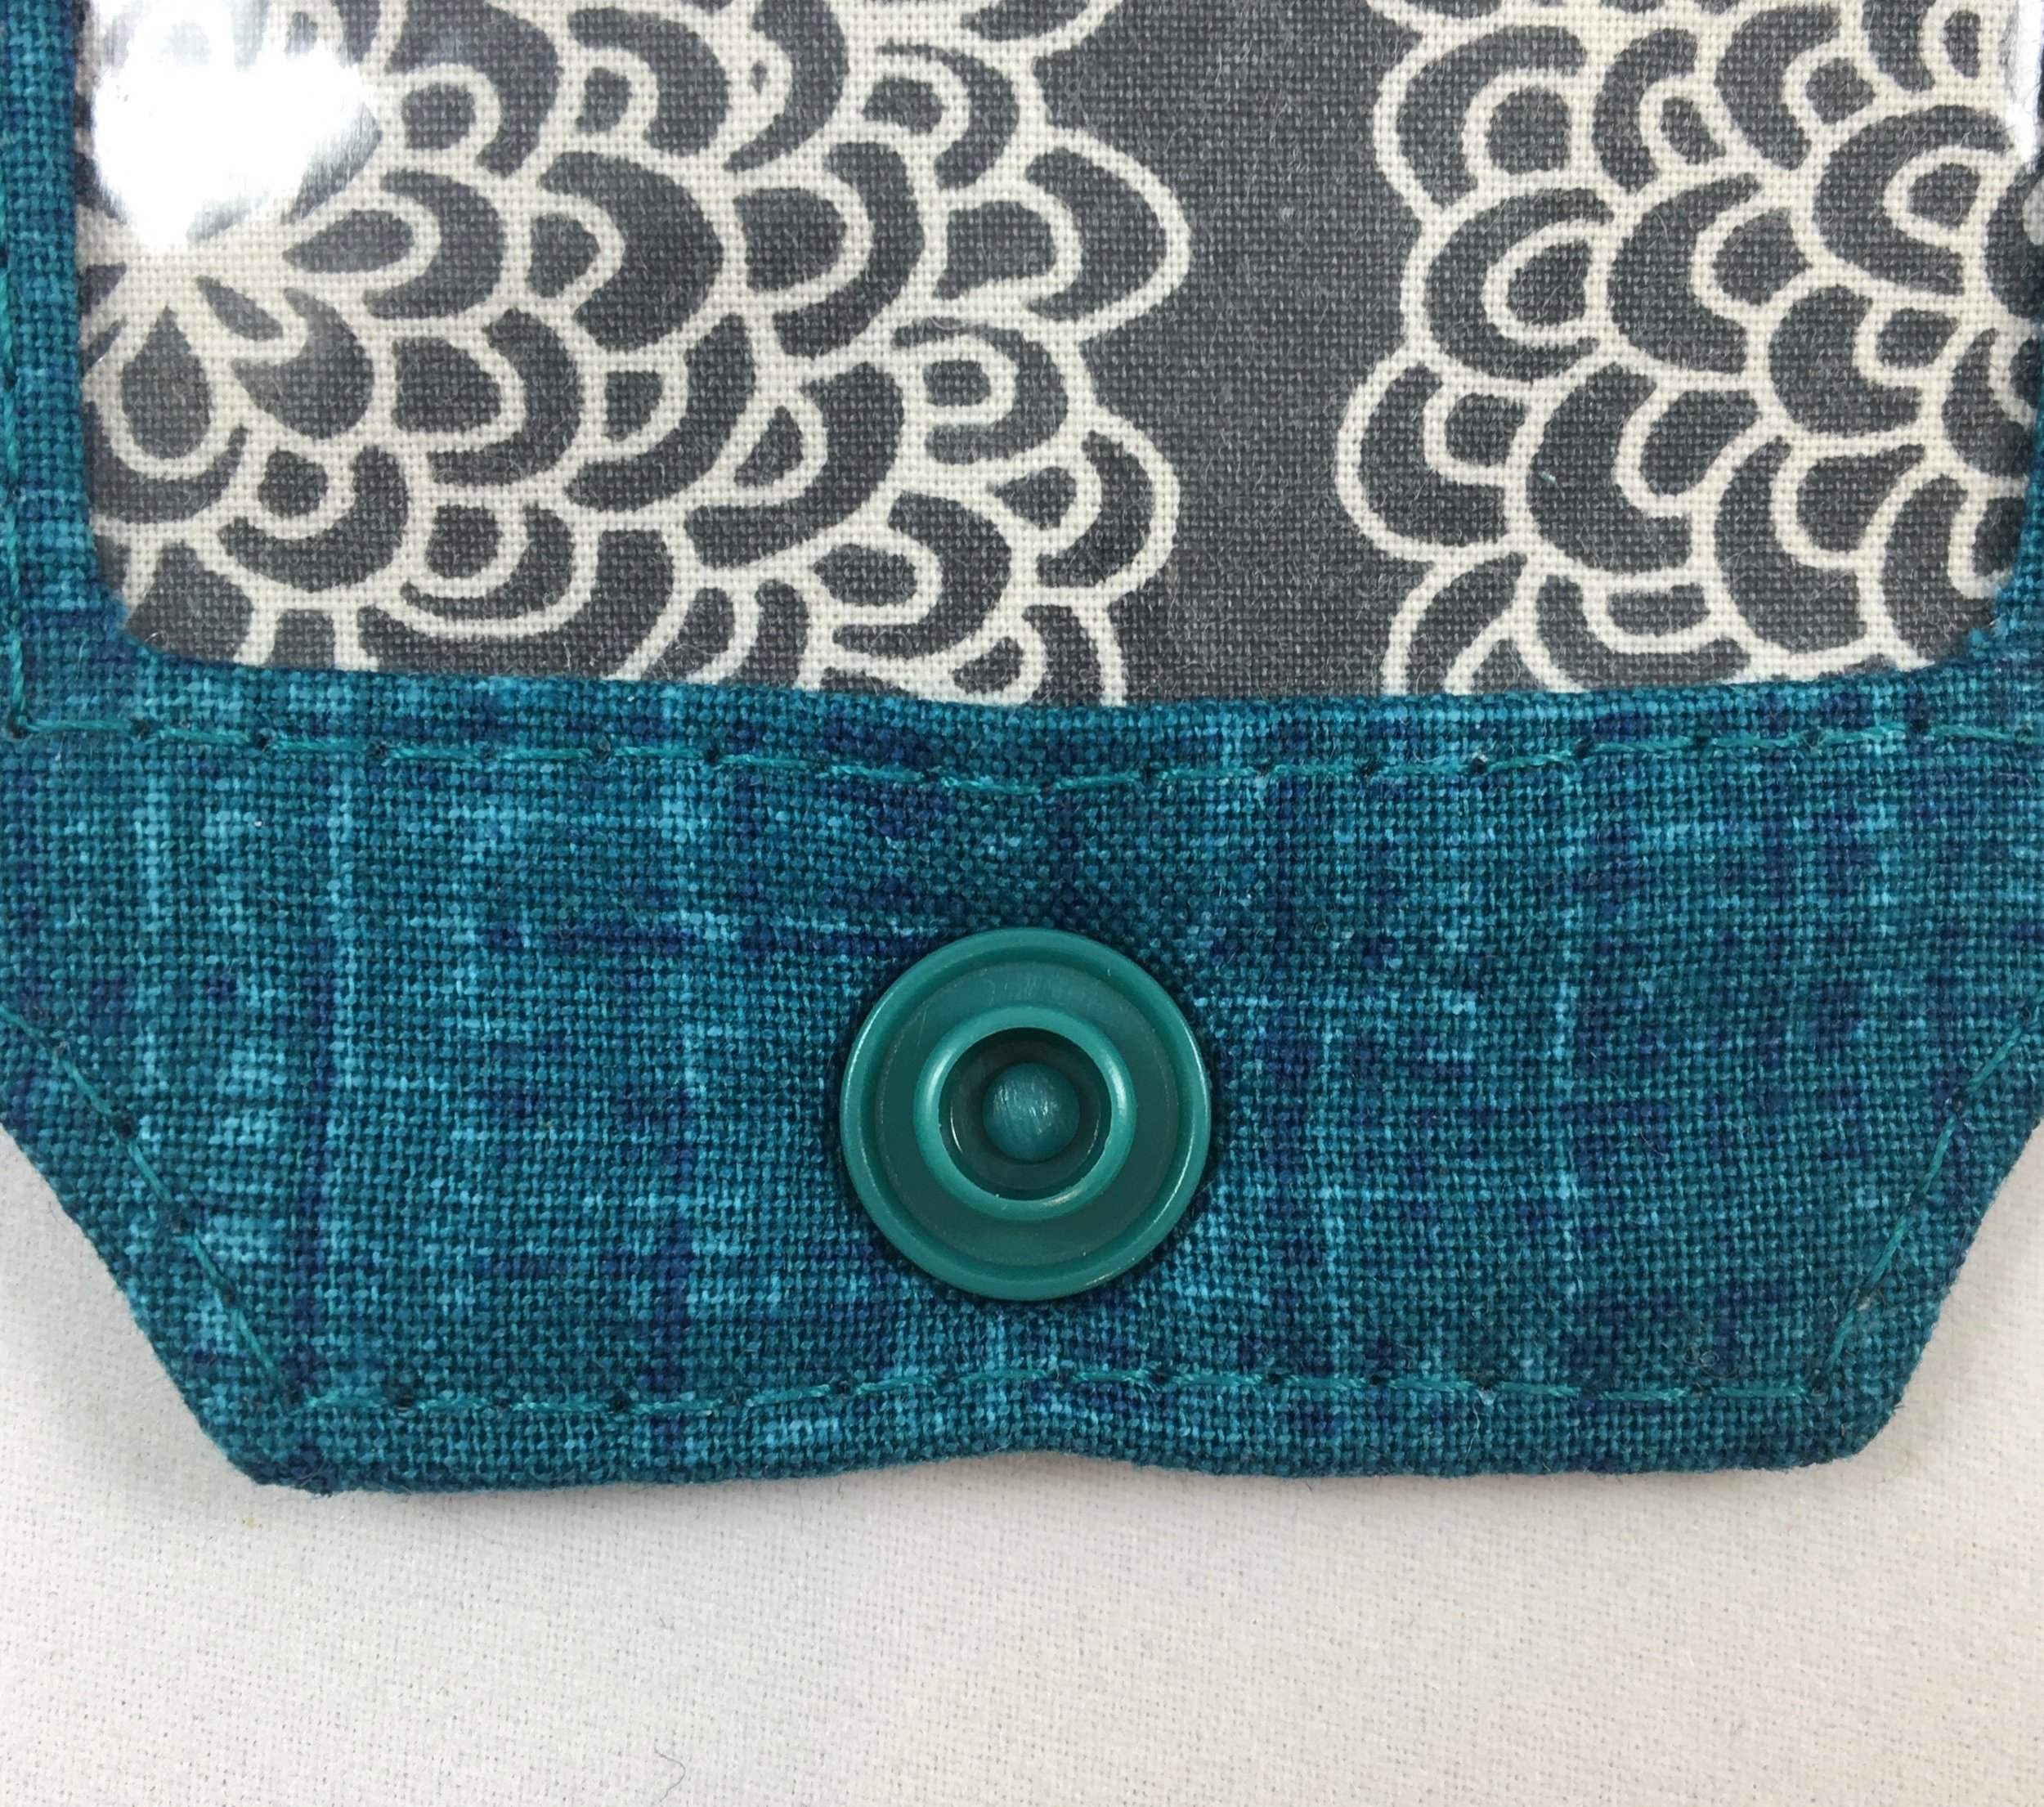
Place the stud over the prong that is sticking up through the fabric so that the side of the stud with the raised center ring is facing away from the cap. Put this second half of the KAM snap into the KAM snap pliers as before, pressing the cap into the black die until it clicks into place. Press the handles of the pliers together firmly and then check to see that the prong has been smooshed into a disk.

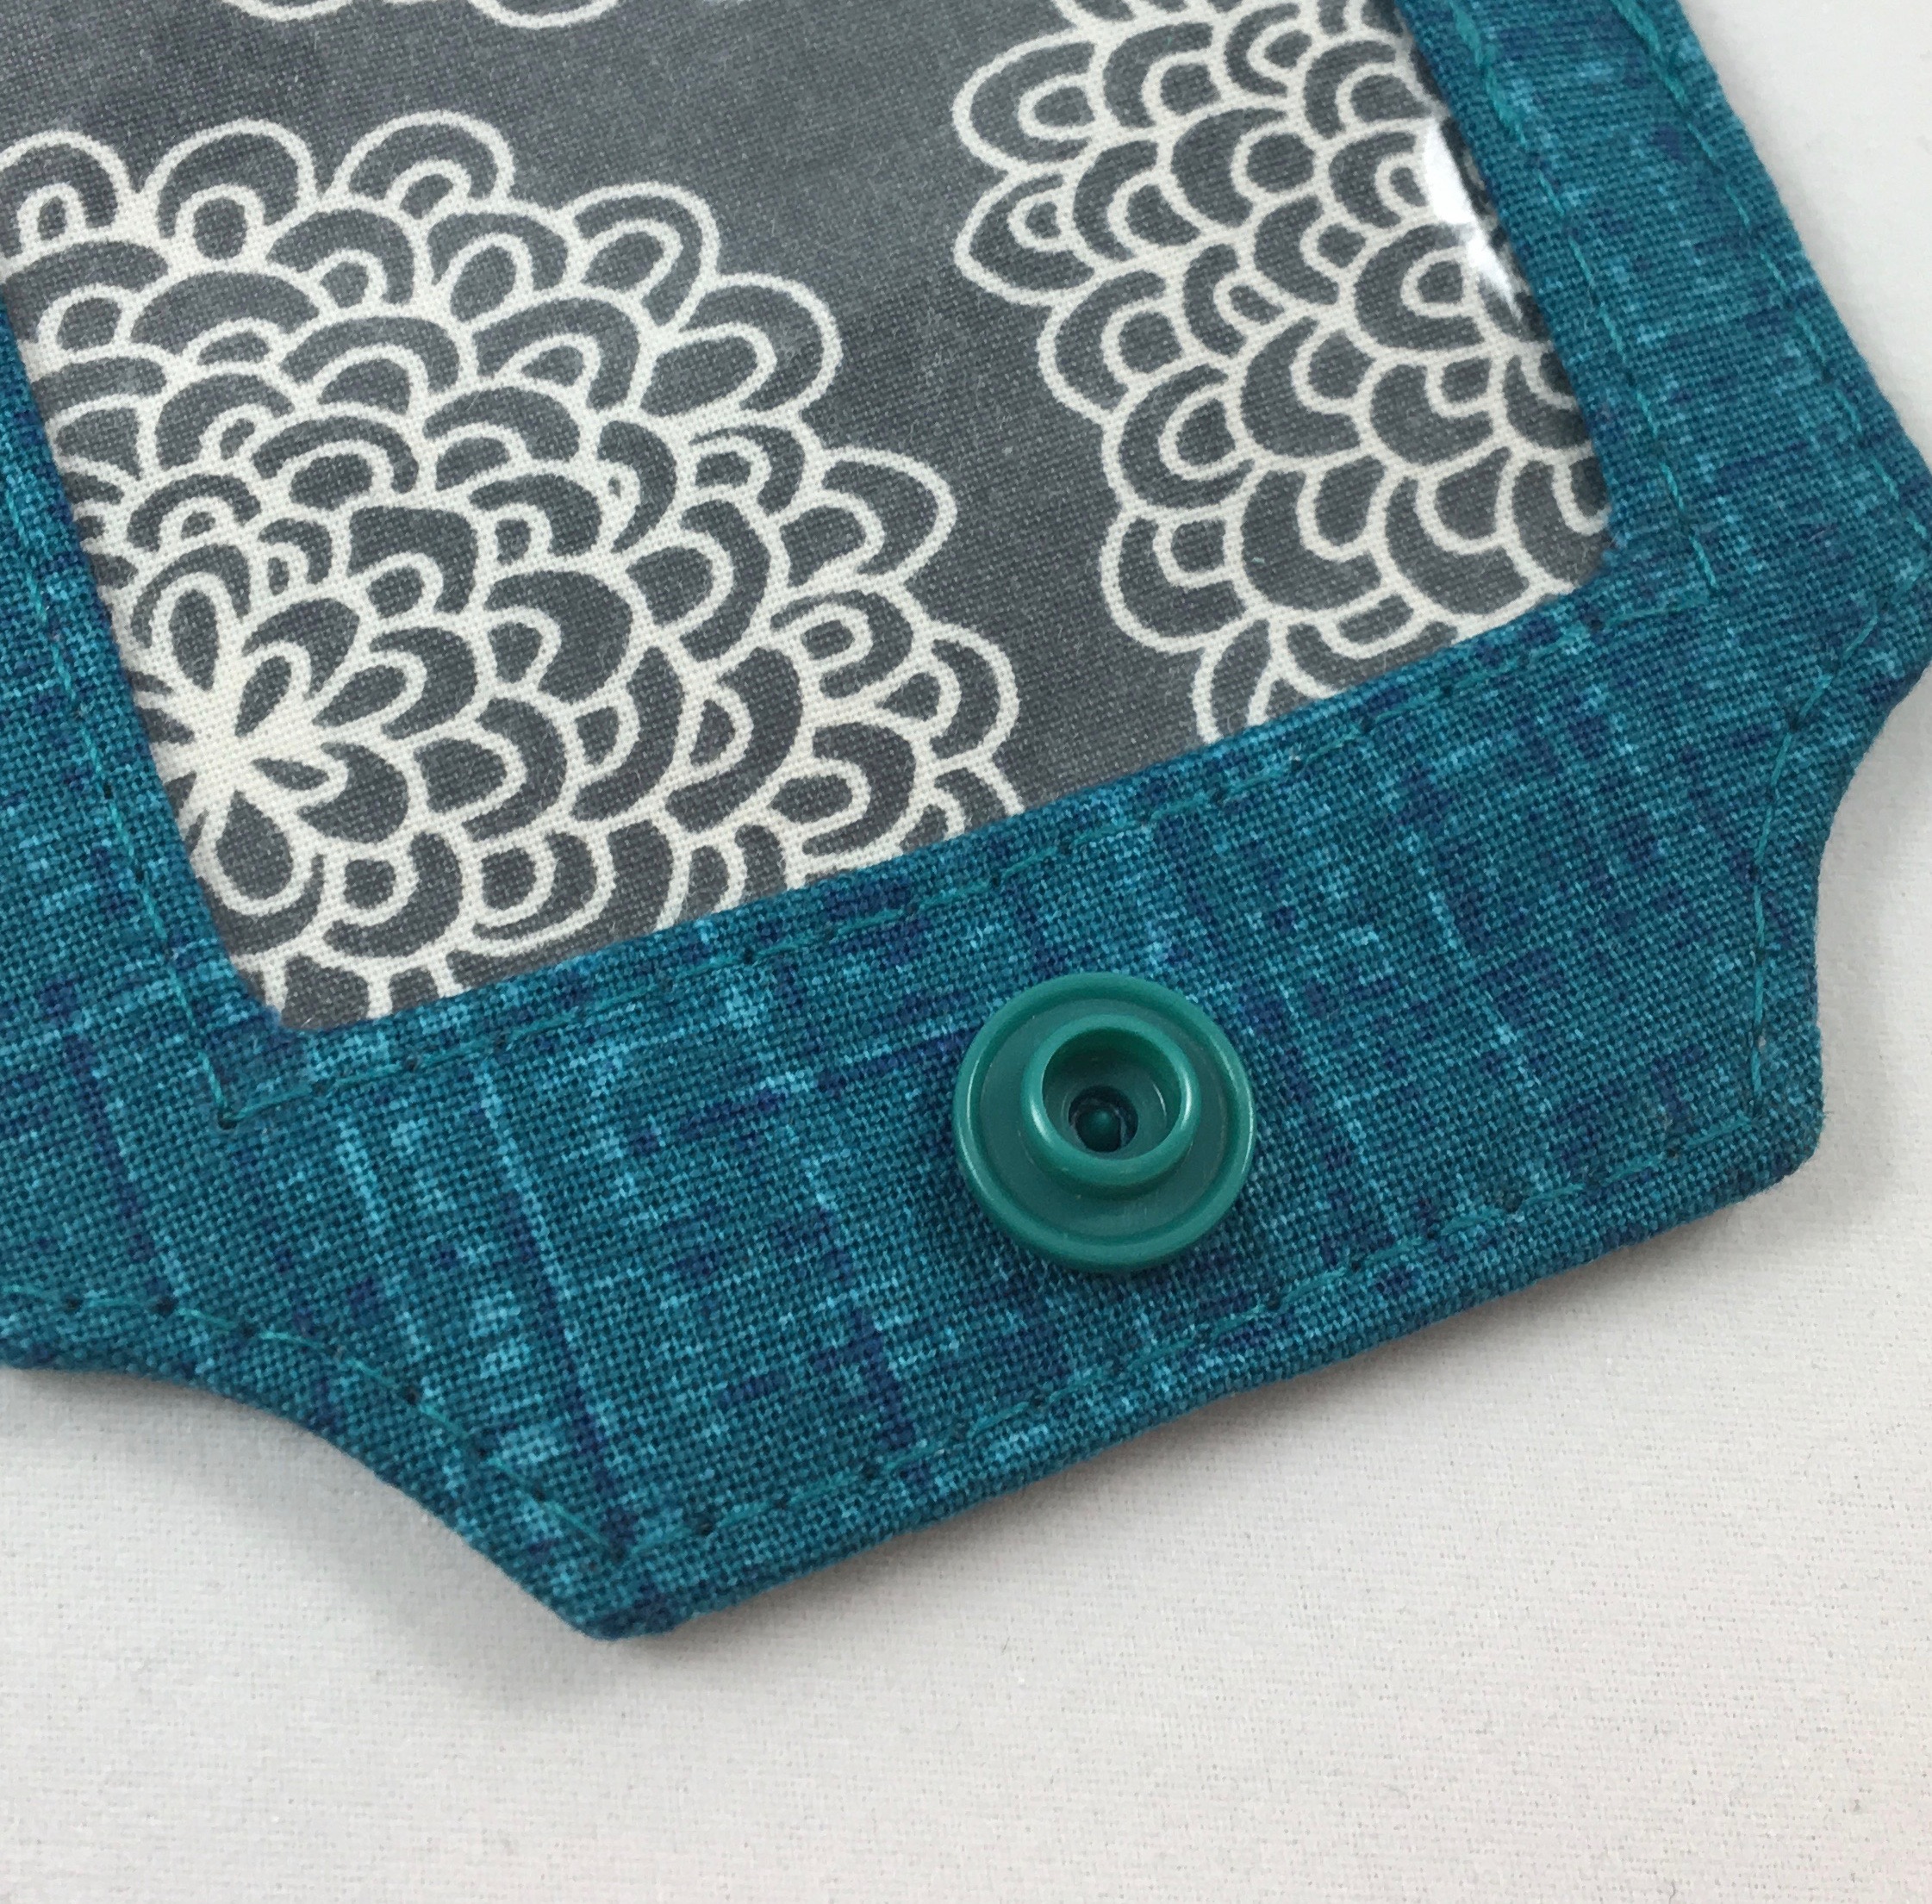
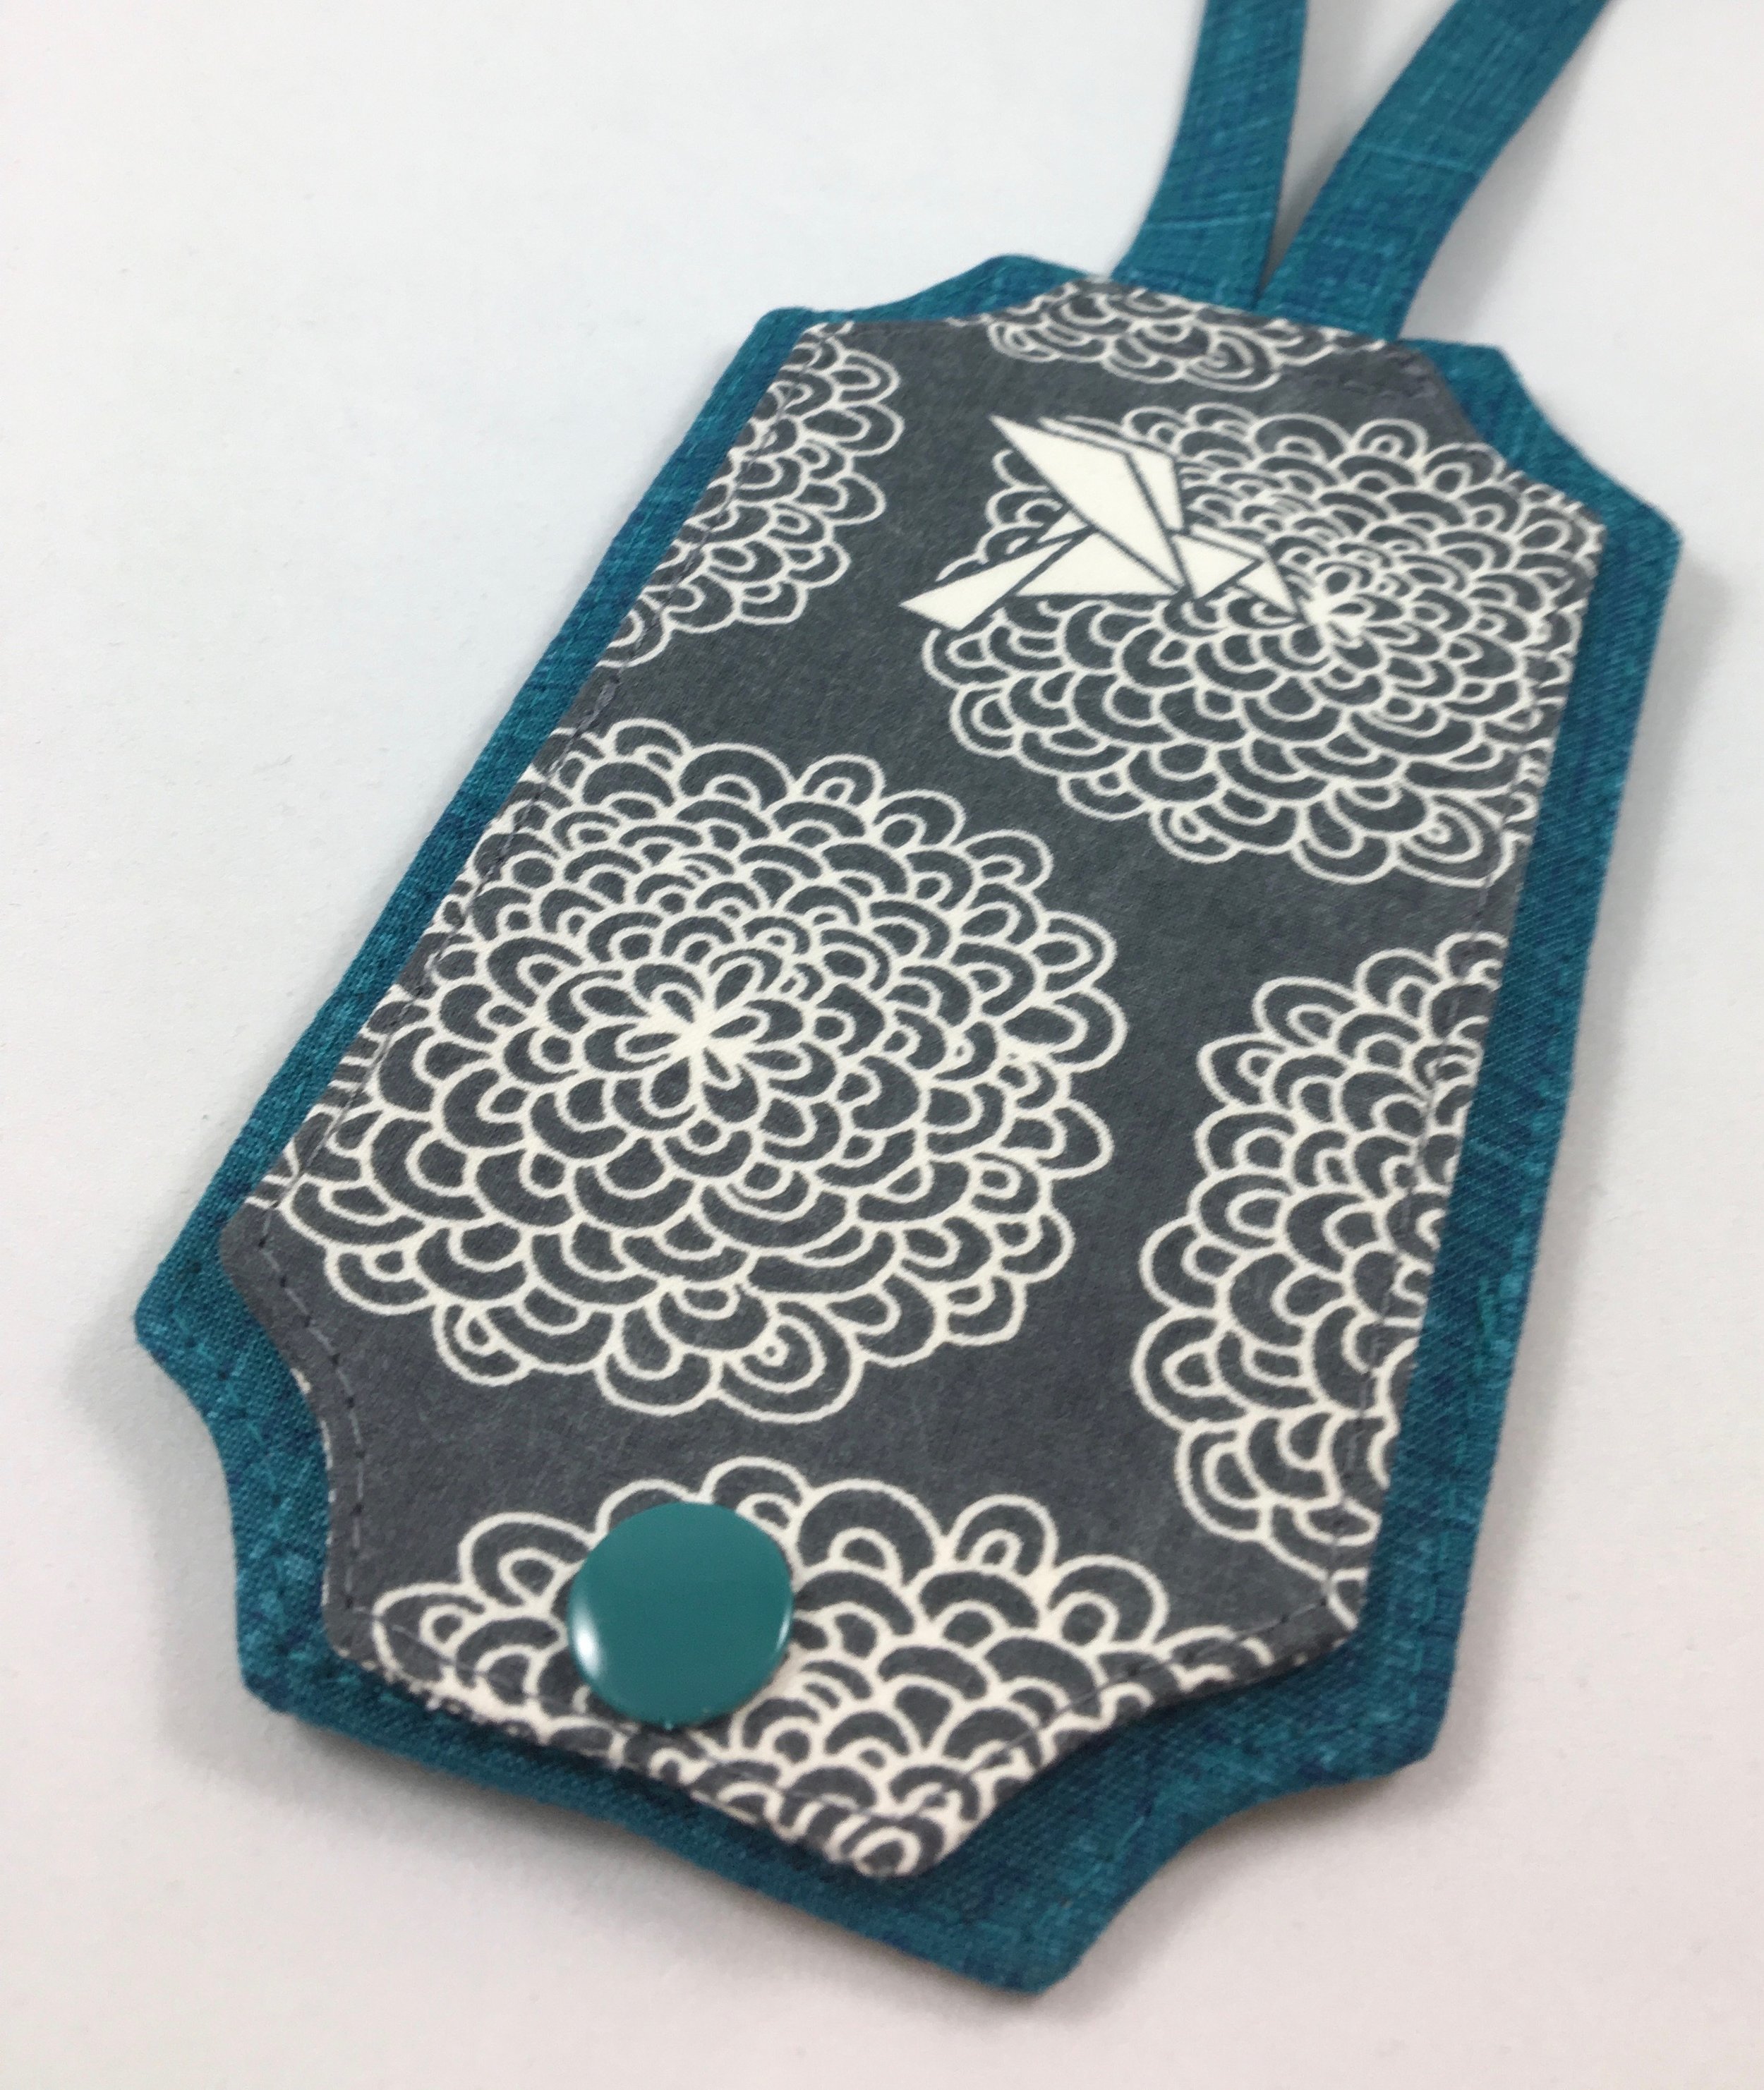
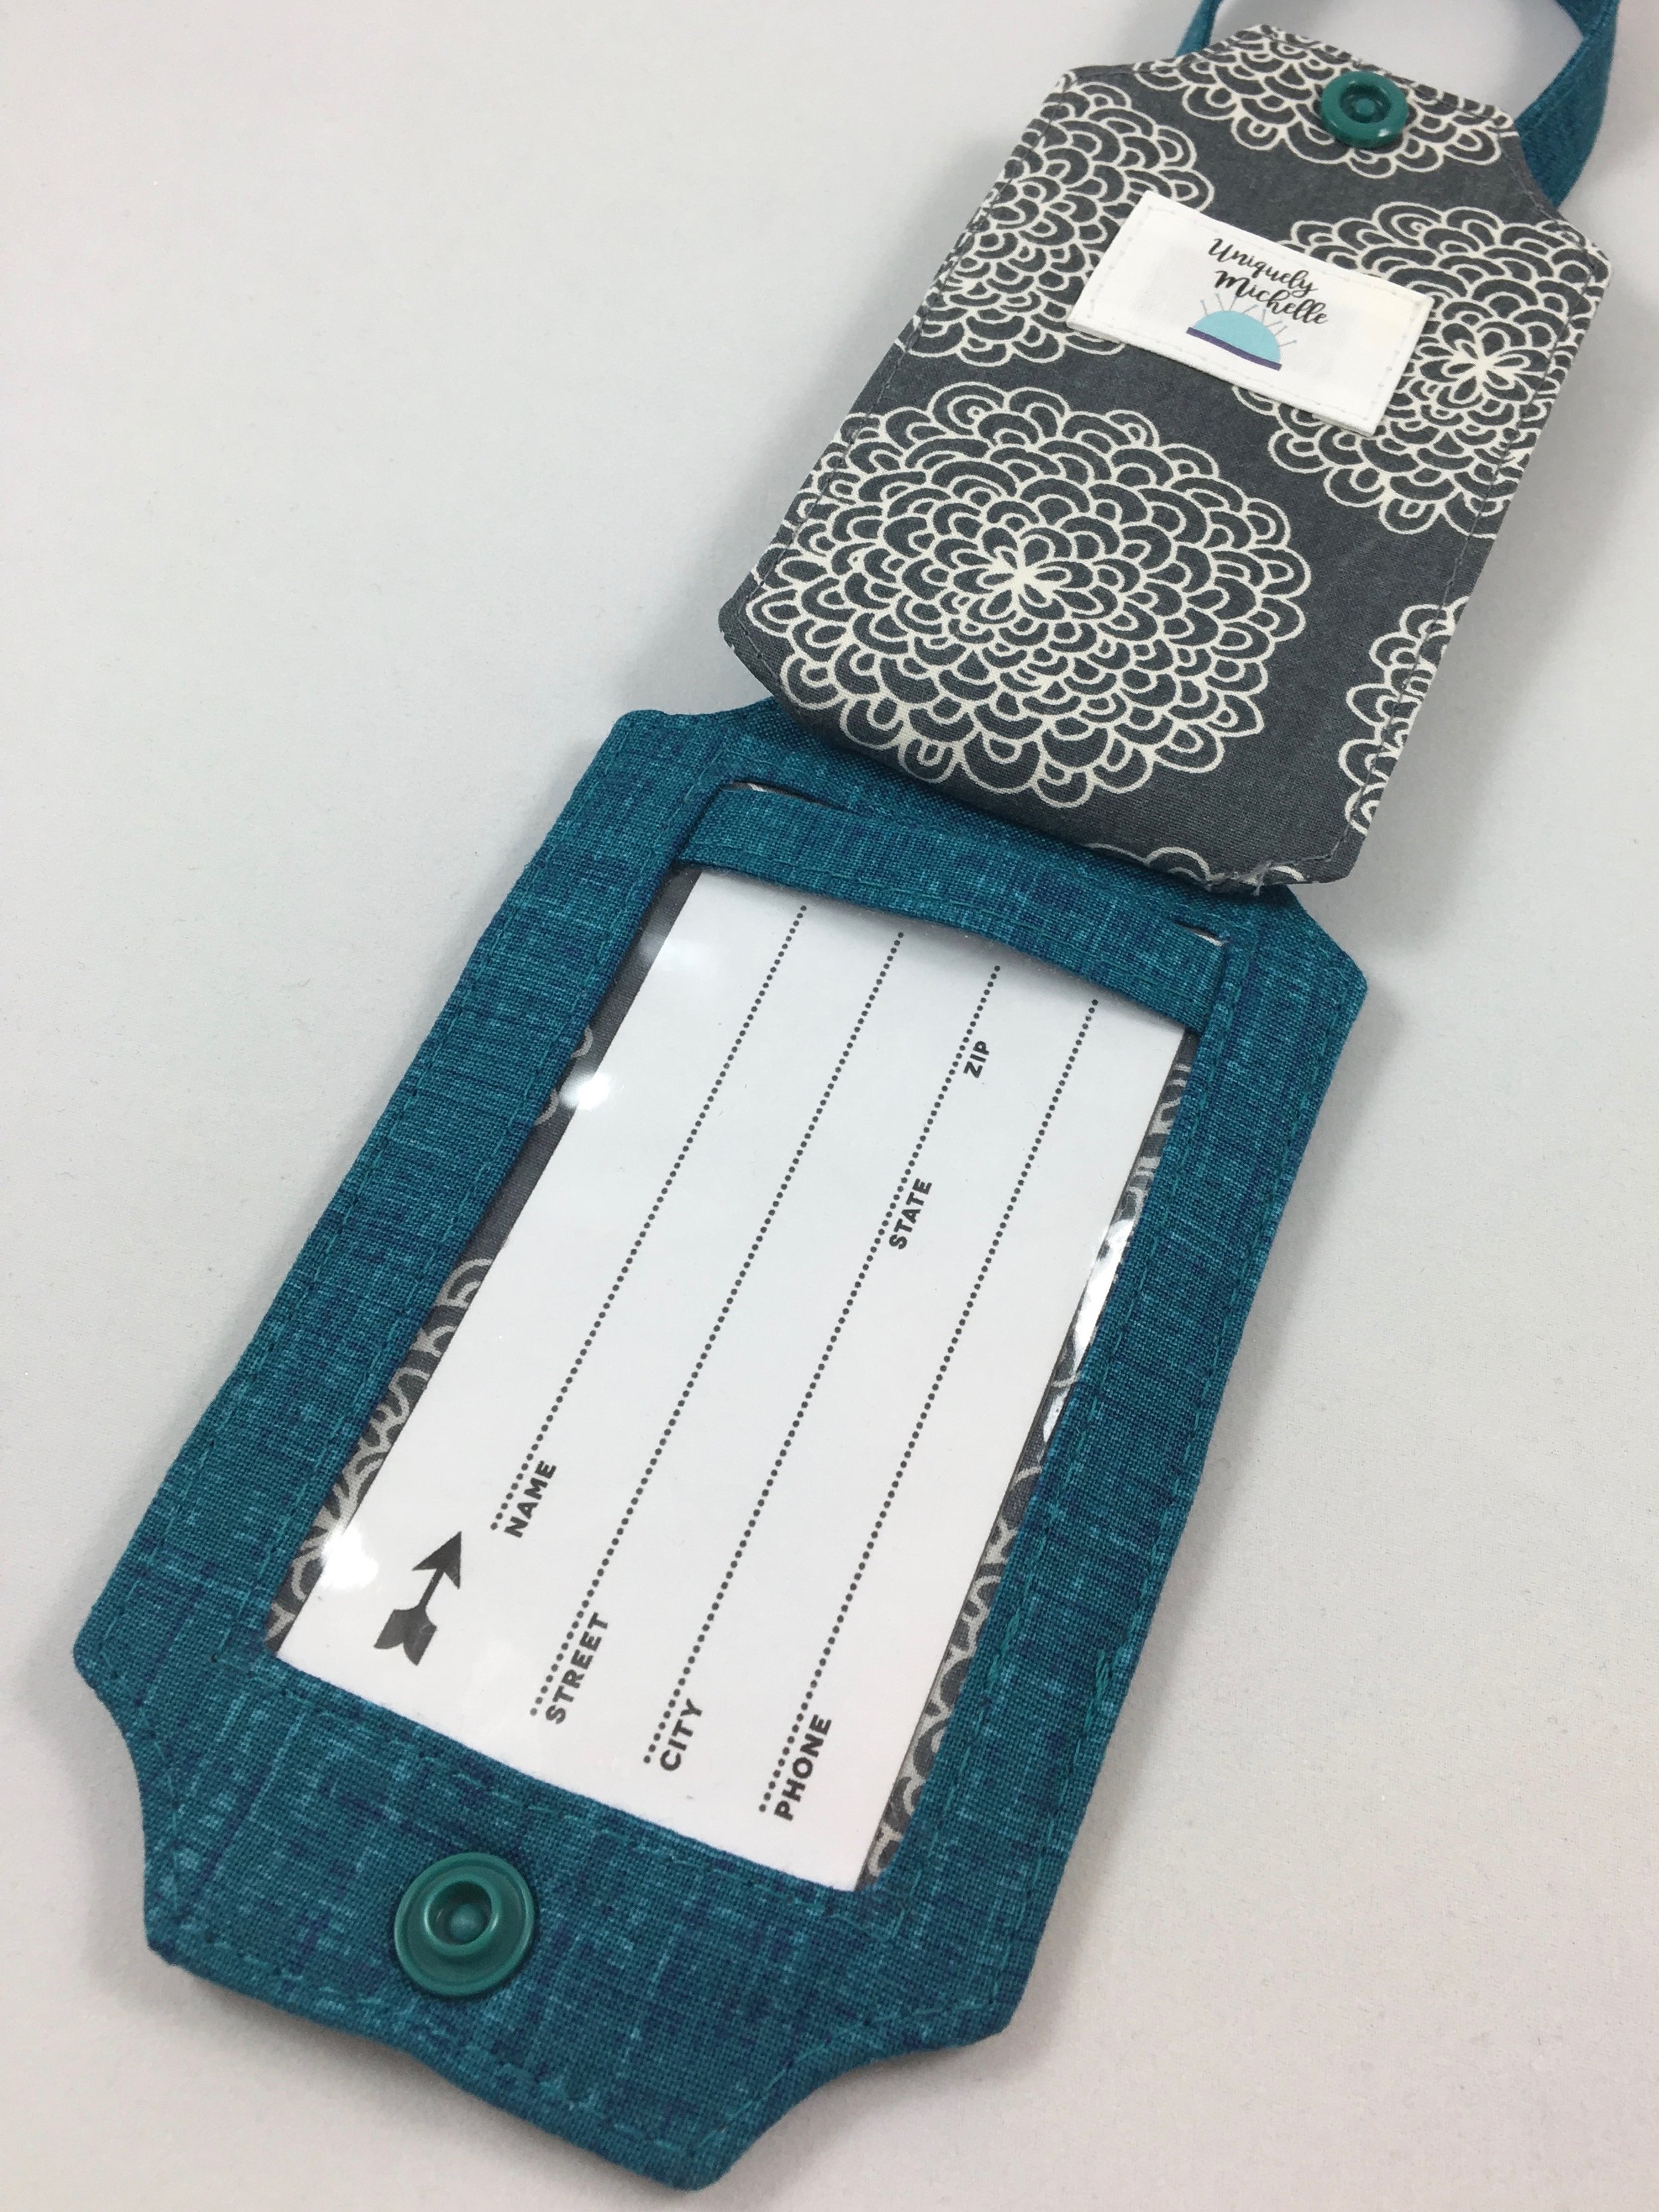
The snap is installed, so this Just the Ticket Luggage Tag is almost finished!
Check your snap by snapping and unsnapping it a few times. I have never had a KAM snap that I installed with KAM snap pliers not be installed well. If the fabric and interfacing are too thick for the prong to go through all the layers, you will not be able to install the snap securely. I have cut out some of the interfacing before to reduce the layers so that the snap will install securely. It is difficult to remove a KAM snap if you misplaced it since you have made a hole in the fabric, so double checking your marks is a good idea. Also, practice installing a few KAM snaps in a scrap piece of layered fabric and interfacings so that you feel comfortable with the process before adding snaps to your project.

KAM snaps are another easy-to-install snap option, that looks nice and functions well too. KAM snaps come in many different colors and since the parts of the snap are interchangeable, you can match each part of the snap to the fabric that it will be installed on.
The snap blog post series continues for two more days! I am so excited for tomorrow's blog post and I hope you are too! Tomorrow, I will be posting a free pattern that uses a snap, so get your favorite snaps out and get ready for some fun! On Saturday, I will share my testers' awesome creations, you will be inspired! And then next week . . . well, I will tell you more about that later, but I will tell you that there is more excitement coming at Uniquely Michelle. Be sure to sign up to receive the Uniquely Michelle newsletter so you don't miss anything that is coming up at Uniquely Michelle!