contact Me

Use the form on the right to contact Me.


123 Street Avenue, City Town, 99999

(123) 555-6789

email@address.com


You can set your address, phone number, email and site description in the settings tab.
Link to read me page with more information.

Blog

A Kristine ID Wallet Video Tutorial by Sew Much Moore In Store

Michelle Burke

Have you heard about the video tutorial series that Nicole of Sew Much Moore In Store has made showing her techniques and trick for making the Kristine ID Wallet? Nicole has the making of a Kristine ID Wallet broken down into two videos and she also has a third video related to the Kristine ID Wallet showing how to make a lanyard.

In the first video, Make Your Own ID Wallet - Part One, Nicole takes us through the making of the ID Window Pocket.

In the second video in the series, Make Your Own ID Wallet - Part Two, Nicole finishes up the Kristine ID Wallet. This video includes the adding of the zipper tabs, the d-ring (or key ring) tab, and the zipper. It also includes the final sewing of the exterior and lining. Nicole chooses not to add the card slot pockets and envelope flap to her Kristine ID Wallets, so this is not included in her video series.

Nicole’s video tutorial on making a lanyard is not specific to the Kristine ID Wallet, but it is a great resource for making and adding a lanyard to the Kristine ID Wallet. I always love seeing or hearing different tips or tricks people use when sewing things and Nicole shares a lot of her tips and tricks in her videos! Thanks Nicole for sharing your great techniques for making the Kristine ID Wallet!

Nicole wrote a great blog post about the Kristine ID Wallet, why she likes making them and selling them. Your can read her blog post here.

You can see all of Nicole’s video tutorials on her Sew Much Moore In Store YouTube channel. You can get the Kristine ID Wallet pattern in the Uniquely Michelle Website Shop, the Uniquely Michelle Craftsy Pattern Shop, or the Uniquely Michelle Etsy Shop.

Stay connected with Uniquely Michelle by signing up for the newsletter below!

A Snap To It Key Fob Coloring Page

Michelle Burke

Have you downloaded the FREE Snap To It Key Fob pattern yet? If you haven’t make sure you do!

IMG_2970.jpg

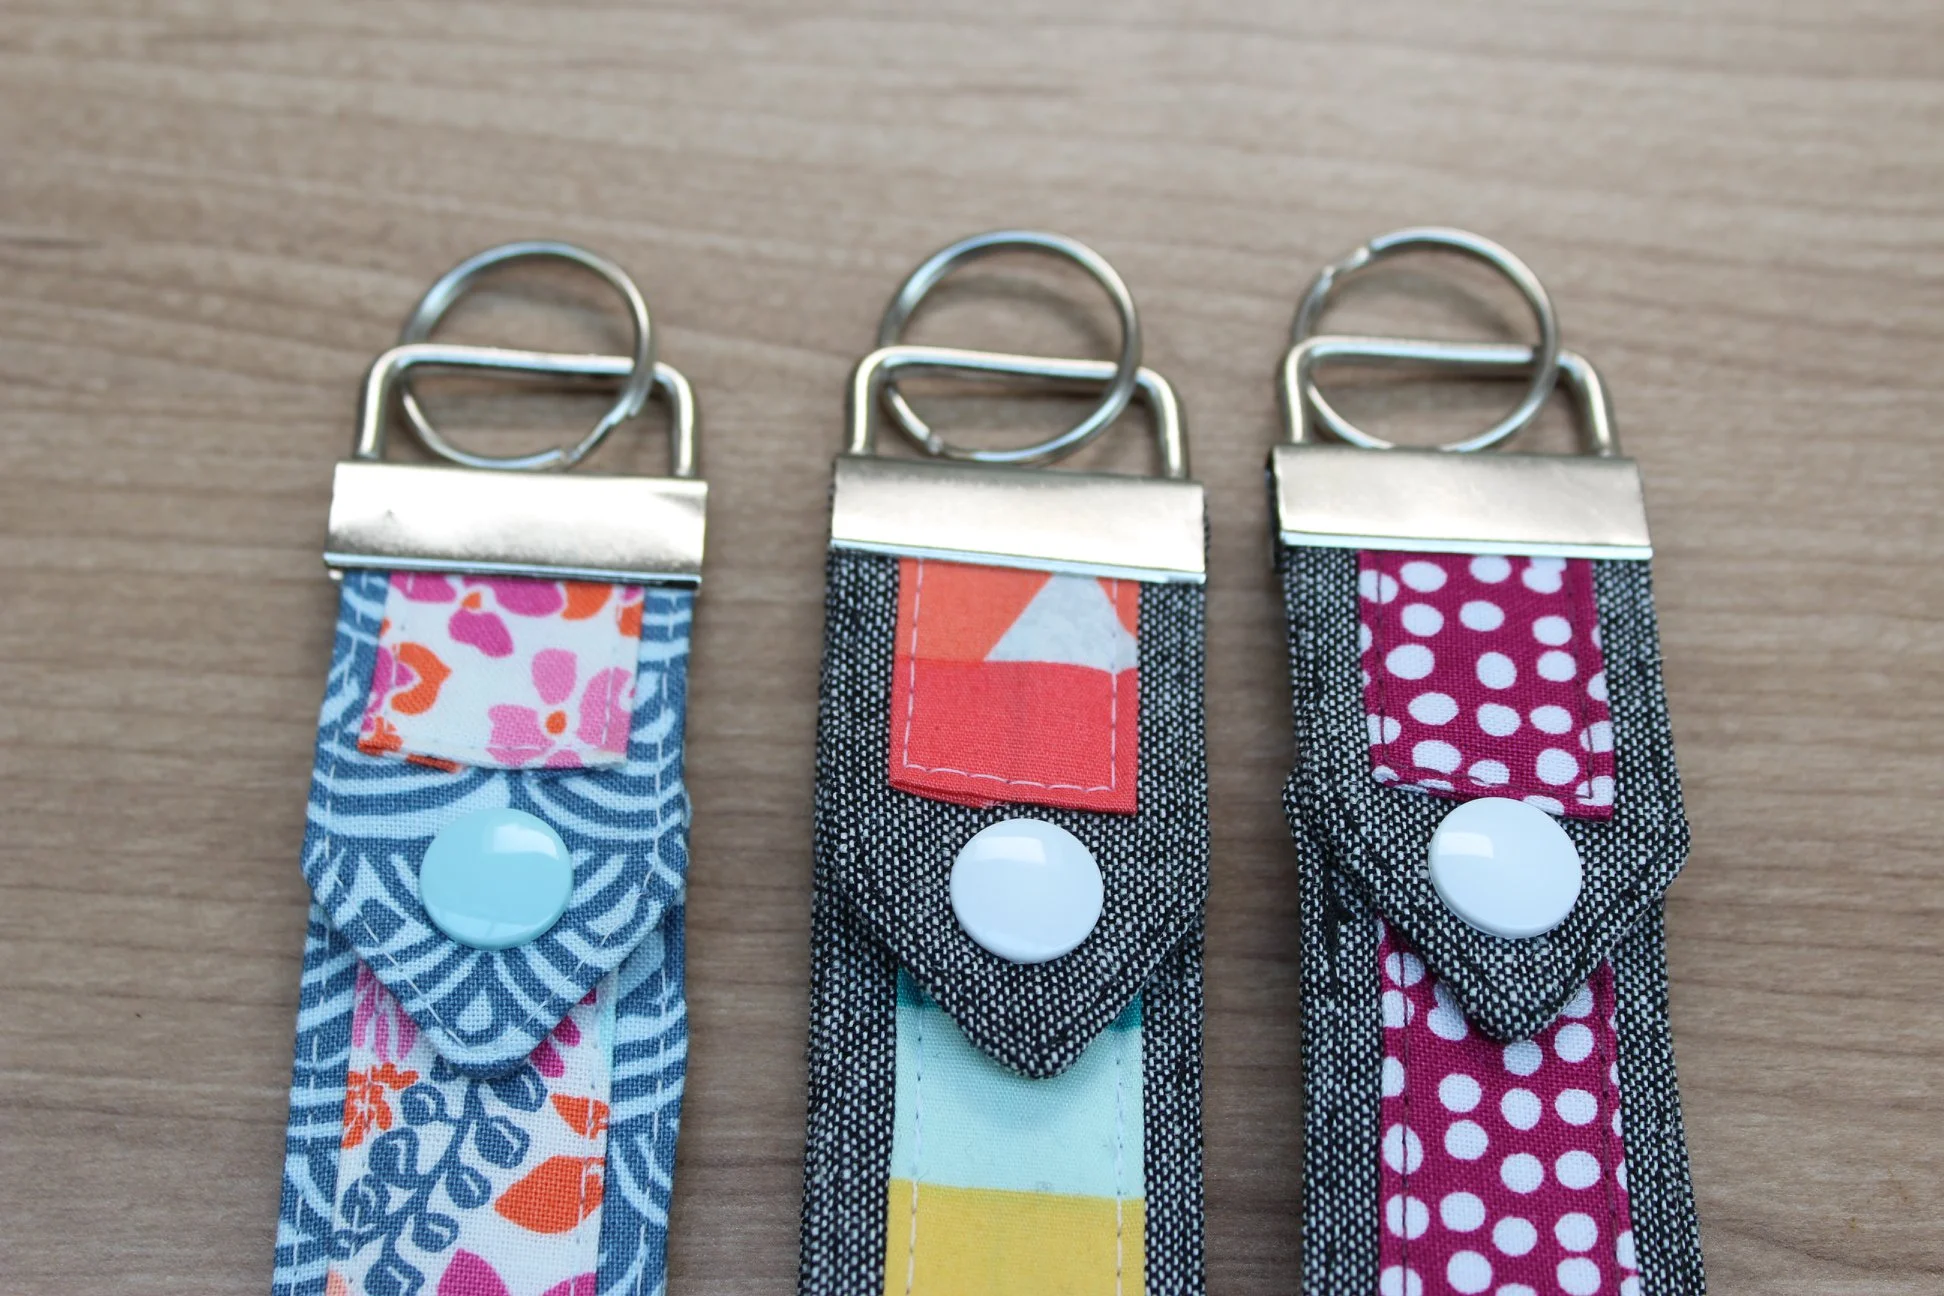
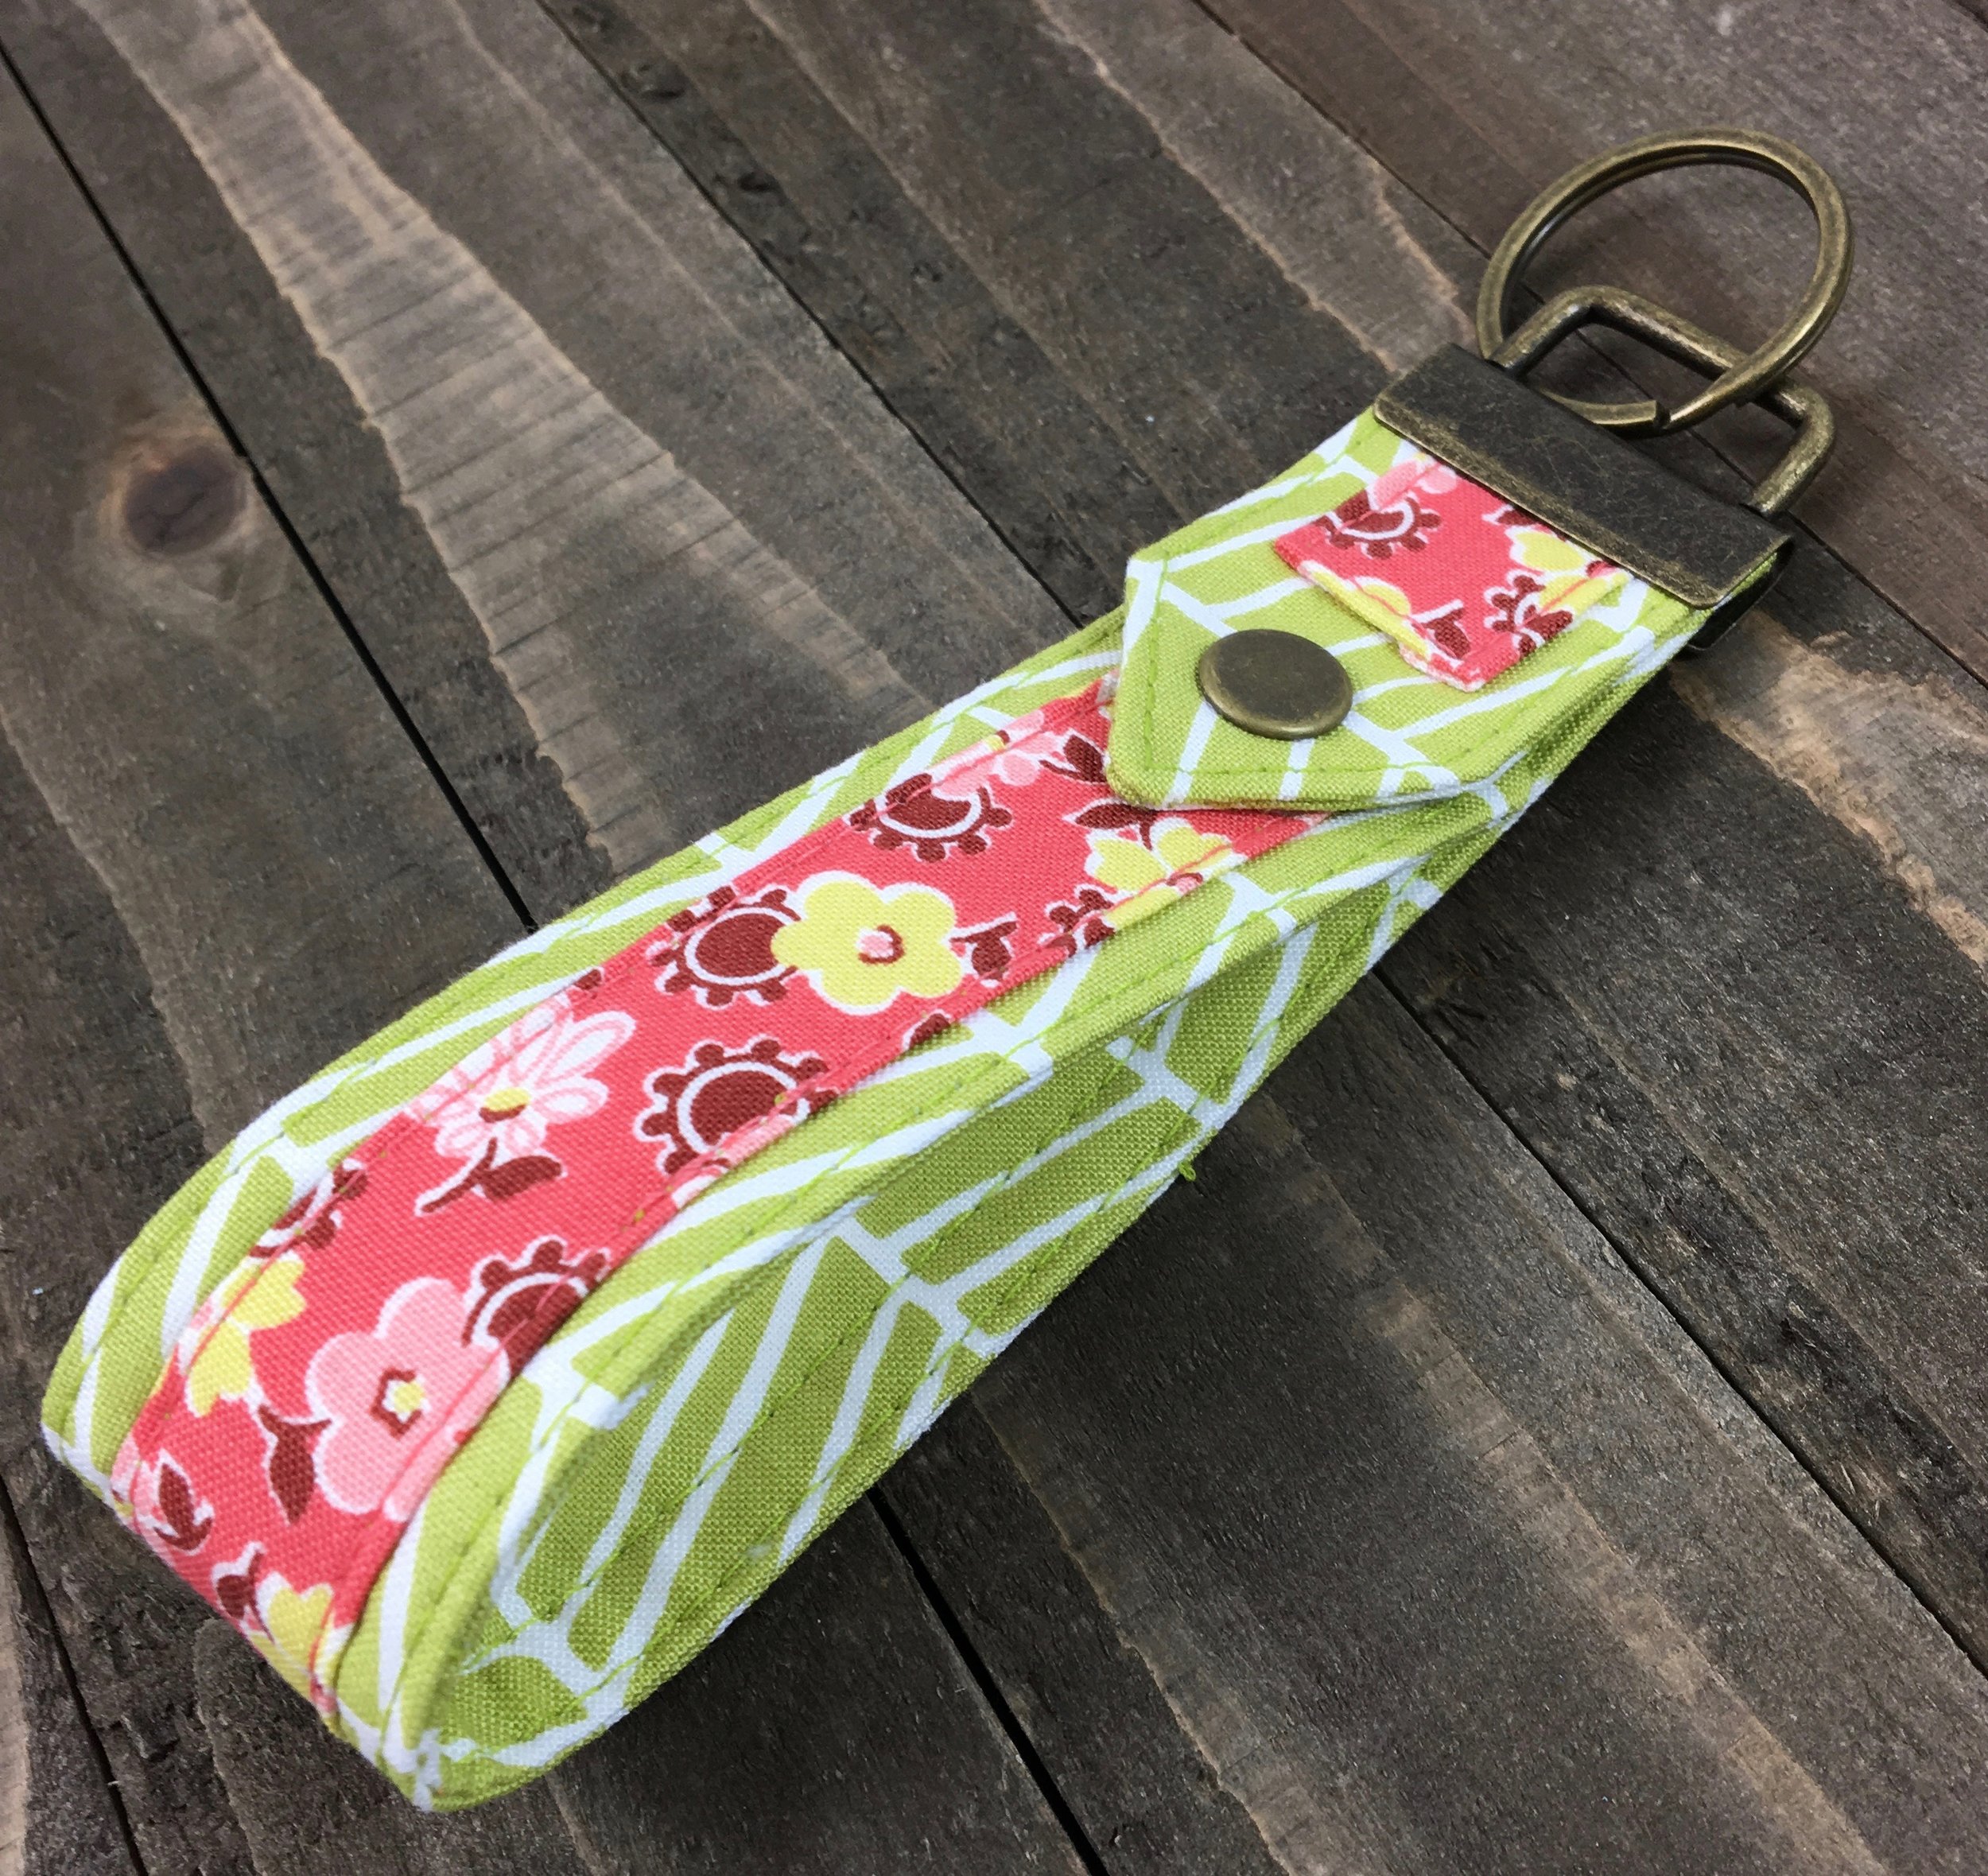
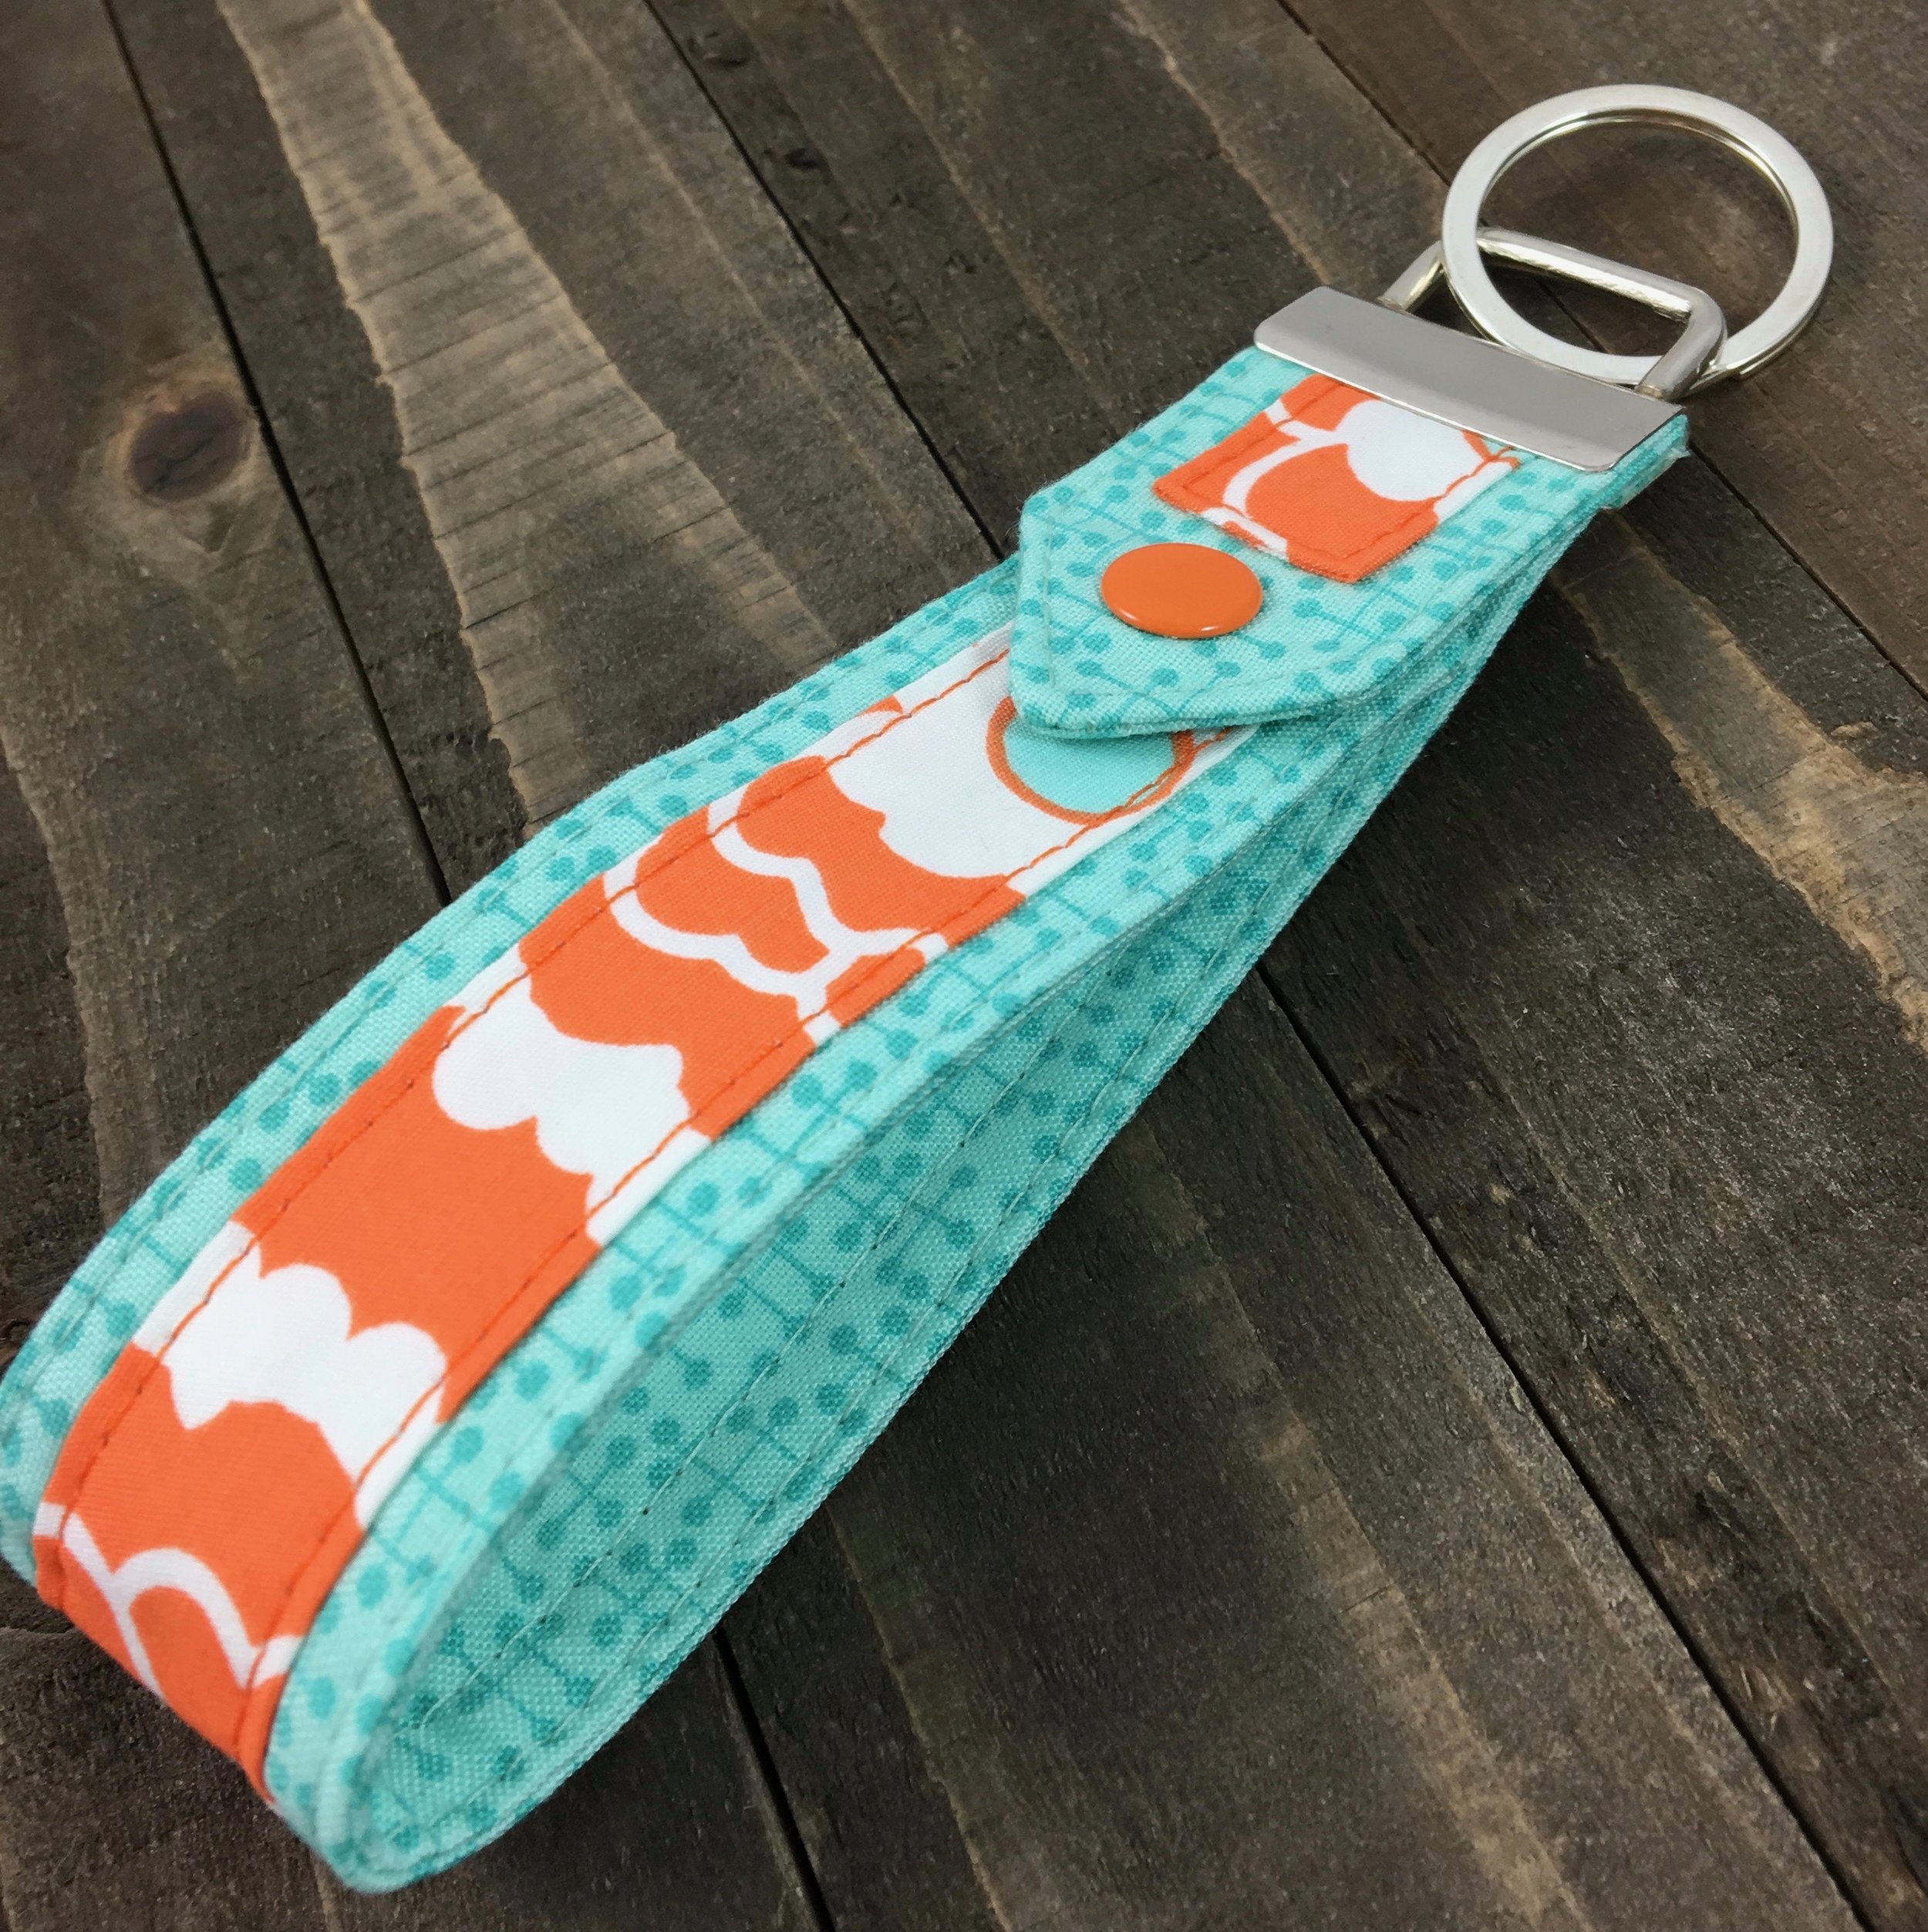
The Snap To It Key Fob is quick and easy to make and can be used as a key fob or as a wristlet strap for a wallet or wristlet. The snap makes it so you can attach your keys or wallet to a bag strap, stroller handle or grocery cart handle.

IMG_3030.jpg

I think that one of the most fun parts of making anything with fabric is picking out the fabric! So when Alison Shaw, one of the Snap To It Key Fob pattern testers, suggested I make a coloring page for the Snap To It Key Fob, I thought it would be a fun way to play around with fabric colors and patterns before making one of these great little key fobs.

IMG_3043.jpg

Grab your markers, colored pencils, crayons, gel pens - whatever strikes your fancy and color away! There are eight Snap To It Key Fobs on the coloring page, so plenty to play with!

IMG_3034.jpg

Get the free download of the Snap To It Key Fob coloring page and the free Snap To It Key Fob sewing pattern and have fun creating! The Snap To It Key Fob sewing pattern is available for free download in the Uniquely Michelle Website Shop or the Uniquely Michelle Craftsy Shop.

Please share your Uniquely Michelle creations with us in the Uniquely Michelle Facebook group! You can also follow us on the Uniquely Michelle Facebook page and on Instagram (#uniquelymichelle). Sign up for the newsletter (form below) to keep up on the latest happenings at Uniquely Michelle!

The Snap To It Key Fob & The Kristine ID Wallet - A Good Pair!

Michelle Burke

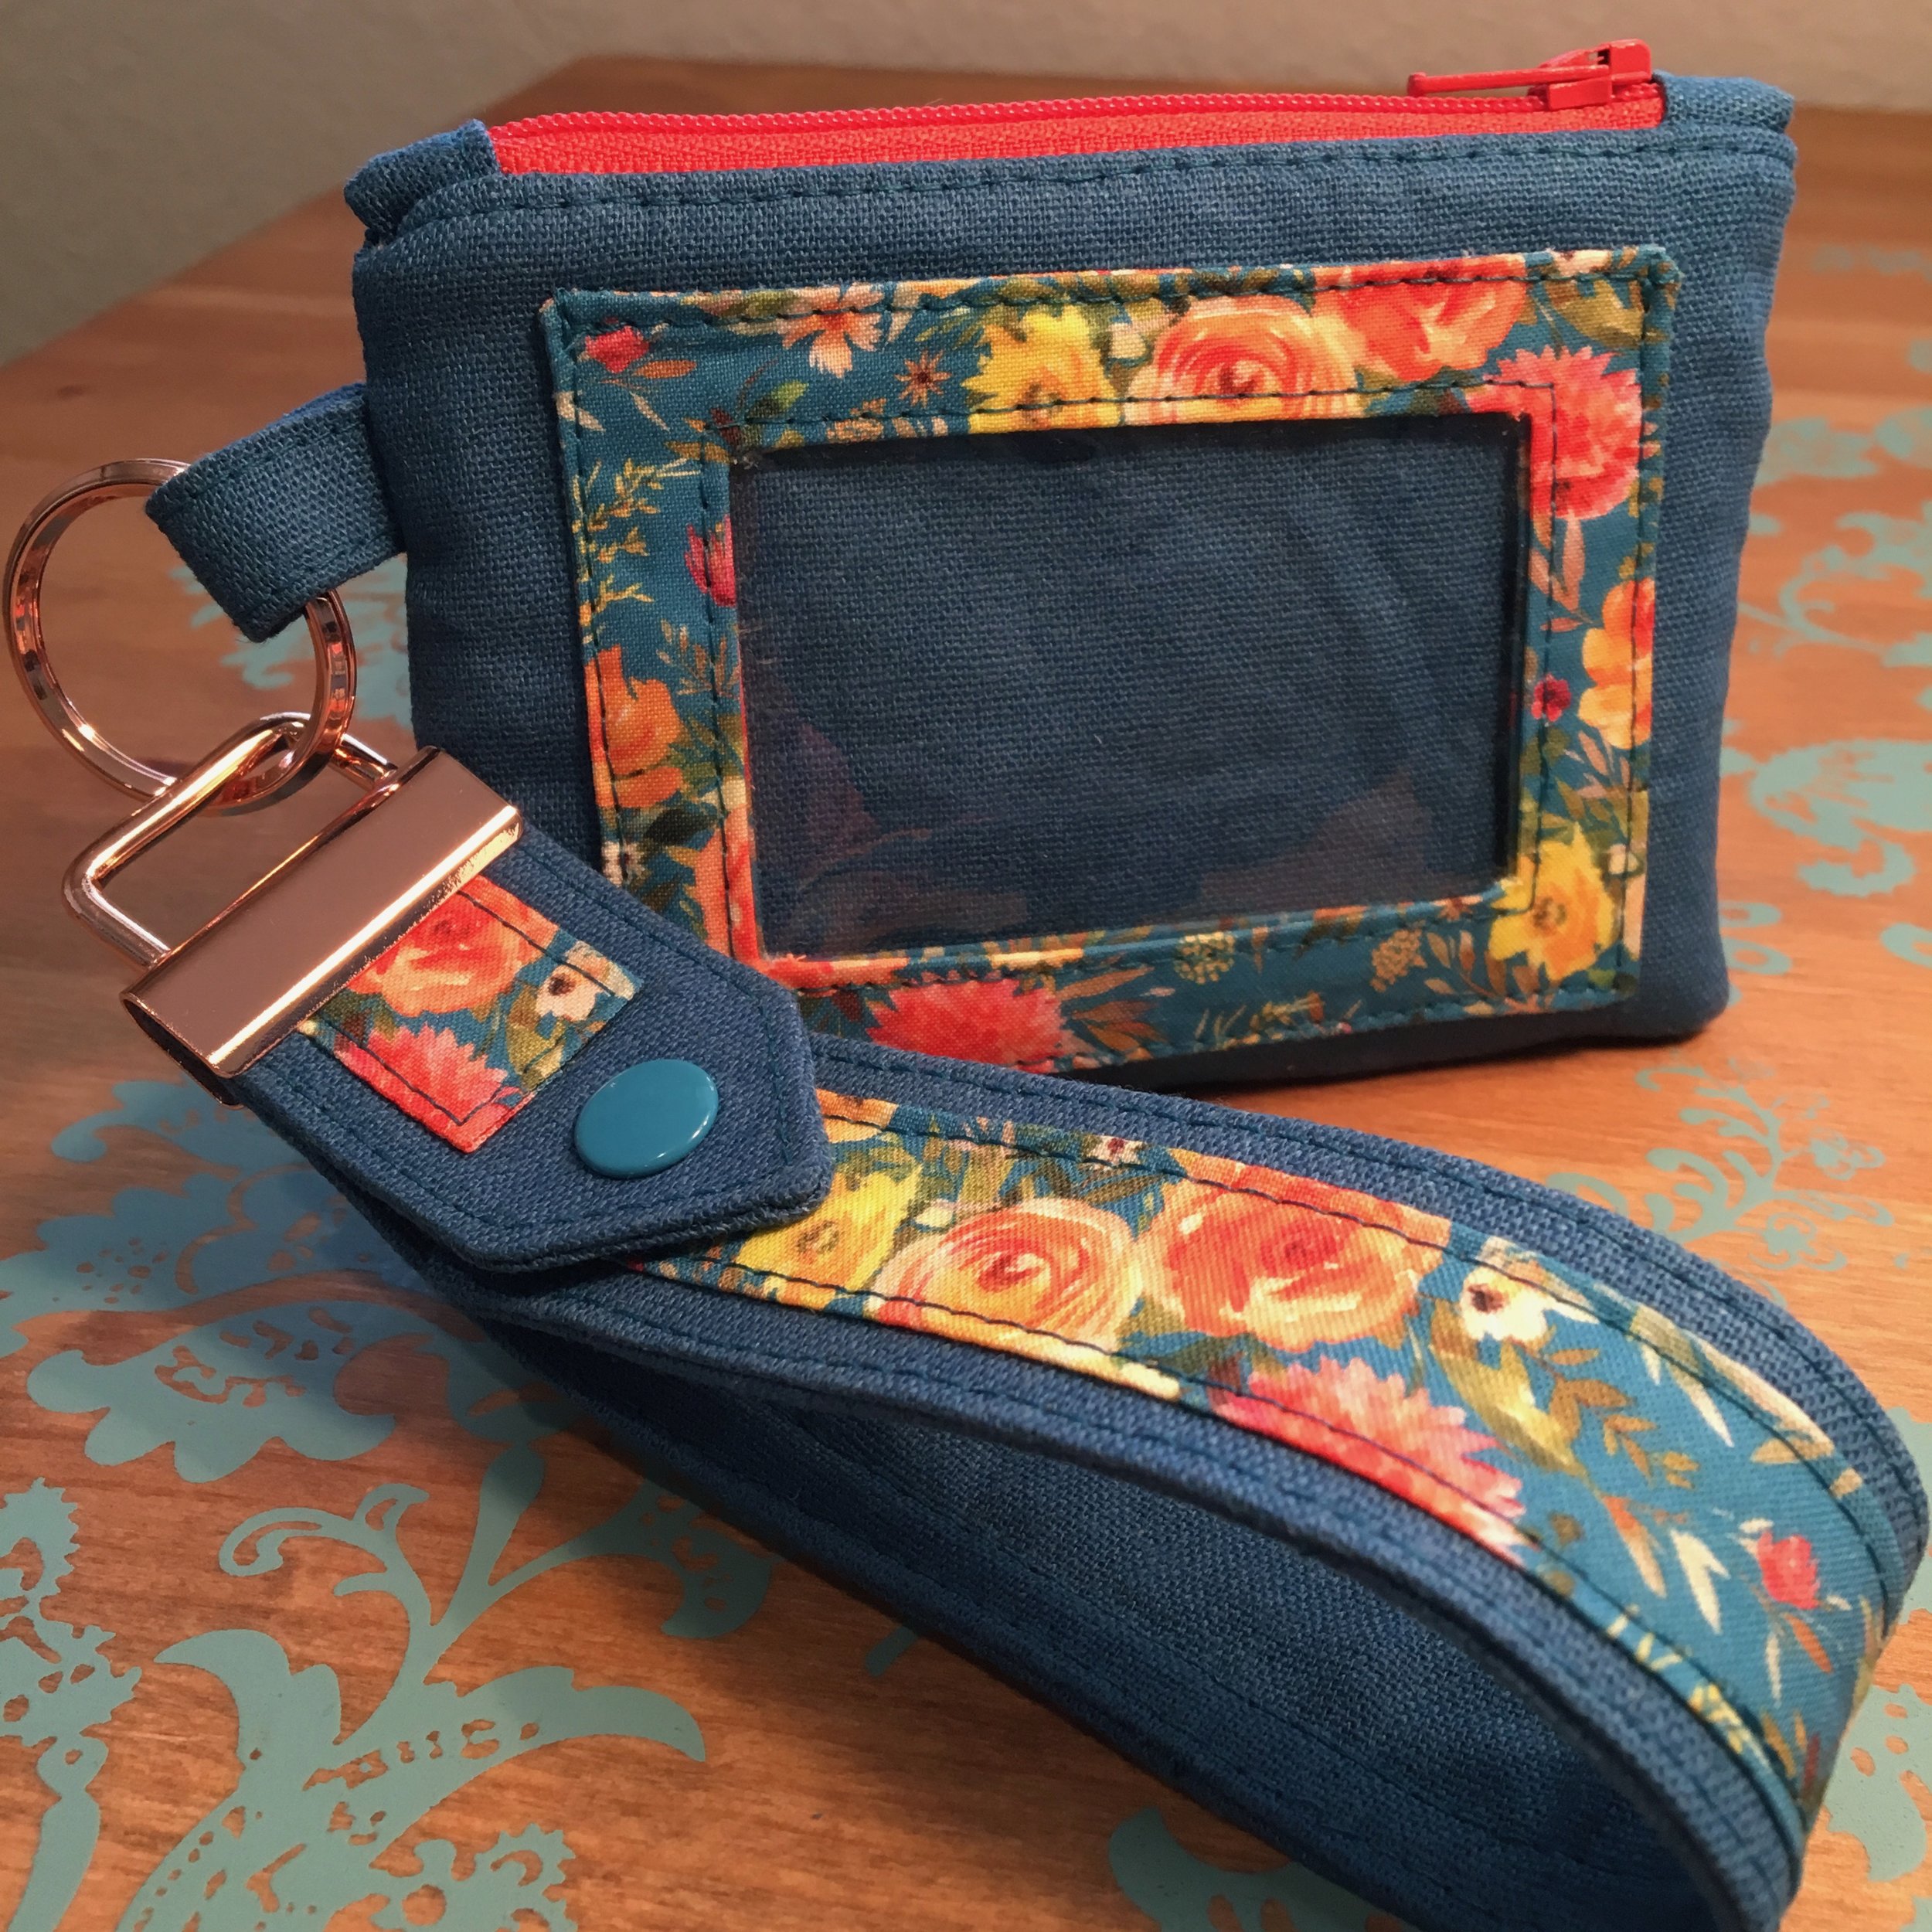
As you would probably guess, I made several Snap To It Key Fobs as I was writing the Snap To It Key Fob pattern. Since the release of this free pattern, I have made a few more - they are so fun to make and fast to sew up! As I was writing the pattern, I kept thinking that the Snap To It Key Fob would make a great wristlet strap for a wallet or wristlet. I had to try it out of course, so I made a Kristine ID Wallet and matching Snap To It Key Fob.

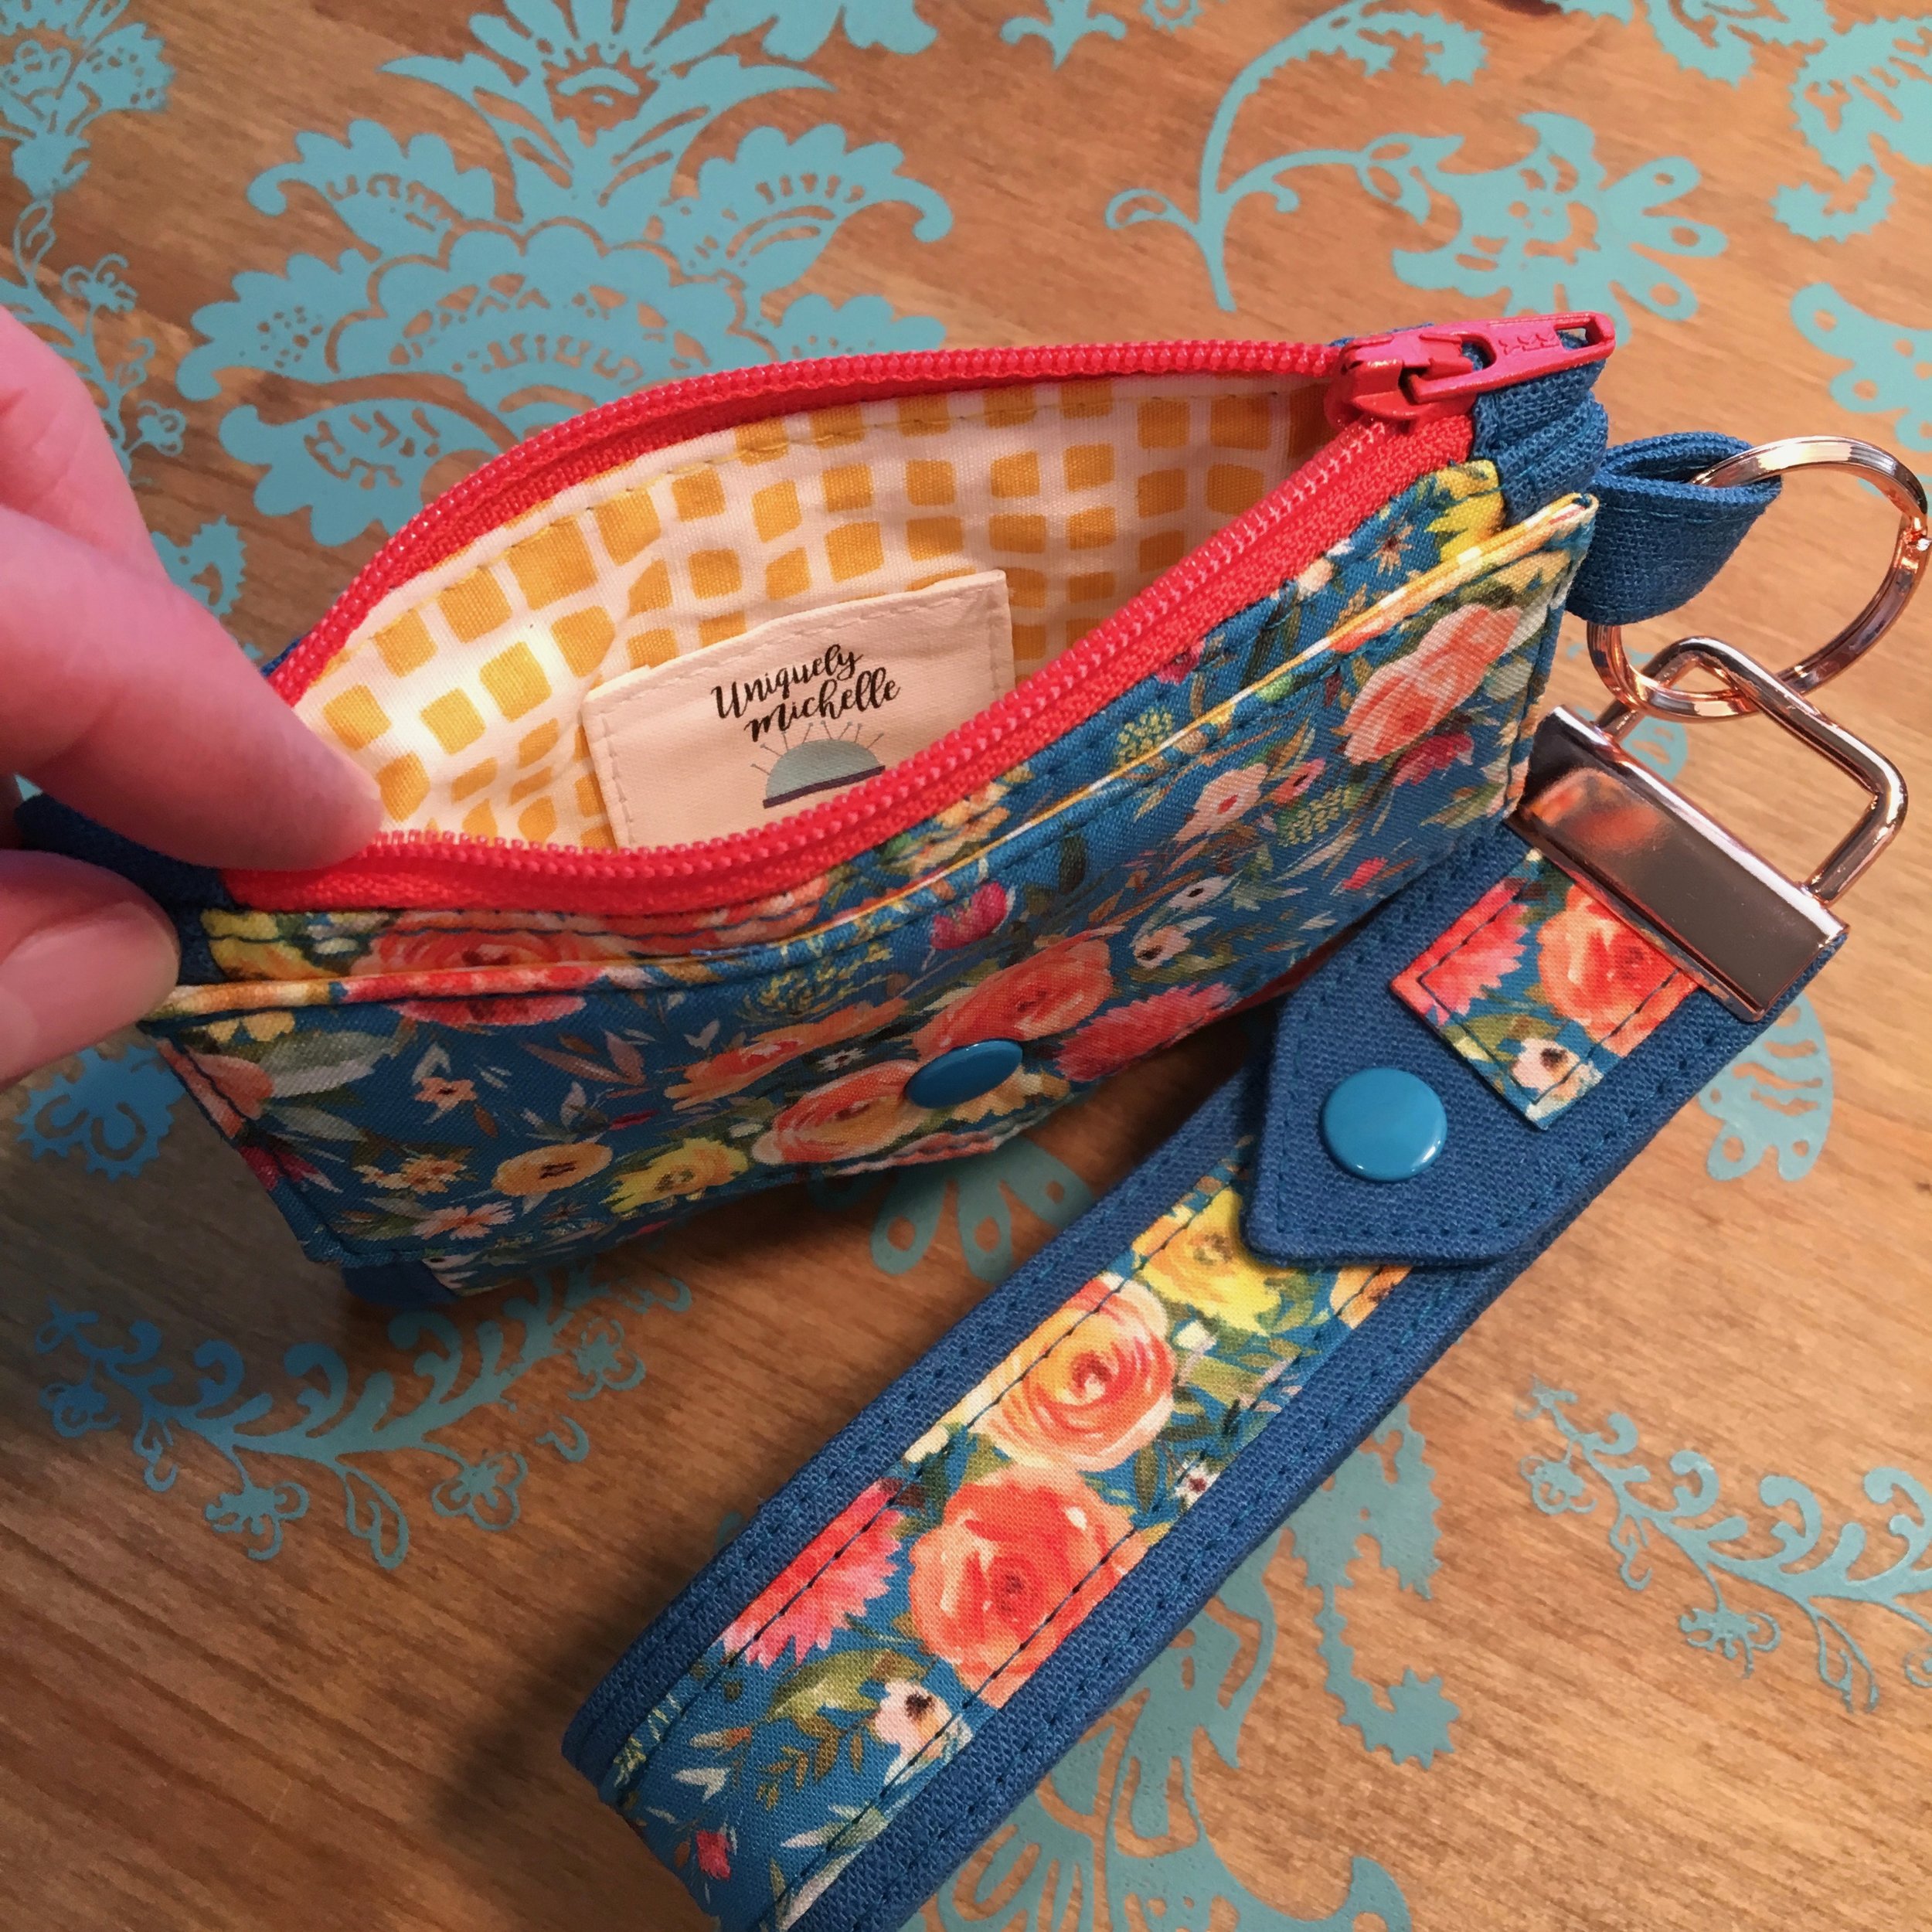
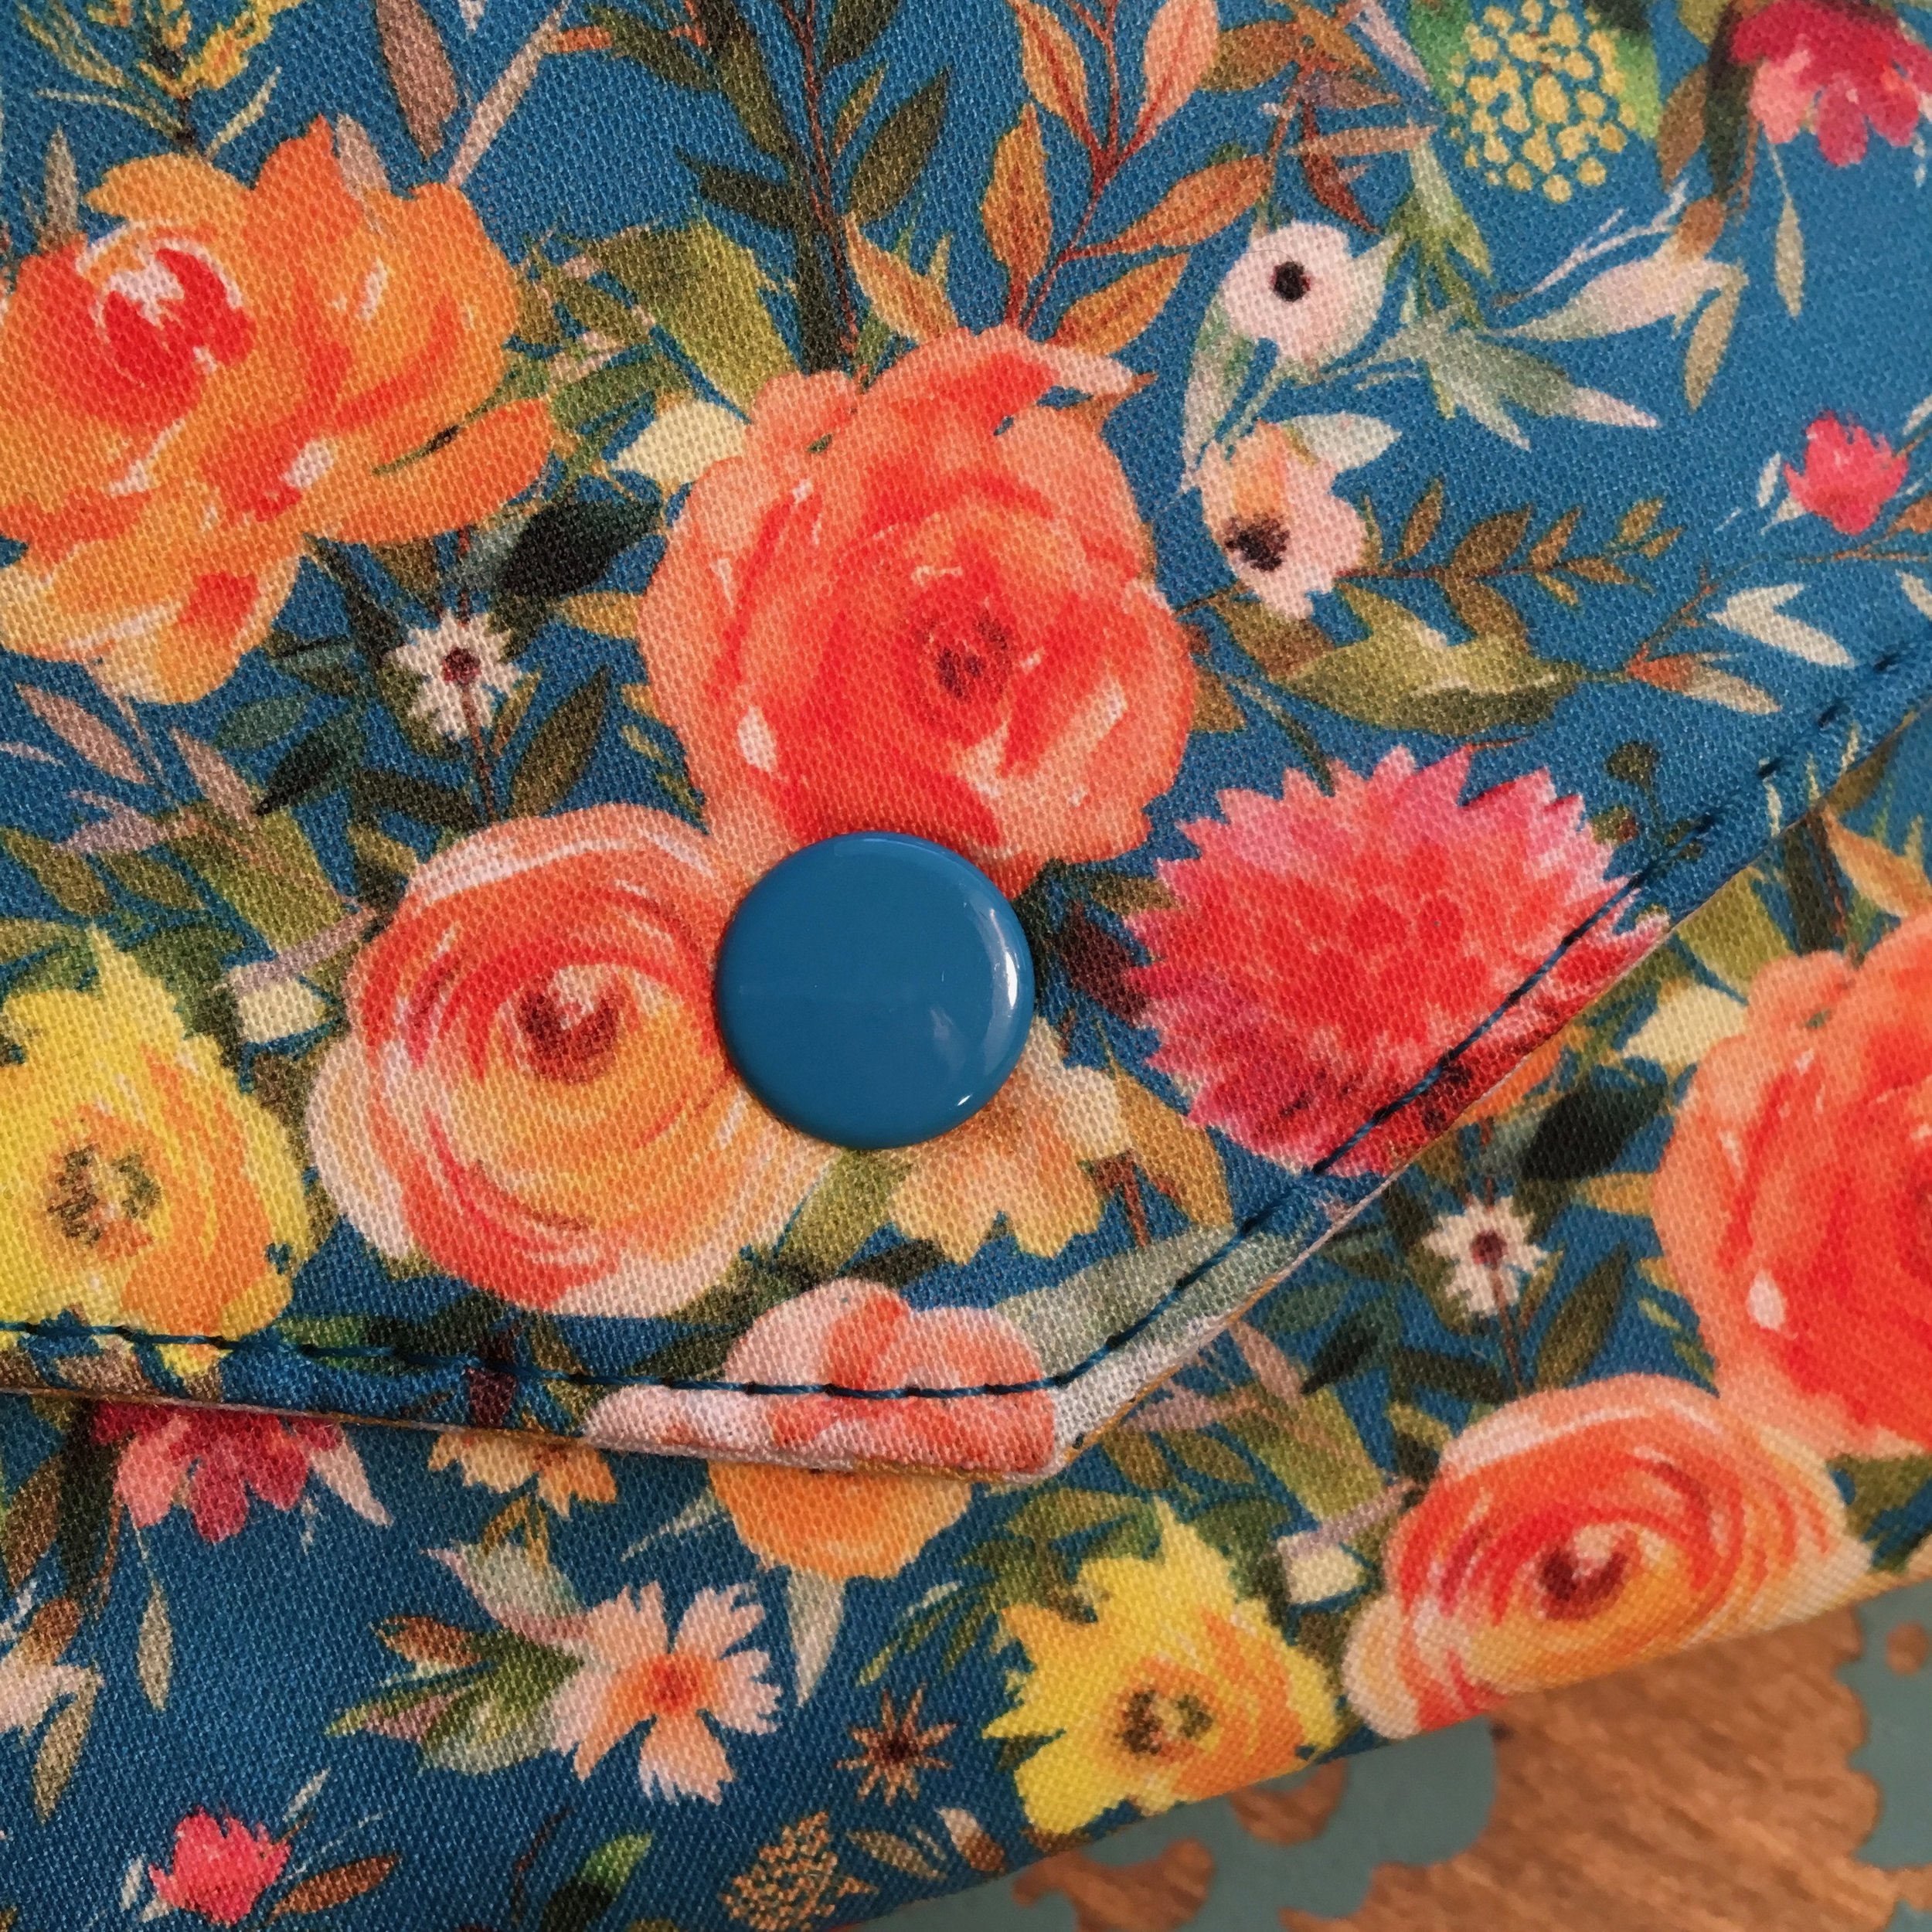
I think it turned out so cute! I combined Essex Linen in Teal with a pretty floral called September Blooms designed by Shopcabin for Hawthorne Threads. The print comes in two sizes and I used the “little” size in the Peacock color. I then added Squared Elements in Honeycomb by Pat Bravo for Art Gallery Fabrics for the lining of the Kristine ID Wallet.

IMG_2941.jpg

By making the exterior of the Kristine ID Wallet out of two fabrics, I hoped to accent the floral fabric and make it coordinate with the Snap To It Key Fob even more. I really like how the blue linen makes the floral fabric take center stage!

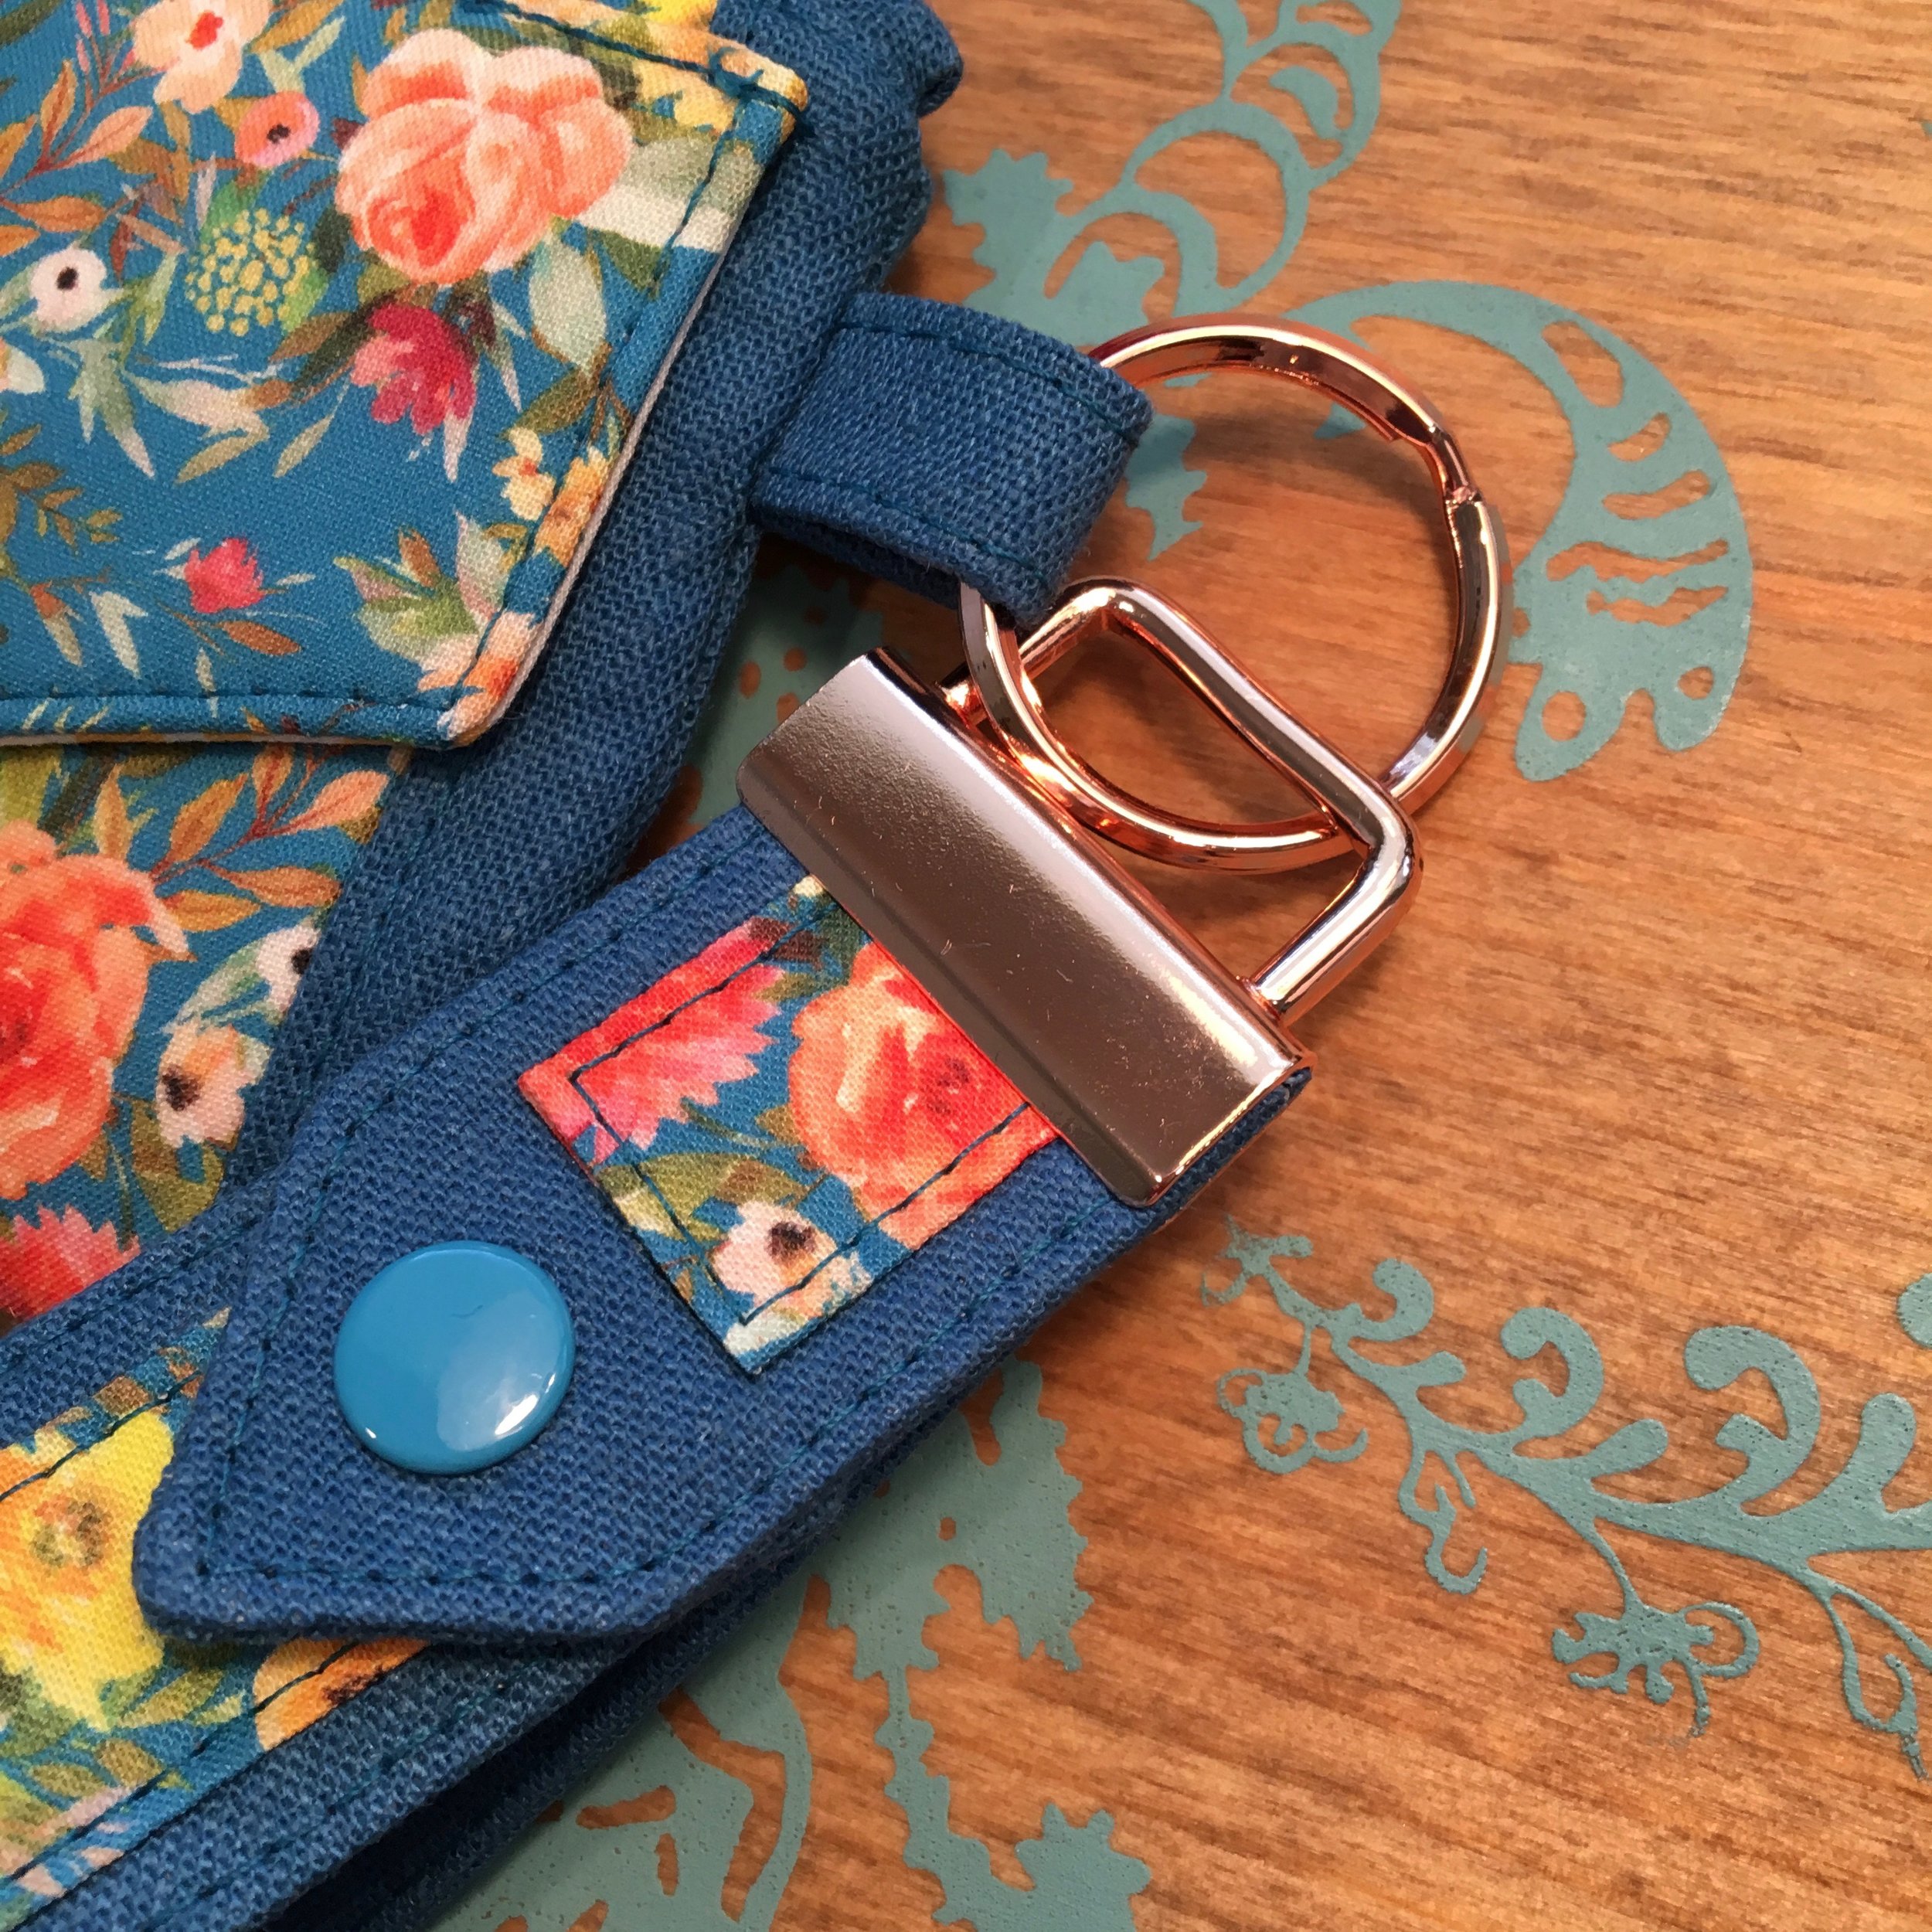
Those snaps are turquoise SnapSource metal snaps, I love the way they look with the fabrics. I also love the copper-colored hardware I used for this Snap To It Key Fob. I got this pretty 1¼” rose gold/copper finish key fob hardware from Bagmaker Supply.

IMG_2951.jpg

I think the Snap To It Key Fob and the Kristine ID Wallet make a great pair, don’t you? I like that by adding a Snap To It Key Fob to the Kristine ID Wallet, you can snap your Kristine ID Wallet to a grocery cart, baby stroller or strap of a purse, making it very convenient.

IMG_2944.jpg

If you don’t have the Kristine ID Wallet pattern you can purchase it from the Uniquely Michelle Craftsy Pattern Shop, the Uniquely Michelle Website Shop or the Uniquely Michelle Etsy Shop. The Snap To It Key Fob pattern is a free pattern that can be found in the Uniquely Michelle Website Shop.

Make sure to keep up with all the latest happenings at Uniquely Michelle by signing up for our email newsletter below!

Snaps - The Testers' Snap To It Key Fobs

Michelle Burke

This is it, the final day of the snap blog series! If you missed any of the previous posts for the snap blog series, I have links at the end of this post. I hope you have already downloaded the free Snap To It Key Fob pattern and have your snaps and snap installation tool ready (or maybe they are on their way)! Today I am excited to share with you my amazing testers’ Snap To It Key Fobs - be ready to be inspired! I would like to say a big thank you to my great team of testers, they always do amazing work and they really came through with some great key fobs and pictures. It is fun to see how the different fabric combinations completely change the personality of the Snap To It Key Fob. Are you ready to check them out? Here we go . . .

We will start with Barbara Dorig’s pretty Snap To It Key Fobs. She made two with very different personalities! I love how Barbara added her Snap To It Key Fob to a cute little coin purse! Barbara used KAM snaps on her key fobs. You can see more of Barbara’s Swiss-made creations on Facebook: www.facebook.com/beedeeschoenesausstoff and on Instagram: www.instagram.com/bee_dee_swiss_made.


Marilyn1.jpg

These lovely Snap To It Key Fobs were made by Marilyn Brandt. She has a flair for making things classy! Barbara likes SnapSource metal snaps and so she used those on her key fobs. You can see more items that Marilyn has made on her blog: www.shadesofbold.blogspot.com.

Shanel Chute of Sanity’s Boutique made her Snap To It Key Fobs with pretty, summery fabrics that give them a vintage feel. Shanel agreed to test this pattern even though she wasn’t at home with her sewing supplies at the time. She usually uses KAM snaps, but had to opt for some knock offs. Shanel likes KAM snaps better. You can see more of Shanel’s beautiful creations here: Etsy Shop: www.etsy.com/shop/sanitysboutique Facebook: www.facebook.com/SanitysBoutique Instagram: www.instagram.com/sanitysboutique

This bright, fun Snap To It Key Fob was made by Laura Hyder of Stitches by Laura. The lime green fabric she used shows off the bright, colorful floral fabric perfectly! Laura used a normal ring metal snap that she had on hand. To see more of Laura’s creations, check out these links: blog: www.stitchesbylaura.blogspot.com Facebook: www.facebook.com/stitchesbylaura Instagram: www.instagram.com/stitchesbylaura

I love the fun, colorful Snap To It Key Fobs that Noor Raats made! The KAM snaps that Noor used coordinate perfectly with her fabric choices. I asked all my testers to let me know what snaps they used and where they got them. Noor got her snaps from a German shop called Snaply. Doesn’t that sound like a shop you would love to spend some time in? I know I would! You can see more of Noor’s beautiful creations here: Instagram: www.instagram.com/noor.raats blog: quiroandme.blogspot.com (Noor’s blog is in Dutch, but there is a “translate” button that pops up so you can read it in your language of choice.)

Jenniffer2.jpg

I love how the Snap To It Key Fob can be attached to a bag handle or strap. That is what Jenniffer Howling did with her pretty Snap To It Key Fob. Jenniffer used a metal SnapSource snap on her key fob. I love the way the pink snap contrasts against the blue fabric!

How adorable are these Snap To It Key Fobs? Jackie Anderson did a fabulous job making this bunch of key fobs. I love how she got the little animals and sun placed perfectly on each one! Jackie used metal SnapSource snaps that coordinate so well with her fabrics. You can see more of Jackie’s awesome work on Instagram: www.instagram.com/rowermom3

Gwen1.jpg

This sweet little Snap To It Key Fob was made by Gwen Lockwood of GML Designs. Gwen used such pretty fabrics for her key fob and she used a KAM snap to finish it off beautifully. See more of Gwen’s awesome creations here: Facebook: www.facebook.com/GmlDesigns Instagram: www.instagram.com/gmldesigns

These Snap To It Key Fobs were made by Sue Reed of Dreamscape Studios. What a great variety of key fobs and colorful snaps. Sue chose to use KAM snaps for her key fobs. Sue had already given one of her Snap To It Key Fobs away within a day of finishing it. Sue’s beautiful work can also be seen here: Facebook: www.facebook.com/dreamscapestudio Instagram: www.instagram.com/dreamscapestudio

Diane4.jpg

Diane Cullum of Two Chicklets Sew Shop made this patriotic looking Snap To It Key Fob. I love how the red snap adds to the style of Diane’s key fob. Diane used a KAM snap in the making of her Snap To It Key Fob. She was lucky enough to get a big starter set of KAM snaps from her sister for her birthday one year! Check all of Diane’s makes here: Etsy: www.etsy.com/shop/twochicklets Instagram: www.instagram.com/twochicklets Blog: sewingwithd.wordpress.com

Kate Maryon made a great variety of Snap To It Key Fobs, including a Christmas key fob, a Harry Potter key fob, and a lady bug key fob! Kate did a great job of pattern placement on her Snap To It Key Fobs. I love her choice of snap colors too. You can see more of Kate’s creations here: Etsy: www.etsy.com/shop/KatydidKLM Instagram: www.instagram.com/katydidklm

One of my testers is really more of an editor than a tester I guess. Alison Shaw did a great job editing the text of the Snap To It Key Fob pattern, finding my misspellings, grammar mistakes, and making great suggestions to make the text of the pattern easy to read. Thanks Alison!!!

Thanks for joining us this week! I hope you have learned a lot from the Uniquely Michelle snap blog series! If you missed any of the snap blog series, here are links:

Day 1 - Metal Snaps

Day 2 - Plastic Snaps

Day 3 - Installing Metal SnapSource Snaps

Day 4 - Installing Plastic KAM Snaps

Day 5 - Free Snap To It Key Fob Pattern

Please share your Uniquely Michelle creations with us in the Uniquely Michelle Facebook group! You can also follow us on the Uniquely Michelle Facebook page and on Instagram (#uniquelymichelle). Sign up for the newsletter (form below) to keep up on the latest happenings at Uniquely Michelle!

Snaps - Snap To It Key Fob Pattern

Michelle Burke

Are you ready to try out either some SnapSource metal snaps or plastic KAM snaps? I hope after Monday and Tuesday’s posts that were all about metal and plastic snaps, the tools needed to install each of them and information on where to get each of them, you may be considering adding some snaps to a project or two. I REALLY hope after Wednesday and Thursday’s posts showing you how easy both the SnapSource metal snaps and the KAM plastic snaps are to install, you are ready to add snaps to everything!

Today, I am sharing a FREE pattern that has a snap! This pattern will be perfect to try out some snaps. Snaps always add a professional touch. As you already know from the previous posts this week, having the correct tools to install high-quality snaps can make the process easy and fun and . . . it doesn’t have to be expensive to get those high-quality tools and snaps!

Okay, I will stop rambling on about snaps and show you the free pattern! The Snap To It Key Fob pattern is easy and fun to sew! I think you are going to LOVE it!

IMG_2406 2.jpg

Watch out though, these are also very addictive – as in, this is what you will be putting in everyone’s stockings this year for Christmas, even if they haven’t been good! ;)

The snap on this is partially decorative, and partially utilitarian. Let’s face it, the snap is what makes this key fob look amazing, but now start thinking of how you could use the Snap To It Key Fob with its beautiful snap. Think of how nice it would be to be able to unsnap your key fob and put it on your purse strap, the baby stroller, your work bag, your belt loop, your diaper bag, your carry-on bag . . .

IMG_2512.jpg

Before I give you the link for the free pattern, I want to remind you that there is one more day in the snap blog post series that you won’t want to miss! Tomorrow I will be sharing pictures of my testers’ amazing Snap To It Key Fobs. Check out tomorrow’s post to be inspired! Also tomorrow, I will share a little Uniquely Michelle surprise I have in store for you for next week, it’s something along the lines of a giveaway!!!

IMG_2420.jpg

You can download the Snap To It Key Fob pattern, by going to either the Uniquely Michelle website shop or the Uniquely Michelle Craftsy Pattern Shop where you will find the pattern listed for free! Once you have made a Snap To It Key Fob, we would love to see pictures and hear all about how you feel about snaps! Please share pictures and tell us your experience with snap installation in the Uniquely Michelle Sewing Patterns Facebook group or on Instagram (use #snaptoitkeyfob and #uniquelymichelle so we can find your posts). As always we love to see your awesome creations!

IMG_2374.jpg

Sign up for the Uniquely Michelle newsletter below so that you can stay informed on all the latest happening at Uniquely Michelle including next week’s giveaway! Have fun sewing!

Snaps - Installing Plastic KAM Snaps

Michelle Burke

The snap blog post series continues here at Uniquely Michelle! I have already talked about the two different types of snaps - metal snaps were the topic of Monday's blog post and plastic snaps were the topic of Tuesday’s blog post. In yesterday’s blog post, I showed you just how easy it is to install SnapSource snaps with their SnapSource SnapSetter. Today, I will show you how to install KAM snaps. I will mention it again here that the products I recommend are based on my use and opinion of them, I have not been given anything from the companies that make my favorite products nor do they even know that I wrote this blog series.

IMG_2755.jpg

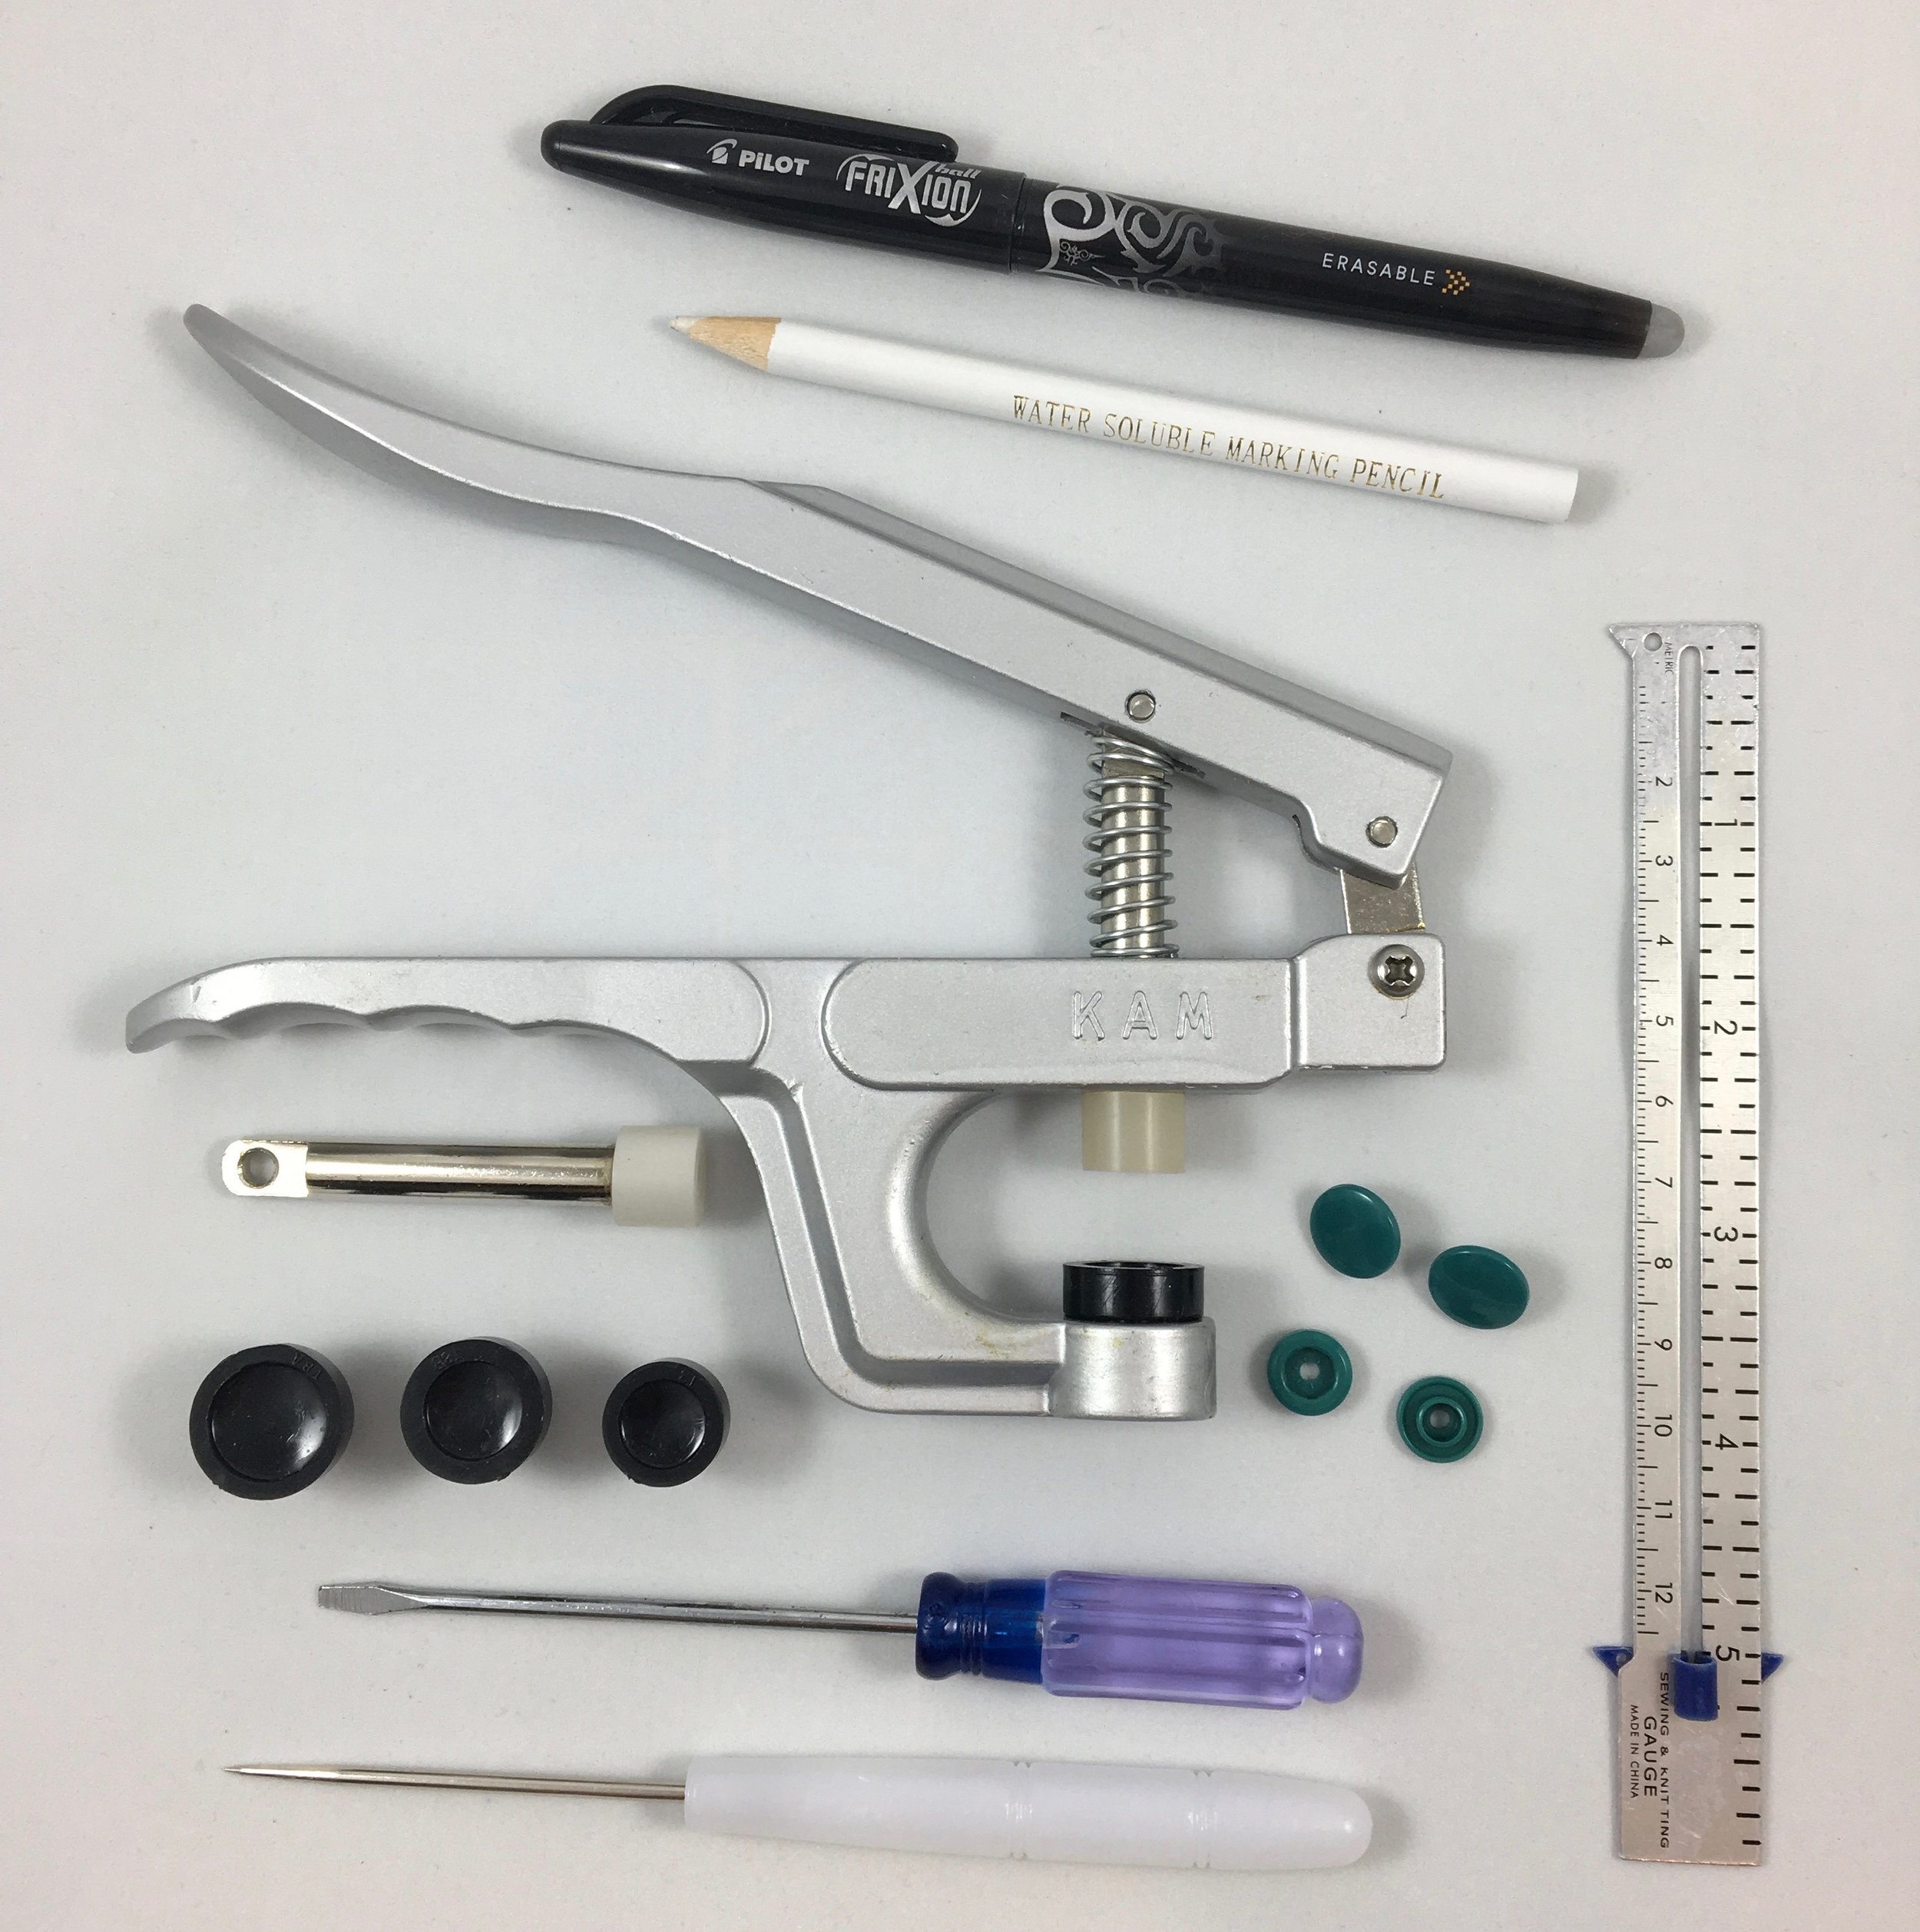
KAM snaps are super easy to install. I will be installing a size 20 KAM snap because it is the most common size, but the installation process is the same for any size, you will just need to change out the die on the KAM snap pliers to accommodate the size of the cap you are using. You will need KAM snap pliers, size 20 KAM snaps and an awl, all of which you can purchase from KAMsnaps.com. You will also need a ruler and a marking pen or pencil.

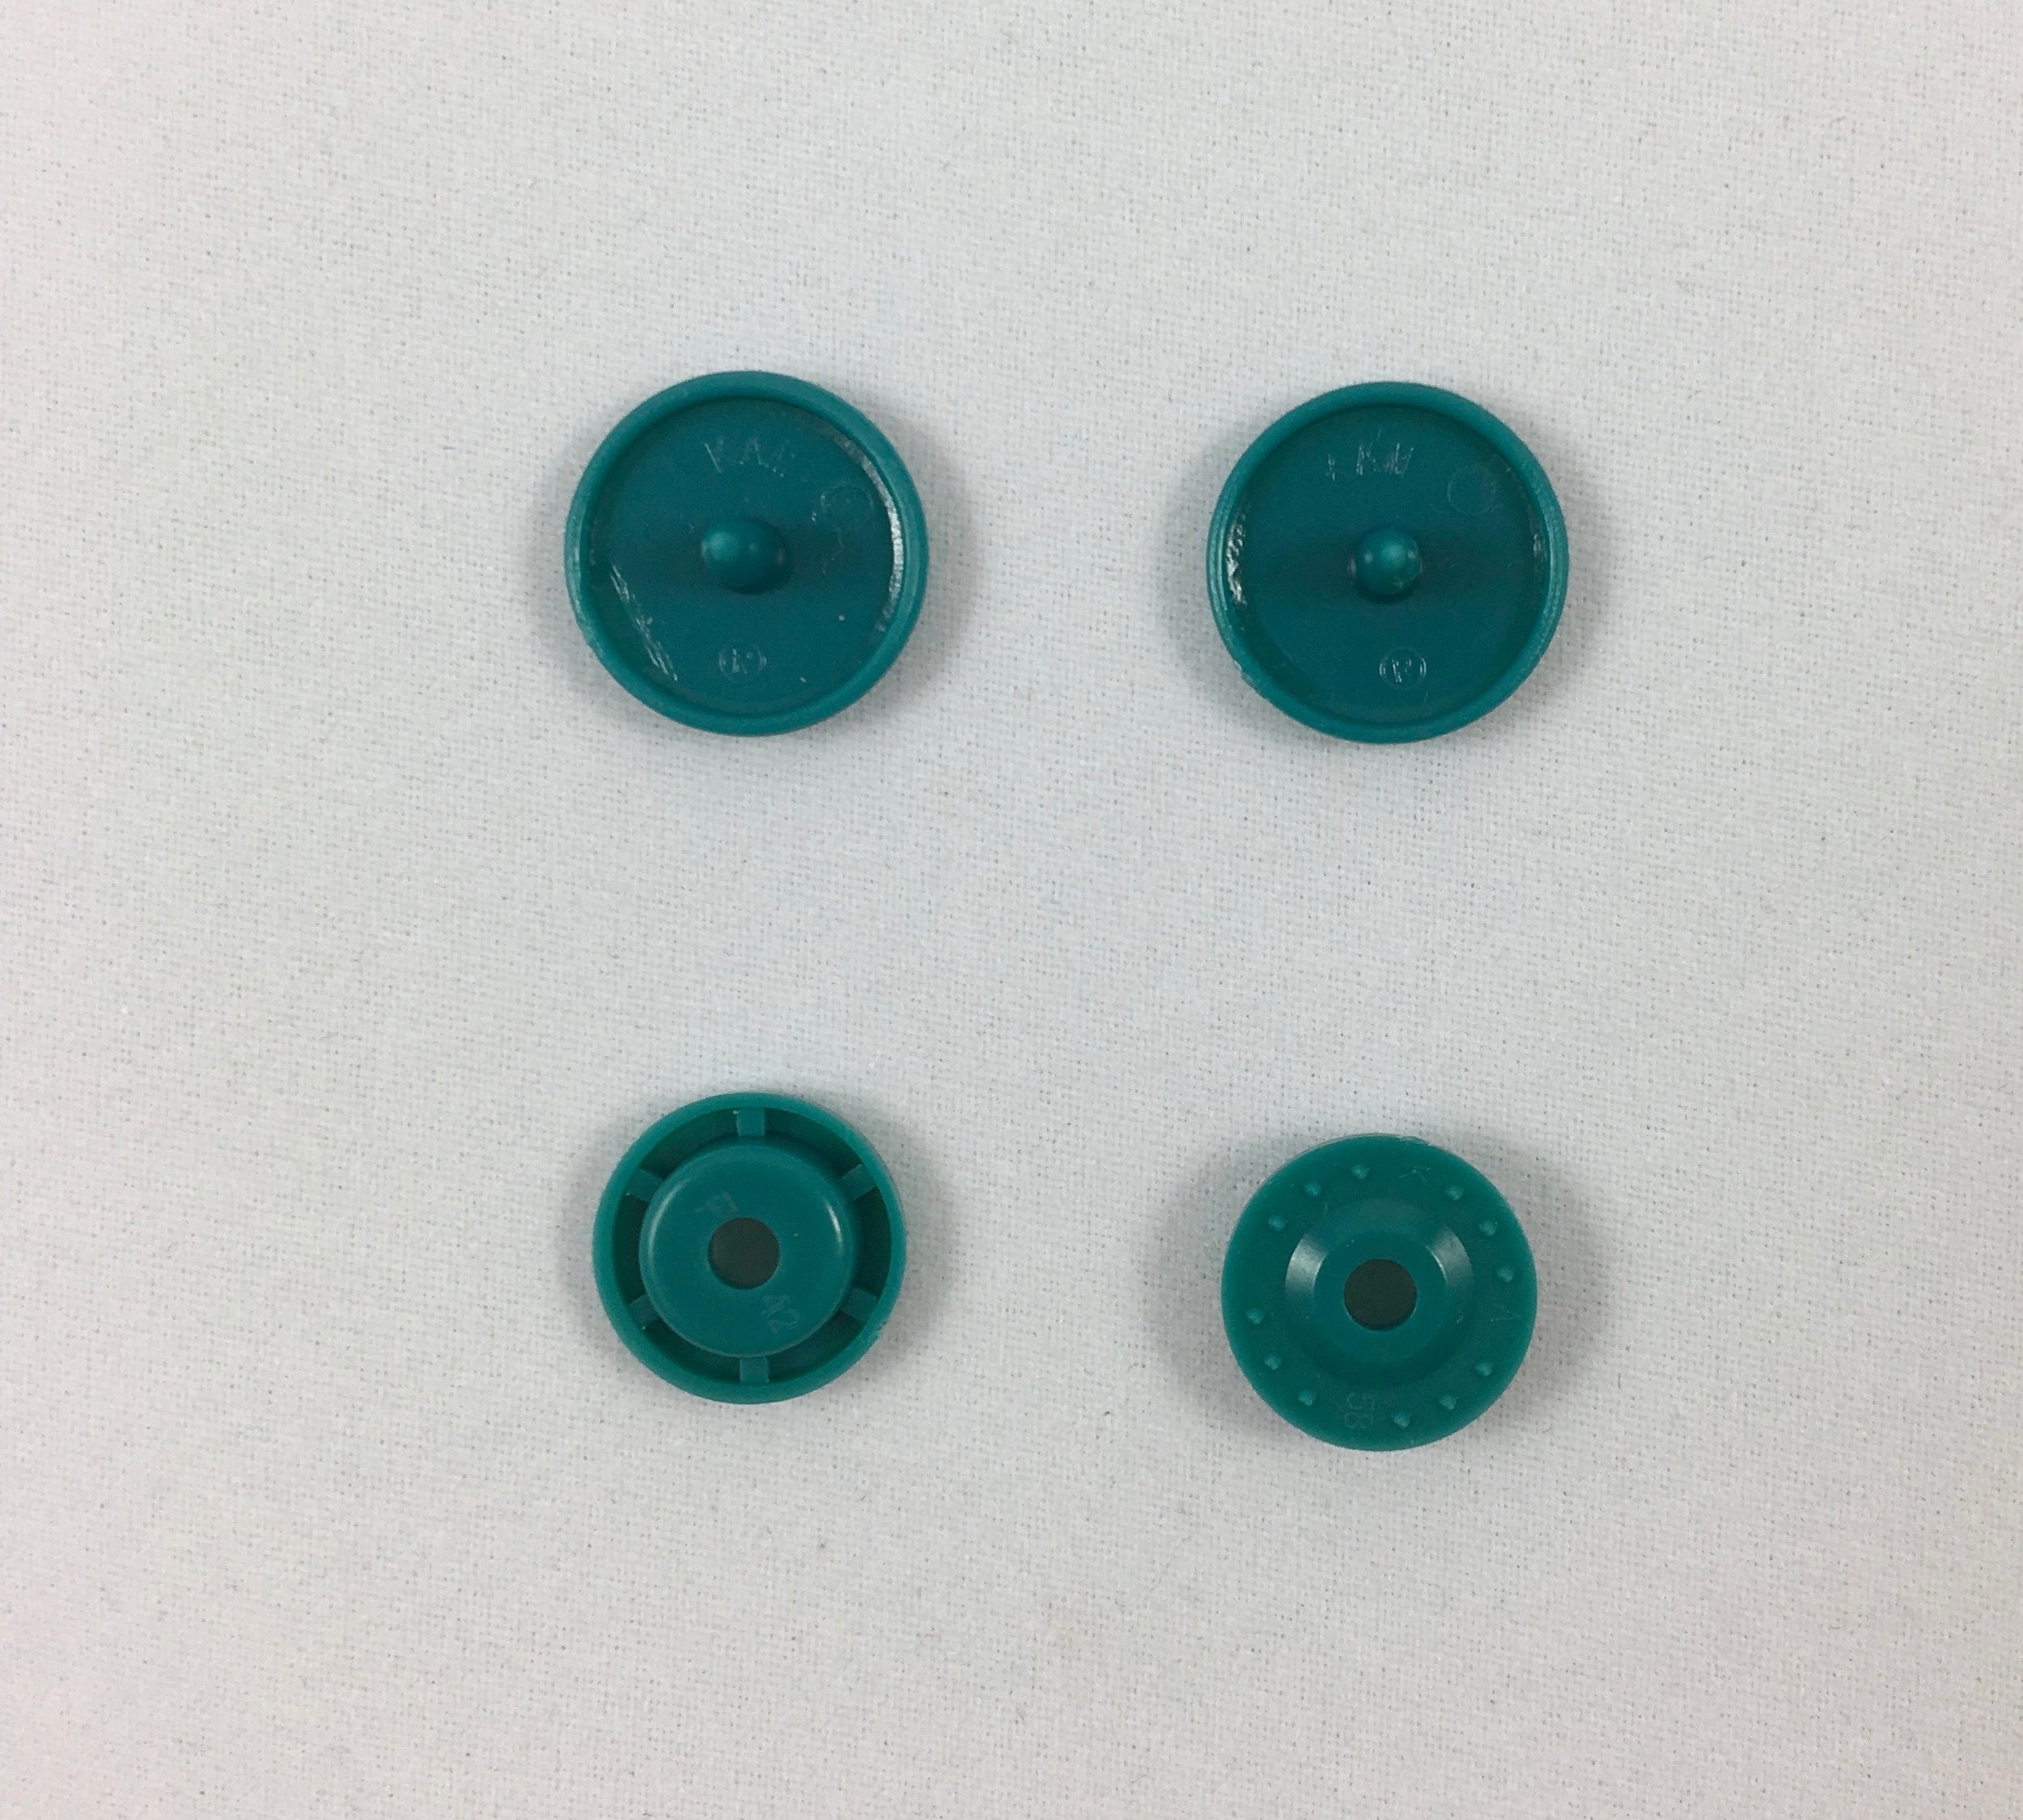
First let's get to know the parts of a KAM snap. The picture on the left shows the side of each snap piece that you will see once it is installed (the right side). The picture on the right shows the side of each snap piece that is against the fabric once it is installed (the wrong side). KAM snaps have four parts to each snap, just as metal snaps do, except two of the parts are the same. For each snap set you will have two caps, a socket and a stud. The caps have a single center prong on the back side (the top two pieces). The socket has a smooth, rounded outer ring on one side of it (lower left piece). The stud has a raised ring in the middle on the right side of it (lower right piece). Both the socket and the stud have a hole in the center – the prong will go through that hole for installation.

IMG_2764.jpg

The first step in KAM snap installation is marking the placement for both halves of your snap. Follow the instructions for the item you are making and mark the location of the snaps using a marking pen or pencil. I like to mark the side of the project where the caps will be located, but it actually doesn't make any difference since we will be putting a hole through all the layers of fabric and interfacing for each half of the snap..and mark those spots using a marking pen or pencil.

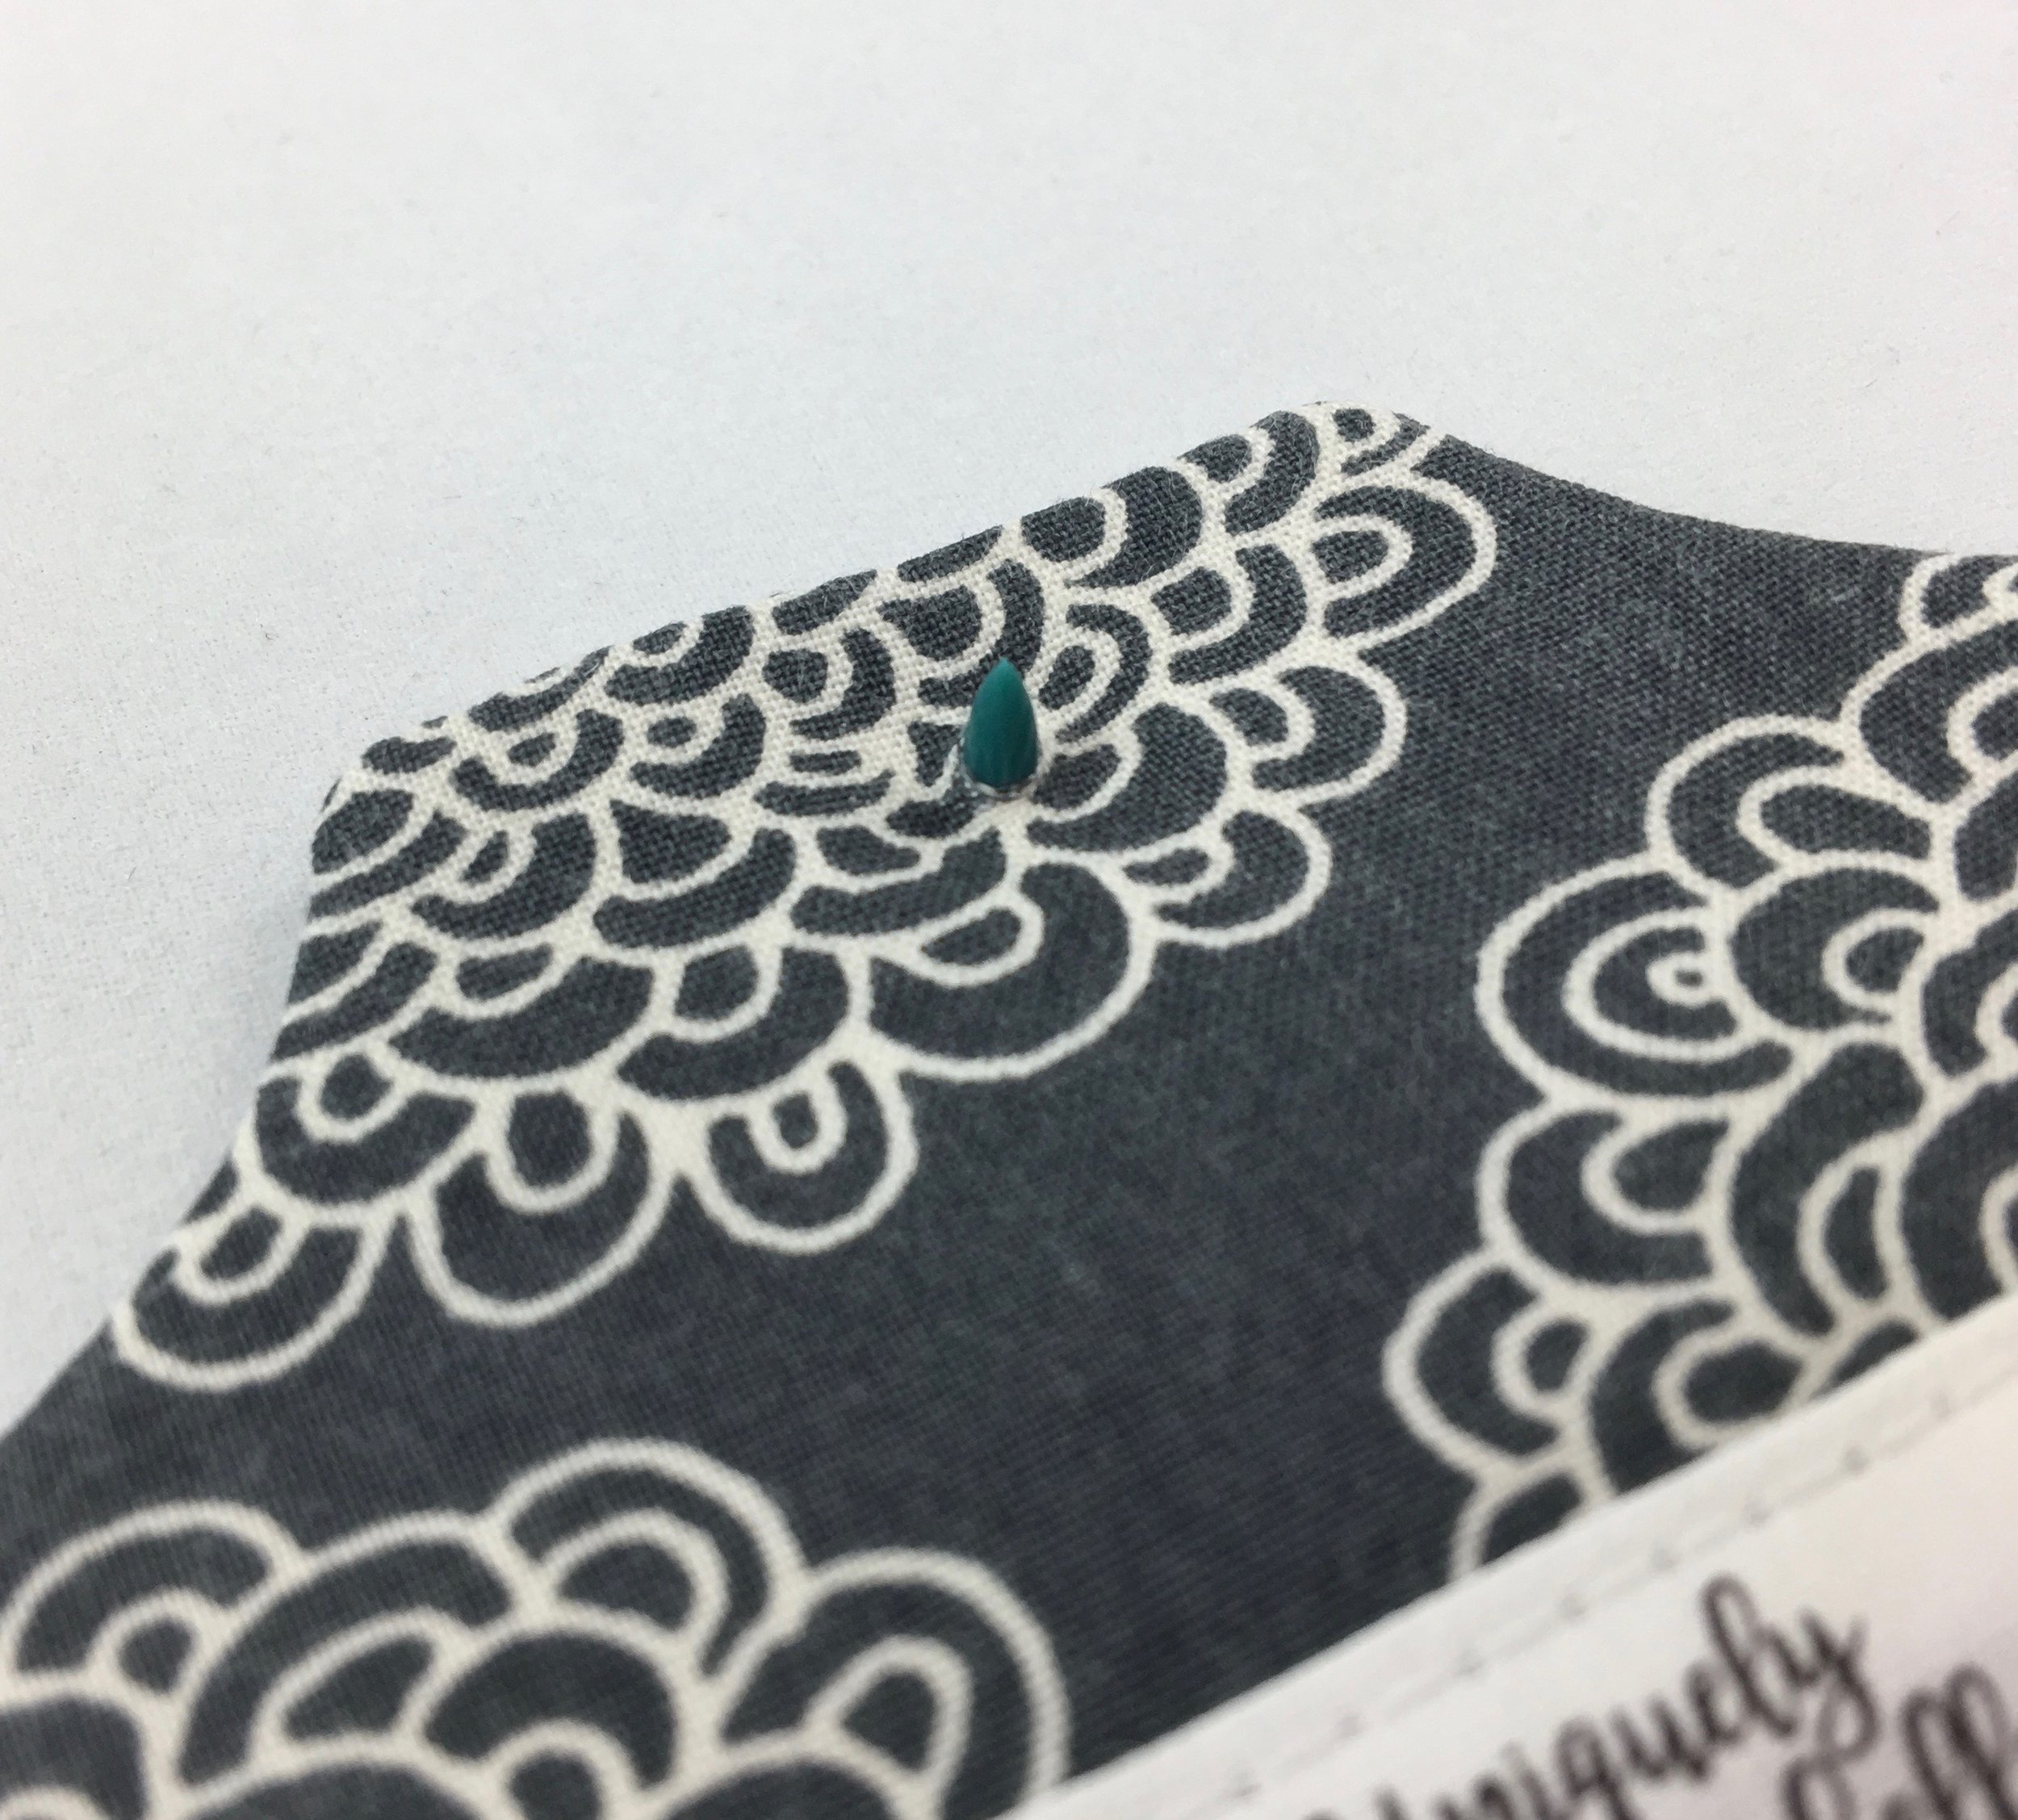
Gently push the awl through the fabric and interfacing at one of the marks you just made. Put the prong of the cap through the hole, making sure the cap is on the correct side of your project so that your snap will function as intended. Now, place the socket over the prong that is sticking out of the fabric so that the smooth, rounded side is facing away from the cap.

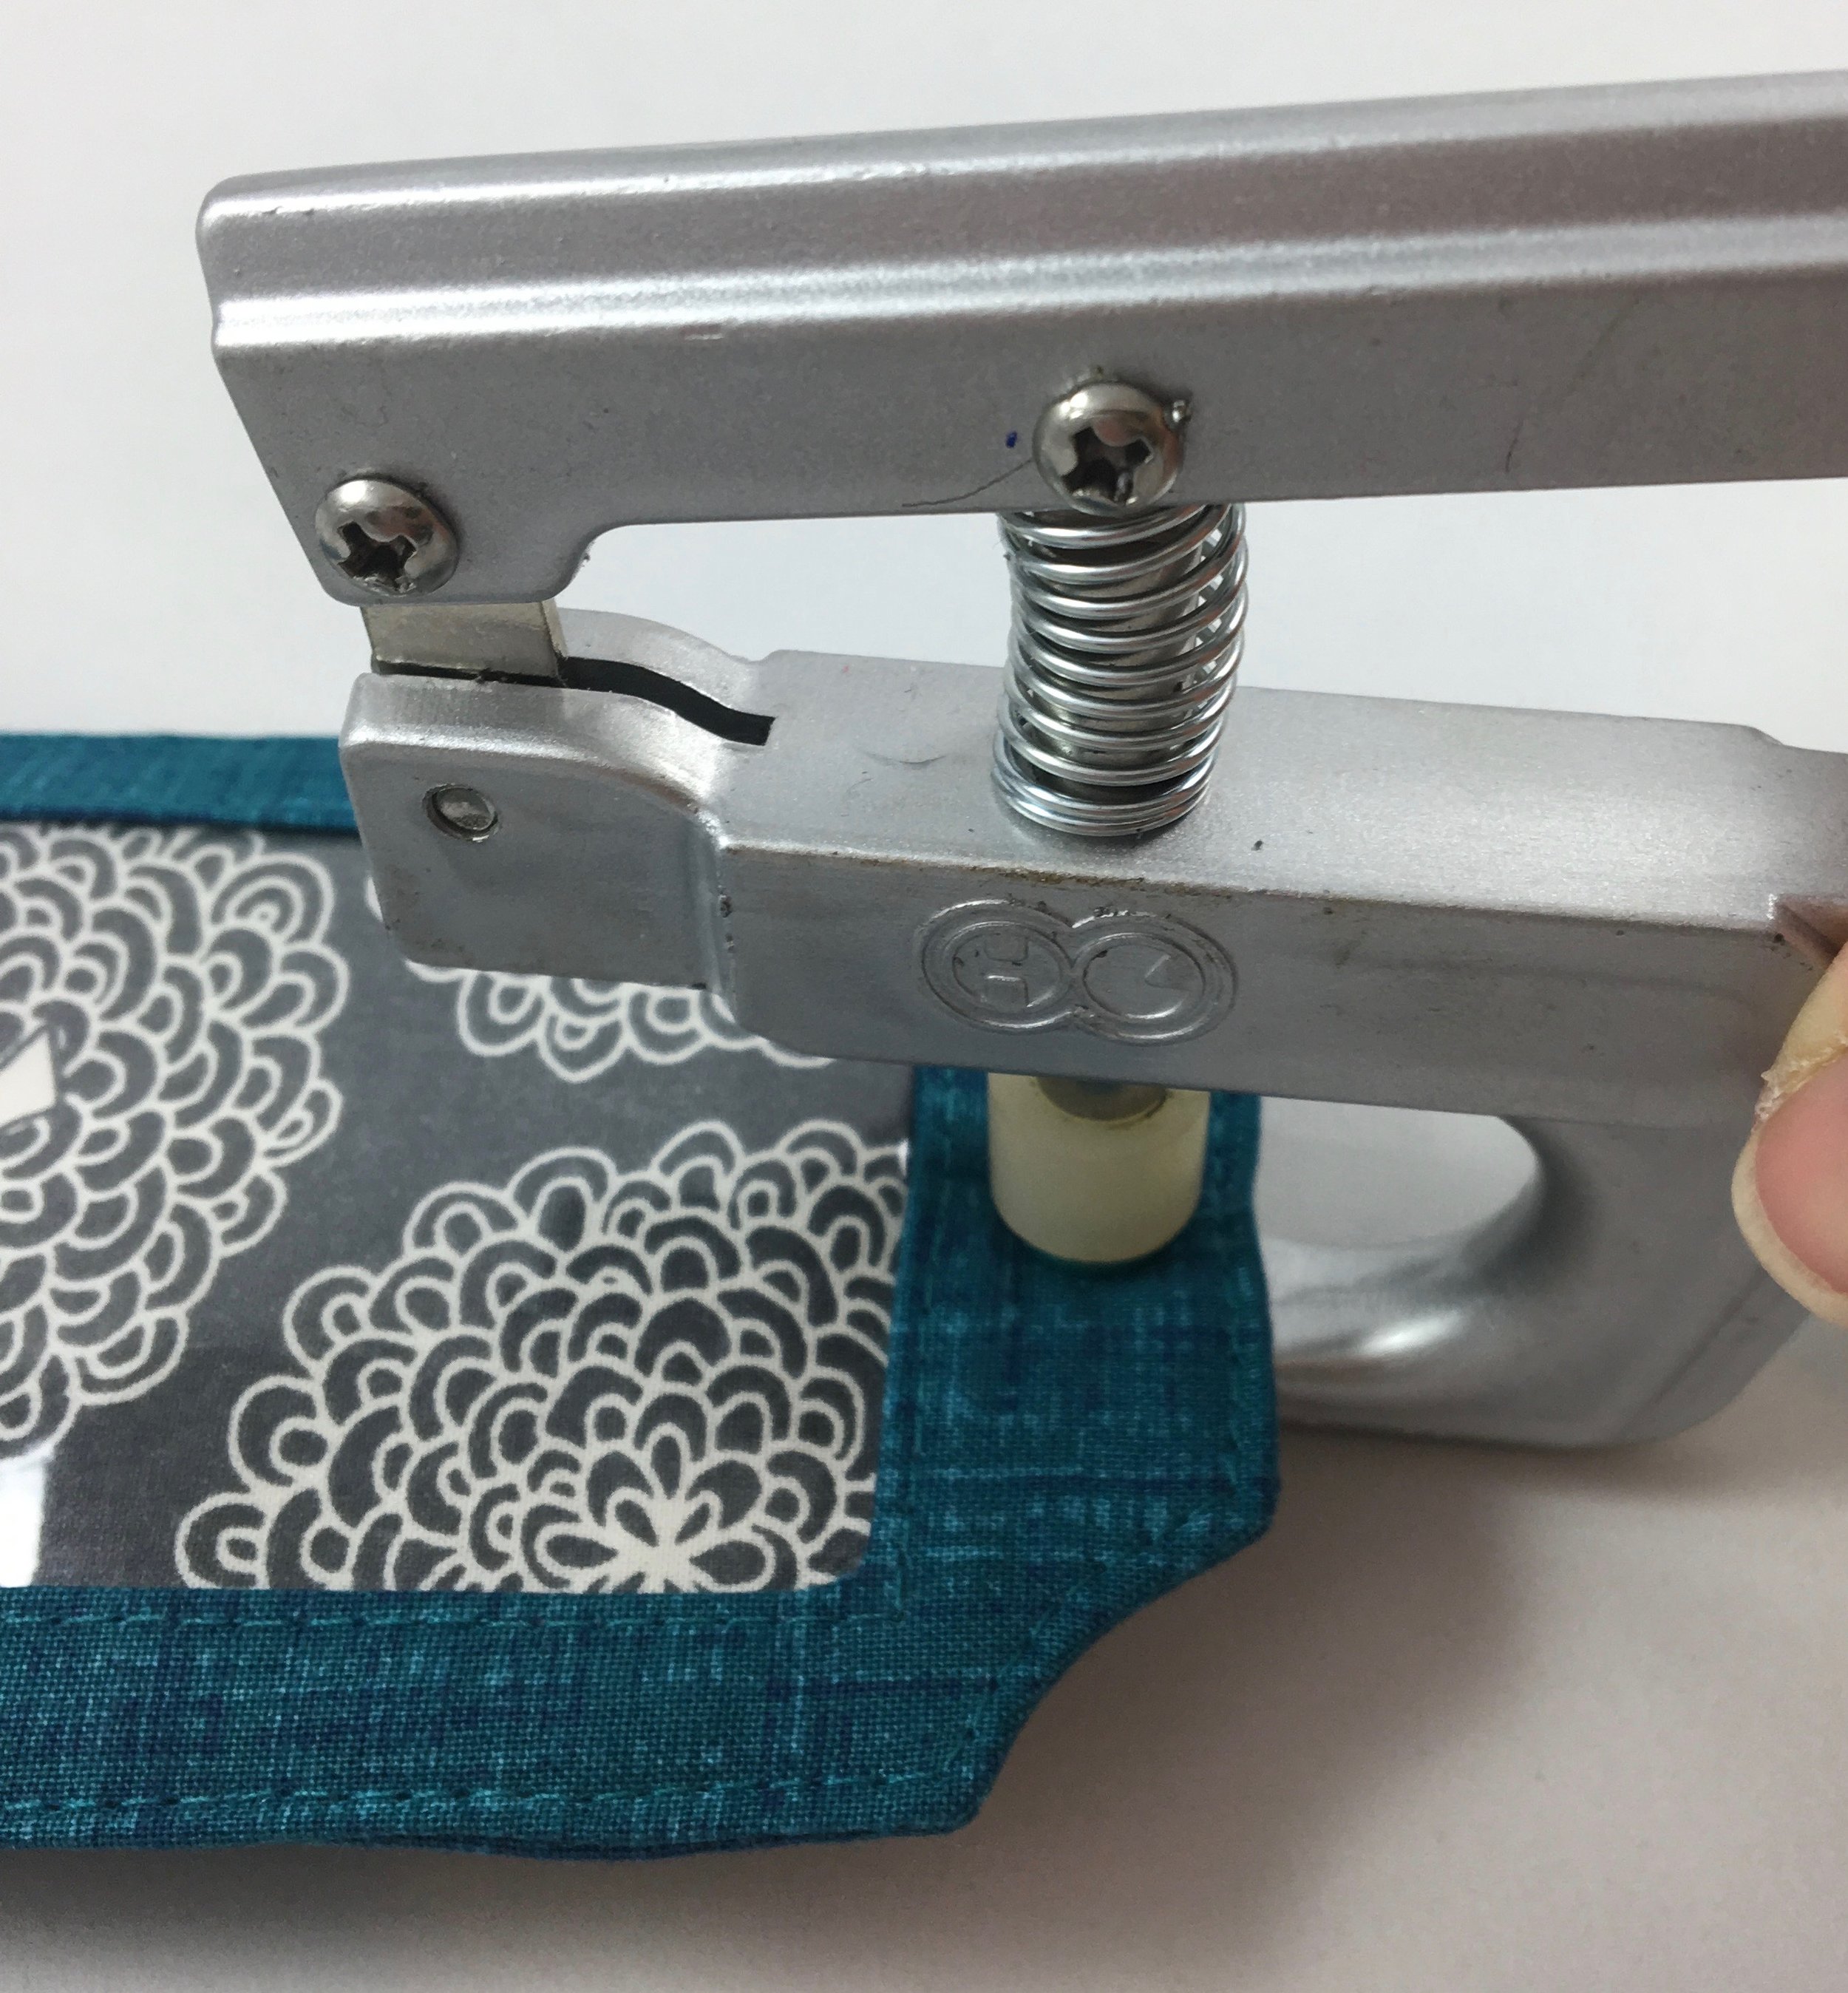
Put this half of the KAM snap into the KAM snap pliers pressing the cap into the black die until it clicks into place. Press the handles of the pliers together firmly, but you don’t want or need to overdo it! Check to see that the prong that was sticking out through the hole in the socket has been smooshed into a disk that will hold this half of the snap together and in place.

Before making a hole in the fabric at the other mark for the cap, I like to check to make sure the placement mark for the second part of my snap will line up with the first part of the snap I just installed. Make a hole in the location of the second placement mark with the awl and add your cap as you did for the first half of the snap, making sure you have the cap on the correct side of your project.

Place the stud over the prong that is sticking up through the fabric so that the side of the stud with the raised center ring is facing away from the cap. Put this second half of the KAM snap into the KAM snap pliers as before, pressing the cap into the black die until it clicks into place. Press the handles of the pliers together firmly and then check to see that the prong has been smooshed into a disk.

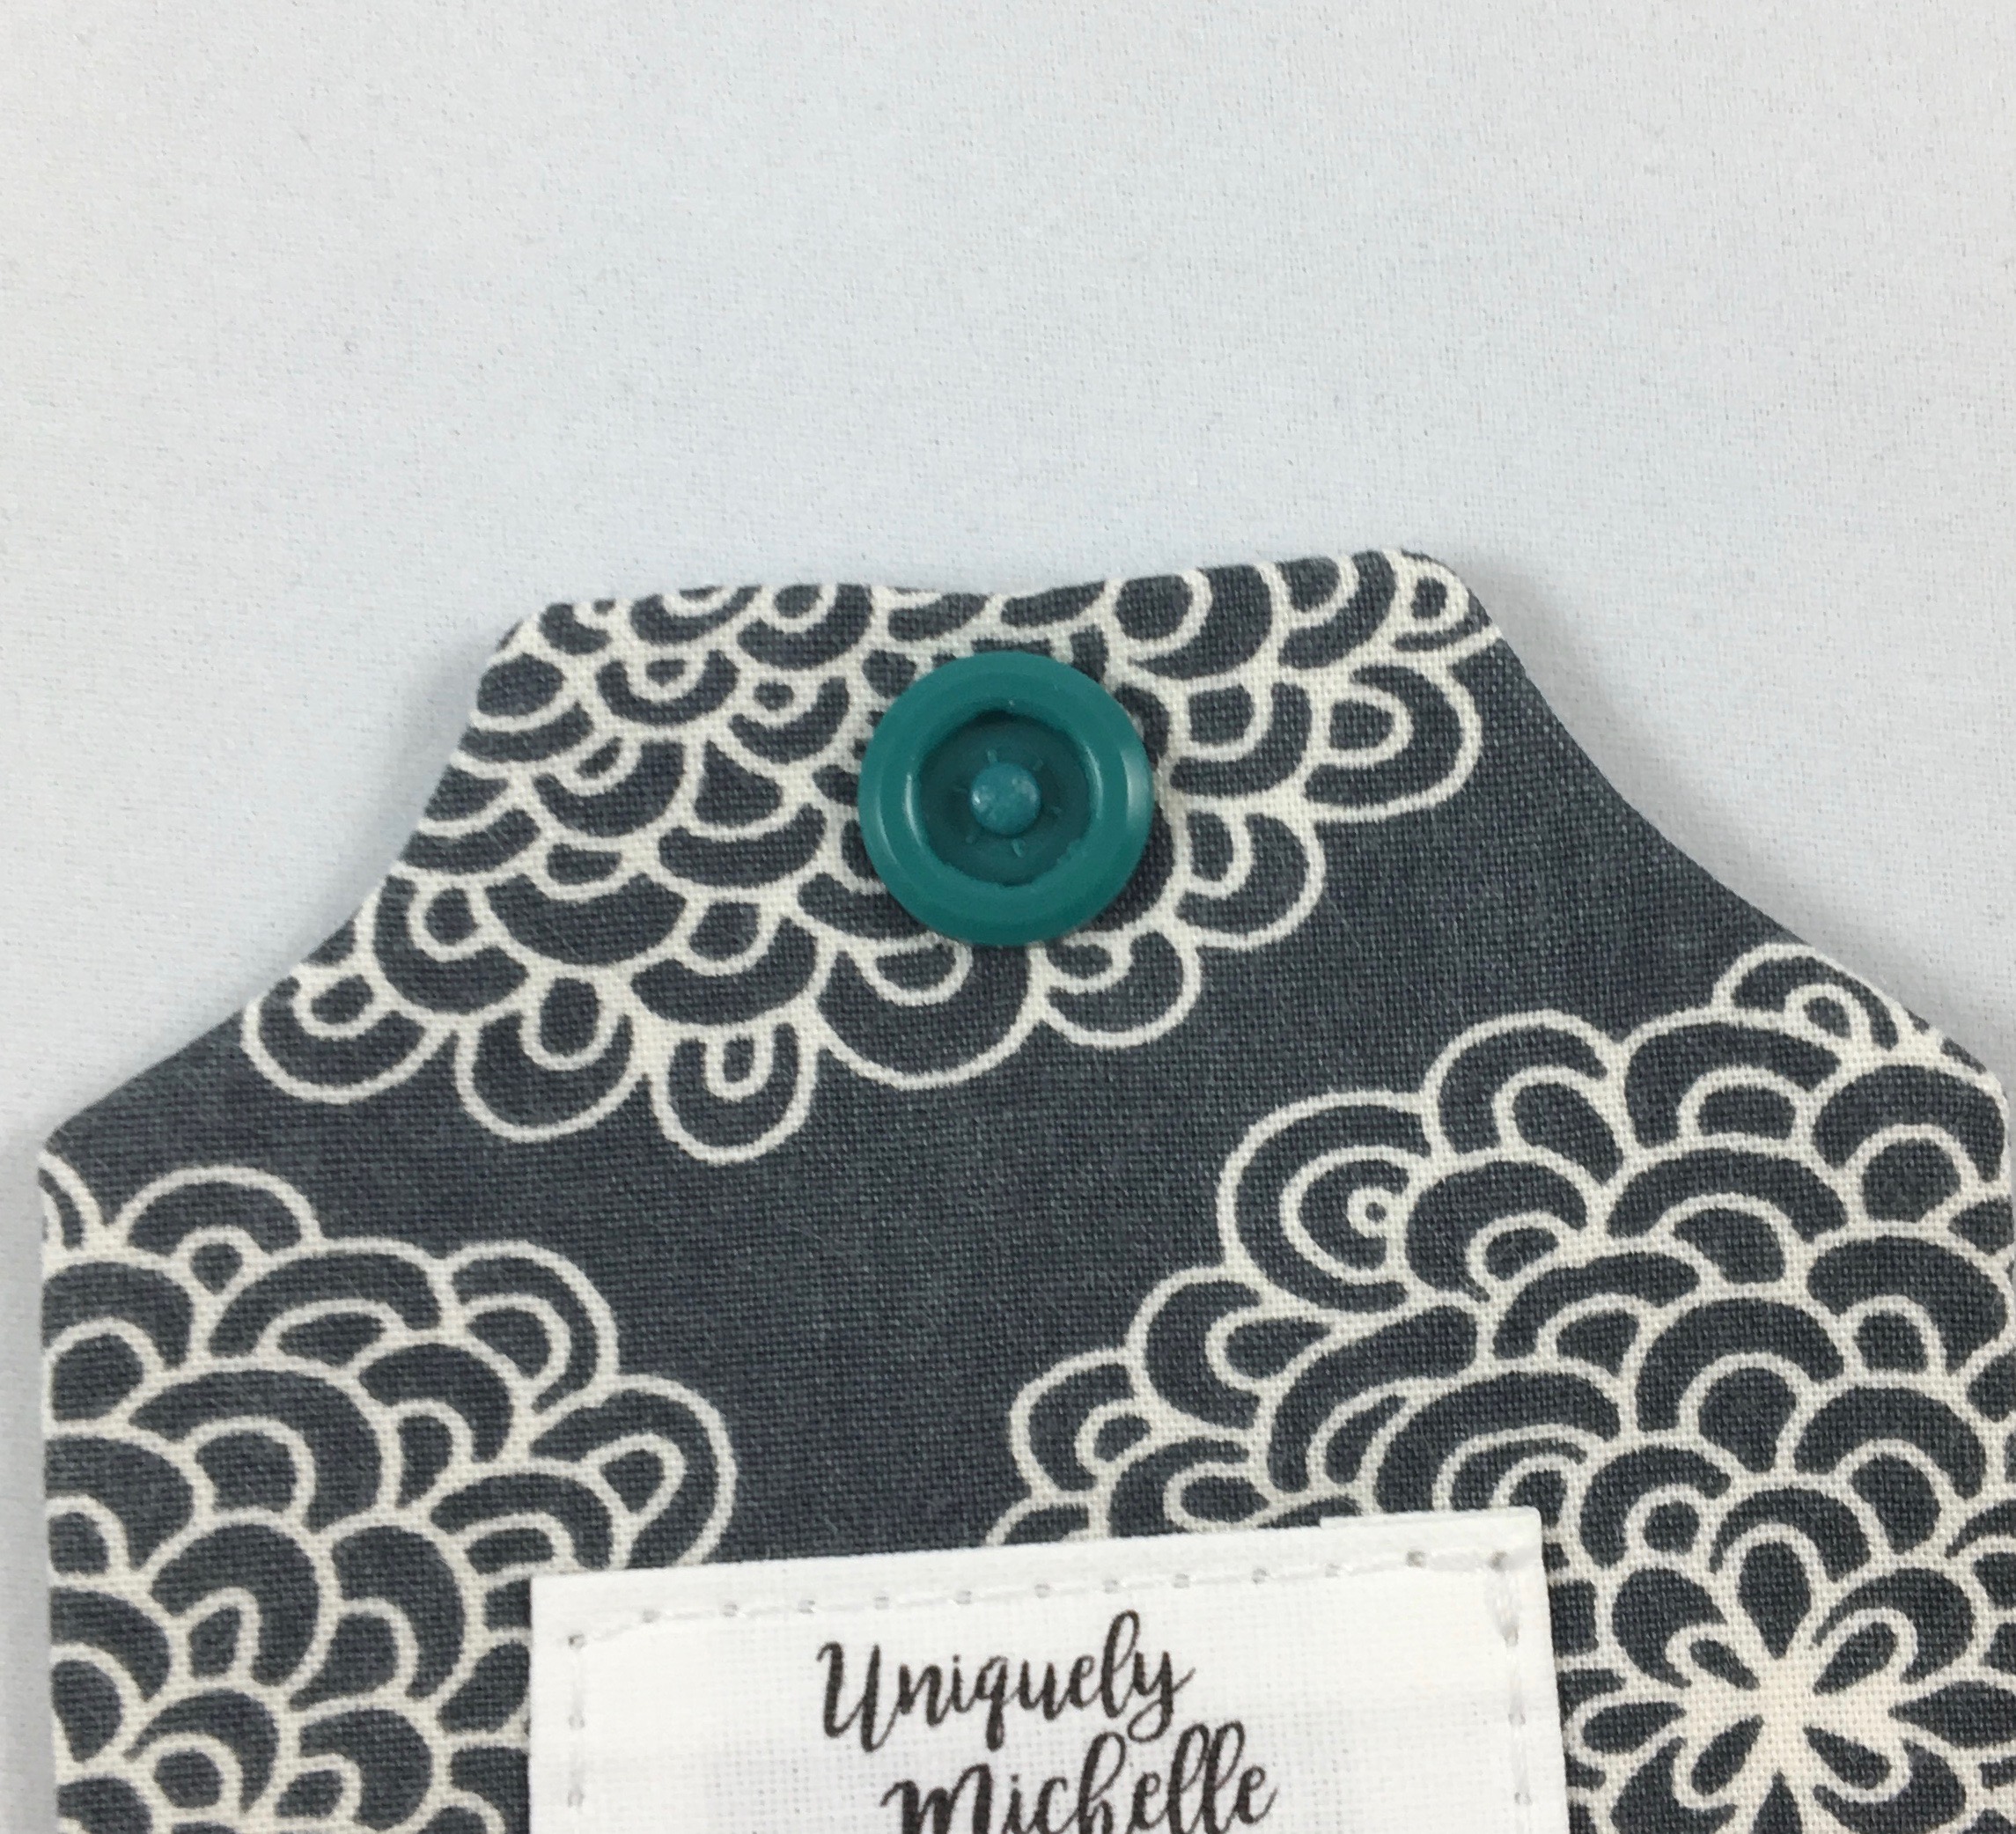
The snap is installed, so this Just the Ticket Luggage Tag is almost finished!

The snap is installed, so this Just the Ticket Luggage Tag is almost finished!

Check your snap by snapping and unsnapping it a few times. I have never had a KAM snap that I installed with KAM snap pliers not be installed well. If the fabric and interfacing are too thick for the prong to go through all the layers, you will not be able to install the snap securely. I have cut out some of the interfacing before to reduce the layers so that the snap will install securely. It is difficult to remove a KAM snap if you misplaced it since you have made a hole in the fabric, so double checking your marks is a good idea. Also, practice installing a few KAM snaps in a scrap piece of layered fabric and interfacings so that you feel comfortable with the process before adding snaps to your project.

KAM snaps are another easy-to-install snap option, that looks nice and functions well too. KAM snaps come in many different colors and since the parts of the snap are interchangeable, you can match each part of the snap to the fabric that it will be installed on.

The snap blog post series continues for two more days! I am so excited for tomorrow's blog post and I hope you are too! Tomorrow, I will be posting a free pattern that uses a snap, so get your favorite snaps out and get ready for some fun! On Saturday, I will share my testers' awesome creations, you will be inspired! And then next week . . . well, I will tell you more about that later, but I will tell you that there is more excitement coming at Uniquely Michelle. Be sure to sign up to receive the Uniquely Michelle newsletter so you don't miss anything that is coming up at Uniquely Michelle!

Snaps - Installing Metal SnapSource Snaps

Michelle Burke

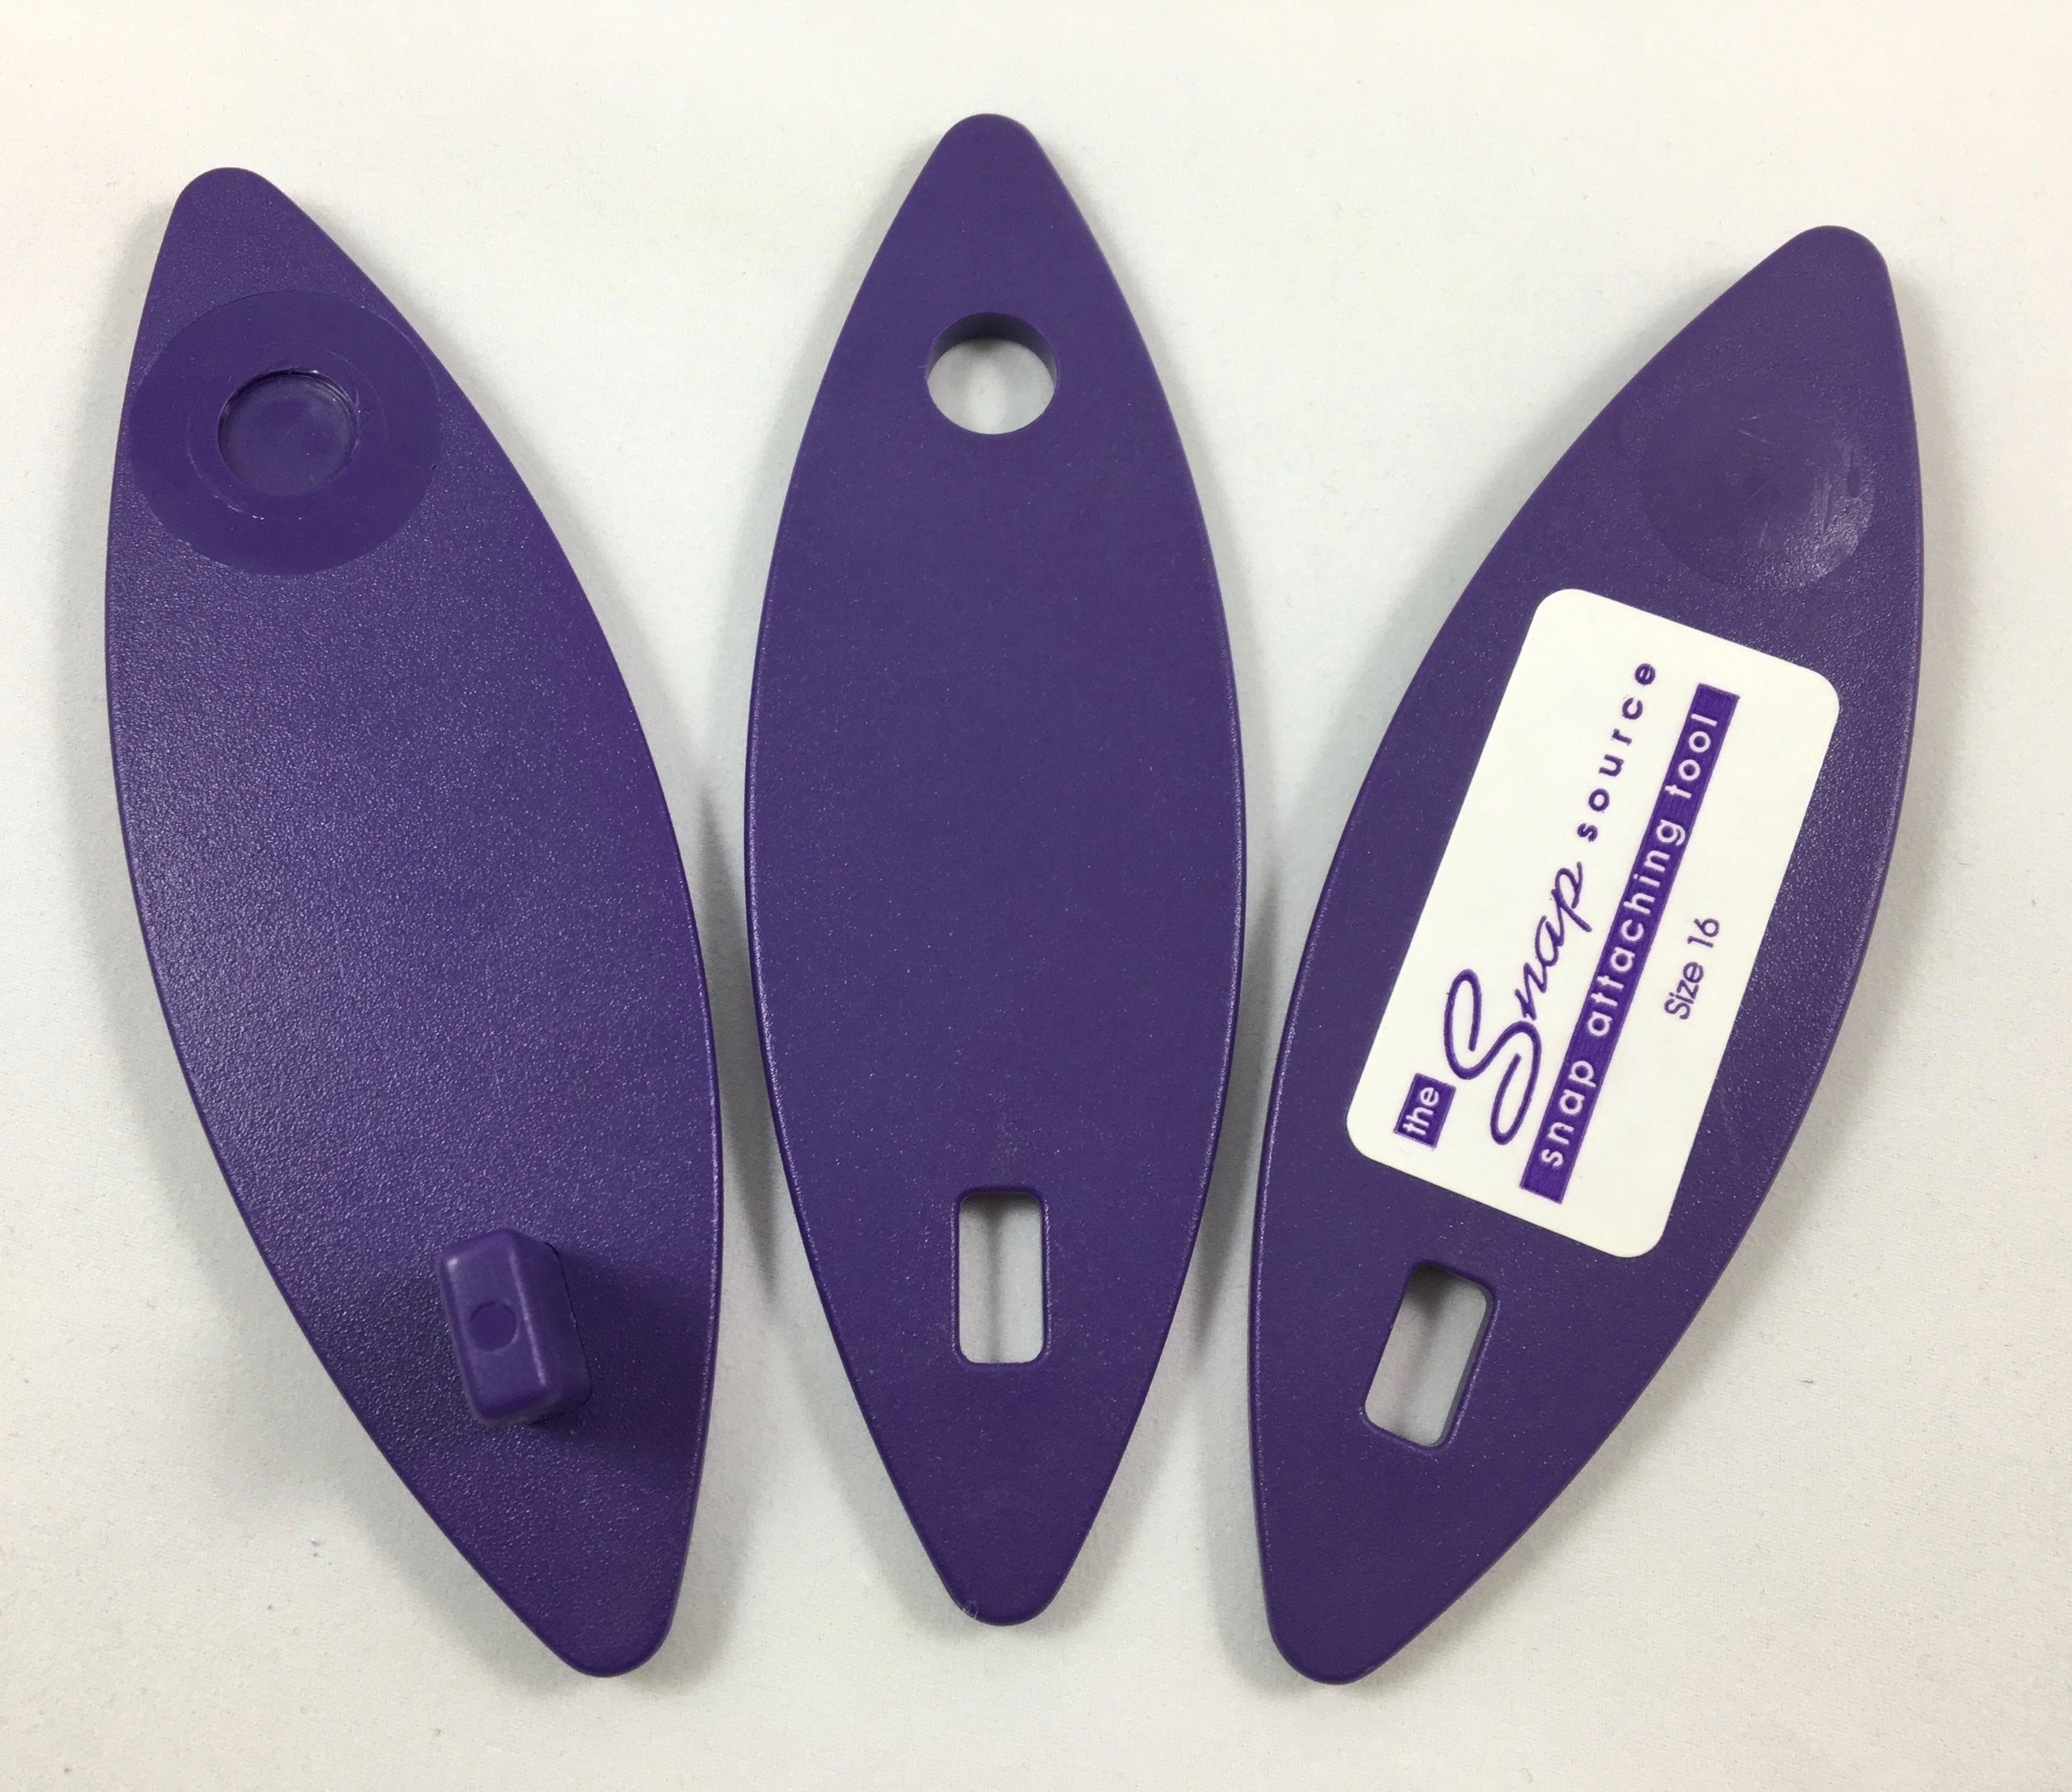
This week we are talking snaps here at Uniquely Michelle! We have already talked about the two different types of snaps, metal snaps on Monday and plastic snaps on Tuesday. On Monday, I explained why I think SnapSource’s SnapSetter Tool is the best tool for installing metal snaps. I love SnapSource snaps too, they come in so many different colors and sizes. Today, I will show you how to use the SnapSetter to install SnapSource metal snaps. This tool along with these snaps  changed me from a snap hater to a snap lover! Just a quick reminder, the products I recommend are based on my use and opinion of them, I have not been given anything from the companies that make my favorite products nor do they even know that I wrote this blog series.

IMG_2676.jpg

I am going to explain how to install a size 16 snap. The process is the same when using other sizes of snaps, but you will need an adaptor base for the SnapSetter if you plan on installing size 20 or 24 snaps. You will need the size 16 SnapSetter Tool and size 16 snaps (size 18 snaps will work too), both available from SnapSource. You will also need a ruler, a marking pen or pencil and a hammer.

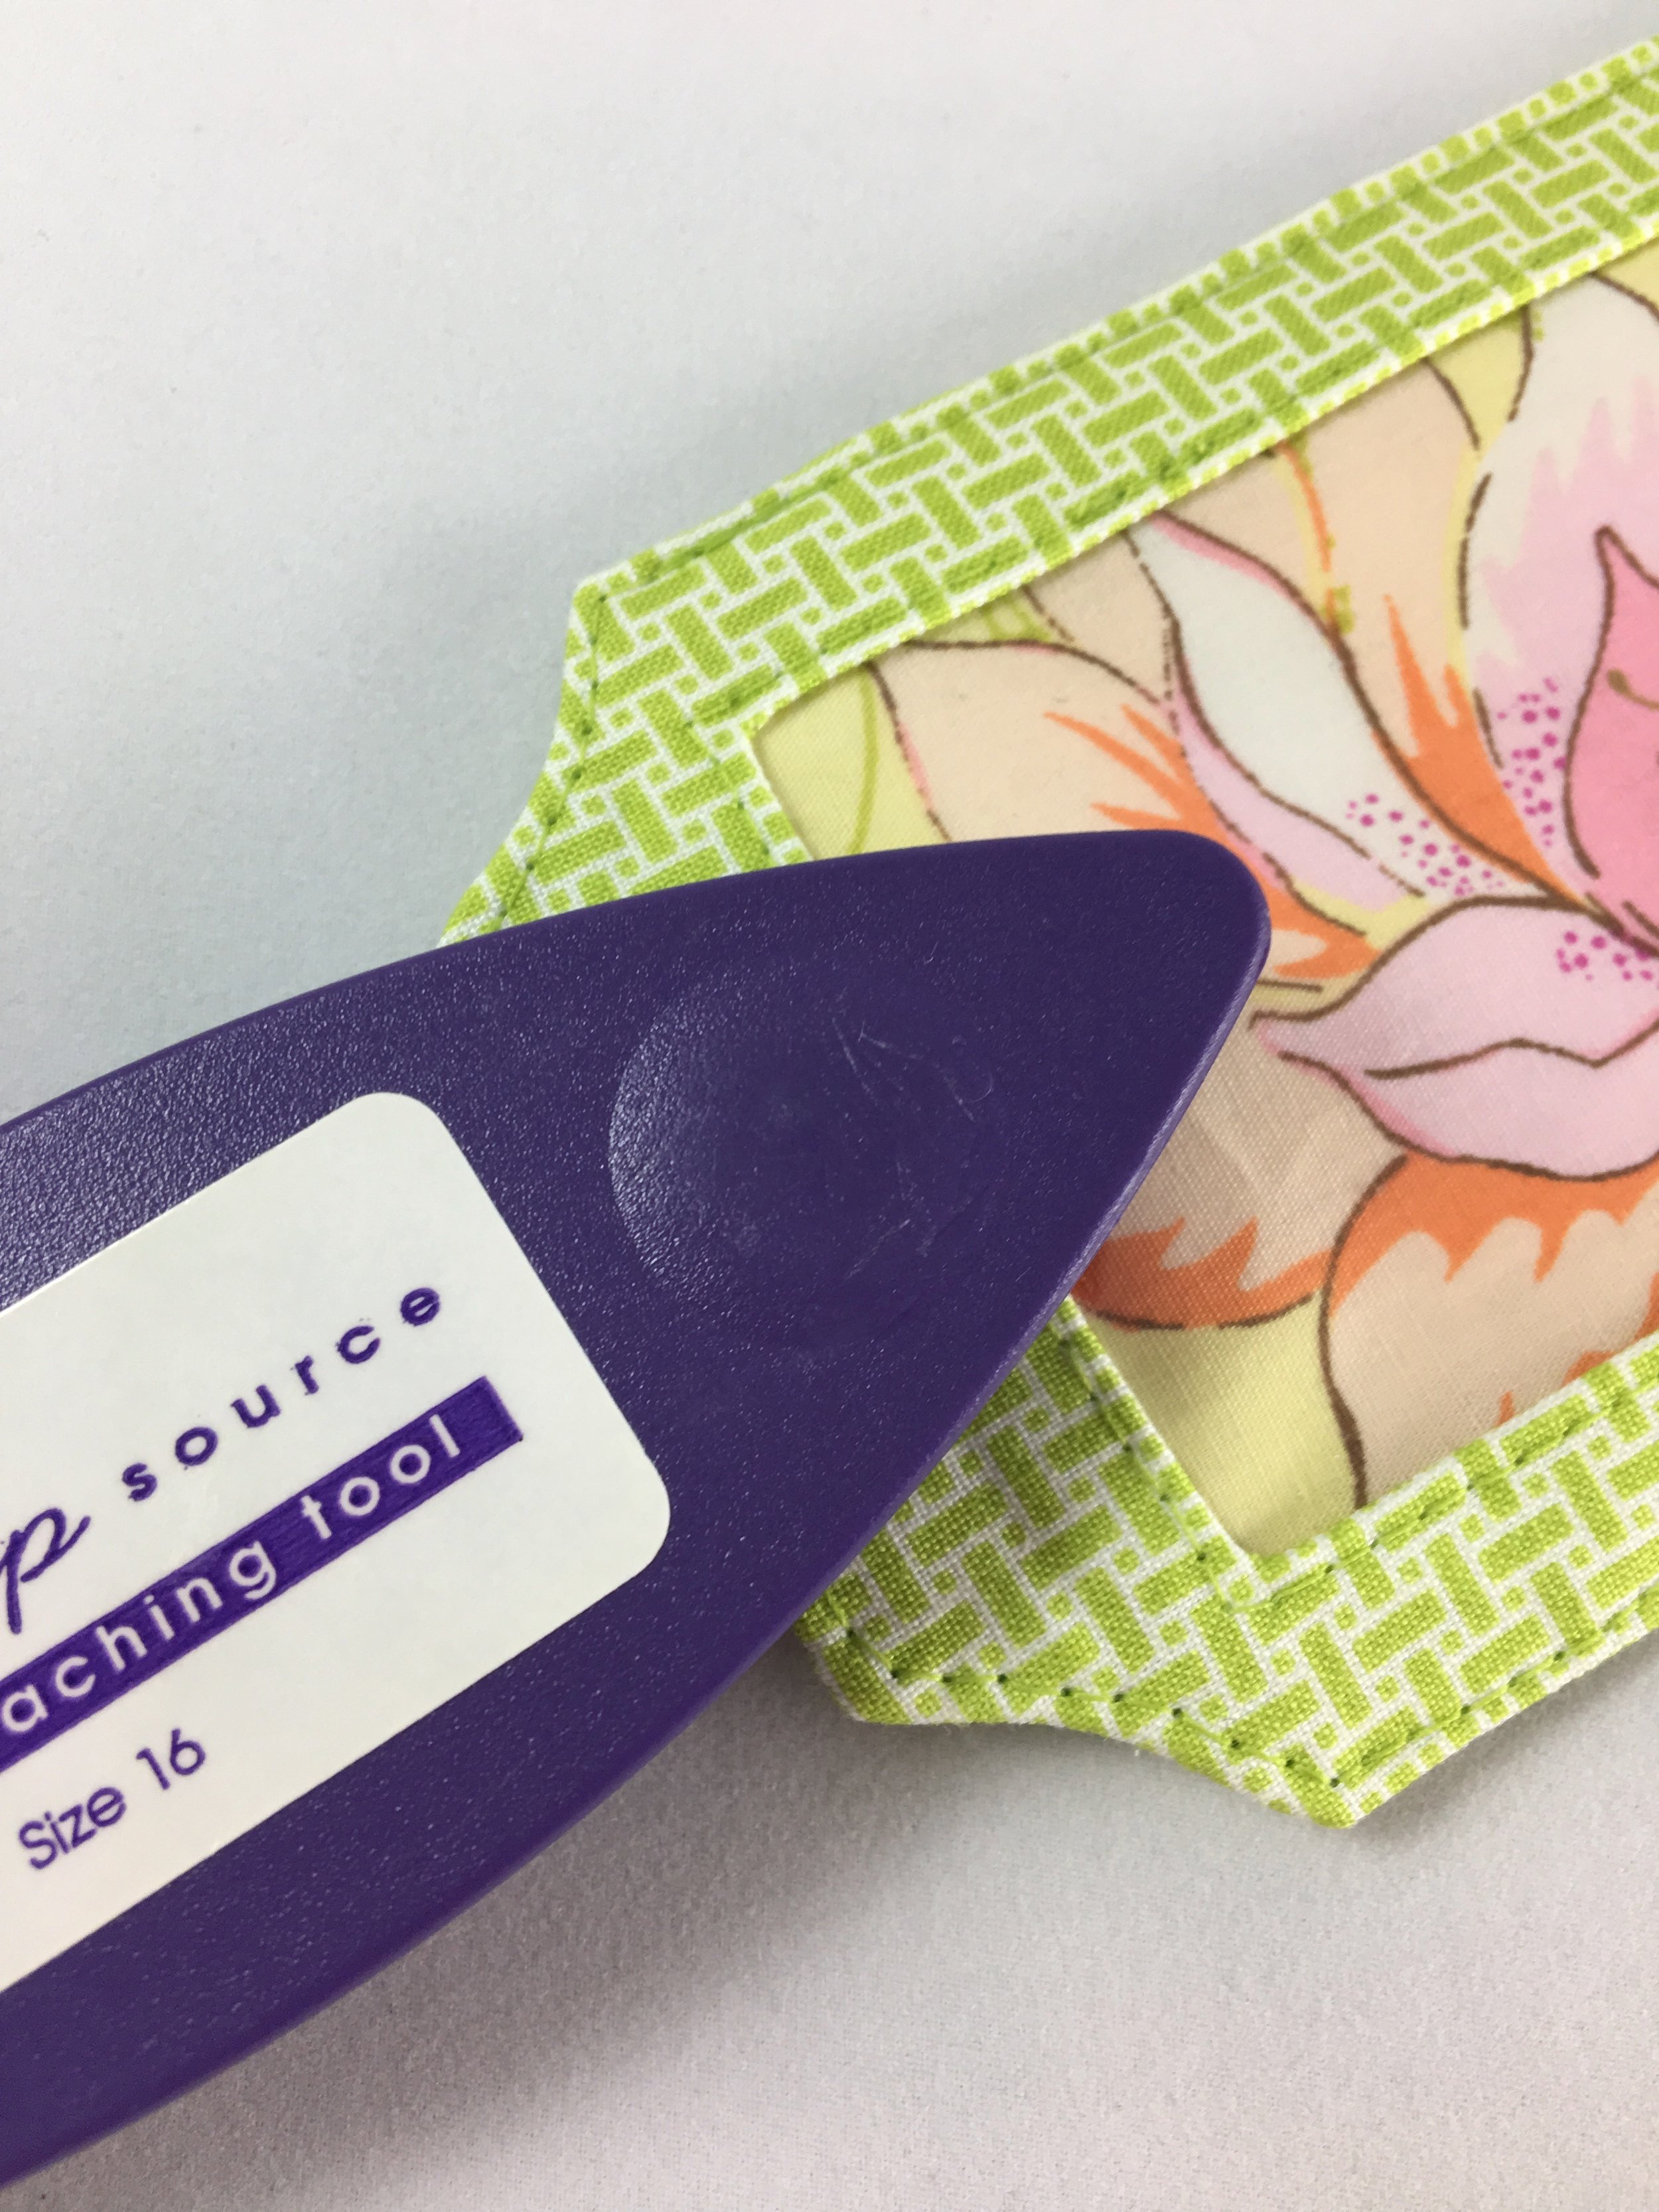
Let’s quickly discuss the parts of a snap so that we are all on the same page. The picture on the left shows the side of each snap piece that you will see once it is installed (the right side). The picture on the right shows the side of each snap piece that is against the fabric once it is installed (the wrong side). The cap is the colorful part of the snap that is a solid circle with prongs on the back (upper left piece). The socket has a hole in the middle and no prongs (lower left piece). The prongs on the cap secure the socket in place on the item you are making. The socket is the part that snaps to the stud. The stud has the raised center area and no prongs (lower right piece). The back ring is a circle with prongs on the back of it (upper right piece). The prongs on the back ring secure the stud in place on the item you are making.

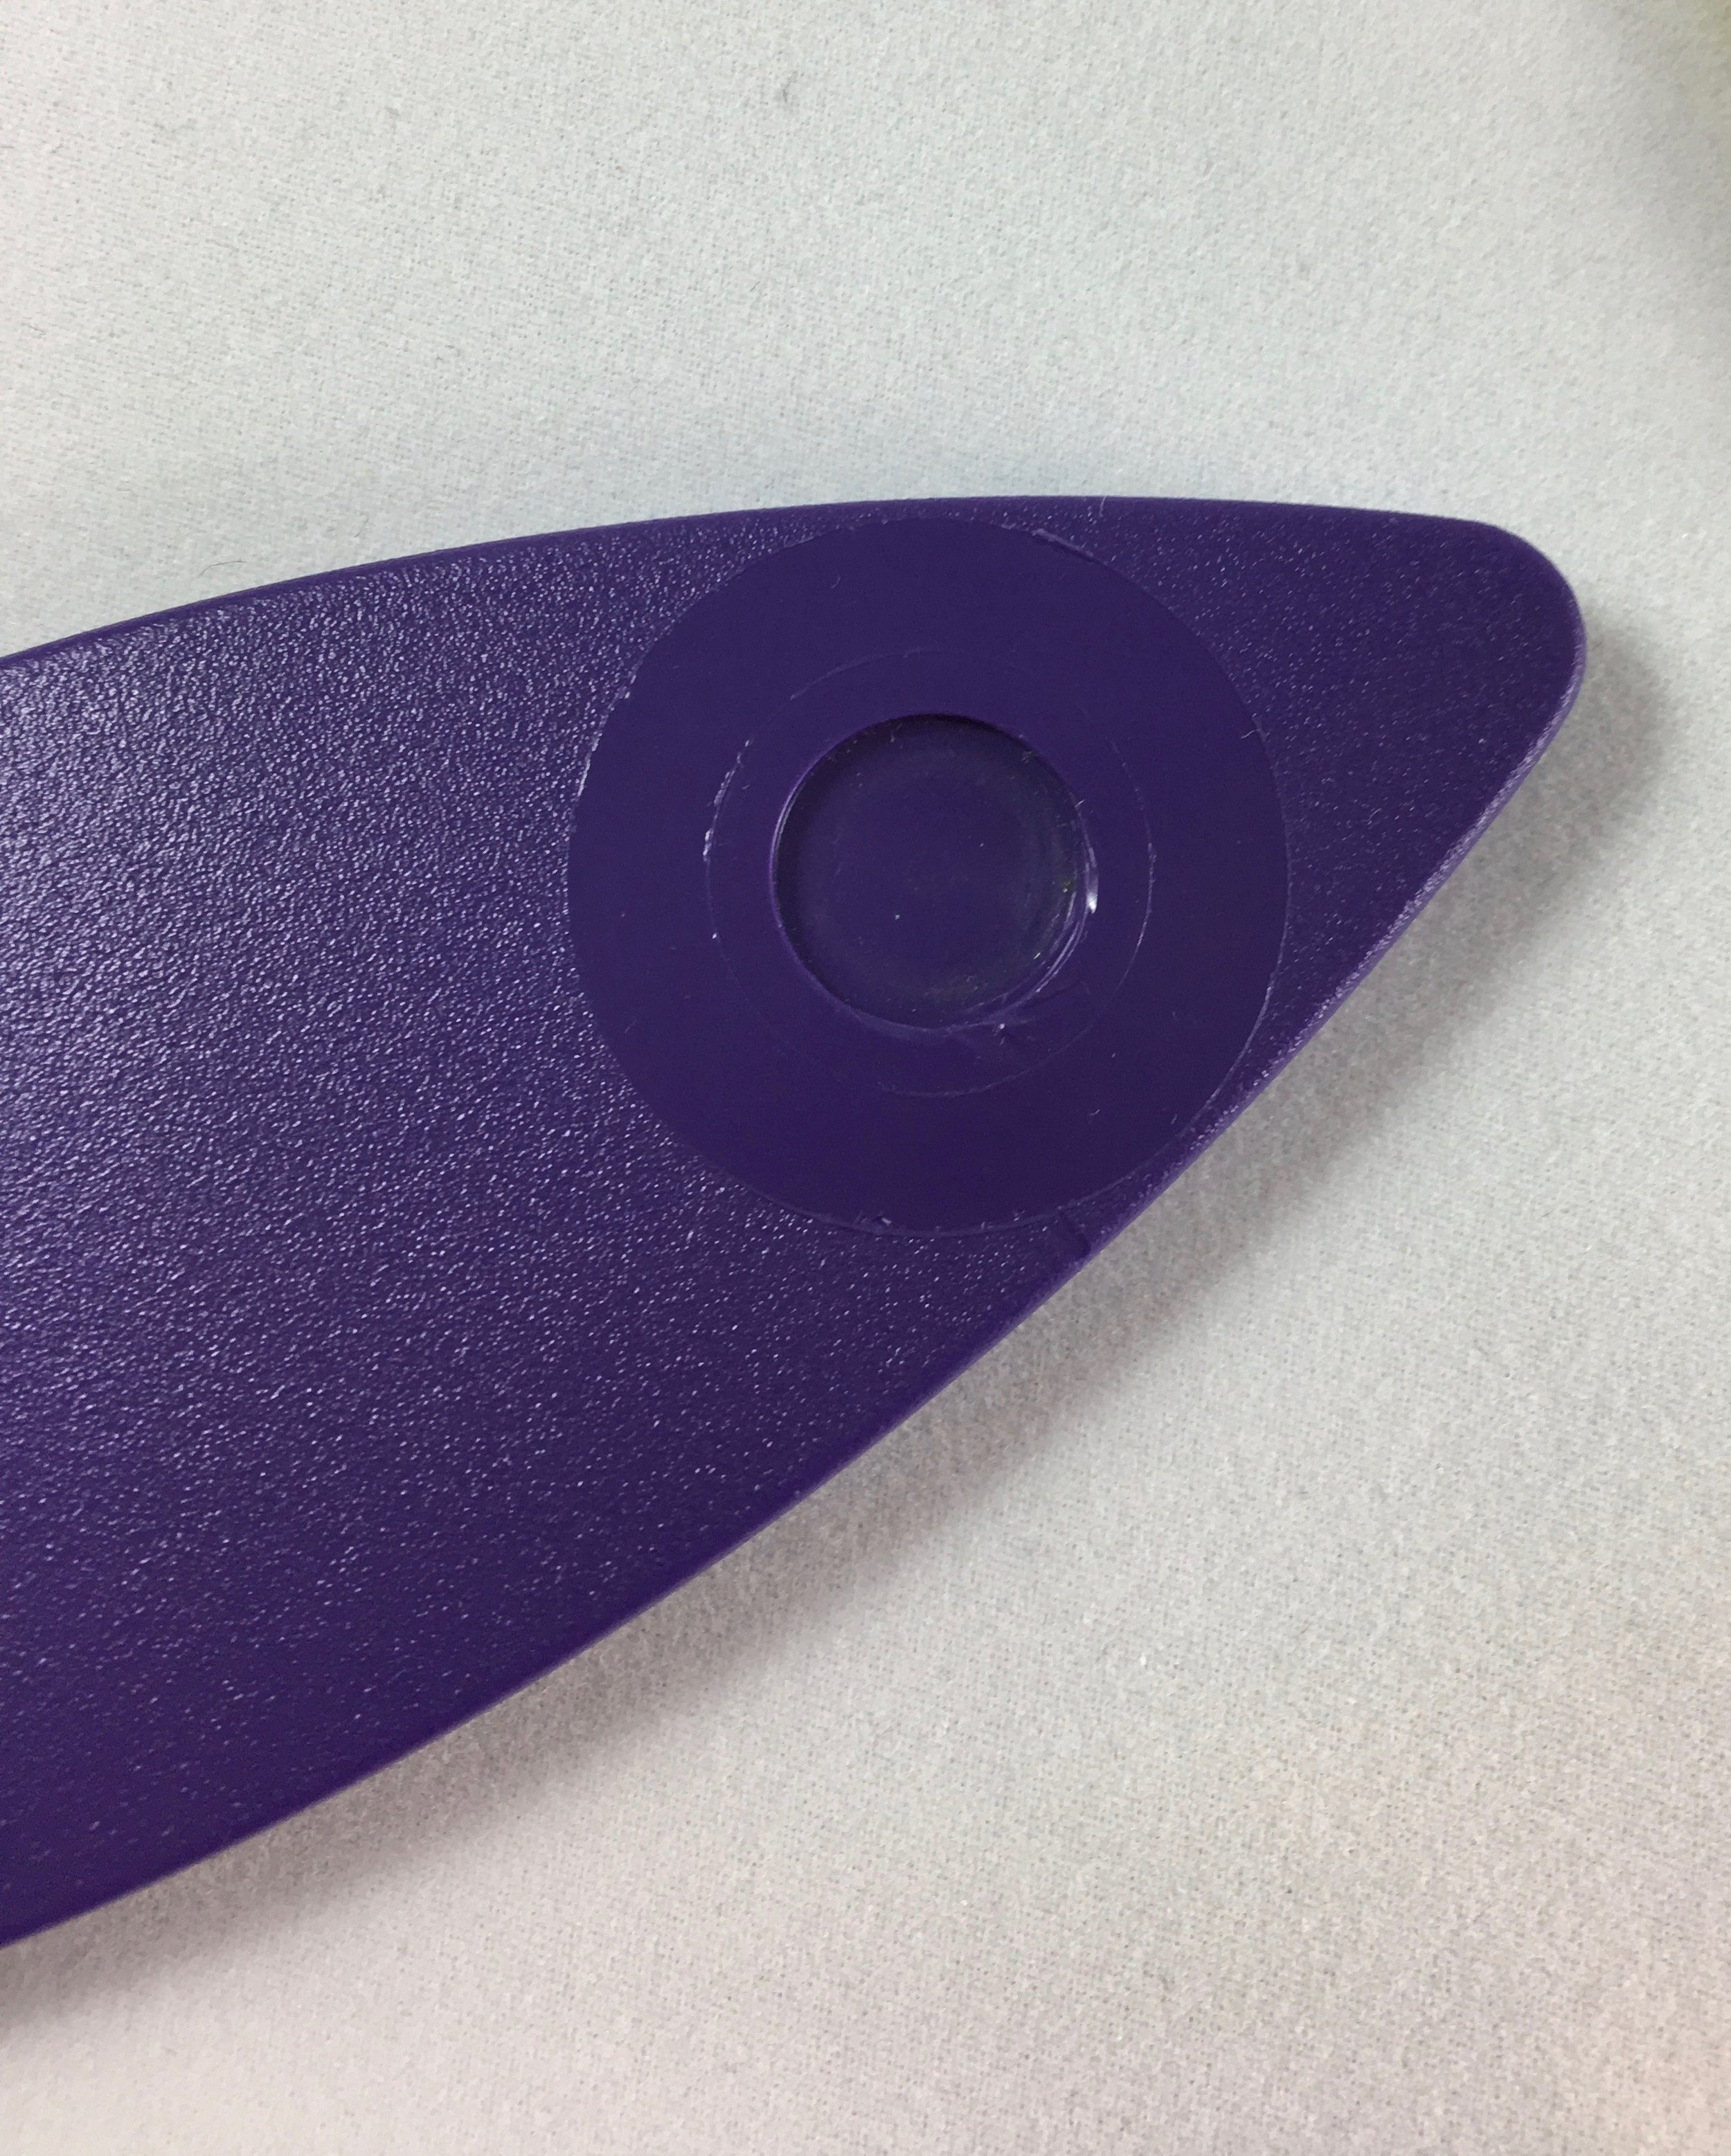
The SnapSetter has three parts that stack together. There is the base with an indentation for the cap or bottom ring to sit. Next there is the middle part with a hole that aligns the socket or the stud perfectly. Finally the top part with a raised area that you will hit with your hammer.

IMG_2695.jpg

We are going to start by marking the placement of the cap part of your snap. Follow the instructions for the item you are making to measure the location for the cap and mark that spot using a marking pen or pencil. Make sure you are marking the part of the project and the side of that part where the cap will be placed.

IMG_2697.jpg

This is the most difficult part of installing these metal snaps and it isn't that difficult, it's just worth spending a couple extra minutes making sure you get it right. The reason it is a bit difficult is because the cap covers the mark, making it difficult to see where you are supposed to place the snap. So there is a lot of peeking under the cap while trying to get it centered on the mark.

IMG_2700.jpg

I usually eyeball it to begin with and then get out my ruler again to check if the center of the cap is where it is supposed to be on my project.

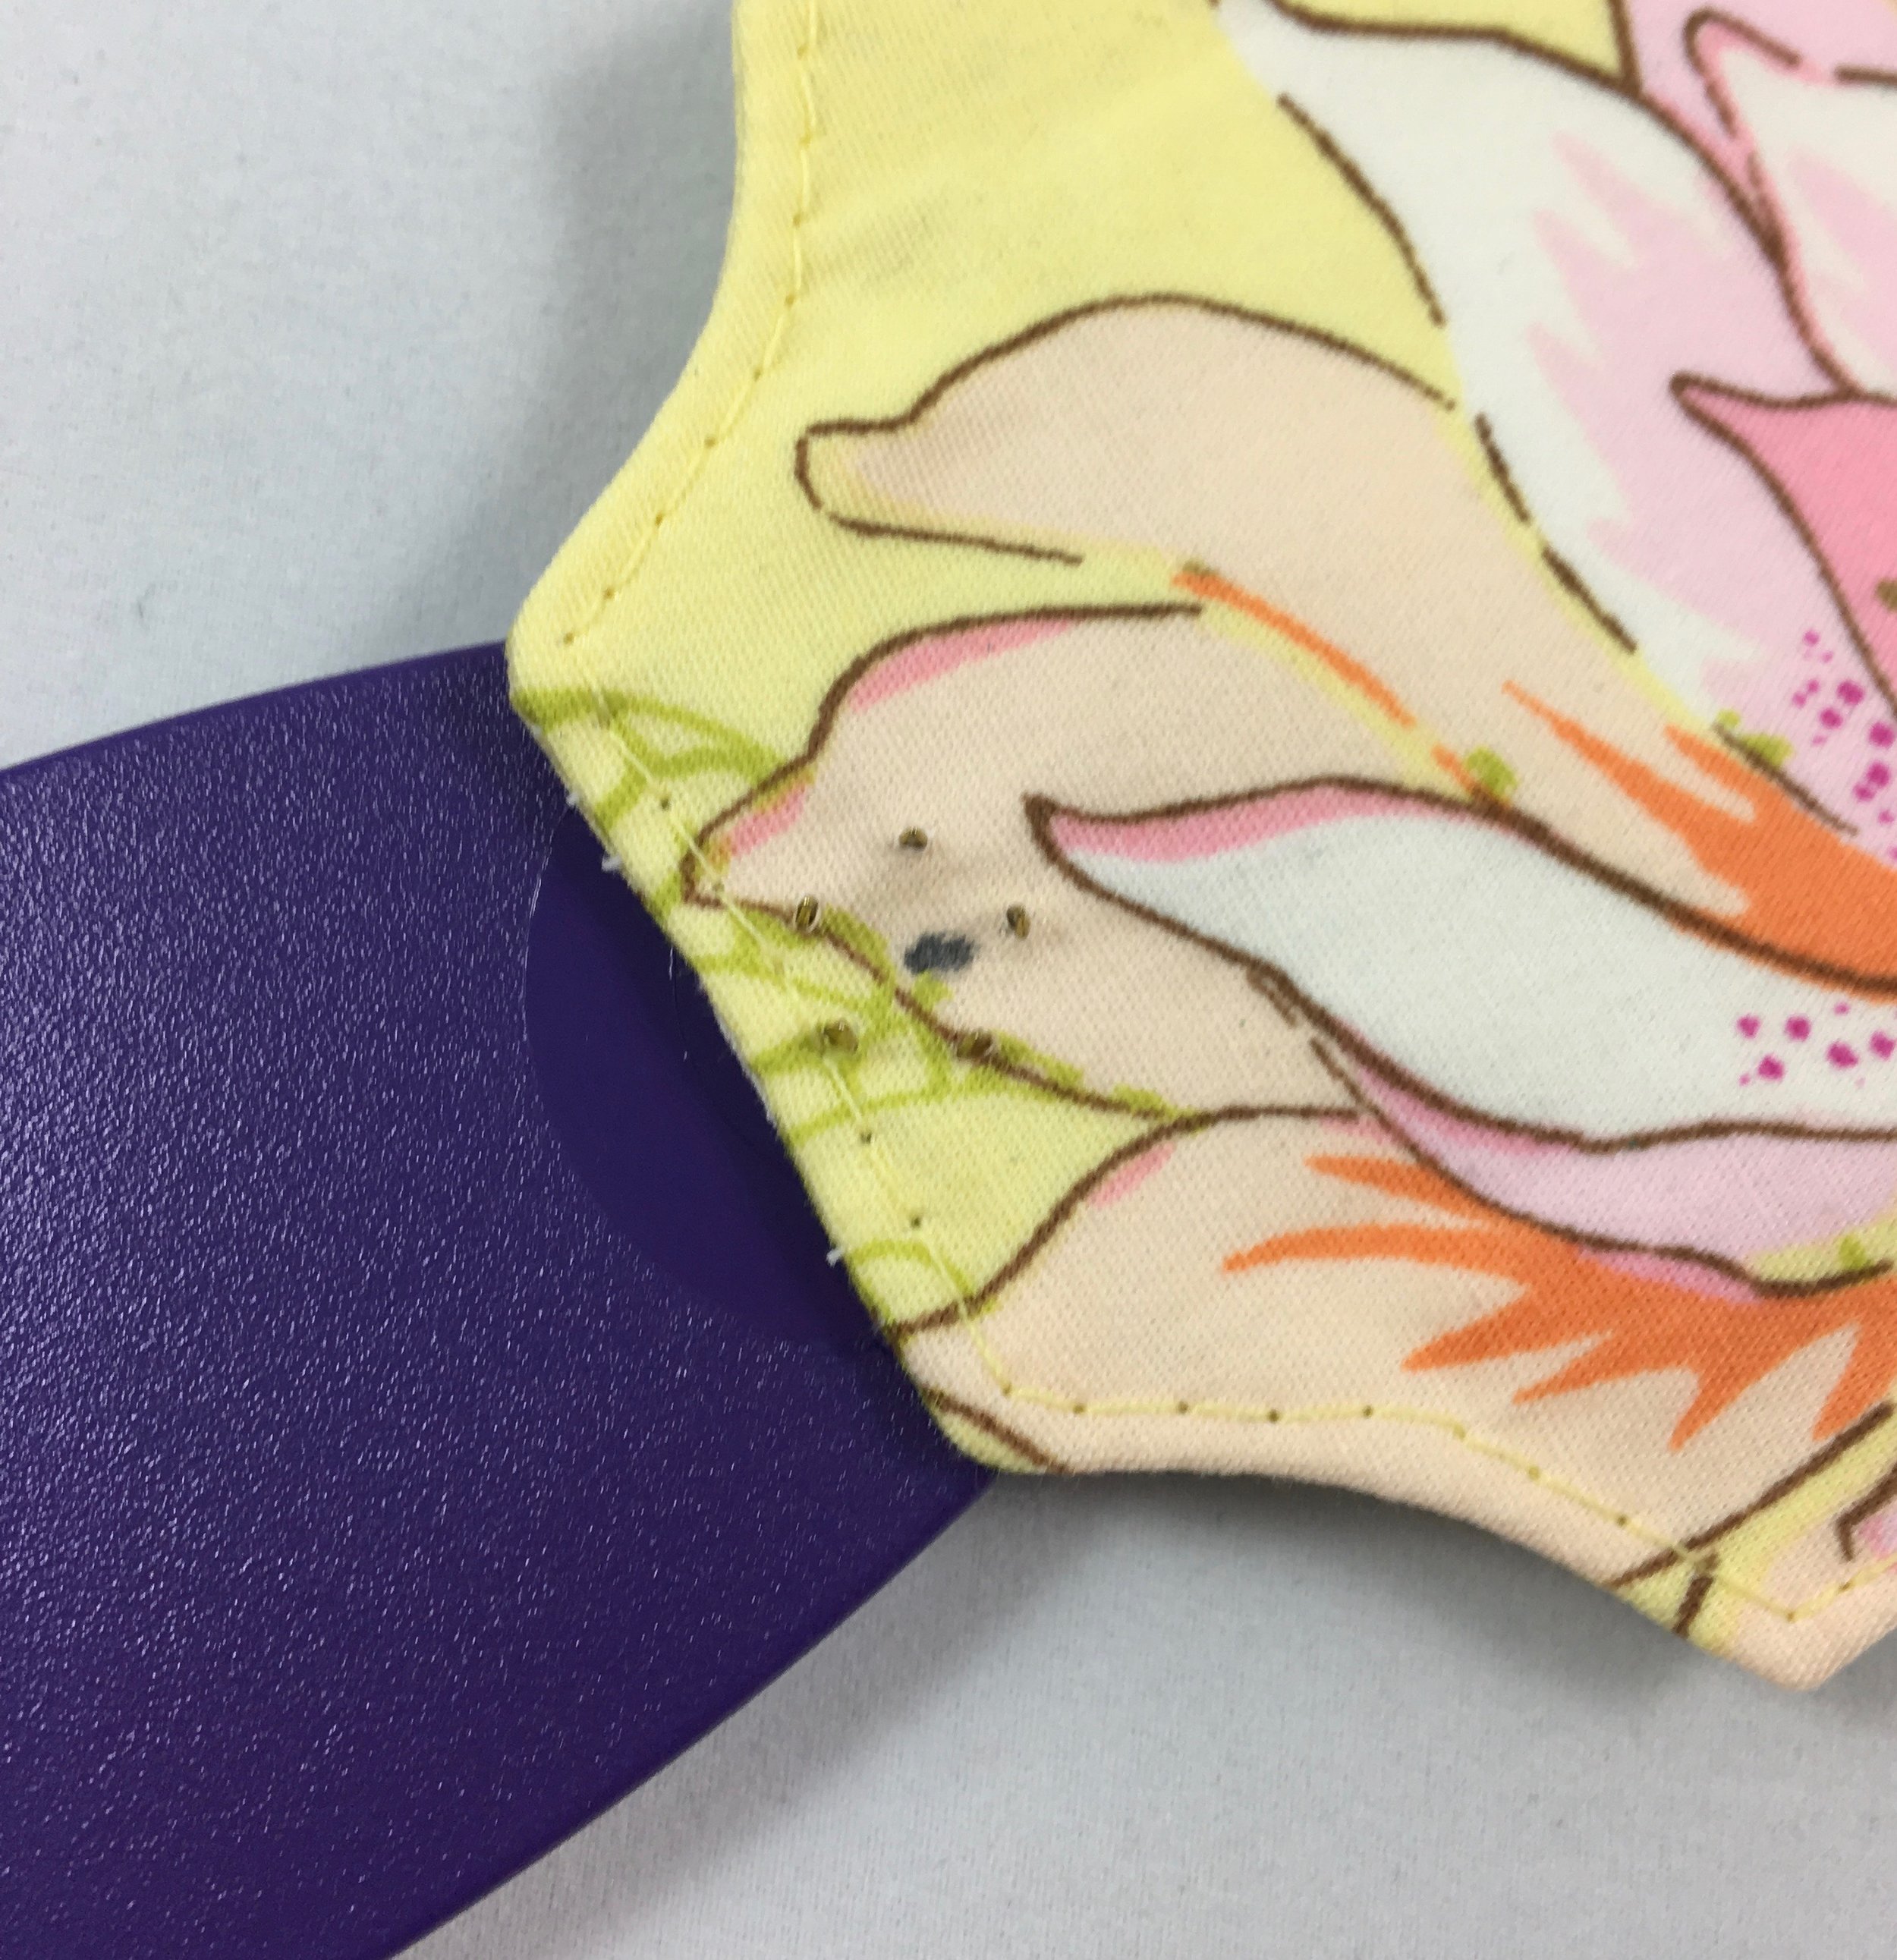
Now push the prongs through all the layers of fabric and interfacing. I like to use a clean pencil eraser to help me with this. Place the base of your SnapSetter on a solid surface, place your creation cap side down and with the cap fitted in the indention of the SnapSetter base.

IMG_2708.jpg

Next, add the middle part of the SnapSetter, this will help align everything perfectly.

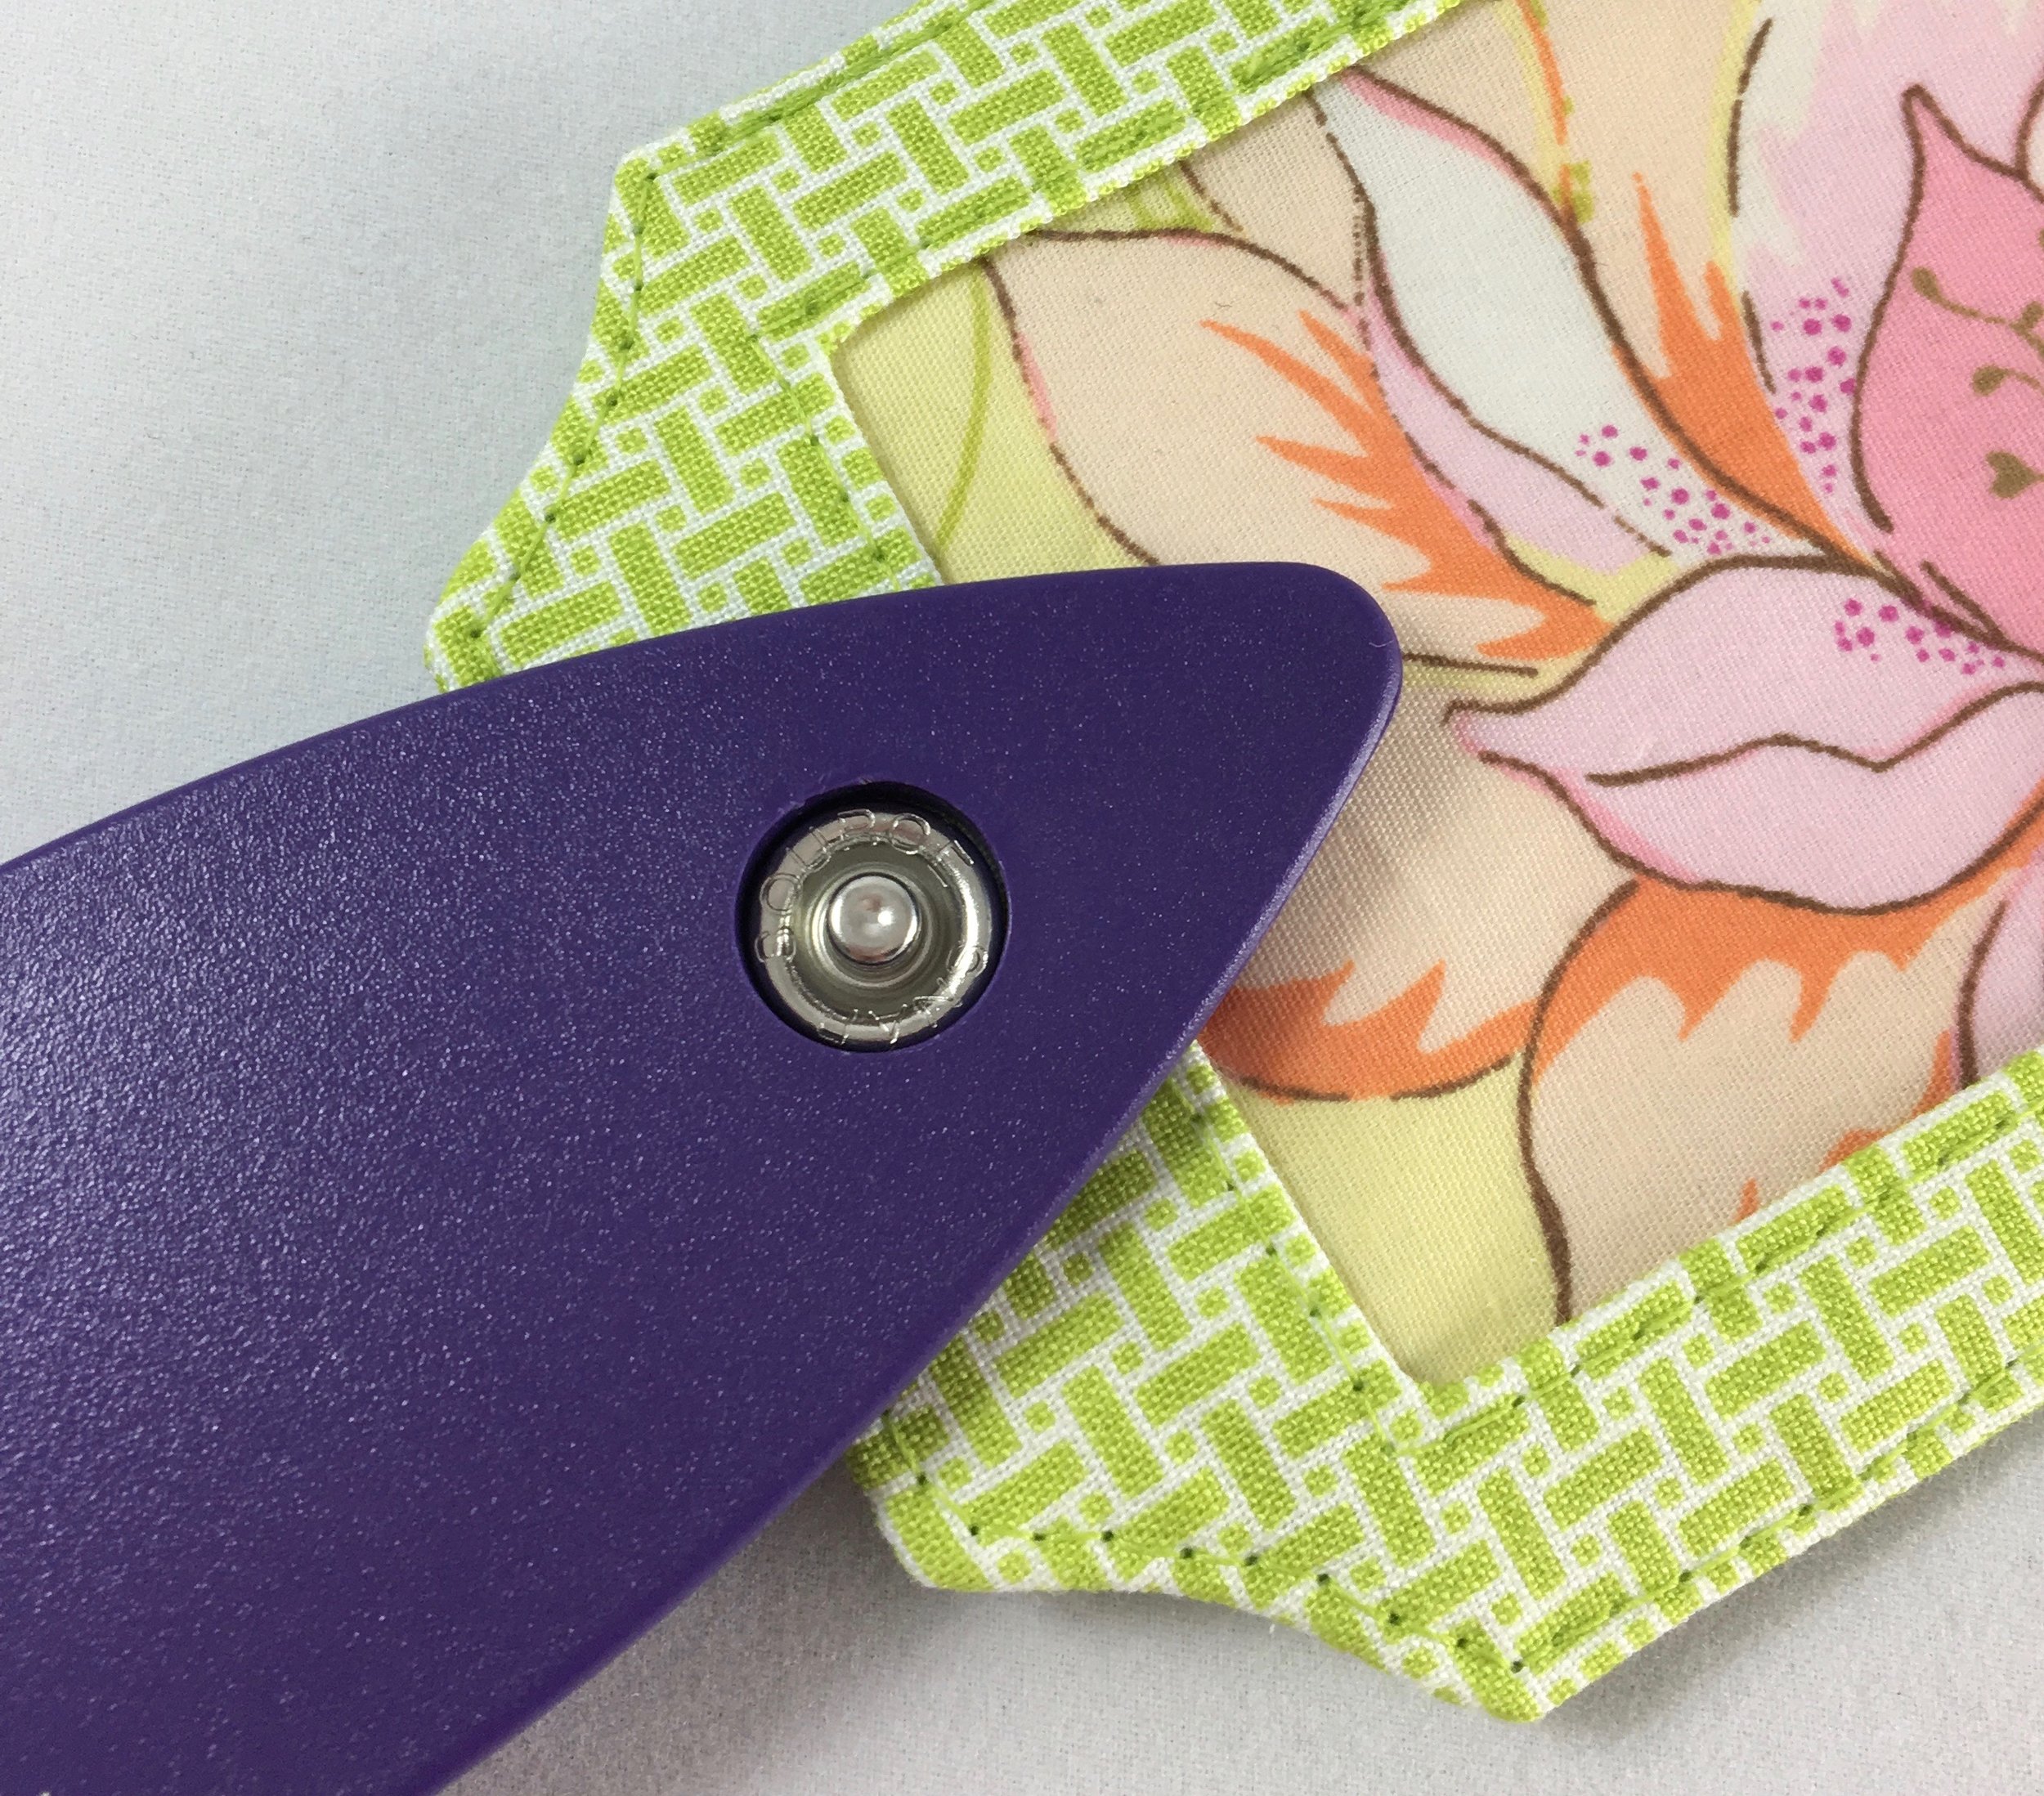
Now place the socket in the hole of the middle part of the SnapSetter with the side that is more raised facing down toward the prongs. This is important so that the prongs can attach correctly. To check that you have placed your socket correctly, you should have the side that has a flower-shape look to it facing up. Place the top part of the SnapSetter over all of this and give it a few good hits with the hammer on the raised part of the SnapSetter Tool. I always think that I probably only need one good whack with the hammer, but usually give it three or four solid hits just to be sure.

IMG_2682.jpg

Now for the easy half of the snap. Follow the instructions for the item you are making to measure the location for other half of your snap and mark the spot where the back ring will be placed using a marking pen or pencil. I like to check the placement mark for the second part of my snap to make sure it will line up with the first part of the snap I just installed. Place the back ring centered, over the mark that is on the opposite side of the fabric from where the stud will be placed.

IMG_2684.jpg

Push the prongs through all layers of fabric and interfacing as you did with the prongs on the cap. Again, make sure the base of your SnapSetter is on a solid surface, place your creation back ring side down and with the back ring fitted in the indention of the SnapSetter base.

Add the middle part of the SnapSetter. Now place the stud in the hole of the middle part of the SnapSetter with the raised side facing up toward you. Place the top part of the SnapSetter over all of this and give it a few good whacks with the hammer on the raised part of the SnapSetter Tool.

This Just The Ticket Luggage Tag has its snap installed and is ready to be finished up!

This Just The Ticket Luggage Tag has its snap installed and is ready to be finished up!

I always do a quick test of the snap once it is completely installed by snapping and unsnapping it a few times. I have never had a SnapSource snap that I have installed with a SnapSource SnapSetter not turn out well. The only caution I would give you is that if your fabric and interfacing are so thick that the prongs will not go through all the layers, you will not be able to install the snap securely. I have cut out some of the interfacing before in the place where the snap will be installed to reduce the layers so that the snap will install securely. If you do have a problem with the prongs not lining up well, you can carefully use a small flathead screwdriver to pry the snap parts apart. Then you can reinstall that half of the snap.

As with most things like this, it is a good idea to practice installing a few snaps on a scrap piece. I would recommend using a couple pieces of fabric with some interfacing between them. With the SnapSetter and snaps from SnapSource, it really is easy to install pretty, metal snaps! I love the professional look that adding a metal snap gives to a bag or other creation. And with so many color options, it is easy to find a color that will match your project beautifully.

I hope your excitement is building as you now know how easy it can be to install metal snaps! Tomorrow we will talk about how to install plastic KAM snaps! Once you know how easy it is to install both SnapSource metal snaps and plastic KAM snaps, you will just have to decide which one you will use on the free pattern that I will be sharing with you on Friday! Make sure you don’t miss out on what is happening at Uniquely Michelle and sign up for the Uniquely Michelle newsletter below!

Snaps - Plastic Snaps and Where to Buy Them

Michelle Burke

Welcome to the second day of the snap blog series! Through this blog series, I am hoping to share my love of snaps with you. I haven't always loved snaps, but I have found that by using the good quality snaps along with the tools designed to install them, snaps can be fun to use! If you missed it, yesterday’s blog post was about metal snaps - which metal snaps work best and where to buy them. In today’s blog post I am going to talk to you about the other type of snap, plastic snaps. Once again,  I want you to know that the products I recommend are based on my use and opinion of them, I have not been given anything from the companies that make my favorite products nor do they even know that I wrote this blog series.

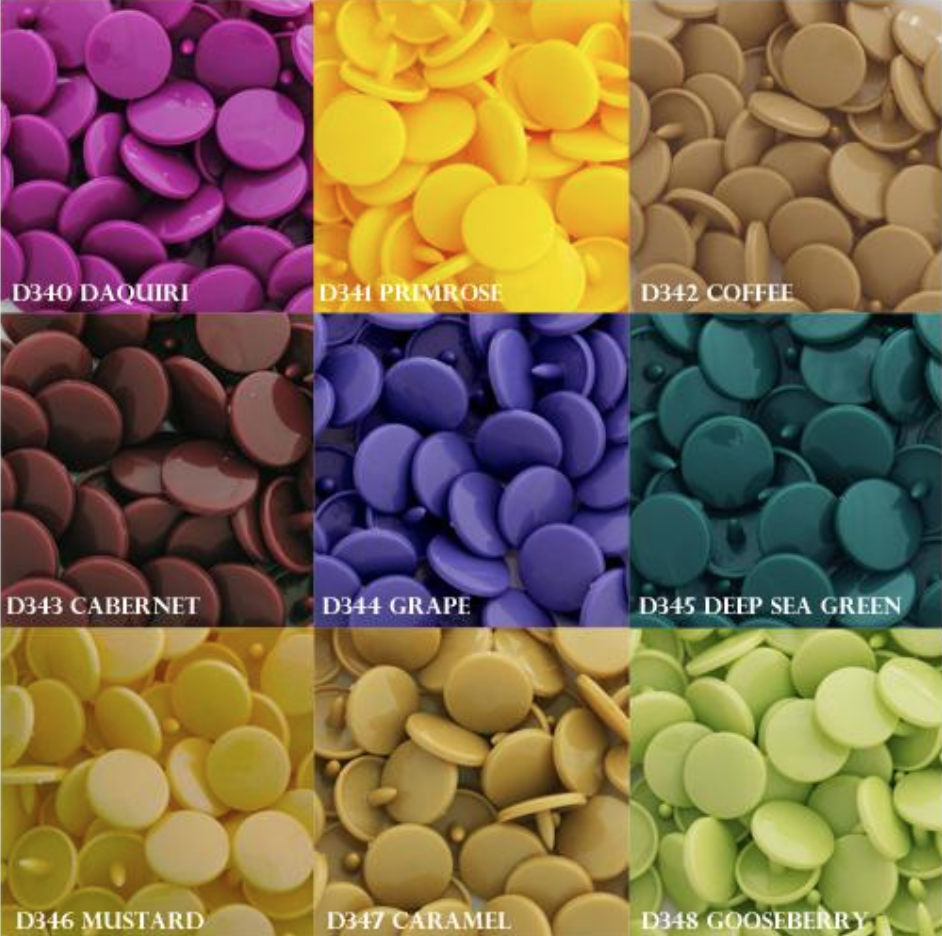
KAM snaps! This is the limited edition Pantone multi-color pack. Photo from the KAMsnaps website.

KAM snaps! This is the limited edition Pantone multi-color pack. Photo from the KAMsnaps website.

I was first introduced to plastic snaps while making Days for Girls kits that require plastic, KAM snaps. At the time, all I used was SnapSource metal snaps and so I was unsure that plastic snaps would hold up well, and I was afraid they would break easily during installation. I was wrong! KAM snaps are very strong and are very easy to install. There is another brand (Babyville) and there are off-brands of plastic snaps too, but the reviews are not as good for those as they are for KAM snaps. I don’t feel comfortable recommending them since I have not used Babyville or the off-brands. If you have some experience with these other brands, let me know in the comments.

Photo from the KAMsnaps website.

Photo from the KAMsnaps website.

KAM snaps come in a variety of colors and sizes, the most common size used in KAM snaps is size 20. Some colors of KAM snaps can be purchased in a matte finish instead of a shiny finish. KAM snaps offer some different shaped snaps and some snaps that are engraved as well.

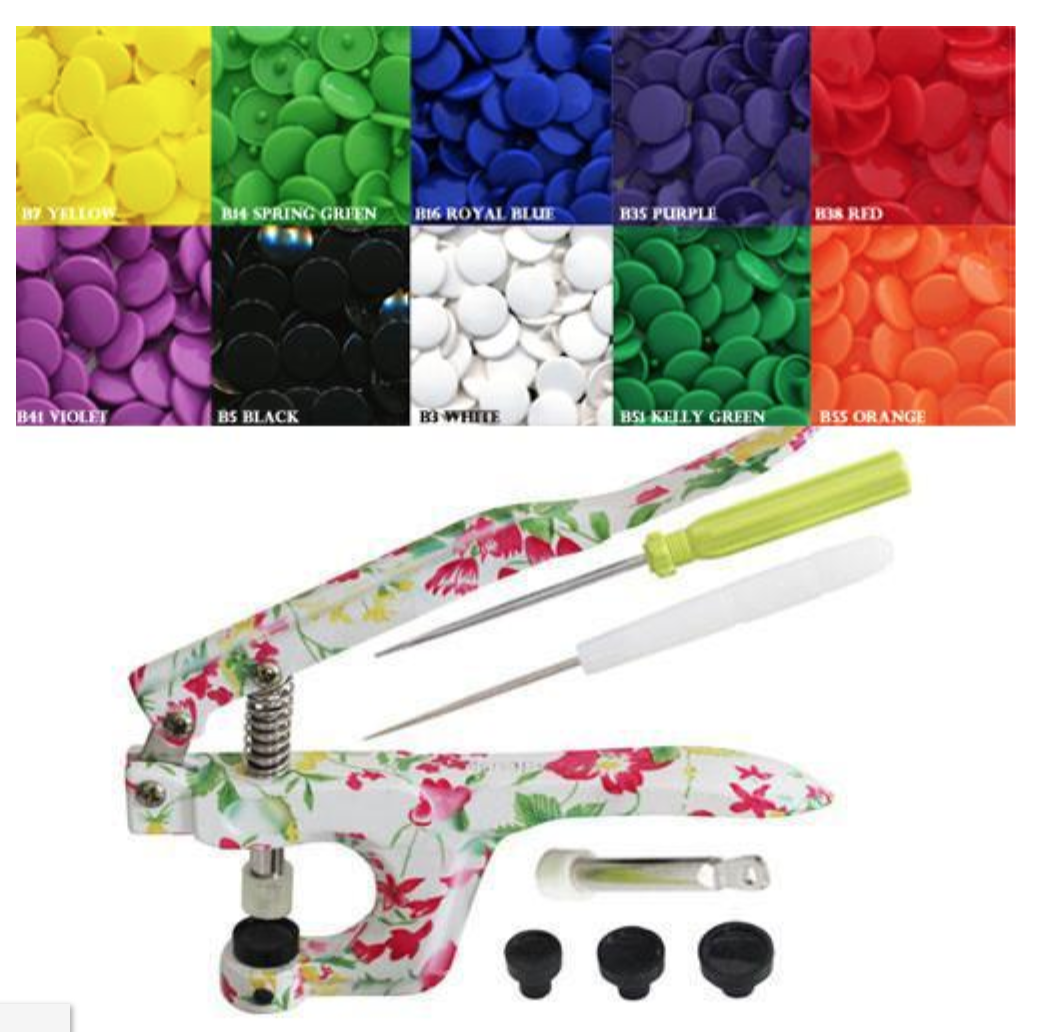
This starter kit is also available from KAMsnaps. It includes the same items in the kit described below except it has the floral pliers instead of the basic pliers and it costs $3.00 more. (Photo from the KAMsnaps website)

This starter kit is also available from KAMsnaps. It includes the same items in the kit described below except it has the floral pliers instead of the basic pliers and it costs $3.00 more. (Photo from the KAMsnaps website)

The KAM snap pliers (required for installing KAM snaps) can be bought in a kit that includes K2 pliers (basic pliers not the floral pliers), dies for installing snaps that are sizes 20, 22, 24 and for the heart, flower, butterfly and star shapes, 100 sets of size 20 snaps, an awl, and a screwdriver (used to change the dies) for $16.99. The only other tools that you need to install KAM snaps is a ruler and a marking pen or pencil.

Now that I have shared my recommendations for both metal and plastic snaps, I will tell you that metal SnapSource snaps are my go-to favorite snaps. I like the professional look that metal snaps give to a project and I think they are more durable in the long run. That being said, I think KAM snaps are a very good option and can in some cases (items made for babies) can be a better option. I don't think you can go wrong with either SnapSource metal snaps or plastic KAMsnaps.

I am excited for the next two posts in the snap series! The next two posts are all about what usually scares people away from using snaps, installation. Tomorrow, I will show you how easy it is to install colorful SnapSource metal snaps using the SnapSetter Tool. Then on Thursday I will walk through the installation process for KAM snaps. By Friday, I think you will be excited to install some snaps yourself, so I will share a quick and fun little FREE pattern for you that includes a snap! Make sure you don’t miss out on what is happening at Uniquely Michelle and sign up for the Uniquely Michelle newsletter below!

Snaps - Metal Snaps and Where to Buy Them

Michelle Burke

Snaps . . . does the mention of the word make you cringe? Maybe you are like me and you love them! But I have not always loved snaps, for a long time I actually hated them. I hated having the cute baby outfit mostly finished only to fail about half the time I tried to get the snaps installed well. Then I was introduced to a new way to install snaps and that completely changed my mind about snaps – now I LOVE them! Before we go any further, I want you to know that the products I recommend are based on my use and opinion of them, I have not been given anything from the companies that make my favorite products nor do they even know that I wrote this blog series.

A Just the Ticket Luggage Tag with a metal snap from SnapSource.

A Just the Ticket Luggage Tag with a metal snap from SnapSource.

This week, I am going to talk snaps – the different types available, where to buy them, and how to install them. Toward the end of the week, I will share a free pattern with you that has a snap, so you can try it out. I think once you know more about snaps, you will enjoy installing them as much as I do.

A metal snap from SnapSource on a Kristine ID Wallet.

A metal snap from SnapSource on a Kristine ID Wallet.

Today, I am going to introduce metal snaps - where you can purchase these snaps and the tool you will need for installing them. There are two types of snaps available, metal and plastic. Both of these have their advantages and if you get the correct brands and tools, they are both easy to install correctly almost every single time.

When I started using snaps, I bought them from JoAnns. They were just the regular metal, ring snaps that are best installed with a plier kit for installing snaps and grommets. Sounds easy enough, but this is the point where I learned to hate snaps. The pliers did not work as well as I had hoped. It was almost as easy to set a snap wrong as to set it correctly. Looking at the reviews for this product (Dritz Plier Kit for Installing Assorted Snaps) on JoAnns, you will see that I am not the only one who struggles getting the pliers to work well. I do not recommend this product.

The SnapSetter Tool from SnapSource. Image from SnapSource.com

The SnapSetter Tool from SnapSource. Image from SnapSource.com

The best metal snaps and tool for installing them are from SnapSource. The SnapSetter Tool by SnapSource is what changed me into a lover of snaps. SnapSource also has a wonderful assortment of snaps available to choose from in a large variety of sizes and colors.

I have used my SnapSetter Tool with SnapSource snaps for several years and it is still going strong. I have the size 16 SnapSetter tool. The size 16 SnapSetter Tool can be used for cap and pearl snaps that are sizes 16, 18, 20 and 24. You will need a SnapSetter Tool Adaptor Base for pearl snaps that are sizes 16 and 18 and cap snaps that are sizes 20 and 24. The SnapSetter Tool is $9.00 and the adaptor (if you decide to purchase it) is only $3.25.

Colorful snaps from SnapSource. Image from SnapSource.com

Colorful snaps from SnapSource. Image from SnapSource.com

The snaps range in price depending on size and type (pearl snaps are more expensive), but you can get 10 sets of size 16 cap snaps (the most common size for metal snaps) for $3.75 or 50 sets for $10.30. The only other tools you need are a hammer, a ruler, and a marking pencil or pen.

I am so excited about this week's blog posts about snaps. I hope you come to love snaps as much as I do by the end of this week! Tomorrow, I will discuss plastic snaps and let you know which ones I use and why. Installing metal and plastic snaps will be the topics of Wednesday and Thursday's blog posts. Then on Friday, I will be sharing a free pattern that uses a snap! Make sure to keep up with all the posts this week by signing up for the Uniquely Michelle newsletter below!

Another Option for Adding A Crossbody Strap to the Lindsay Wristlet

Michelle Burke

The Lindsay Wristlet is practical to use and fun to sew. I love taking my Lindsay Wristlet to the grocery store or sporting events and it is my go-to bag all summer long when I don't feel like having the extra bulk of a large bag. The only thing that I have sometimes wished for is to be able to carry a Lindsay Wristlet hands-free. A wristlet is somewhat hands-free, but it can get in the way when it is dangling from your wrist. During Lindsay Wristlet Week a couple of years ago, I wrote a blog post tutorial on adding a crossbody strap to the Lindsay Wristlet. It was a good option, but I wanted to be able to eliminate the strap connectors from the sides. I didn't like that they stuck out in an odd way when I was using my Lindsay Wristlet without the crossbody strap but instead with a wrist strap or as a wallet with no strap at all.

IMG_4217 2.jpg

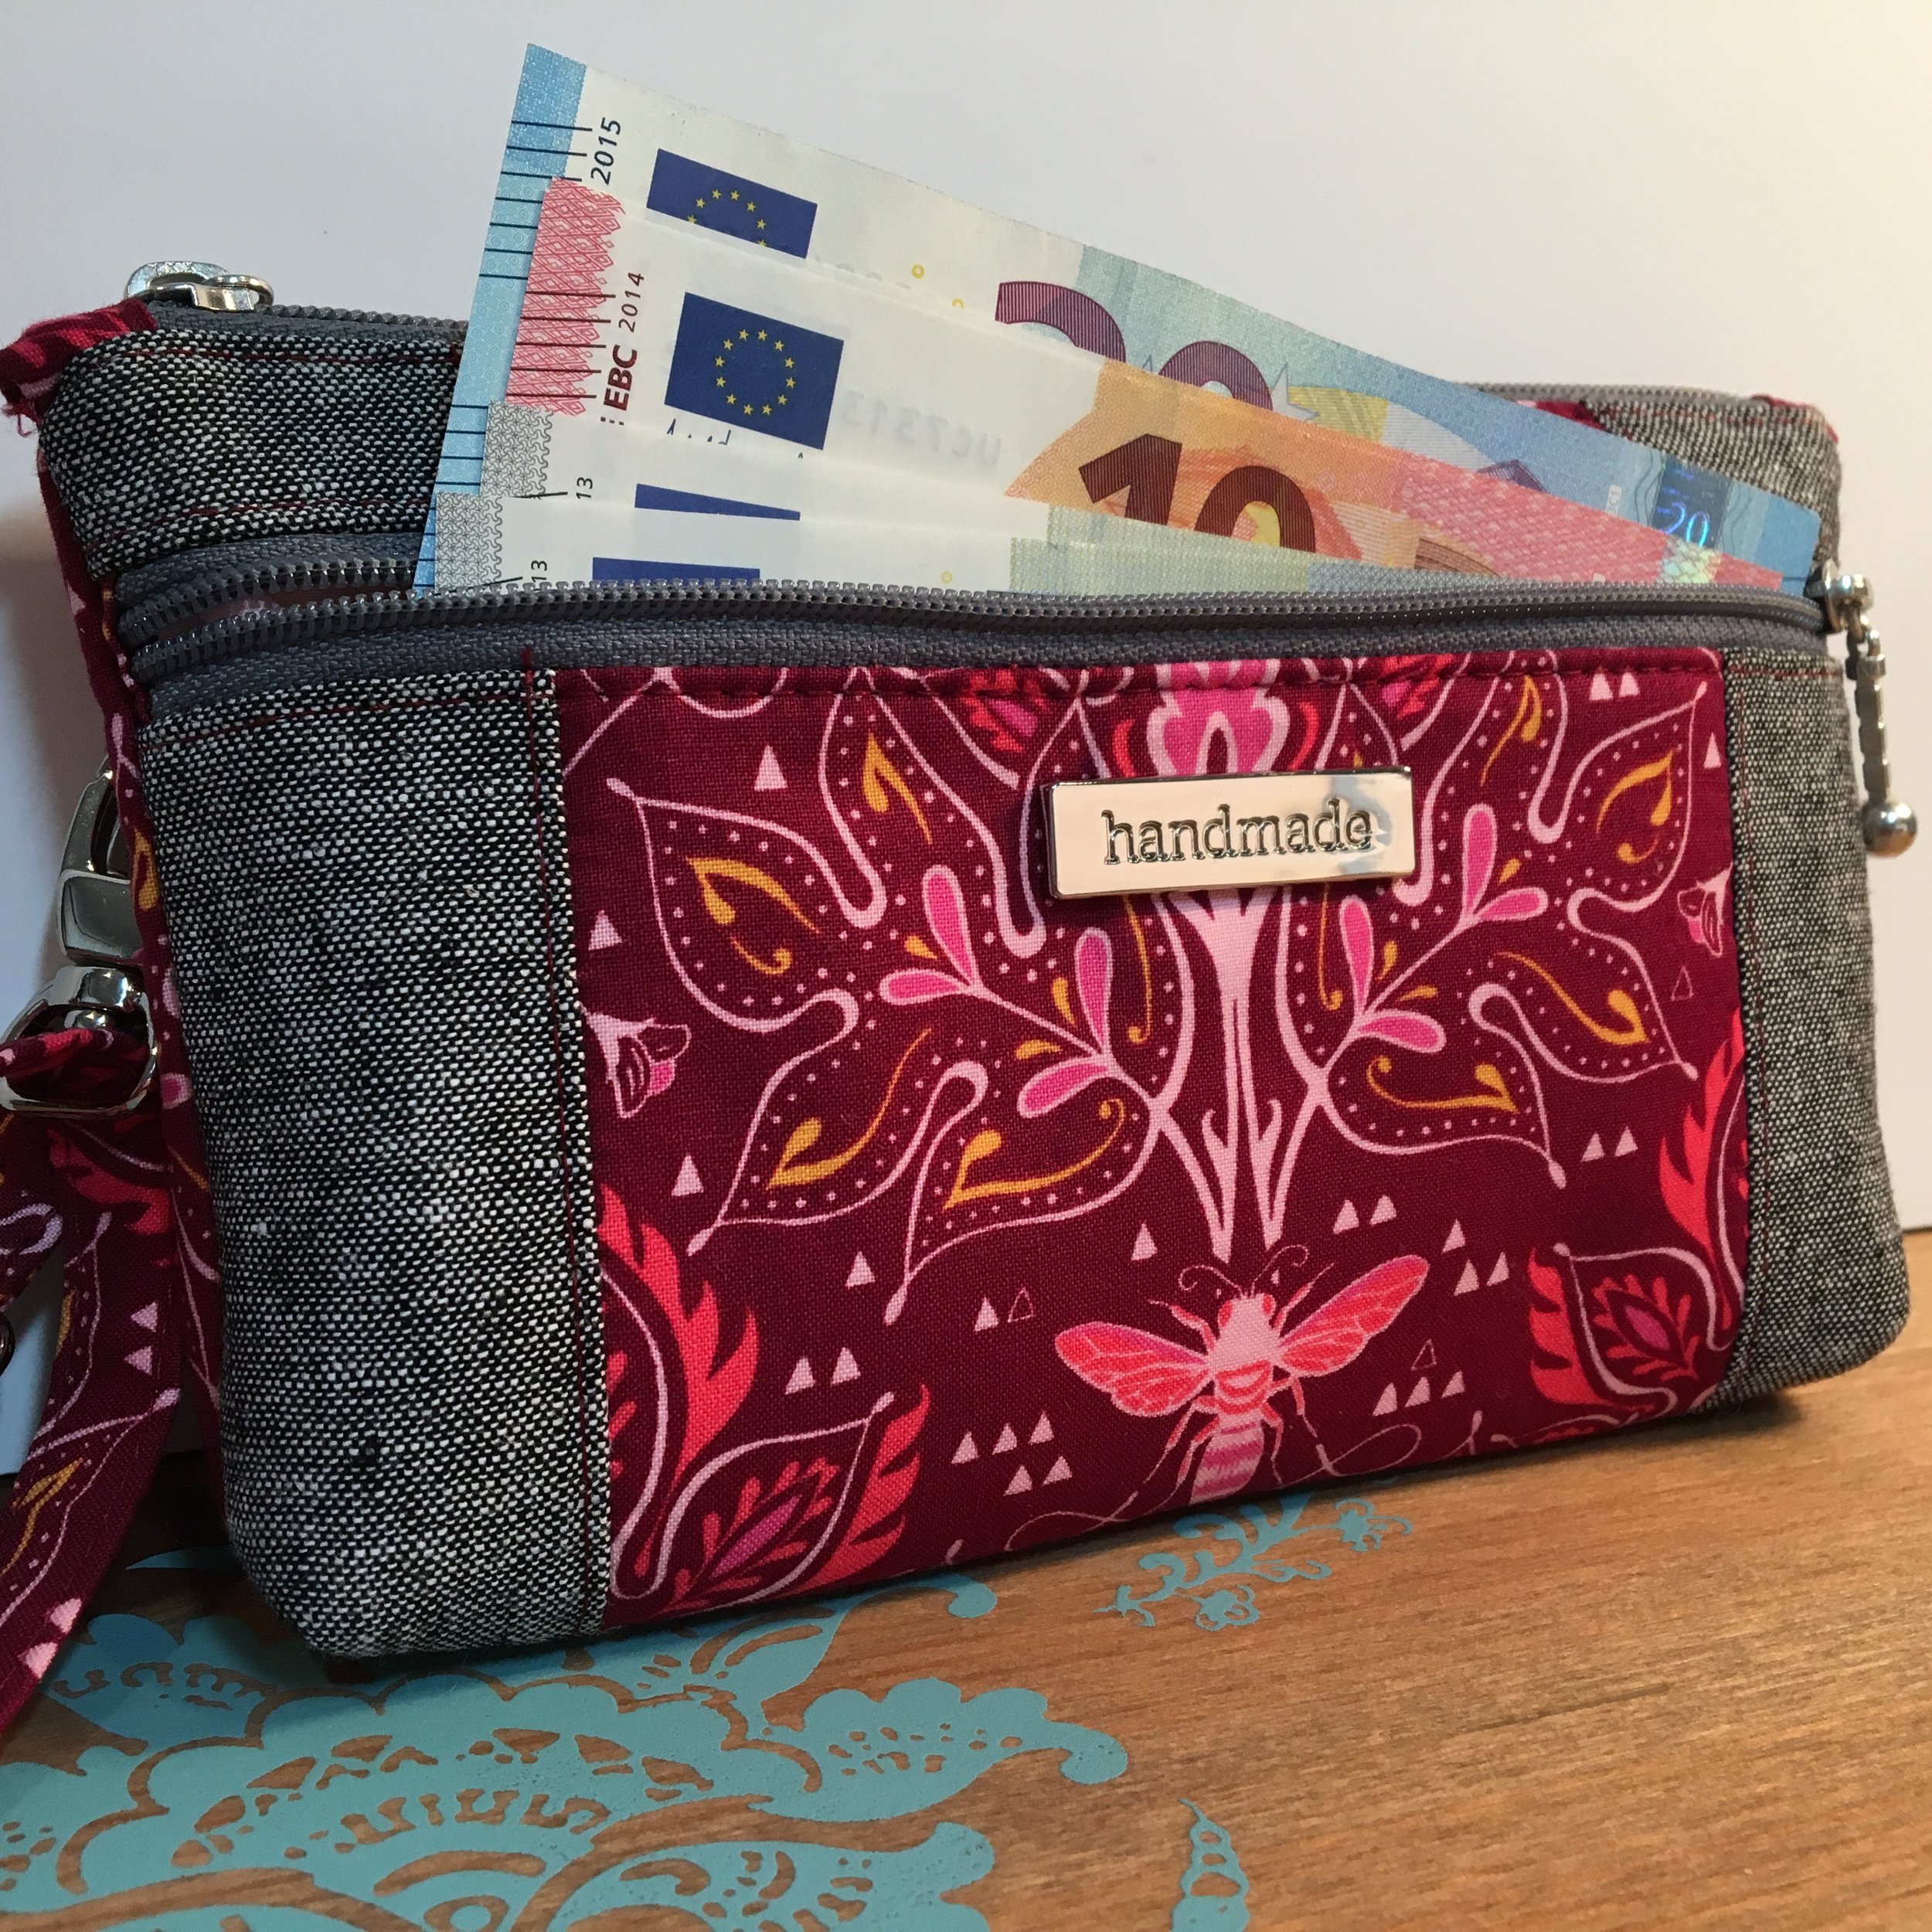
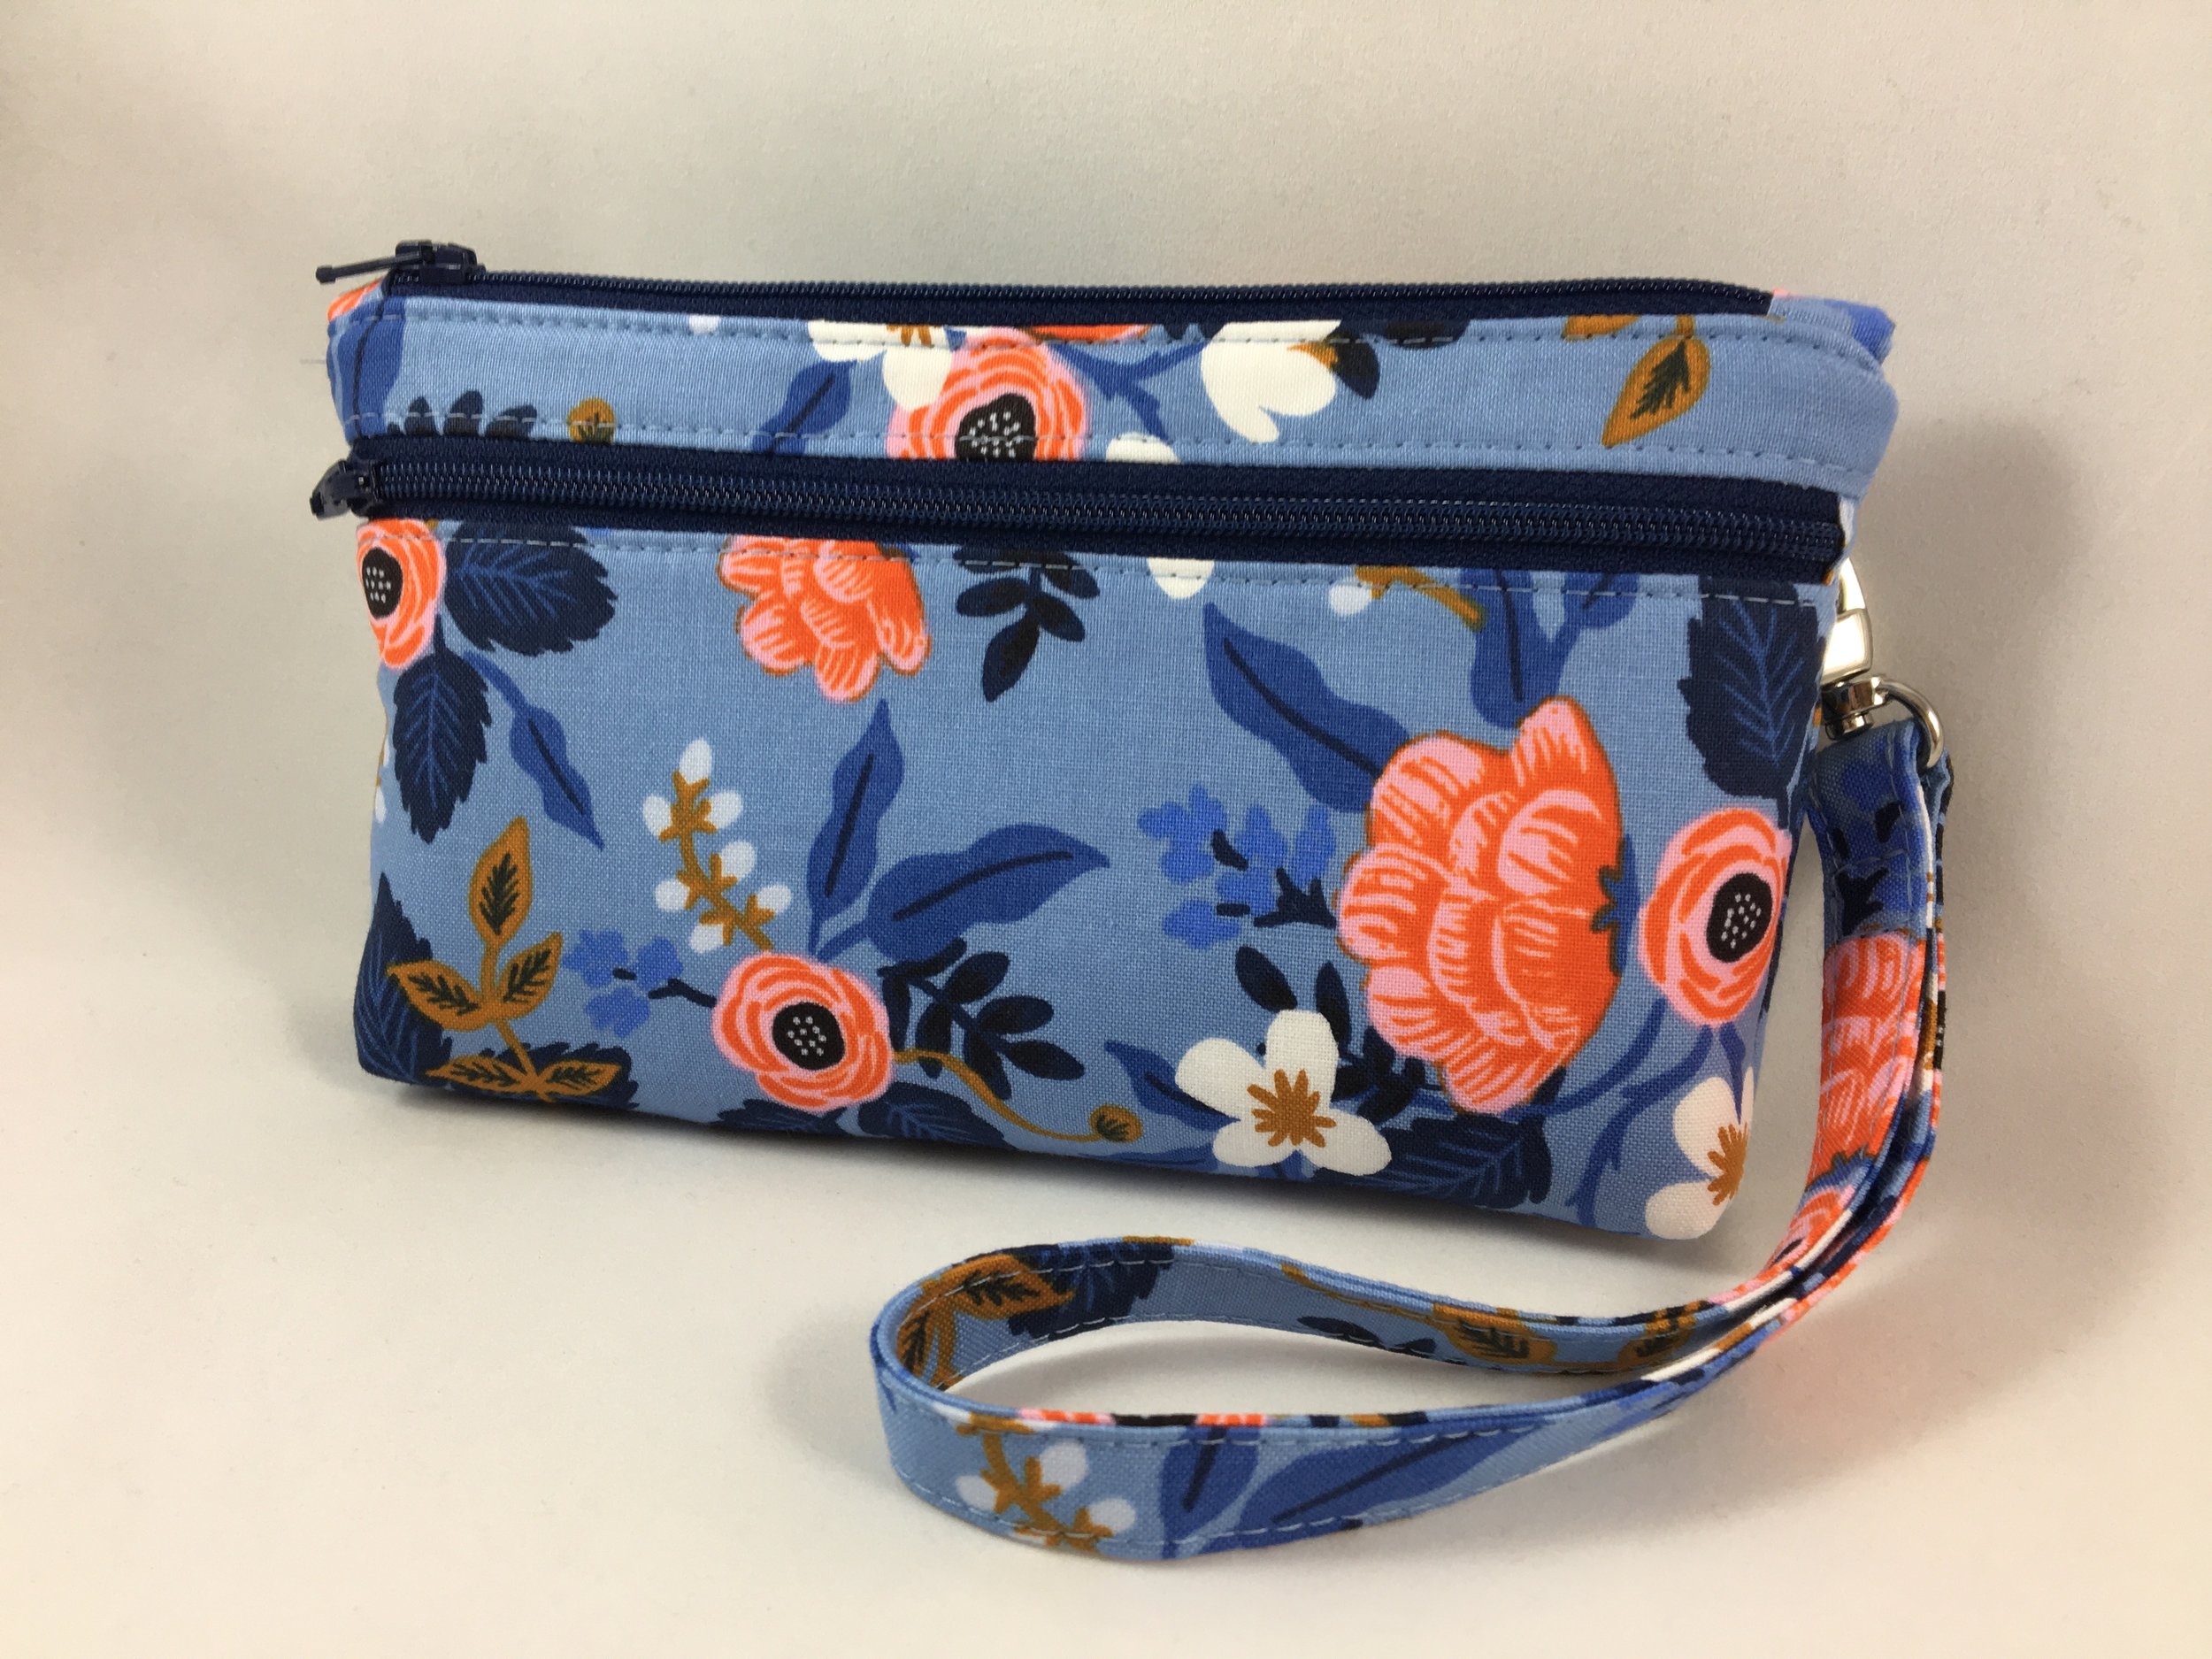
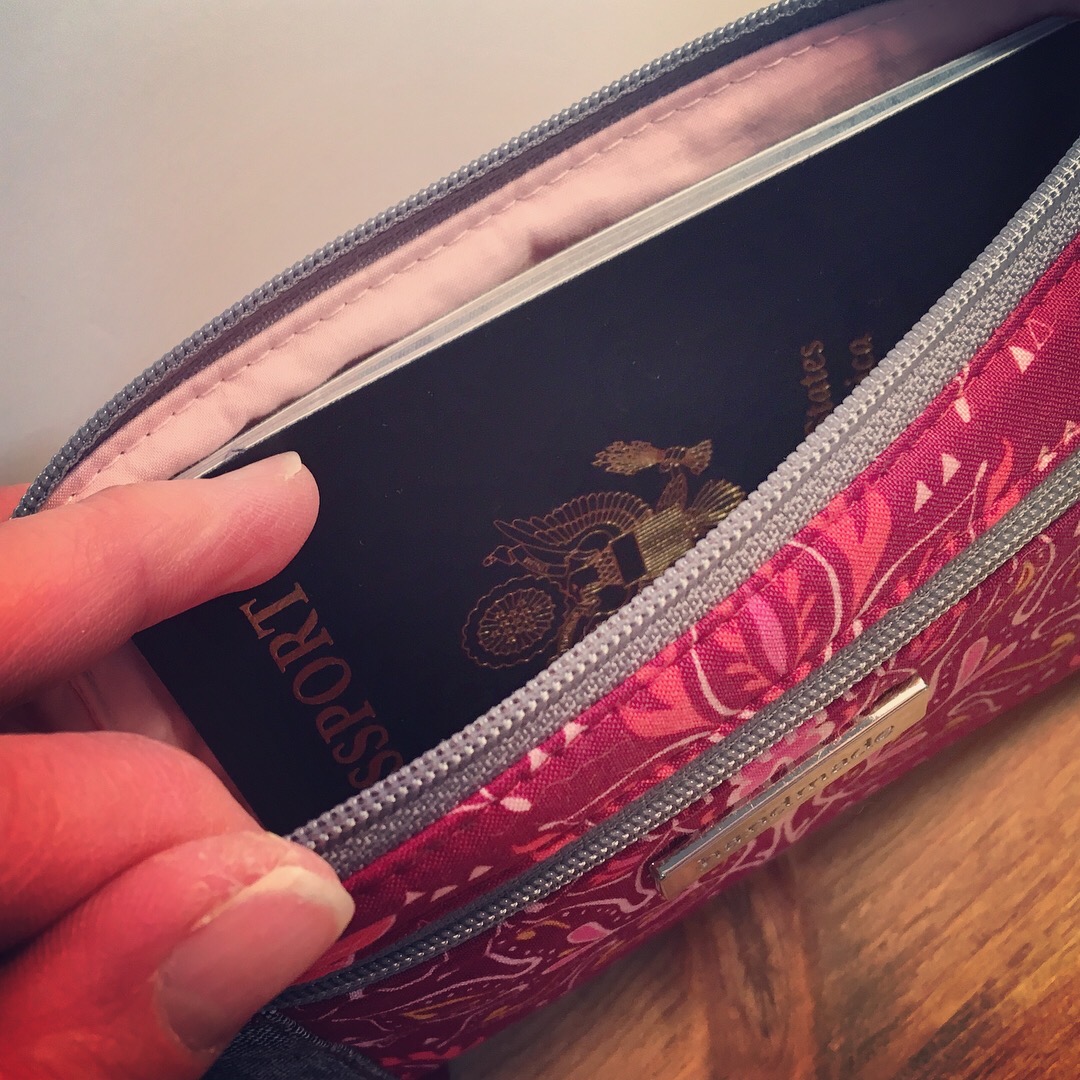
I am happy to say that I came up with a solution! I just changed up the placement of the strap connectors, adding them to the back of the Lindsay Wristlet instead of to the side seams. I tried this option out on the Lindsay Wristlet that I made myself for a trip that my husband and I took to Europe this spring. I wore my Lindsay Wristlet as a crossbody bag most of the time. Sometimes I had it on a lanyard when we were in the more sketchy parts of Rome where the pick-pocketers are an issue. I used it as a wristlet occasionally and I put it in my carry-on, in wallet form, without any straps when we flew or traveled by train. It was a perfect little travel companion that held my passport, credit cards, cash, phone, and lip gloss. 

So, would you like to wear the Lindsay Wristlet as a crossbody? Well then, I wrote this tutorial for you!  This is an easy and quick supplement to the Lindsay Wristlet pattern! You will need to refer to the Lindsay Wristlet pattern for the fabric and interfacing cuts and instructions for making the majority of the wristlet. Let's get started!
There are a few extra materials you will need to add a crossbody strap. You will need:

  • From the exterior of the fabric, you will need to cut 1 piece @ width of the fabric x 2" high, and a second piece @ 25" wide x 2" high 
  • From the SF101, you will need to cut 1 piece @ 50" wide x 1" high (this can be pieced together too)
  • A second 1/2" D-ring
  • 2 - 1/2" swivel snap hooks
  • 1/2" ajustable strap slider

1. Cut out two Anchor Pieces (not just one) @ 3" x 2" each. You will also cut out two pieces of SF101 @ 2 1/2" x 1". Center the interfacing on the back of the Anchor Pieces and fuse into place. (see photo below)

IMG_1808.jpg

2. Fold the two short ends of one of the Anchor Pieces to the wrong side 1/4" and press in place. (see photo below)

IMG_1810.jpg

3. Fold the Anchor Piece in half the long way, wrong sides together and press. Now, fold the two raw long edges into the center fold, wrong sides together and press. With all the folds in place, press the Anchor Piece well. (see photo below) Repeat this step for the second anchor piece.

IMG_1817.jpg

3. Top stitch the long edges of the Anchor Pieces 1/8" from the edges. (see photo below)

IMG_1818.jpg

4. Fold each Anchor Piece in half over a 1/2" D-ring and pin or clip the ends together and set these aside while you work on making your Lindsay Wristlet following the instructions given in the pattern. (see photo below)

IMG_1820.jpg

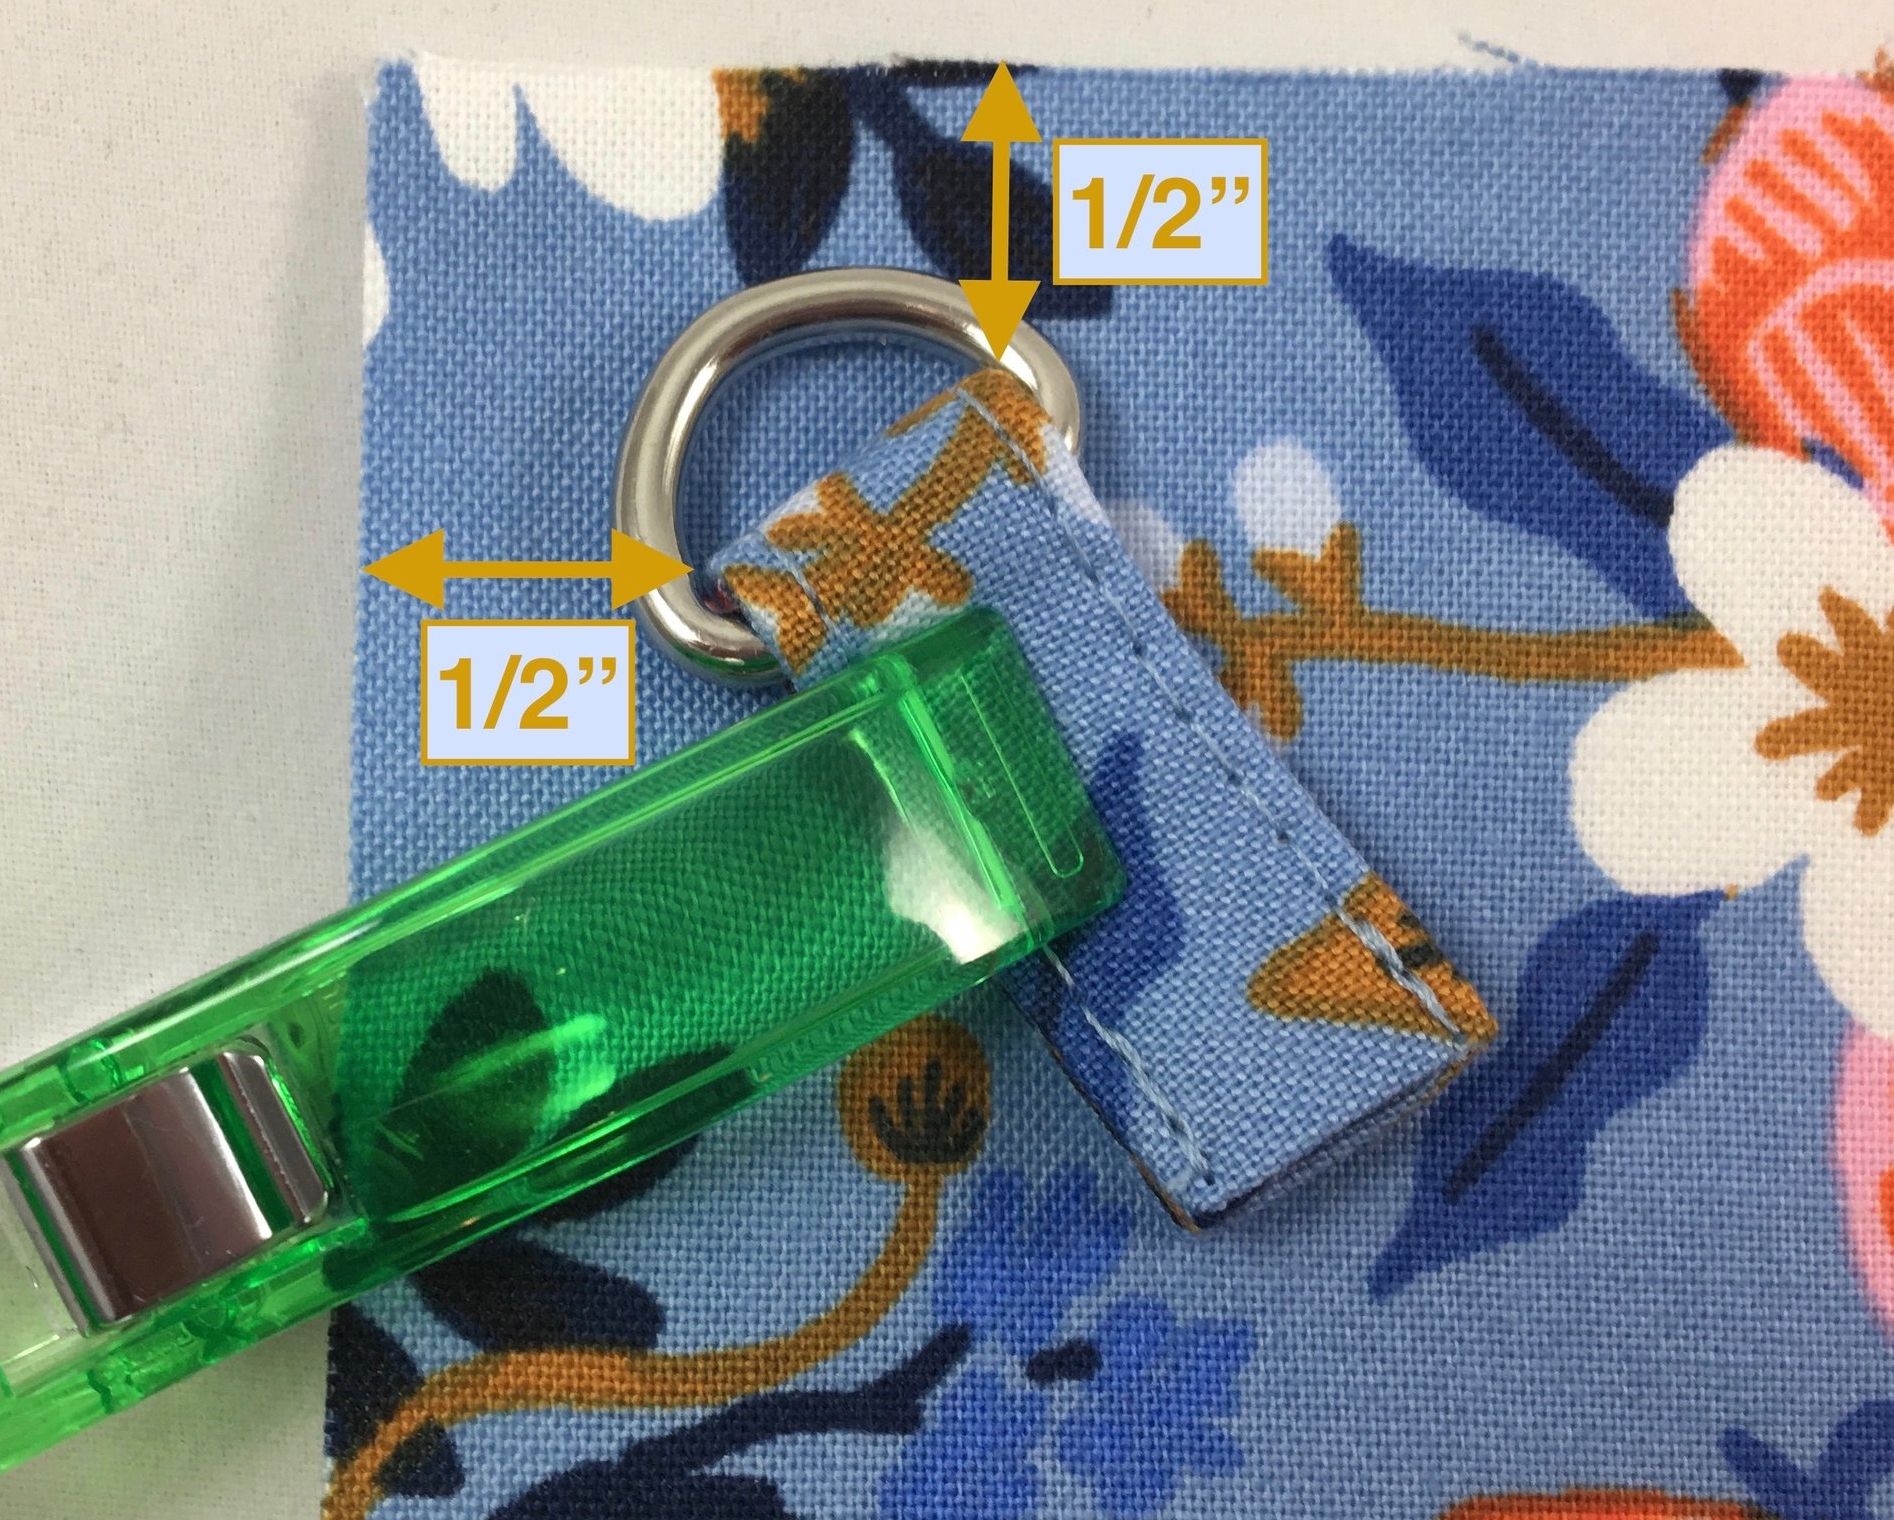
5. Before starting step 11 (Adding the Main Zipper) of the Lindsay Wristlet pattern, you will need to add the Anchor Pieces to Piece C (the Back). I place one Anchor Piece, at an angle so that the center of the D-ring is pointing directly at one of the upper corners of the Back piece. I also make sure that each folded upper corner of the Anchor piece is 1/2" away from the nearest raw edge of the Back piece. Pin or clip (you need large clips for this) in place. Repeat this step with the other Anchor Piece on the other upper corner of the Back Piece. (see photos below)

6. Top-stitch a box at the end of the Anchor Piece through both ends of the Anchor Piece and the Back Piece. To make it easier to sew the Back Piece to the wristlet later, I like to give the D-ring a little wiggle room. To do this, I start by topstitching the part of the rectangle that will be closest to the D-ring, so that the flat edge of the D-ring is at the outer edge of my sewing foot and I sew across that short section with my needle centered. (see photo below left) Once you have sewn across the Anchor Piece fairly close to the D-ring, make a box by sewing 1/8" from each edge of the end of the Anchor Piece. (see photo below right)

Hint: I use my Bernina Height Compensation Tool to keep my sewing foot level as I sew the Anchor Piece in place. This keeps my stitches nice and even. (see photo below) To read more about how the Bernina Height Compensation Tool works, check out this blog post: Sewing Has Its Ups and Downs.

7.  Continue following the instructions given in the Lindsay Wristlet sewing pattern to finish making your Lindsay Wristlet. You know that wiggle room I mentioned in step 6? You will appreciate it when you sew the main zipper in place and when you are on the final step of the pattern because you will be able to move the D-rings well out of the way as you sew nearby. (see photo below)

IMG_1830.jpg

8.  One more thing is needed - the crossbody strap! To make the crossbody strap, refer to the blog post from Lindsay Wristlet Week, "Adding a Crossbody Strap to the Lindsay Wristlet - Part 2." 

The Lindsay Wristlet sewing pattern is available to purchase from the Uniquely Michelle Website Shop, the Uniquely Michelle Etsy Shop or the Uniquely Michelle Craftsy Pattern Shop

Make sure to keep in-the-know on all the latest happenings at Uniquely Michelle by signing up for the Uniquely Michelle newsletter below!